Changing the curtains in your room may completely transform the look and feel of the space. You may use this pattern to make new stationary panels or simply add the tab tops. You can also mix and match the fabrics and embellishments to create your own unique style. So here we go!
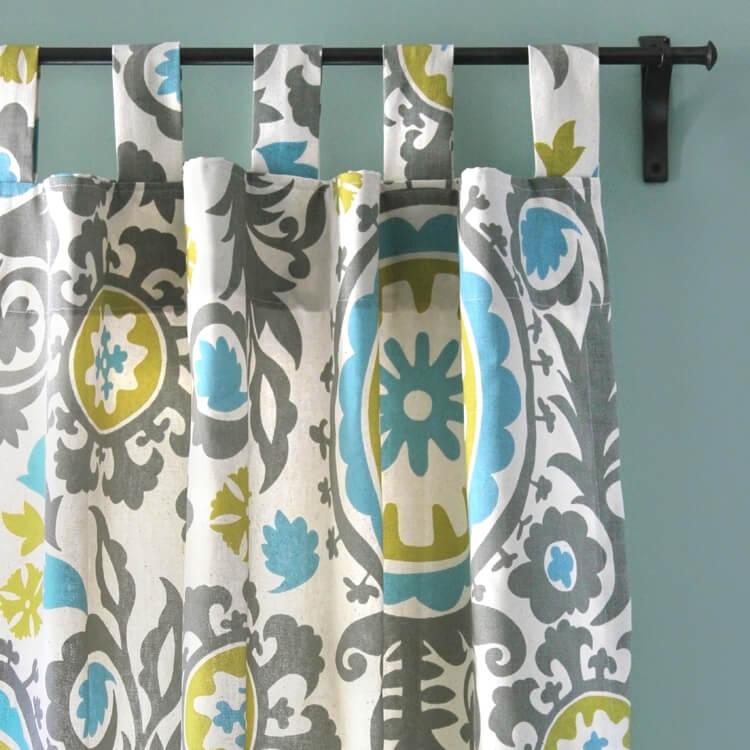
Tab Top Curtains
Level: Intermediate
Bạn đang xem: How To Make Curtains With Tabs? Step-By-Step Guide
What You Need
- Fabric
- Towel ring
- Pins used in sewing
- Ruler
- Scissors
Instructions
1. Cut the Panel Fabric
Size and location of your windows, as well as hem allowances, will determine how long and wide your curtain panels are. To get an idea of how much fabric you’ll need for your panels, multiply the fullness of your window by roughly 112 to 2 times.
When making tab top curtains, you may skip the wide hem at the top because of the fabric facing that covers the top line. Instead, simply add 12″ to each side and bottom hem allowances.
Once you’ve cut out your panels, you’ll need to cut each panel a facing piece. There should be a 3′′ to 4′′-long facing for each curtain panel.
Adding a few inches to the length of your curtain panels is a good idea if you have a lot of fabric to work with. Before you hem the panels, you can test them out on your curtain rod.
2. Determine Tab Length
Pin the length of your tabs to the curtain rod by folding a strip of cloth over the rod and pinning it in place. (As a general guideline, the top border of the curtain should dangle 2 to 4 inches below the rod.) To account for the 12″ seam allowances at the tab’s two ends, double the length you pinned by 1′′.
3. Cut ‘Em Out
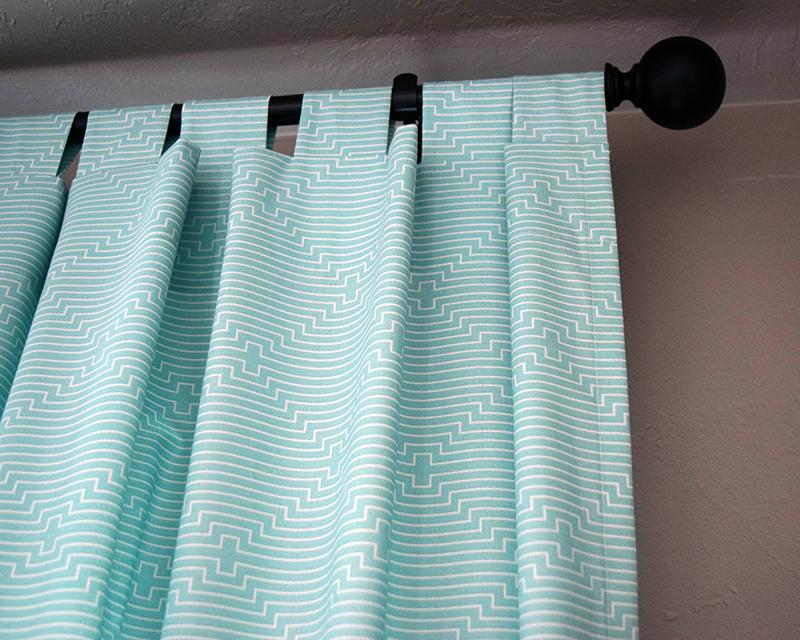
To figure out how many tabs you’ll need, place one on each of the curtain’s two outside edges. As a last step, spread them out about 6 to 8 inches apart.
Typically, the tabs are between 112″ and 2″ in width. Starting with a 5′′ width, cut out pieces with a 2′′ width (and the length you decided on in Step 1). You can also stitch the long edges of a 5′′ wide continuous length together. Press your cloth flat, whether it’s right-side-out or wrong-side-out.
4. Finish the Panel Edges
Fold the cloth twice on each side and stitch to make a tidy edge for your curtain hems. You can also hem your garments now if you have a specific length in mind (or wait and do that as a last step). Use a greater stitch length because curtain seams aren’t subjected to the same amount of wear and tear as garments do.
5. Attach the Tabs
Pin the tabs to the back of your drapery. For striped fabrics, make sure the stripes on your tabs match those on the panel you’re sewing together. Use a 12″ seam allowance to sew across the top.
The more space between the tabs the better if your cloth is heavy or thick. As a result, the curtain panel can be pushed open on either side of the window with less effort.
6. Attach the Facing
In order to get the finished curtain panel’s finished width, fold the facing piece’s side and bottom edges. Press. Pin the curtain panel to the facing, right sides together, and then sew along the top edge seam allowance.
7. Press the Facing
To get a clean edge, lift the face and tabs and press them upward.
8. Sew the Facing
While pressing down, make sure to maintain the tabs extended as you flip it over. Close the top edge of the facing by stitching across the bottom of the facing. The stitching line is shown by the red thread in the image above. Stitching across the facing’s sides is optional; it is not essential.
Steps To Make Curtains With Tabs
If you want to get the job done right, you’ll need a lot of patience and dedication.
Xem thêm : How To Hang Scarf Curtains? Easy Step-by-step Guide
For this reason, you’ll want an experienced mentor to help guide you through the process.
Make sure you follow these guidelines to the letter.
So, how do you make tabbed curtains?
Step #1. Gather your materials
Needle and thread as well as pins are required in order to make tabbed draperies.
Tailor’s chalk or any fabric marker as well as fabric scissors are also required.
Measuring tools such as measuring tapes and rulers are required for this project.
It’s also a good idea to use an ironing board.
Step #2. Cut out the fabric
After you’ve measured the window’s dimensions, you’re ready to start cutting. You don’t have to be an expert to make curtains.
In order to ensure that the curtain is half an inch wide on each side, sew the hems on all four sides of the piece of fabric.
Make sure that the bottom hem has at least 6 inches of extension and 3 inches of extension for the width of the hem, respectively.
It is possible to sew them, check that the fold is equal, and press the sides to ensure that they are flat and even.
Step #3. The curtain tabs
The curtain tabs are the next thing you’ll work on. Make sure you pay attention to this article because it’s all about it.
If you don’t match the colors and patterns of your curtain, it will look out of place.
As a result, when shopping for cloth, keep the tabs in mind.
For each tab, you’ll need to cut a rectangle 5 inches by 9 inches in size.
It’s entirely up to you how close you want it to alternate on your curtains.
But one every two to three inches is fine.
Step #4. Stitching the panel
This is the one where everything comes together well. Using the panels with tabs you created. You make a 1-inch fold on one side of the length.
Xem thêm : How To Make Ruffled Curtains? Complete Step-by-Step Guide
After that, it lays, presses, and irons it to produce a smooth and even piece of cloth. Insert it into the machine after that.
You might also hand stitch it. Right from the front of the panels, sew it to the back.
Once you’ve done that, you may turn it around. Fold it in half, overlapping the stitching you did before.
The next time you sew it, don’t sew it all the way through to the other side before flipping it again.
Step #5. Flip it out
You’ll then flip it over, revealing the side with the designs and stitching.
It’s time to iron it again after you fold it in half and make the tab.
Make sure it doesn’t open back up while you’re stitching.
Step #6. The back layer
Tabs should be spaced 2 to 3 inches apart on the curtain. Fabric should be cut to the same width as your curtain.
It’d be perfect if it were three inches long. Then stitch the bottom portion so that you can apply it with less interruptions.
Before sewing the layer with the tabs in place, be sure to pin it down and iron it one more time.
Step #7. Stitch it
Once the sides are sewn, you have the option of running the machine or hand sewing the rest of the way.
Stay on the pins at all times. While stitching, the fabric will be securely held in place by the thread.
The top layer must be stitched, but the tabs must not be moved while doing so.
That’s when you iron it again, making sure that you’ve sewn it all the way around and that there are no loose threads.

Conclusion
When you own your own home, it’s a good idea to be familiar with such matters.
Your home will be more beautiful if you make these kinds of curtains yourself rather than buy them.
We’re glad we were able to answer the question, “How to make tabbed curtains?” Now you know what I’m talking about.
Nguồn: https://iatsabbioneta.org
Danh mục: Curtains


