What is the process for making bead curtains? There are eight simple processes, all of which may be completed in a short amount of time.
And you’ll learn more about that as you continue reading.
Bạn đang xem: How To Make Beaded Curtains? 8 Easy To Follow Steps For You!
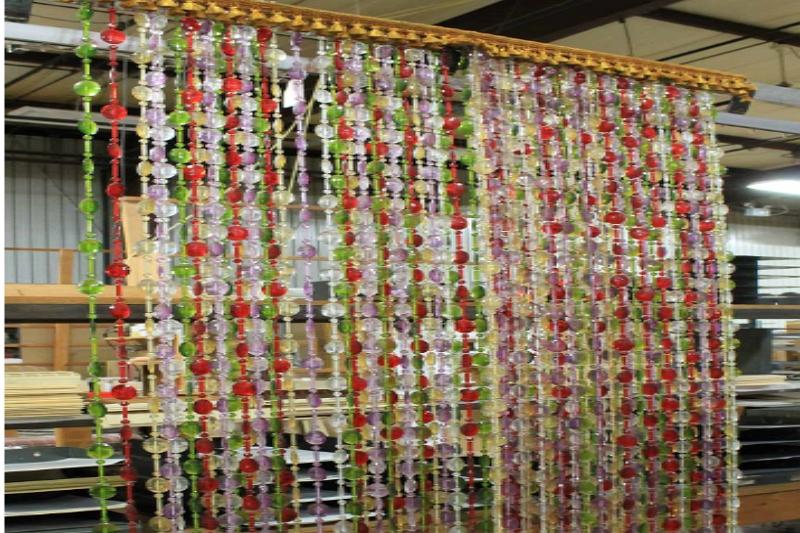
Adding some beaded curtains to your room can make it even more beautiful.
However, if you decide to purchase this style of curtain, you’ll have to pay a lot of money.
It’s wonderful news! Make your own beaded curtains with this simple tutorial.
It’s much better if you make your own beaded curtain because you can design it exactly how you want.
Beads come in a variety of shapes, sizes, and colors, for example.
In addition, you have the option of selecting the specific type of bead material you prefer.
Once you’ve mastered the art of beaded curtain manufacturing, you can decorate every window and door in your home with them.
This instruction can help you build your own beaded curtains for your door or window, no matter how complex or simple your design is.
Where To Get Beads?
Beads can be purchased at any local bead shop. They can also be found in a variety of craft shops.
In order to obtain big quantities of high-quality beads, these are the finest locations to visit.

But if you have a stash of old beads at home, you could build your own beaded drapes.
The outdated jewelry you wear to masquerade parties can be dismantled.
A basic yet artistic look can be achieved by combining a variety of beads in the same color family.
It’s also possible to mix and match colors, patterns, and styles to your heart’s content.
With this, you’ll be able to create an even more upscale-looking bead curtain.
What Are The Things Needed?
Make sure you have everything you’ll need available before you begin working on your beaded curtain.
Xem thêm : How To Make Long Curtains? Complete Step-by-Step Guide
The following is a list:
- Beads
- Pencil
- Calibration tool
- Markers
- Rods made with square dowels
- Paper with a grid on it
- Straightedge
- Nail polish remover (optional)
- Hooks with eyelet holes
- Pliers
- Scissors
- A piece of nylon string or fishing line
- Bead crimping
8 Easy Steps To Make Beaded Curtains
Let’s get started making the beaded curtains now that you’ve got everything ready.

To make beaded curtains, here are the step-by-step instructions:
Step #1. Measuring the window or doorway
The first step in constructing beaded curtains is to determine the dimensions of the window or doorway to be covered.
This one is for figuring out what size curtain you’ll need.
Measure your door or window’s width plus 4 inches, and then use a dowel rod to cut the rod to the correct length.
After measuring 2 inches on each side, you need to mark it with your pencil. Mark where each eyelet hook should be placed.
Rulers can be used to find the midpoint between the two points marked.
You’ll need to count the highlighted places to figure out how many bead rows you’ll need to make after this step is complete.
Step #2. Creating a scaled drawing
Make a scaled drawing of the beaded curtains you intend to make on graph paper.
This is a crucial stage that will allow you to envision your finished product in advance.
If you want to make it easier for yourself, you can outline the bead and color arrangement and place numbers on each row.
Step #3. Preparing the dowel
Dowel rods have eyelet hooks attached to each mark you made before.
Step #4. Preparing the wire or string
Cut the fishing line or nylon string to the desired length and discard it. A 12-inch margin should be added to your selected length.
Step #5. Getting your beads ready
To make your job go more quickly, it’s ideal to sort your beads by color or size if you plan on using a variety of them.
Place your dowel rod in a large working area before you begin.
Step #6. String the beads
Following your diagram, you now need to attach the beads onto the nylon thread..
It’s up to you whether you like to work on one string at a time, or work from right to left.
Xem thêm : How To Make Swag And Jabot Curtains? Complete Step-by-Step Guide
Crimping beads can be used to strengthen the knot.
Beads can be held more securely using this device than they can with a knot on their own.
Clamp it down firmly using pliers.
Step #7. Tying off the string
This is where you secure the ends of the string.
Then, tuck the ends of the strings into the beads.
Then, trim away any excess material.
Step #8. Hanging the dowel
Hang your finished beaded curtain on the door or window frame now.
The dowel can be screwed or nailed into place.
To keep the dowel rod in place, attach a small curtain rod hook to one of the sides.
Isn’t it simple?
This step-by-step guide on creating a mattress will help you take your do-it-yourself skills to the next level.
I pray that you get the room of your dreams!
It’s A Wrap!
Beaded curtains can give your room a fresh look and feel.
Even if you don’t have a door, this unique design element can provide you with a sense of seclusion.
In addition, you have the option of creating them on your own.
Since you can choose any bead type and color combination that suits your preferences, you are free to do so
You’ve previously learned how to make beaded curtains.
You can also personalize them to fit your room’s style.
This one is an easy way to add your personality into your space.
Nguồn: https://iatsabbioneta.org
Danh mục: Curtains


