This winter, did your heater work harder than it needed to? Make life simpler on your air conditioner and your wallet this spring by making your own thermal curtains.
Most homes lose heat through their windows. Single-pane windows offer little to no insulation from the outside temperature, while the seals on double-pane windows frequently fail as they age..
Bạn đang xem: How To Make Insulated Curtains? Step-By-Step Guide
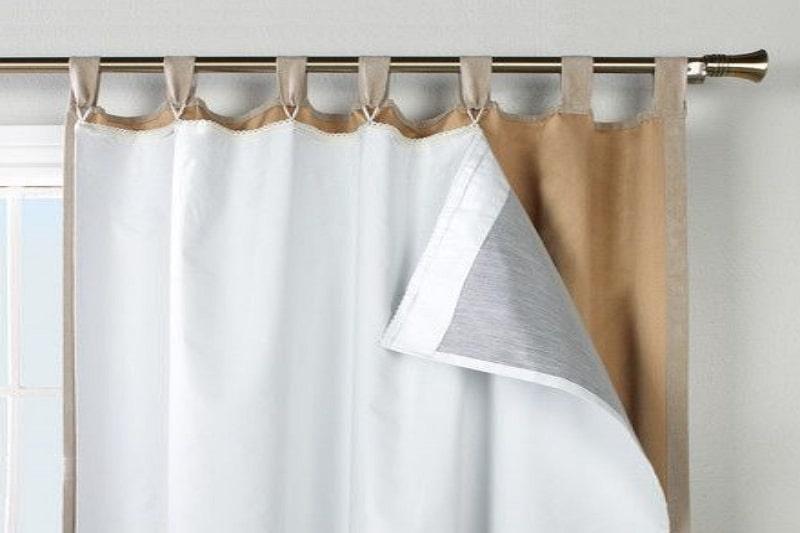
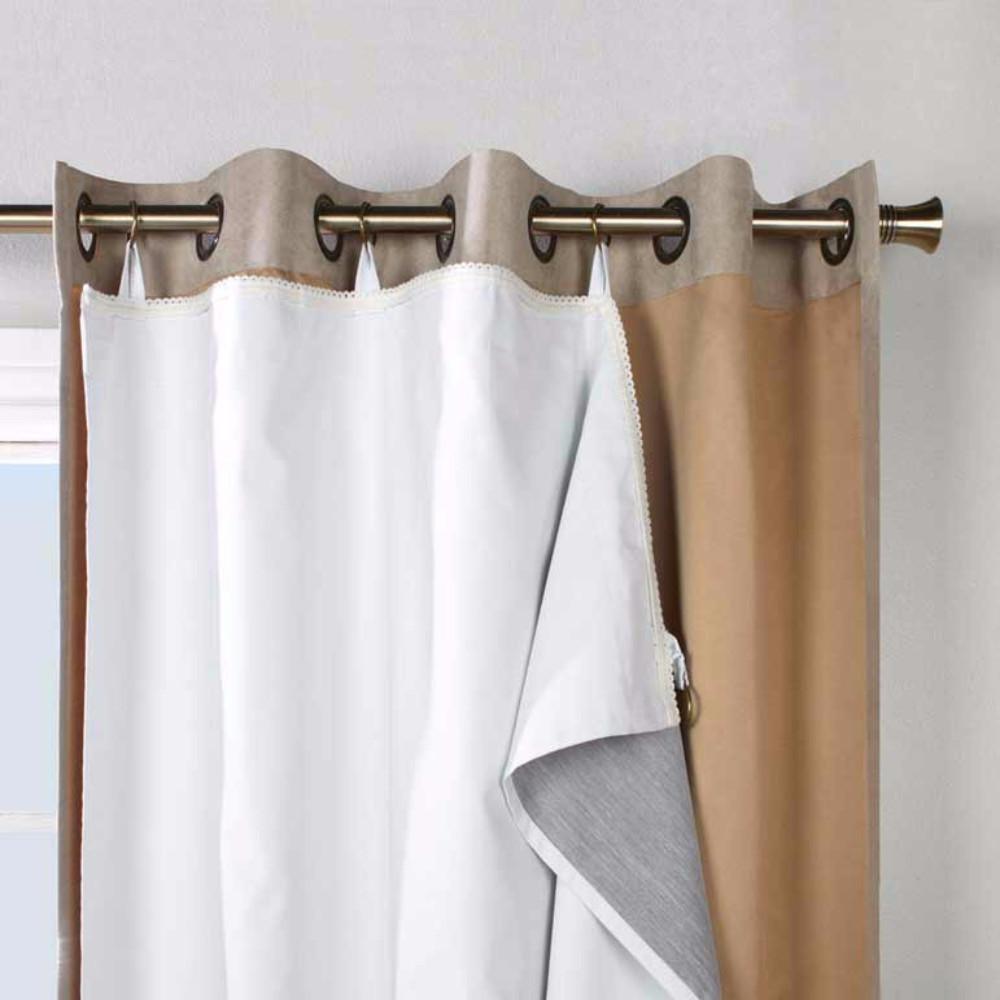
Thermal curtains are a simple technique to keep the temperature of your home from fluctuating too much with the weather outside.
Heat may easily pass through window glass because it is extremely conductive. Insulating your home against heat transfer allows you to keep it warm in the winter and cool in the summer with thermal curtains.
Additionally, thermal curtains might save you money on your electricity expenses. Your furnace and air conditioner will save you money if you use them less to keep your house warm or cool.
To get the most out of your investment in thermal curtains, you’ll have to fork out extra money.
We’ve got a step-by-step tutorial on how to construct your own thermal curtains, which you can find right here.
DIY Thermal Curtains
To begin, acquire the necessary supplies:
- Tape measure for fabrics
- Cutting tools for sewing
- Pins for sewing
- A sewing machine and thread are needed to complete this project.
- Measurement with a tape
- Ironing clothes
- Rod for a curtain of one inch
- Rings for curtain rod clips
- For a curtain rod with a 1′′ Kwik-Hang bracket.
- Hammer with a small head
- Outer fabric with a decorative pattern or design
- Vapor-blocking substance
- Batting a fabric
- Liner fabric in white
How To Make Thermal Curtains
Step 1: Measure the window’s height and width with a tape measure.
Measure and cut the outside decorative fabric, vapor barrier material, batting fabric, and white lining material to the specifications with your measuring tape and fabric scissors.
Make sure your curtains are at least 10 inches wider and 6 inches taller than your window before cutting them. This will ensure that when your thermal curtains are closed, they will completely cover the window and overlap.
Pro tip: if you want a fuller look, they should be double the window width.
Make sure they’re twice the width of your windows if you want a fuller view.
Xem thêm : How To Pinch Pleat Curtains? Complete Step-by-Step Guide
Two stacks of white liner fabric and ornamental fabric should be placed on top of each other.
You can use an iron to firmly press each edge of the curtain stacks. (Be sure to fold them over so that the liner is on the bottom.) Insert six-inch-diameter sewing pins into the pushed edges of the stacks.
Step 6: Sew the pinned stack edges together using your sewing machine. It’s time to sew both curtains together on all four sides.
Step 7: Install the Kwik-Hang curtain rod brackets with your hammer. For hefty thermal curtains, these can handle up to 20 pounds of weight.
A one-inch curtain rod or dowel should be used to attach your curtain rod clip rings in Step 8. To safely handle the weight of thermal curtains, you’ll need a thicker, one-inch curtain rod.
Step 9: Attach your curtain rod to your Kwik-Hang brackets using clip rings.
Using the clip rings, attach your thermal curtains to them.
This is it! Enjoy the fruits of your labor and the money you save!
Hang Your Curtains Easily With Kwik-Hang Curtain Rod Brackets
You can save money and reduce your utility bills by using thermal curtains in your home.
Using Kwik-Hang curtain rod brackets, you may quickly and easily create your own DIY thermal curtains.
Kwik-Hang curtain rod brackets have turned a time-consuming hassle into an easy installation process. Once you’ve got them lined up, simply tap them into position. There were no accurate measurements, and no wall damage.
Step by step procedure on how to make insulating curtains
Kwik-Hang curtain rod brackets have turned a time-consuming hassle into an easy installation process. Once you’ve got them lined up, simply tap them into position. There were no accurate measurements, and no wall damage.
- Kwik-Hang curtain rod brackets have made what used to be a time-consuming chore a breeze. Tap them into position by lining them up on the window frame. There were no accurate measurements and no damage to the wall.
- Decorative material for the cover
- Dowel or curtain rod made of wood or metal (A quarter- to half-inch diameter light bar is a good option.) Side draw designs do not necessitate the inclusion of this step.
- Dowel or curtain rod brackets
- Shower curtain rings or curtain rings for curtains
- Velcro
- A sewing machine
- Thread
- Pins
- Scissors
- Measurement with a tape
- a punch with grommets for grommets
- 1′′ x 2′′s would be ideal for mounting the curtain to the wall. The side draw design does not necessitate the use of this.
- In the upper portion of your window, the cap prevents air flow (by preventing a convection current). When adopting the side-draw design, this is not necessary.)
Taking measurements of your windows is the first step in the process of insulating your home with drapes. In order to precisely calculate the amount of curtain fabric you’ll need, take precise measurements.
Xem thêm : How To Hang Curtains In A Corner? Complete Guide
Step 2: Choose your batting material, including the ornamental fabric option. It is best to choose sustainable and recycled materials since a strong fabric material that does not stretch or rip is excellent. Before you turn your ornamental fabrics into insulating ones, wash them first.
Your fabric curtain should be cut to the correct length, and your batting material should be cut to the correct thickness. Allow a margin of up to two inches around the ornamental fabric material’s perimeter. Keep in mind that having a little excess fabric is preferable to having none at all.
Sewing is the third step in the process of making insulating curtains. Pin the curtain fabric on the batting material before you begin sewing. Sewing will be simpler if you do it this way. Your batting material must be facing the fabric’s decorative side at this point.
Step #4: Sew the curtain fabrics to the batting material using a sewing machine. After stitching three edges together, you turn the curtain to reveal the outside.
It’s time to sew the flipped curtain to the edge you left open. Consequently, the seam will be on the inside, and your curtain will look stunning.
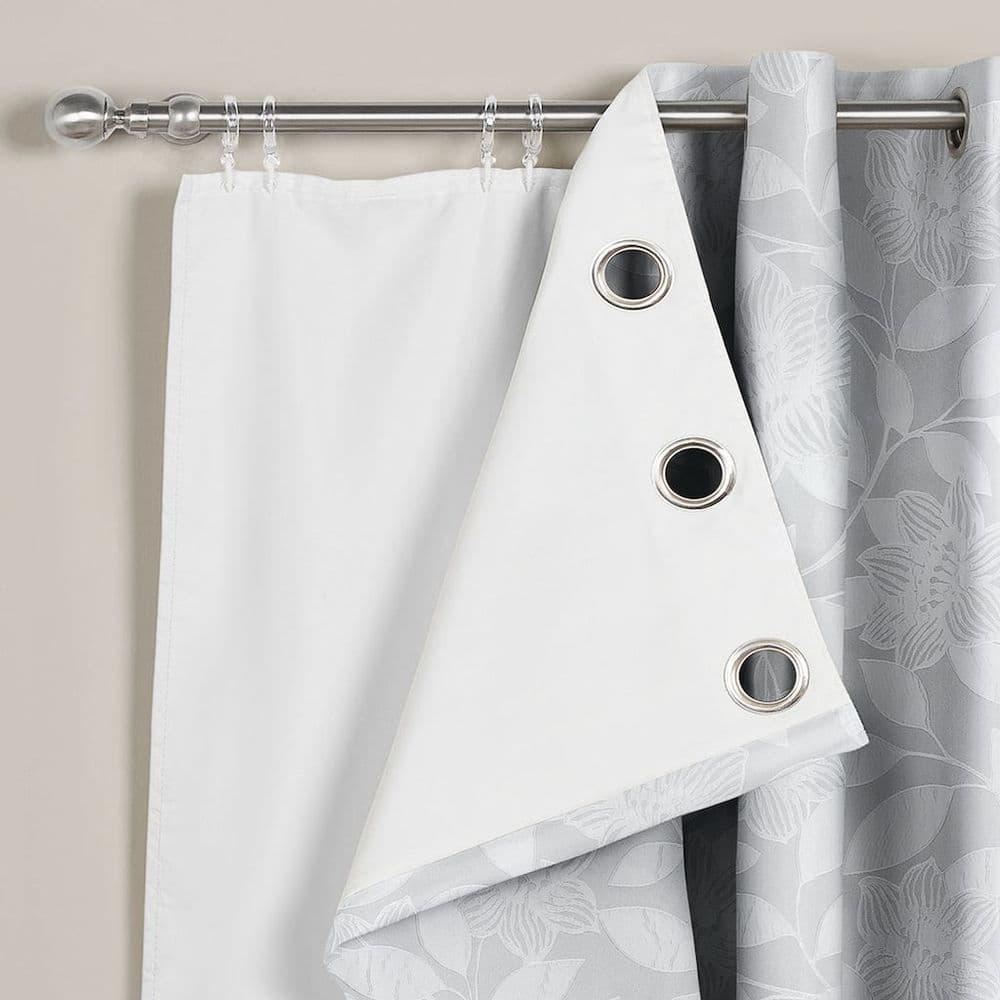
Using a hammer, insert your grommets into the holes you made in your curtain material along the tops of the grommets you intend to use.
If your curtain panels need to be hung on a wall, sew Velcro on both sides of each panel. Velcro should be placed and fixed on the walls in accordance with the curtain panels’ functions. Your curtains will be more insulated as a result of this procedure.
Step #7: Fix in the curtain rods, slide in some rod rings onto the curtain hanging rod.
Do Insulated Curtains keep Cold Out?
Insulating curtains can be made by following the instructions on how to manufacture insulating curtains, which will help keep the cold air from the outside out of your home.
As well as the reflective film layer on the outside of the curtain, insulating curtains are coated with a vapor barrier.
What is the Difference Between Insulated and Thermal Curtains?
Thermal curtains, on the other hand, create a layer of air between the window and your dead room, reducing the amount of air and heat that enters and exits.
Installing an insulating window curtain will help keep your house warm in the winter. Because of its reflective properties in the summer, it acts as a heat-reflector.
Conclusion
Making your own insulating curtains will save you money on your utility bills and allow you to better control the temperature in your house. You may easily create and install DIY insulating curtains in your home if you follow the instructions above.
Nguồn: https://iatsabbioneta.org
Danh mục: Curtains


