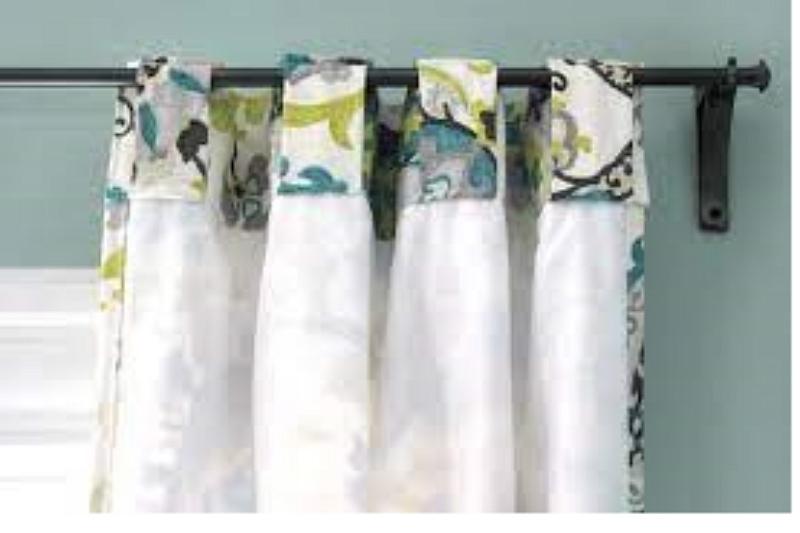
Pleated-looking panels can be created by using ined, hidden back-tab curtains. These stationary curtains can be used as side panels beneath a valance or on their own on a stylish curtain rod. Fabrics with lining have better drape and are less susceptible to sun damage. These curtains can be attempted by intermediate-level home sewers with confidence that the results will be satisfactory.
Cut the material 6 inches wider and 12 inches longer than the finished flat width and length of the curtain, respectively. To finish the curtain, measure the finished flat width and add 9 inches to the finished curtain length. Flat back-tab curtains are typically 1 1/2 times the width of the window they are covering. Using a 20-inch-wide window, the flat curtain width is 30 inches. A 30″ x 80″ flat curtain is made by cutting 36″ wide by 92″ of fabric, and then lining at 30″ wide by 89″ of fabric.
Bạn đang xem: How To Make Hidden Back Tab Curtains? Comprehensive Guide
The hems should be turned under and sewn on by hand. The fabric should have a 4-inch hem, whereas the lining should have a 3-inch hem. When pressing the lining, turn the top 4 inches of the lining toward the incorrect side. Double-fold the fabric’s lengthwise edges by 1 1/2 inches. Make a 4-inch turn to the wrong side of the fabric’s top edge, then press the seam allowance into place.
Make sure the right side of the cloth is facing the table and that its top edge is facing you. Open the fabric’s side hem folds, but do not disturb the fabric’s or lining’s top folds. With the wrong sides together, place the lining on top of the fabric. Lining folds should be aligned 1/4 inch down from the fabric’s folded edge. The top border of the layers should be pinned together. The length of the lining should be aligned with the second fold crease on the fabric’s side edges. Refold the fabric hems, enclosing the lining, to finish the garment. Fabric and lining sections are one inch apart. For example, when using 1/4 inch for top and bottom hem, the remaining 3/4 inch is visible. Attach the hem layers at the second fold using pins and sewing. Use the appropriate thread, needle, and sewing machine tension for your cloth and lining.
Place the curtain on the table with the top edge facing you and the lining on top of the table surface. Divide the curtain’s flat width by 6 to arrive at the tab count. Add 1 to the result for the number of tabs required if placed six inches apart.
Place the curtain on the table with the top edge facing you and the lining on top of the table surface. Divide the curtain’s flat width by 6 to arrive at the tab count. Add 1 to the result for the number of tabs required if placed six inches apart.
To use the curtain, place it on a table with the top edge facing you and the lining on the tabletop. In order to determine the curtain’s total tab count, divide the flat width by 6. If the tabs are spaced six inches apart, multiply the number of tabs by 1.
Xem thêm : How To Make Knotted Curtains? Step-by-Step Tutorial
Secure the lining and the tabs at the top of the curtain by sewing 1/8 inch behind the folded top edge of the liner. Secure the tabs to the curtain by sewing 1/8-inch above the marked line.
To finish the lined hidden tab curtain project, thread the curtain onto the rod and make sure the pleats are the same width and depth.
HOW TO MAKE HIDDEN TAB DRAPES
When I’m stitching, I’m in the zone. It’s something I truly enjoy. I get a genuine rush from making something beautiful out of nothing but fabric. I couldn’t locate anything in the store that would fit the 10′ ceilings in our great room. However, having them manufactured seemed a little foolish when I already had hidden tab panels in place. They have a more relaxed vibe than French pleats, which I prefer, and I also knew I could make them myself for much less money. Anyone who sews could benefit from my super-easy method for making them.
THE SECRET TO HIDDEN TABS
A linen fabric was utilized for the panels, which were then sewn together as usual. The top of each panel was hemmed 5 inches, and the long ends were hemmed as well.
When hanging drapery panels, I always hem them after they’ve been hung on the pole. Later, we’ll talk about it.
When I made the hidden tabs, I used satin ribbon, and it worked like a charm. If I had to sew and hem each tab, it would have taken me hours. No need to sew the sides, thanks to the ribbon.
To make the ribbon lay more smoothly, I cut it to lengths 2 inches longer than my top hem. My ribbon lengths were eyeballed, but you may be more precise with your own! By doing, I meant to learn.
Xem thêm : How Much Does A Curtain Cost? Everything To Know!
The most crucial thing is to pin each ribbon at the top of your curtain. Ideally, they should be hung evenly. On each tab, the bottom isn’t as critical. To ensure that your rod will pass through your tabs, all you need to know is its diameter. Each panel has seven tabs. Make sure they’re evenly distributed. Put a tab on each end of your panel to start. Do the arithmetic to make sure they are evenly spaced.
TAKE YOUR TIME
The top and bottom of each ribbon tab should be sewn on with care. However, this is a time-consuming process that pays off in the long run.
You will need to cut a lot of threads, so keep a pair of scissors handy. Maintaining the professional appearance of your threads requires trimming them.
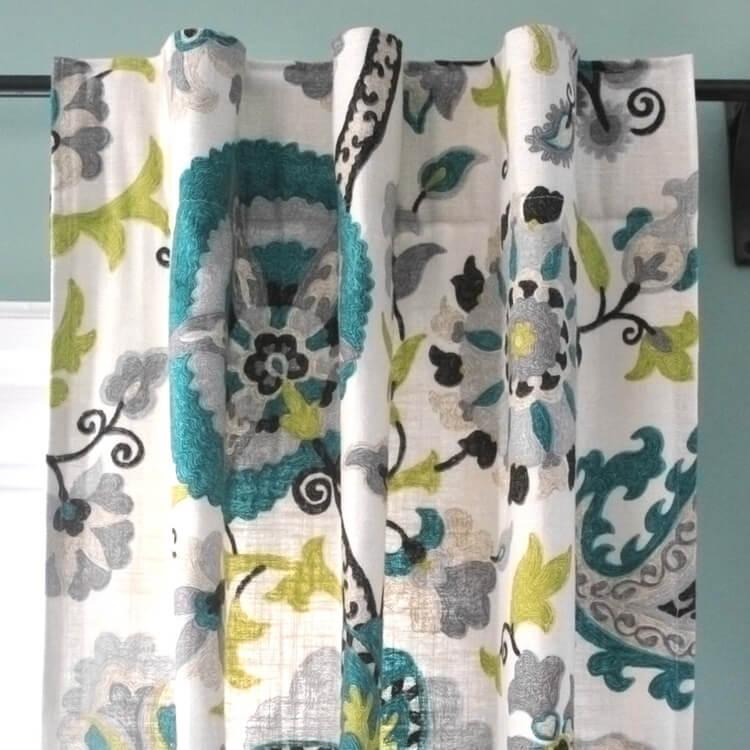
Panels with uniformly spaced tabs can be seen here.
Make certain that the distance between the top of your panel and the center of each tab is the same.
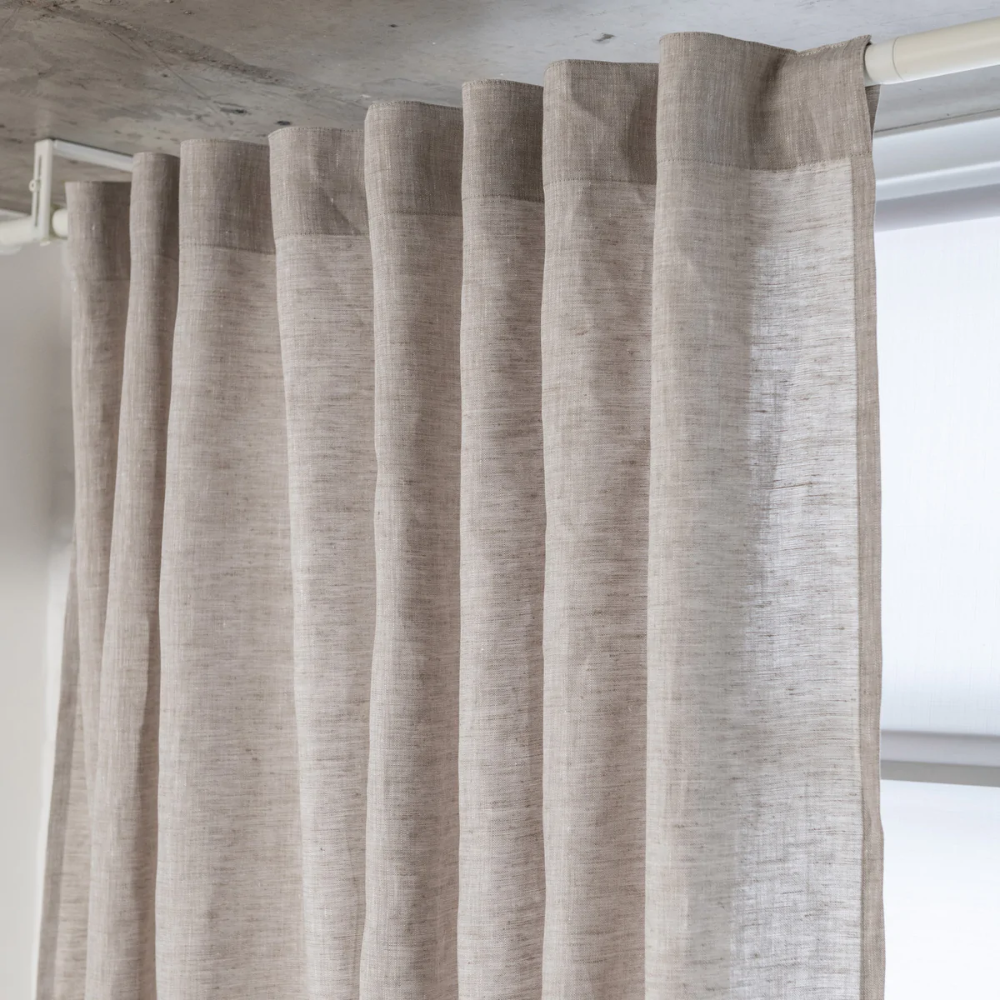
You can see the final result right here! I couldn’t be happier with the results. In our dining room, they hang much like the drapes I bought at a store. The only thing that cost money was the cloth for these panels. As the rooms come together, I’ll be able to show you more of the overall picture.
If you’re wanting to make your own drapery panels with hidden tabs, I hope this helps.
THE PERFECT LENGTH
Oh, and don’t forget about hemming! I’ve discovered that hemming curtain panels after they’ve been hung is one of my favorite parts of the process. It may sound absurd, but by eliminating the need for the rod to be in the exact location required, you can achieve ideal results. After hanging them, I pin them to the floor so that they don’t fall to the ground. Under the panel, I set my ironing board on top of my sewing machine. My hems are always perfectly straight thanks to this method.
Nguồn: http://iatsabbioneta.org
Danh mục: Curtains


