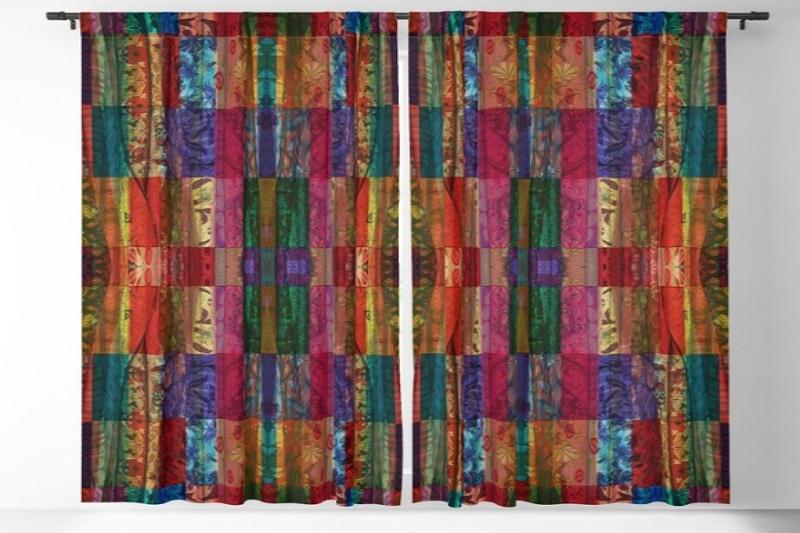
Window treatments like drapes and blinds are crafted from high-quality materials to enhance the aesthetics of your home while also providing you with a sense of security and seclusion. This fabric can be used in a variety of settings, including hospitals, schools, offices, and private residences.
As a result, it’s critical to maintain a consistent aesthetic by using a complementary shade. The focus of this essay on how to manufacture Gypsy curtains will be on individual residences, as that is where the creativity will look best and merge better.
Bạn đang xem: How To Make Gypsy Curtains? Complete Step-by-Step Guide
This formal topic of conversation is easy to make, so let’s start with that. Step-by-step instructions on how to make this style of curtain may be found here.
Easy Steps On How To Make Gypsy Curtains
Before beginning the process of manufacturing gypsy curtains, you should be aware of the following and plan accordingly.
- Ensure that the curtain rod is firm enough to hold up the cloth.
- Get a new piece of cloth
- Measure the length of the window frame where the rod will be installed with a measuring tape.
- As many hooks as you can find.
- If you’re in a hurry or just want a pretty bow on your curtain, a ribbon will do the trick.
You’ve already conquered half the challenge of producing the gypsy curtain by completing the aforementioned steps. Step by step instructions on how to make a gorgeous gypsy curtain to decorate and spruce up your interior apartments are now available.
Step #1: Measure the Length of the Window
Measure the length of the window where you want your gypsy curtain to hang from one portion of the window frame to the other end with your measuring tape.
Give yourself an extra 2-inch on top of what you’ve already earned. So that the curtain rod is a little longer than the window frames, you may tie the materials to the rod comfortably.
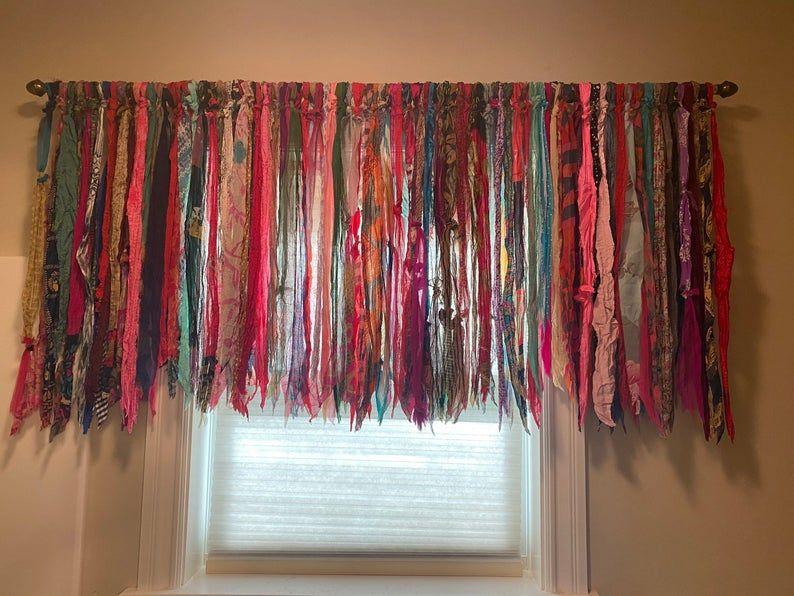
Step #2: Tying the Fabric Into a Pinch
Tying a knot is the most challenging part of making gypsy curtains. It’s best to grab onto one of the fabric’s edges and fold it in half to create a V-shape, which you can then pinch.
A cluster of folded hems can be formed by folding the hem from the right toward the left and pinching it together. It can take on any shape you like, even if it tends to form in a cyclic pattern.
In the event that you don’t want to permanently stitch the pinch, you can instead tie the bunch with ribbon. Using the pinch pleating technique, pinch pleat as much cloth as possible.
Xem thêm : How To Bleach Curtains? Comprehensive Guide
Because a gypsy curtain needs you to tie multiple curtain materials to the curtain rod, you are utilizing a lot of fabric. Fabrics can be used in any shade you like, but it’s ideal if they match the rest of your decor.
Step #3: Hanging the Gypsy Pinch Curtain to the Curtain rod
As previously said, you should select robust curtain rods because the curtain will become heavier as additional cloth is attached to the rod.
The top of this cloth is quite light. Tighten the hook on a thin section of the fabric and use that as your tie. Insert the hook into the pole after tying the fabrics to it.
You should keep in mind that you’ll be using a variety of hooks depending on the materials you’re working with. To prevent snagging or tearing, avoid tying all of your textiles to the same hook.
If you like, the textiles can be tied straight to the pole without the use of a hook. The “how to construct a gypsy curtain” procedure has now been thoroughly defined through the use of the preceding steps. You’ll know exactly what to do if you have a good grasp of it.
How to Tie a Ribbon on Curtains
It’s as easy as ABC to attach a ribbon to drapes. Hold one end of the fabric and pin it in the middle, then hold the other end and link it to the pinned one to form a bunch (pinch pleat).
Tie it around your neck or in any other way you like with your ribbon. Another option is to tie the ribbon around the material/fabric and hold it straight up in the air.
A ribbon in a complementary hue can help you blend in seamlessly with the surrounding environment.
3 Gypsy Chic Canopy & Window Treatment Ideas
A room filled with canopies and draperies has a certain allure. The simplicity of straight lines and solid colors contrasts sharply with the allure and mystique of softer lines, fascinating textures, and an array of colors and patterns. This is the pinnacle of feminine beauty in my opinion. When it comes to beauty, it isn’t easy to comprehend, but rather a source of awe and intrigue.
These unique curtains and canopies will add a touch of intrigue to your living area.
Scarf Curtain Panels
Xem thêm : How To Make Hidden Back Tab Curtains? Comprehensive Guide
Thrifted scarves make excellent curtains or canopies for your bedroom, adding a touch of bohemian chic to your bedroom. This was a lot less expensive than buying cloth at $3 a yard.
I just had to make a second panel because the large leopard scarf fit perfectly in my window. The black border connects these two scarves, despite their disparate patterns. Because they weren’t wide enough on their own, I threw on this gorgeous blue scarf to bring out the deep blue of the fans’ fabric. Matching blue cloth filled in the rest of the blank space. The boho boudoir vibe I’ve described matches wonderfully with the wacky bohemian drapes and the very French fan design.
Rose Canopy
This canopy reminds me of my childhood apartment in my parents’ house. I bought this Ikea rose fabric panel a few years ago and I still enjoy it to this day. Roses are a timeless and beautiful design, and the neutral hues have allowed me to use this piece in a variety of ways for many years to come.
In my new room, the cloth is hung on the wall behind my bed, but I don’t think it will ever compare to the way it was presented in my parents’ previous bedroom. When designing this canopy, I took full advantage of our second floor’s sloping ceilings. To hang, it was attached to the ceiling by a curtain rod that was also attached to the wall.
Fabric Scrap Canopy
It’s enjoyable to put this canopy together because it’s so easy to put together. Create a one-of-a-kind piece of art by combining your favorite fabric scraps! Those who follow me on Instagram may know these fabrics from several of the pillows I’ve showed there. The dark blue pieces come from a vintage sash that I cut off of a dress to use as a sash.
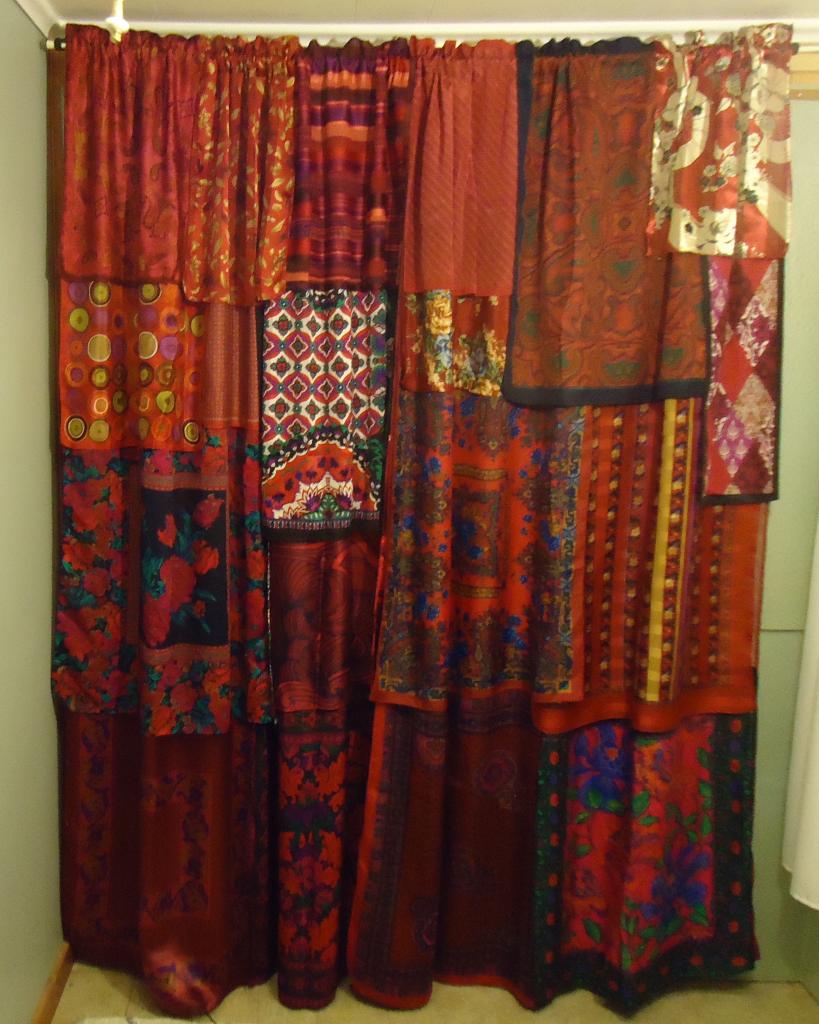
It’s all about blending textures to achieve the “gypsy chic” mood rather than the “cotton patchwork blanket” look. Use a variety of different-sized and textured pieces to create interest. In this collection you’ll find a variety of materials, including silk, velvet, brocade, and cotton.
Make the whole thing patchwork and use smaller pieces for a laid-back vibe. Instead of squares, you might want to experiment with other shapes. Larger pieces and a strip of the same fabric at the top and bottom will add a little more polish. Use a solid-colored cloth for the piece’s backing.
How to make Curtains From old Clothes?
The curtain that results from this procedure is odd since it does not appear well-maintained and polished, which would enhance the overall image. Generally speaking, it is best not to use used clothing to produce curtains.
Where can a Gypsy Curtain be Used?
In most cases, gypsy curtains can only be used in private residences. In order to keep your sense of solitude, you hang grypsy curtains throughout your home, including right next to the pool.
What is the Duration of Making a Gypsy Curtain?
Making a gypsy curtain takes some time. How quickly you can attach the ribbon to the textiles and hang them on the rod, as described in the previous section on “How to make gypsy curtains,” is all that matters.
Conclusion
You must decipher the methods outlined in this article to learn how to make gypsy curtains. Make sure you thoroughly read and understand the instructions before beginning to practice.
Nguồn: https://iatsabbioneta.org
Danh mục: Curtains


