Ironing is something that everyone despises. What is the reason? A lot of people choose to put it off, and it’s one of those tasks. It’s ironing curtains that most folks just can’t stand. In the meantime, here’s why you should iron your drapes!
Curtains that have been ironed have a clean, crisp appearance that may not be immediately apparent. If your curtains aren’t up to snuff, give this method a shot. You might be surprised by the results. When a space looks as polished as a freshly pressed shirt, everyone’s self-esteem soars.
Bạn đang xem: How To Iron Curtains? Comprehensive Guide
Ironing curtains isn’t usually at the top of people’s to-do lists. Consider incorporating it into your spring cleaning or other seasonal cleanups next time you do so. Additionally, if you’ve just bought some curtains, this is a great way to remove the rectangular crinkles that come from the packing.
Ironing your clothes isn’t much more difficult than using an iron, but there are a few major differences. Learn how to correctly iron curtains to save money on dry cleaning!
Different Fabrics While Ironing Curtains
Ironing some drapes is not recommended. The iron indicator should be present on your tags before you begin the ironing process. The iron will have an X over it if it can’t be used. Instead, try heating the fabric instead. ‘
You could destroy the curtains if you don’t follow the fabric’s precise guidelines. We don’t want to take that chance, given the high cost of curtains.
To see if they can be ironed, start with the lowest setting and test on the inner seams. if you are unsure It is also common practice to use the lowest temperature setting when working with fabric mixtures.
Cotton
Iron on the highest setting possible. When ironing cotton, it is better to do so when it is still moist. Before ironing your curtains, you may either wash them and let them dry a bit, or you can pre-moisturize the fabric using a spray bottle. While ironing, you can use steam or fabric spray as you see fit.
Linen
Linen, like other natural fibers, prefers humid conditions, therefore keep the fabric from drying out. Pre-moisten the material. You should iron your linen such that the other side is immediately in contact with the iron. Make use of a lot of heat.
Silk
To iron silk, you should use a medium heat setting on your iron. Like linen, flip the fabric, so you’re ironing the inside panel instead.
Polyester
Make sure you iron the fabric while it’s still wet. Use moderate heat to begin, then medium if you need extra oomph. Moisten as necessary.
Nylon
Nylon may only be used at low temperatures. No steam is necessary. If the fabric has any really stubborn kinks, a spray bottle will work better.
Acrylic
On the other side of the fabric, use low heat and no steam to iron. If spraying is required, do it with a spray bottle.
Acetate
Acrylic is the same as acrylic, except that it should be avoided in the presence of water.
Lace
Using a piece of fabric as a buffer between the curtain and the iron can help keep the delicate lace pattern intact. Using a low heat setting and a moist cloth is the best way to iron lace.
Sheer Curtains
Most sheer curtains don’t need to be ironed, regardless of the fabric. Use a wrinkle release spray first if there are any creases. Try ironing it according to the fabric if that doesn’t work
Understanding Iron Settings Before Ironing Curtains
Take some time to understand the language of your iron before you start right into ironing curtains, so you don’t damage the fabric (or hurt yourself!). You can use a low, medium, or high setting for your iron in accordance with the fabric guidelines stated above.
While every iron is different, the following settings are typical:
- A score of 1-2 is considered to be unsatisfactory.
- A range of 3-5 is considered average.
- 6-7 is a good score.
Xem thêm : How To Make Curtains Out Of Canvas Drop Cloths? Easy Step-by-step Guide
Always begin ironing with the things that require the lowest heat settings if you have several to iron. A hot iron might take a while to cool, and you’d better be careful not to burn your fabric.
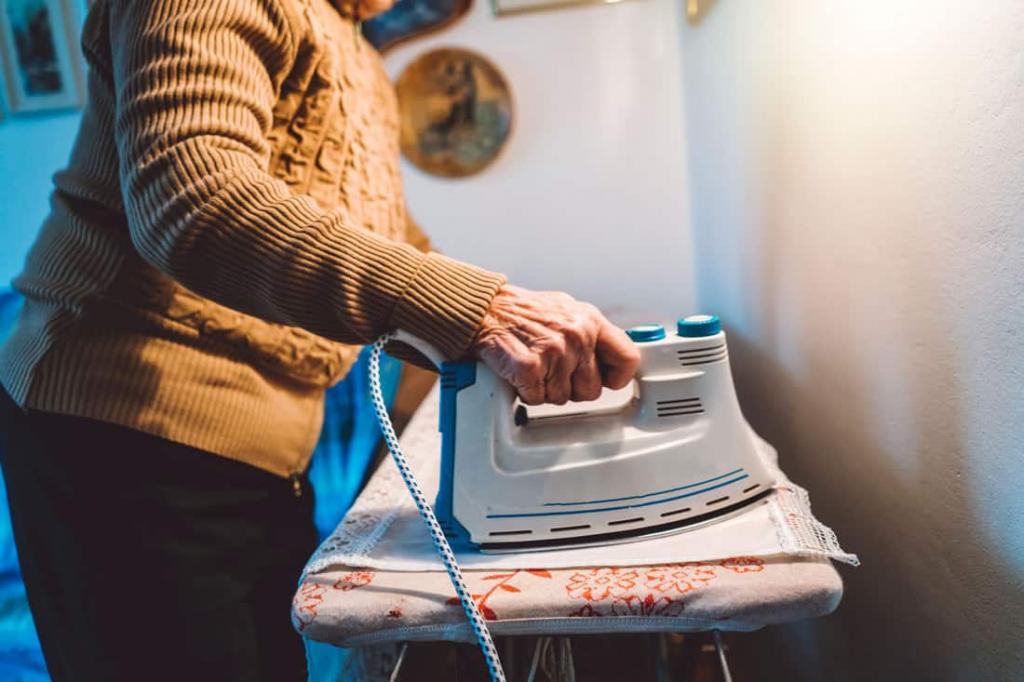
Before you begin, add water to your iron. When you click the steamer button on most irons, steam is released, which aids in the removal of wrinkles.
Use an ironing board if you have one. It is built to withstand the heat of the iron and protect the fabric. In the absence of an ironing board, a table or counter will work just fine. Lay down a thick towel and iron on top of it to protect the surface from heat.
How to Properly Iron Curtains
When it comes to ironing curtains, the process is similar to that of ironing clothing. The size of the fabric and the ability to keep new creases from forming while ironing the other half of the fabric are the main differences. Here is the best method for ironing curtains to keep them wrinkle-free.
- Bring your iron to the window where your drapes are hanging and use it there. The ironing board should be raised as high as it can go.
- Start by removing your curtains from the curtain rod and lining them up on the board. Extend and widen the curtain as much as possible.
- Your iron should be filled with water, and you should set the temperature to match the fabric of your curtains.
- Top half of the curtains should be ironed by pressing down and releasing steam/spraying as needed for the fabric to work.
- Hang them back up on the pole when the top half is finished.
- Using a curtain rod to keep the cloth in place will make it much easier to iron the bottom part of the garment. Keep going along the curtain until you have ironed and wrinkle-free the entire curtain.
Before You Begin
Some varieties of curtains, it’s true, should never be ironed. To ensure that your curtains are ready for ironing or steaming, check the tag at the bottom of them. The label will tell you if your curtains may be ironed or steamed. If you’re unable to iron or steam your curtains, take them to a dry cleaner who can apply a wrinkle release solution to them.
In order to get the most out of your curtains, follow the manufacturer’s guidelines. You risk damaging the fabric if you ignore the warnings in the directions. That being said, a steam iron is usually required for a typical session when it comes to curtains. It is ideal to have a steam iron with a retractable cord, as straightening your curtains on the rod is likely.
How To Iron Curtains
Suppose you’re ironing normal fabric curtains and you want to make sure they’re straight as a pin. And it’s shockingly easy to accomplish, too! What you must do is as follows:
- Call a friend to help you lower the bottoms of the curtains. This will save you time and effort later. To avoid re-wrinkling, keep them on the rod.
- Purchase a steam iron. Fill it with water and allow it to heat up to its lowest steam temperature before shutting it off.
- The curtain should be stretched out as much as possible while still being attached to the pole. You should have your pal tighten the curtain’s bottom hems. Handlers should exercise caution when approaching steam to prevent skin or facial contact.
- Press the steam button, and make sure the iron is able to distribute the steam evenly across the material.
- The iron should be worked from the bottom to the top of the curtains. Apply light pressure to the curtains to iron out creases if there is no foam backing.
- Do the same thing with the next curtain once you’ve finished the first one Take a moment to admire the beautiful drapes you’ve just installed.
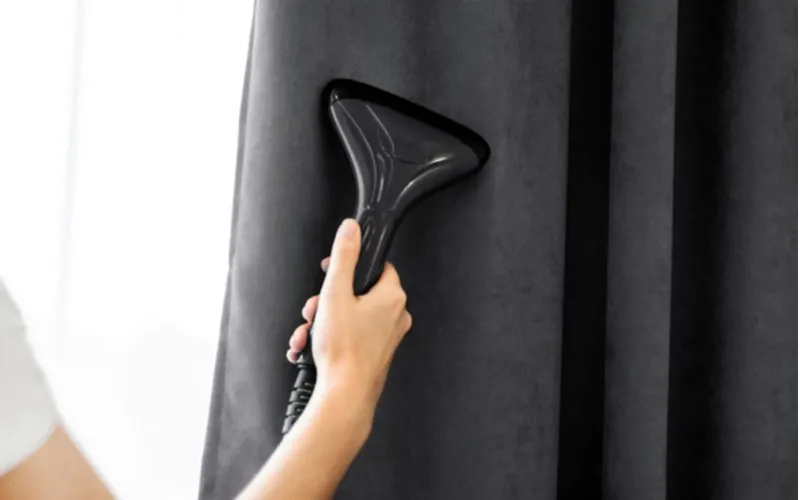
Should You Just Steam Them Or Let Them Hang?
It’s generally not necessary to iron curtains unless they are wrinkled from shipment, causing them to hang incorrectly. If you reside in a more humid climate, your curtains will most likely fall to their perfect hanging position. While curtains are hanging, wrinkle release spray or a hand steamer can also be used to achieve good results.
In the absence of a steam cleaner, wrinkle release can often achieve the same results as a steam cleaner. To avoid wrinkles, you may prefer to hang your curtains. After a month, the wrinkles in the curtains should begin to disappear. You’re worried that your drapes won’t close properly. It’ll be a thing of the past if you learn how to train your curtains.
How Often Should You Iron Your Curtains?
Most of the time, you won’t even have to iron your curtains. Ironing sheer drapes, for example, is a rare occurrence. Ironing curtains, especially if they have apparent creases from being packed and stored, makes sense for most people.
Once every six months or so, it’s a good idea to iron your curtains to keep them looking their best and crisp. In order to get everything done in one day, some people time their pillow and curtain cleaning.
Can You Iron Blackout Fabric?
Everything is subject to change based on the material used. You can use the following procedures to work with blackout fabric that is iron-friendly, which is what several curtain designers are now producing. Although many blackout textiles can be ironed using regular methods, their foam backing may melt.
Here’s how to properly iron a blackout fabric:
- Begin by pulling the drapes one by one from their rods. For the time being, ignore them.
- Wrap an ironing board in aluminum foil and get to work. The foam side of the curtain will be protected by this. The insulation-facing down side of your curtain should be placed on top of the foil.
- Make a curtain sandwich by covering the top of your curtain with a bedsheet. (The sheet is there to keep the top of your curtain safe from snagging.)
- Use the lowest setting on your iron. Use a lot of steam and start from the bottom. The insulated side should not be ironed at this time.
- The curtain should be hung as soon as you finish ironing.
Can You Iron Sheer Curtains?
Unless absolutely necessary, it’s best to avoid ironing sheer curtains. However, if your curtains are iron-friendly, you may just follow the regular ironing instructions on how to do it. Using a wrinkle-release spray or a hand steamer, you can easily straighten sheer curtains.
How Do You Crease Curtains?
There is a lot of labor involved if you want to deliberately add pleats and wrinkles to your curtains. Curtains can be surprisingly defiant when it comes to creases. That’s why getting your curtains to hang properly might be a hassle. Do the following steps to wrinkle your curtains:
- Remove your curtains from their hanger and iron them on the ironing board. ‘
- When folding the curtain, make sure you’re following the desired crease line.
- Make sure that your iron is on the lowest setting.
- Curtains should be gently ironed along the crease numerous times.
- To help stiffen the curtains, spray them with a fabric-safe starch and then go over them one more time.
Once you’ve finished creasing your curtains, re-hang them.
When Should You Bring Your Curtains To A Professional Cleaner?
Curtains can be beautiful, but they often come with a downside: they can’t be ironed or cleaned in the comfort of your own home. Dry cleaning is usually the only option for curtains that advise against ironing, steaming, or washing. If you find this on the label of your curtains, you should take them to the dry cleaners to maintain them looking their best.
Xem thêm : How To Hem Curtains? Tips for Hemming Curtains
Dry cleaning kits designed to be used with a home dryer are available, but they aren’t always intuitive to use. When it comes to the level of clean they provide, many customers have complained that they are faulty or unpredictable. Avoid playing roulette with your curtains and stick with the tried and true..
Conclusion
To iron your curtains, you’ll need to put in some time and effort. You won’t iron your curtains the same way you would your t-shirt or slacks. It may necessitate some additional effort, planning, and unexpected supplies. The time it takes to iron your curtains is time well spent.
You’ll notice that your curtains hang better after you’ve finished ironing them. Additionally, they’ll move more fluidly and, in some cases, appear cleaner. Using an iron to iron your curtains is a great way to ensure that your space appears picture-perfect.
Frequently Asked Questions about Ironing Curtains
When it comes to ironing curtains, I’m frequently asked these questions:
Can blackout curtains be ironed?
Ironing blackout curtains poses the greatest risk of melting the insulation. If the fabric melts on the iron, it will also damage your curtains. Some curtains can now be ironed, while others must still be handled with care. To be safe, always verify the tag.
Cover your ironing board with aluminum foil if you wish to iron blackout drapes. The foam insulation will benefit from this. On top of the foil, lay your curtains so that the insulation side is at the bottom. A bedsheet should be used to cover the top of the curtain. This shields the curtain’s top from damage.
While ironing the curtains, use the lowest heat setting on your iron and a lot of steam. Avoid ironing directly on the insulated side at all costs. The curtains should be hung as soon as they’ve been finished, so that they can cool and not develop any additional wrinkles.
How do you iron hanging curtains?
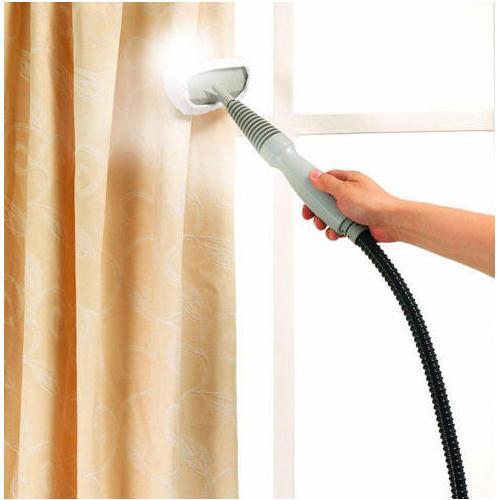
If you can’t or don’t want to take your curtains down, you can iron the bottom half of them while they’re still attached to the curtain rod. This is a great way to get rid of the most common creases at the bottom of your face.
The best way to remove creases from the top of a curtain to the bottom while hanging is with a steamer. It will take longer, but it will be simpler to work with when it comes time to hang the drapes.
Are you supposed to iron curtains?
It’s up to each individual to make their own decisions! Ironing curtains isn’t required, but if you find that they’re growing too wrinkly, you can certainly do so. When it comes to the way they look and even how they hang from the rod, it may make a tremendous impact.
Also, ironing curtains is a great way to get rid of the straight lines from the packaging on new curtains. But this process can take up to a month for most curtains.
The sight of freshly ironed curtains is instantaneous. Your newly decorated living area is now ready to be displayed to friends and family!
How do you unwrinkle curtains without an iron?
Wrinkles can be removed from your curtains even if you don’t have access to an iron. An easy solution for minor creases is a fabric release spray.
If the drapes are still hanging, a low-setting steam iron also helps. To get the same effect without using a steamer, you can use your shower. Set the shower’s temperature to its hottest setting before hanging the curtains. Close the door to the bathroom and check back after five minutes to see if the steam has condensed properly. To get rid of the wrinkles, remove the shower curtain and turn off the water supply.
However, if you don’t have access to a steamer or iron, you may need to take the fabric to a dry cleaner.
Is a steamer better than an iron?
An iron is always superior than a steamer when it comes to getting the job done. In most cases, you will have to remove the curtains if you plan on saving time from ironing by using a hose with a high enough nozzle. Steamers, on the other hand, are more convenient for folks who don’t enjoy ironing because they don’t require as much effort.
Ironing your curtains certainly isn’t one of the most high-priority duties when you’re attempting to clean up your home, if you were to ask. Even if your curtains have been stored for some time, it would be naive to assume that ironing them will have no effect. With a little investigation, we were able to uncover the best way to iron curtains.
Wrinkle-free hanging curtains can be achieved by spraying a fabric wrinkle release spray on them. Using a steam iron on a low setting on the wrinkled areas of the curtains while they are hanging is the best way to iron them if you so desire. A cloth should be laid over a flat ironing board and a higher setting should be used to steam iron curtains that require more intense ironing.
A simple task like ironing curtains may have a big impact on the décor of your space, but only if you get it right. Ironing curtains incorrectly might cause damage to the fabric. Let’s get started with ironing!
Nguồn: https://iatsabbioneta.org
Danh mục: Curtains


