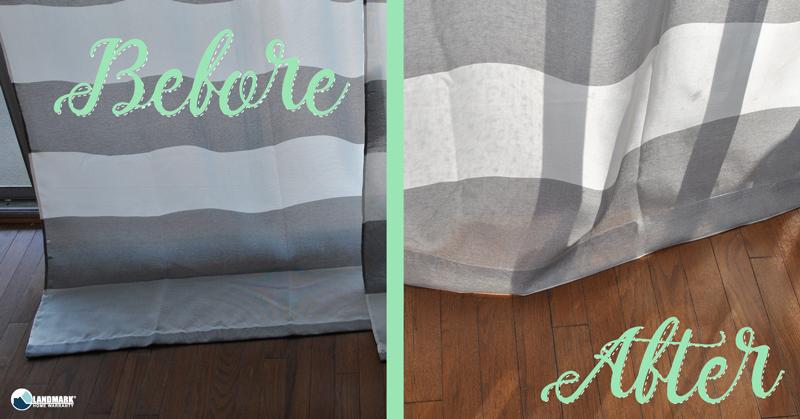
Despite your best efforts, you can’t hang the drapes you’ve chosen since they are simply too lengthy. In order to shorten the draperies, you’ll need to acquire a sewing machine or learn how to sew. It’s not necessary to have them professionally altered as there are inexpensive, no-sew hemming options that you can do yourself. You can use fabric glue or iron-on fusible tape to shorten your draperies. It’s easy to perform, requires few equipment and supplies, and doesn’t take more than an hour for each choice.
Iron-On Fusible Tape
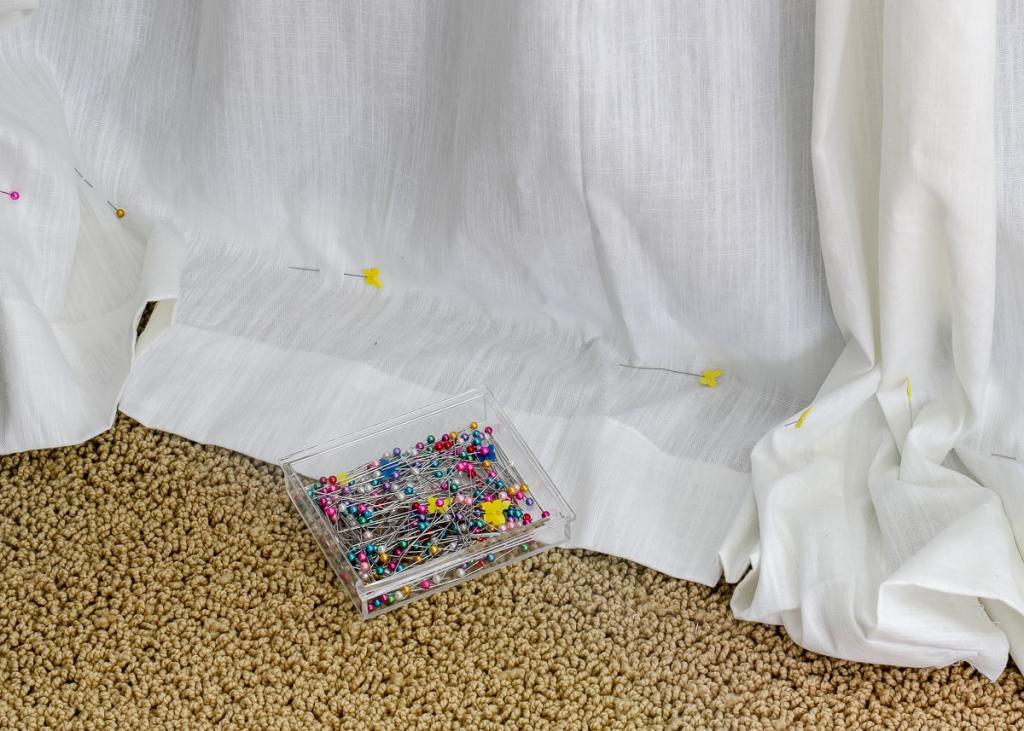
Tape a line down the pinned-up side of the panel with your tape measure. Calculate the total amount of folded material you’ve used. Pin every two to three inches along the bottom of the panel with this measurement. To get to the other side of the panel, measure and pin. Repeat this process for each of the panels.
Bạn đang xem: How To Shorten Curtains? Complete Step-by-Step Guide
Hot iron the panel’s bottom edge to give a clean finish. Cut a piece of iron-on fusible hem tape to fit the panel’s width.
Take out the pins. Place the paper-side-up tape strip on the panel and place it under the folded hem’s top edge. The tape should be sandwiched between the panel and the folded hem.
Set your iron to medium-high heat. Make sure that the hem flap is open so you can run the iron along the tape. Small chunks of two to three seconds each should be ironed at a time. Continue all the way across the panel. Make sure you do this for all the panels.
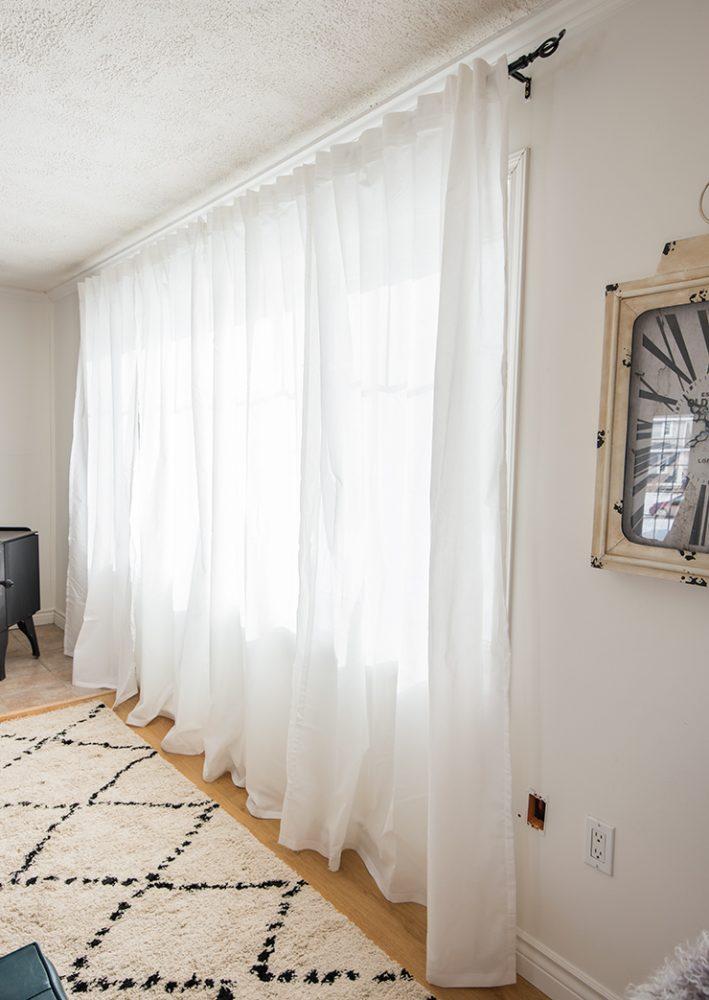
Set the panels aside and allow them to cool completely. The paper side of the tape should be carefully peeled away. Apply tape to the hem of the sleeve. The first area of fabric should be pressed for 10 to 12 seconds before moving on to the next. Allow the panels to cool completely. The drapes should be hung again.
Fabric Glue
To cool down the panels, place them in a safe place. Remove the paper side of the tape with care. The hem flap should be folded back onto the tape. Set your timer for 10 to 12 seconds on each part of the fabric before moving on. Ensure that the panels have cooled down completely before moving on. Hang the draperies back up.
Each panel’s folded edge should be ironed to achieve a clean, crisp edge. Remove the pins and allow the fabric to cool completely before pressing.
Keep one side of the hem flap slightly raised and away from the panel. Closely adjacent to where the hem flap’s top, underneath side meets the panel, apply a 3-inch bead of adhesive to the cloth. Glue the hem flap to the fabric and hold it there for 10 to 15 seconds.
In a similar fashion, glue the next 3-inch part. Continue all the way across the panel. Re-hang the drapes after you’ve finished all the panels.
Things You Will Need
- Pins
- Measurement with a tape
- Iron
- Scissors
- Fusible tape that can be ironed on
- Stitching tack
Tip
Using a heavy-duty fusible tape for curtains made of thick cloth will ensure a strong hold.
Remove any sizing or fabric finishing products from the fabric before applying glue. As a result, there is a stronger connection.
Work in a place with good ventilation.
Because fabric glue dries quickly, glue a small section and then move on to the next.
Warning
Xem thêm : How To Make Bamboo Curtains? Step-By-Step Guide
When using fabric adhesive, start with a tiny portion and work your way up.
Shortening Standard Pencil-Pleat Curtains
Shortening curtains can appear to be more difficult than it actually is at first glance. When it comes to pencil-pleat curtains that are lined, this is especially true. When it comes to pencil-pleat curtains, it doesn’t matter if you’re shortening lined or unlined curtains. How did you figure that out..? You must be asking a lot of questions, since I understand what you mean.
Some would call it a trade secret, but I just see it as a reasonable strategy for getting the job done quickly and efficiently. What are you waiting for…?
Reduce the length of curtains with pencil-pleat header tape by starting at the top and working your way down.
Finally, the big reveal. Don’t worry, I’ll go into greater depth to clear things up.
HOW TO SHORTEN CURTAINS STEP BY STEP:
You’ll want to have these things on hand:
- Calibration Tool
- Step-ladder
- A Pencil or a Pen
- Paper
- Scissors
- Unpicker
- Pins
- Also, a sewing machine might come in handy.
First, we need to know how long it will take.
Hanging one of the curtains without gathering is an option, and it’s one that we’d recommend trying first. Pin the edge where you’d like them to end up when you’ve made your choice. Don’t use a marker or a pen instead of a pin; this is a no-no. Get some pins if you don’t already have any; you’ll need them later.
As soon as you’ve inserted the pin, you’re ready to remove the curtain and set it flat. The pin should be used as a reference point when determining the length of the curtain. Remove the pin after you’ve taken your measurement, write it down, and checked it one more time.
It’s possible that this method is more efficient, but it may not be as precise. Use a step ladder or someone who is at least six feet tall with long arms to complete steps 3 and 4 of our How to Measure for Window Treatments tutorial.
Step 2: Pin and Fold
Measure the curtain again, but this time from the bottom to the top, folding it in half lengthwise. Put a pin in the edge where we recorded the measurement.
Make sure the bottom corners of the curtain are aligned and there are no lumps or wrinkles on the edges. Put a pin in the other side of the measurement and double-check it.
Lay the curtain face down on a level surface and fold it in half. In order to see the header tape, we need to look at the back of the curtain fabric or lining fabric. When you fold the top down to the pins, be sure that the fold is level. Folding the curtain in this manner allows us to see the face fabric at the top.
Xem thêm : How To Hang Curtains Over Vertical Blinds? Comprehensive Guide
When a customer has asked me to shorten a curtain, I’ve come across drapes that are longer on one side than the other throughout my many years of experience. When you reduce the length of your curtains, you may encounter issues.
That being said, it is possible that the degree of fold down on one edge may differ from the other. Those are the steps we’re going to take…
Calculate how much each edge has been folded down.
- Yes..! – Check to see if we’ve folded down the same amount of material along the fold as we did at the beginning.
- No..! – Instead of starting at the bottom of the curtain and working your way up, measure from the bottom to the fold. To make sure you have the correct amount of folds, do this first.
As we proceed down the fold, we’ll be pinning the curtain layers together.
To move the header tape, go to Step 3.
I’m sorry, but now comes the tedious part. Remove all the old thread from the edges of your header tape.
Is that all? A big thumbs up!… You can see why I claimed it was monotonous.
Right, remove the pin from the corner of the curtain and use it to secure the first end of our header tape to the other corner. You can now begin to tighten the curtain fabric and header tape by pulling them together as you go. Remove and replace each pin as you go down the fold to attach the header tape.
What are you doing here? Stitch the upper edge of the header tape before we use it. The scissors can be used to cut the threads at the ends, so go ahead and do it.
Unfold the top of the curtain and cut along the header tape to remove the excess curtain fabric. It’s best to avoid the strings, as snipping them will make it impossible to gather the curtain when it’s done.
Using a snipper, cut the excess thread that is hanging over the bottom of the header tape. One shortened curtain, TADDA!
In light of this information, I’ll let you go ahead and finish the other one. You’re allowed to go back to Step 2 this time (we know what the finished length needs to be now).
Conclusion
“How to shorten curtains?” will be the last of our articles today; I’ll offer you one more reminder prior.
Remind yourself that even if you don’t know how to accomplish something, you can still give it a go nonetheless.
Explore and have fun with what you find. You shouldn’t be scared to give it a shot!
Nguồn: https://iatsabbioneta.org
Danh mục: Curtains


