When decorating a rustic environment, burlap is one of the best and easiest materials to use. With a few curtain pins, some brown thread, and a few other simple sewing supplies at hand, you can make a few burlap panels. To make a gorgeous and natural burlap curtain, all you need is some stitching here and there. With the help of this guide, you’ll learn how to make burlap curtain panels.
Learning how to sew burlap curtains may seem daunting at first, especially if you have no prior experience with sewing. Fortunately, we also have a few clever tips for constructing burlap curtains without sewing. Instead of a needle and thread, you’ll need a package of Stitch Witchery. For the time being, however, we’ll stick with stitching.
Bạn đang xem: How To Make Burlap Curtains? Step-By-Step Process
Step 1: Prepare your fabric
Water in your flat iron will produce steam. With a clean spray bottle filled with water and a standard iron, you’ll be able to get the job done. While steaming your burlap isn’t strictly necessary, it will make the rest of the process go much more smoothly.
Make a note of the amount of panels you’ll require after you’ve taken your measurements. Don’t forget to add additional inches to the hem on all sides when precutting your fabric to accommodate your panel measurements. Panels can be made as long or short as you desire, depending on the length of your curtains.
Step 2: Sewing
One fold each for the bottom and top hems Pin it in place with a pin. Lightly press the burlap with a press. To avoid burning the fabric, be careful not to overheat it. The hems should be sprayed with water before being softly pressed. Sewing will be much simpler because to the creases.
Do a wider and longer zigzag stitch on your sewing machine with your needle and thread. Before you begin sewing, you will need to modify your sewing machine’s settings. Practice your stitches on some extra burlap if you have it.
Use brown thread and the correct needle to sew along the burlap’s top and bottom hem.
No-Sew Alternative
If you’re not familiar with stitching and sewing machines, we also have a great solution for you. Make sure the cloth is prepared, pinned, and ironed according to the manufacturer’s instructions. Stitch witchery and scissors should be used instead of a needle and thread.
Stitch witchery should be placed in the same location as a standard hem. There are two sections of the fold where that should go. Make sure there is no excess stitching peeking out of the burlap fabric. It is time to finish ironing all three hems where the stitch witchery was applied.
Step 3: Hanging the curtains
Xem thêm : How To Hang Swag Curtains? Step-By-Step Guide
There should be no problem hanging a rod-pocket burlap curtain over a standard-sized window. However, other curtain hardware, such as clip rings, grommets, and back tabs, can be used as an alternative.
The clip rings are perhaps the simplest curtain hardware to use. Attach the clip to the curtain’s top edge, slide the ring onto the rod, and make any necessary adjustments. The top hem of the curtain should have a ten-inch pocket sewed into it for rod pocket style curtains.
Once your burlap curtains are installed, they should be ready to use. Put it on the pre-installed brackets and attach it to the rod. Make any necessary alterations to your drapes to ensure that they hang properly and offer the ideal backdrop for your window.
Curtain Hardware
There are a variety of curtain hardware options to pick from, as we said previously. While all of them will aid you in properly hanging your curtains, some tend to seem more attractive than others. Its beauty, however, is a matter of personal opinion and is dependent only on what you think is beautiful.
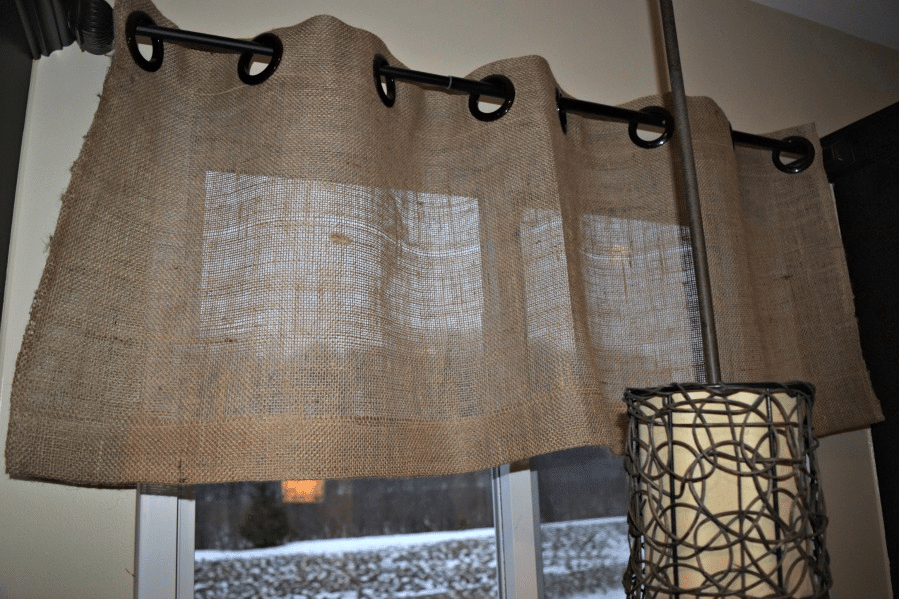
Using grommets to make a burlap curtain that seems like it was purchased at a store is an option. For a more rustic style, you might experiment with different colored drapery hooks and clip rings. You can also use the simplest way, which is to make a burlap curtain with a rod-pocket.
Add a few extra decorations like fairy lights or window treatments like curtain valances and the like to make your home feel more festive. Using grosgrain ribbons and other drapery ornaments, secure it in place.
One Afternoon Project: Easy DIY Burlap Curtains
Adding burlap curtains to your decor is a great way to personalize your space without breaking the bank. It was a breeze to make these curtains. Seriously. Use the entire bolt’s width instead of cutting hems on the short sides. This summer, I opted to utilize half the bolt’s width per panel, which resulted in panels that were around 30 inches broad. The full bolt width (60′′) might be used if you have a tight deadline and prefer the panel fullness. They’d look much fuller and do a better job of filling the space.
There may be affiliate links in this content.) There is a possibility that I will get compensated if you make a purchase after clicking over from my blog. You can learn more about this on my disclaimer page.)
Supplies Needed for Making Burlap Curtains (* aff. link)
- Fabric made of burlap
- Scissors for cutting fabric
- Nooses and Bolts (Optional)
- The Straight Pins*
![]() Thread in a Natural Brown Color
Thread in a Natural Brown Color
The Math:
Xem thêm : How Many Yards Of Fabric To Make Curtains? A Must Read!
When calculating the panel’s finished length, subtract 4 inches for the bottom hem and another 4 inches for the top hem. What I love most about sewing my own burlap curtains is that I get to decide exactly what length each panel should be and how much extra length I want added to the bottom. These panels are nine feet long in our case. In a big box store, I would never have discovered nine-foot panels, much less in burlap.
The Sewing:
There wasn’t a strong burlap smell in this room, which was a relief. The scent was gone in less than a day. Sewing on burlap can be a challenge. Make sure you’re using the right needle for your sewing machine by consulting the instruction manual. A zigzag stitch with a larger and longer stitch length worked best for me. Find the ideal stitch for your bolt by experimenting with burlap scraps. Fold both the bottom and the top hems of your pants in the same direction. There was no need to fold the burlap twice on the bottom because it was strong enough. Press the hems with a light hand. Burlap can catch fire if you use too much of it. Use a matching thread to sew the hems. To eliminate any gaps at the bottom, I sewed the hem on all three sides. Sew across the top of the garment. Instead of adding grommets, you now have a pocket for your drapery rod. Find out how to use grommets in this tutorial.
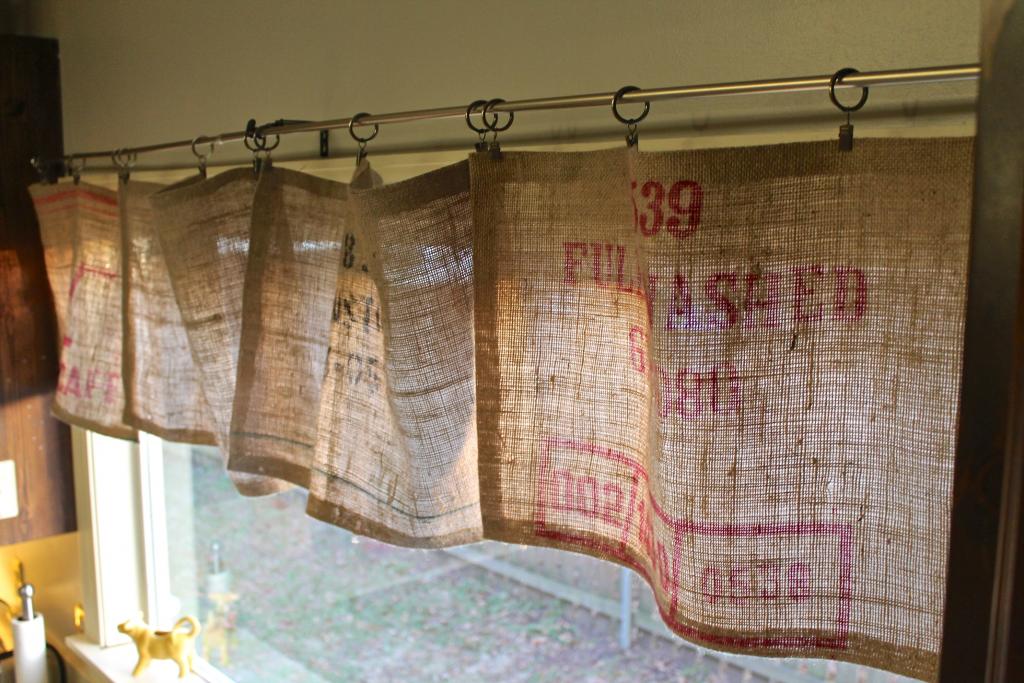
A valance hanging above my kitchen sink was made from the leftover burlap. I fashioned a 15-inch-long valance out of the extra cloth to help keep the afternoon sun from entering the kitchen. In the same manner as the curtains, I inserted grommets at the top of the fabric.
Have you ever attempted to sew with burlap before? Which of your past endeavors has been your personal favorite?

Why Burlap?
Burlap is an extremely adaptable textile that may be used in formal or informal living room designs. In addition, many interior designers are embracing the rustic look in their projects, and if you think it would cost you the earth, think again. Burlap is surprisingly inexpensive.
The light is softly filtered by the open weave fabric. Keeping your home private while still letting in enough light is made possible by the use of skylights. It has a distinctive and homey appearance because of its rich texture.
Because burlap is an eco-friendly cloth, it’s ideal for country kitchen windows. Manufacturers repurpose feed, grain, and coffee sacks into burlap cloth. To put it another way, making your own burlap curtains to decorate your home is better for the earth than buying synthetic ones from the store.
DIY Burlap Curtains: An Afternoon Project
Burlap Curtains: A Beautiful Way to Make Them
Nguồn: https://iatsabbioneta.org
Danh mục: Curtains


