We’ll show you how to reupholster a pillow to give your house a fresh new look in this article.
Just by changing the fabric and stuffing of your old pillows, you may construct and produce a new-looking pillow.
Bạn đang xem: How To Reupholster A Pillow? Step-by-Step Tutorial
Do you want to give your living room a fresh look by changing the pillows on your couch?
Reupholstering worn-out pillows could be a fun and frugal weekend project.
By now, I’m guessing you’re curious. To that end, let us now begin!
10 Steps To Reupholster A Pillow
These are the simple procedures for reupholstering a pillow so that you can take your theme to a new height.
Step #1. Ready all your materials
Here are the materials you’ll need to do the upholstering:
A pillow that has to be reupholstered, a new fabric, scissors, paper and a marker for drawing, a sewing machine, and threads, measuring tape, and a few sewing pins are required.
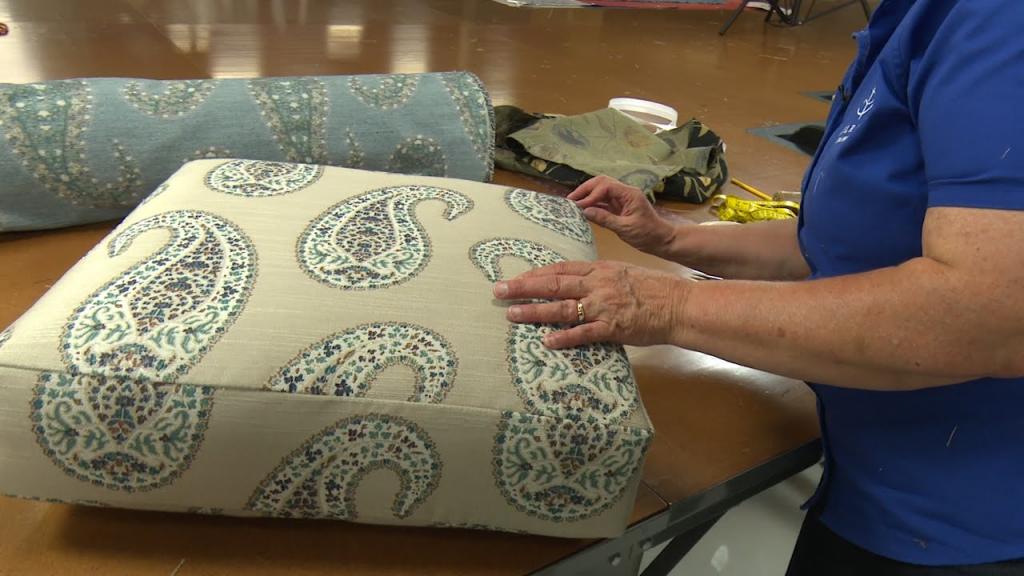
Step #2. Trace the pillow
Grab a piece of paper and a marker, and make a trace of the original pillow’s dimensions.
Add a half-inch seam allowance to the whole perimeter.
Here you will sew your reupholstering pillow, so make sure you leave enough of room for the seam allowance.
Step #3. Cut the pattern
Cut out the pillow shape after you’ve finished tracing it.
Step #4. Open the old pillow
For an old pillow, you can open it by cutting through the threads on one side of it.
Using the opening, remove the stuffing from the pillow’s interior, and you can repurpose the old pillow’s fabric for your next craft project.”
Step #5. Cut the new fabric
Use sewing pins to connect the paper pattern to the new cloth you’ll be covering.
Cut the fabric using the paper pattern as a guideline.. Place two pieces of material on top of each other to speed up the process.
Step #6. Sew the sides
Xem thêm : How To Fix A Lumpy Pillow? Troubleshooting and Repair Guide
Sew only the three pillow sides, with the right sides facing each other, with a 12 inch seam allowance, either with a sewing machine or with thread and needle.
Make sure that the thread color of your pillow matches the color of the cloth.
Step #7. Sew the remaining side
Sew the remaining open side of the cushion in the half-inch seam allowance, but don’t close it yet.
Allow at least four inches of space.
Step #8. Pull the right side out
Take care to remove the pillow’s right side by carefully pulling it through the 4-inch-long unsewn gap.
Step #9. Stuffing
Make sure the 4 inch opening in your new pillow cover is big enough to insert the old pillow stuffing.
You can also use cotton or synthetic stuffing, or foam balls, to fill the pillow.
To ensure that the pillow is well stuffed, use a tool to help you do so.
Make sure that the corners are well-filled.
Step #10. Final binding
Close the pillow’s remaining open end with thread and a needle.
Make a knot in the thread and trim any extras.
3 Ways To Upholster A Pillow Cover
You can finish the look of your pillows by using these methods.
For any type of sewed cushion project, the slip-stitched cover, wrapped back, and zippered closing are all the ideal possibilities.
#1. Slip-stitched pillow cover
Because the slip-stitched pillow cover is permanently closed, the cover has an almost imperceptible seam.
Pillow forms that can’t be cleaned will work best with this cover.
Slip-stitched pillow covers are typically composed of a delicate silk fabric.
#2. Envelope-backed pillow cover
An enclosed pillow cover is much like making a regular envelope in terms of how it is made.
This is a basic procedure that involves overlapping a long rectangular pillow fabric towards the back to form the closure.
#3. Zippered pillow cover
Xem thêm : How To Make Feather Pillow? Step by Step Instructions
You can remove the inner stuffing, wash the outer fabric, or even buy a new pillow cover if it has a zipper.
A zipper the same length as the opening of your pillow can be used if you think it’s a good idea to add one to your pillows.
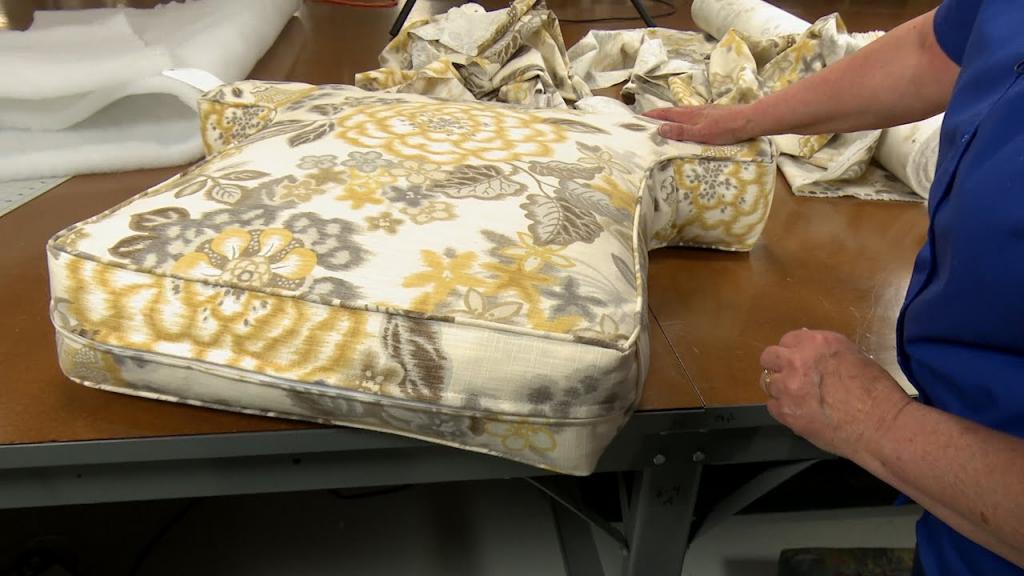
How to Reupholster a Zippered Cushion
Choosing to reupholster a cushion with new fabric gives you many more options in terms of colors, patterns and textures than you could ever find in stores. Anyone with basic sewing skills may easily repair a zippered cushion. Because the new cushion cover may be readily removed for laundering or changing the cover, it is advantageous to preserve the zipper closure.
In terms of color, pattern, and texture, you’ll have a wide range of alternatives to choose from when you reupholster a cushion. Anyone with basic sewing skills can successfully repair a zippered cushion. In order to remove the new cover for laundering or changing the cover, the zipper should be retained.
With an iron, heat up the old pieces of fabric. Using a ruler and a pencil, trace the outline of each piece of cloth onto a sheet of paper. When making paper patterns, keep in mind that the shape of your old cushions may have changed over time, so you may need to make minor alterations. Make a note of the name of the pattern piece on the paper shapes, such as “front” or “back right.” Depending on the type of cushion you’re reupholstering, the shapes will vary.
Place the paper pattern pieces on your new fabric and cut them out. Mark the cloth with the name of the pattern piece and trace around the shapes with a fabric marker or chalk. Cut out the cloth pieces.
In order to make a sleeve, sew the back left piece of fabric to the back right piece of fabric. The top and bottom stops of the zipper should be equally spaced from the top and bottom of the fabric pieces when placed along the right-side of the fabric pieces. Use a marker or chalk to mark the fabric at the top and bottom stops. Pin the fabric pieces together along the right-hand edge.
Make a new cushion cover by sewing the right-hand side of the two pieces of fabric together, leaving the seam allowance you established for the previous cushion cover. The bottom of the zipper should be sewn up to the mark marking the zipper’s bottom stop. Continue sewing (machine basting) up to the point where the zipper’s top stop is marked, and then stop. Sew up to the top of the fabric pieces with the stitch length set to its previous value. Your iron can be used to open the seam.
Zip up the bag. The coil should be in line with the stitching and the top and bottom stops should be aligned with the fabric’s markings. The right side of the zipper should be pinned to the right seam allowance. Stitch the zipper’s side to the seam allowance with a sewing machine. Zip up the hoodie. Use pins and machine basting to attach the left side of the zipper allowance to the garment in the same way the right side is.
Make sure that the zipper is on the other side of the cushion, so that you can see it. Using chalk or a marker, mark the zipper’s top and bottom points on the fabric. From the top mark to the bottom mark, topstitch at a 1/4-inch distance from the middle of the seam on both sides. To uncover the zipper, use embroidery scissors or a seam ripper to carefully unpick the machine-basted portion of the seam between the two marks.
Recreate the original cushion cover’s stitching method by pinning and sewing the back cushion piece to the remaining fabric pieces. Stuff the new cushion cover with the cushion form or stuffing and close the zipper.
Conclusion
Readers, that’s all you need to know.
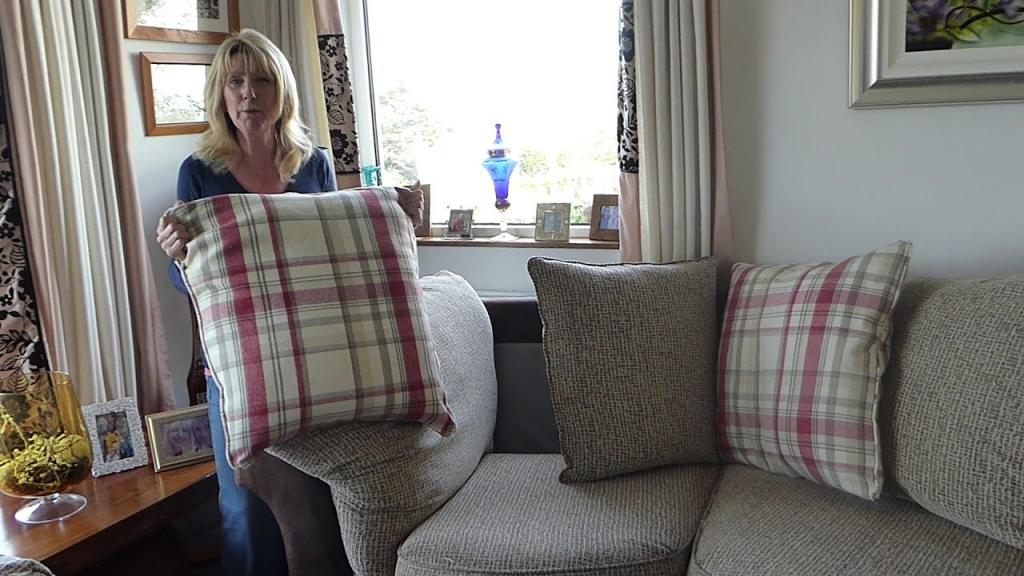
If you’re looking to add some color and pattern into your house, pillows are an excellent option.
Pillows are like a precious gem in a room since they are the room’s jewelry. Your personal style and personality are reflected in the colors you choose.
You’re making every visitor feel more welcome and at ease.
Make your house your own by learning how to quickly and easily transform an old cushion into a brand-new one.
You don’t have to invest a lot of time or money to accomplish this. And you can choose and design your own pattern to fit in with the rest of your home’s style.
Nguồn: https://iatsabbioneta.org
Danh mục: Pillow


