When you learn how to build camper curtains, you’ll be able to give your campervans a more private and cozy feel. Fortunately, making them isn’t that difficult. In just a few simple steps, you can improve your campervan’s insulation, privacy, and aesthetic.
With a sewing machine and a drill, you can speed up the procedure. Do not be alarmed if you lack these resources; there are excellent and effective alternatives available to you. In terms of money, it’s a good deal.
Bạn đang xem: How To Make Camper Curtains? Easy Step-by-step Guide
Inevitably, you’ll need at least some sewing skills and familiarity with sewing machines. Because the instructions for this DIY project are straightforward, you shouldn’t be intimidated by sewing.
Do I need campervan curtains?
Maybe you’re not sure if installing curtains to your campervan is worth the trouble. They are really essential in my opinion! They make a place feel more cozy and private, and they also add extra warmth. Moreover, the process of making them isn’t all that time-consuming.

As far as insulation is concerned, if you’re planning on skipping it, cushioning the curtains is an excellent option. Particularly if you intend to drive the van in the winter. The fact that I omitted this step, though, is something to think about.
What you will need
With a drill and a sewing machine, you can easily make your own campervan curtains. However, if you don’t have one of these, the process will be more time consuming.
Do I need to have a sewing machine?
No, but it will expedite things. Using a needle and thread, you may sew your own curtains. To learn how to thread a needle, follow the instructions in this WikiHow article! To learn how to hand-sew, check out this video by With Wendy!
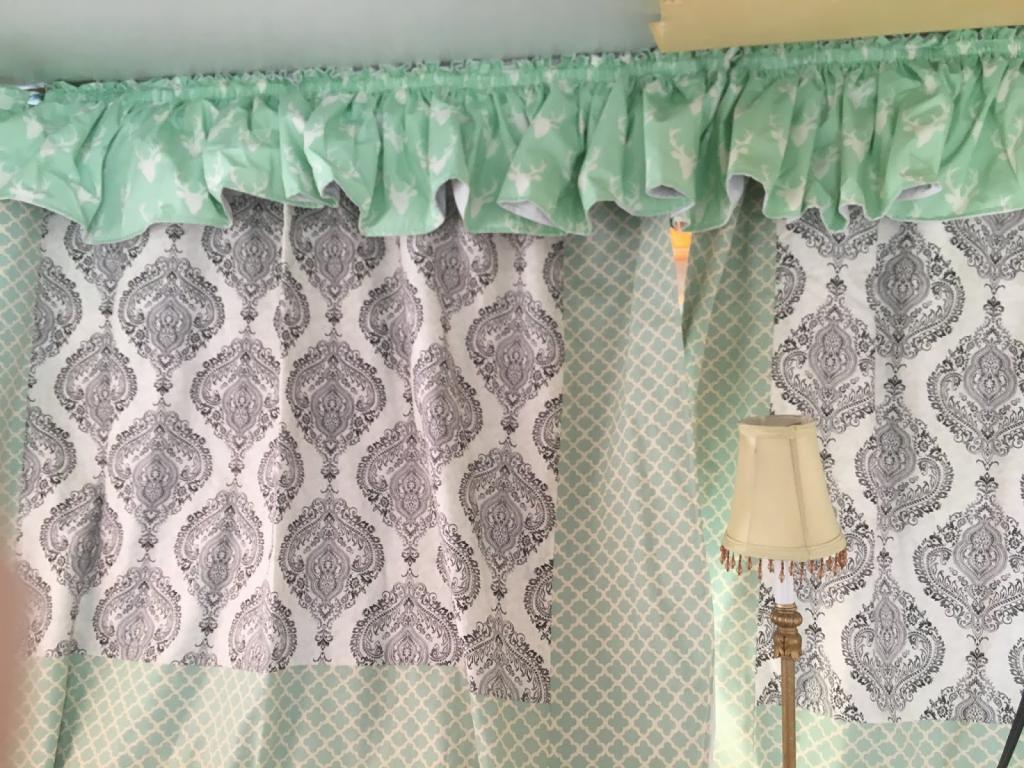
Curtain material
The most crucial part of your campervan curtain construction is this one!
It’s up to you how much money you want to spend on the material for your van curtains. I went to my local curtain shop and found enough material in their discount bin to meet my requirements. Using an existing blanket or even a towel can be a nice alternative. Or, if you prefer, an old duvet. However, you can get a variety of different fabrics for as low as $10 at various fabric stores!
Or you can pick the material you actually like from sewing stores. Costs may rise as a result. There’s a wide range of price points for most fabrics.
Also, if you want to keep the light out of your camper, a heavy blackout curtain fabric is ideal.
Curtain cord
In terms of DIY camper curtains, wire and clips are the most cost-effective solution. Below is a picture. Alternatively known as curtain rods.
Xem thêm : How To Install Curtains Without Screws? Step-By-Step Process
For less than $5 a meter, you can find this at most sewing and curtain stores. My estimate is that I got about 4-5m for less than $20. Make sure you buy more curtain cord than you think you’ll need and don’t forget to obtain the clips to attach them to the screws in your van!
Tape measure
This is essential for cutting and shaping your cloth, as well as determining how much space you have in your campervan for curtains.
Drill and drill pieces
Although it isn’t strictly necessary, it will certainly make things go more smoothly! Your curtain rope will need to be connected to something in your van, and a drill comes in handy here! There are many ways to get the job done if you don’t have a drill and drill bit. You’ll see in the next few steps how and why I’ll be utilizing this).

Screws
These can be used to connect the curtain cable in your van. Any size screw will do, but I recommend obtaining at least 8 of them!
Sewing machine
Even though it isn’t a must, doing so will expedite things. Using a needle and thread instead of a sewing machine is an option if you don’t have one.
Thread
For sewing machines and needles! This may vary depending on your cloth, but I recommend using black and white thread as a general rule of thumb because it’s inexpensive and easy to find at $2 stores.
Other items
- Scissors
- Velcro is a type of fastener (if you want to connect two curtains together or stabilise them in the campervan)
- There is no sewing machine without needle and thread, so be sure to have some on hand!
- Sewing pins keep your stitching in place.
How to make DIY camper curtains
Step 1:
Measure the length and width of your campervan windows before beginning to build the DIY camper curtains.
This means you’ll need to figure out where you want them to go first. Small ones to cover the windows? Do you want them all around the vehicle? What you and your van decide is up to you.
For inspiration, I used four curtains, two for the side windows and two drop-down curtains for the front and back of the van.
Make a note of your measurements in case you need them later.
Step 2:
You need to drill holes in the campervan for your curtain cable to be plugged into. The number of these will depend on where the wire is going to be positioned. As an illustration, I used five screws in my van. Outside behind the driver’s and passenger’s seats, with screws connecting each of them to a back kitchen of a van (I have a random shelf in between the perfect square so I had to include 5 screws instead of 4).
Drilling into the metal is the only way to accomplish this. Because the perforations are so little and serve a purpose, I was apprehensive about this. As soon as you’re done drilling, insert the screw into your drilled hole and use your drill to drive it into the metal. Check to see if the screw has a lip like shown in the picture below.
A hammer and nail can be used in place of a drill to pierce the metal of the vehicle, and then a screwdriver can be used to insert the screw.
Step 3:
Xem thêm : How To Block Light From Windows Without Curtains? Ultimate Guide
Set the curtain cord in place after measuring it. Insert a hook into the curtain cord to do this. Make sure that your screw is already attached to the van by securing it with the hook. Get rid of any slack by squeezing the cable and pulling it toward your screw on the opposite side of where you want the curtain. A screw should be screwed into the curtain cord on one side, and then you can clip the line in place!
Step 4:
Repeat the procedures above three times or as many times as you need to hang curtain lines!
Step 5:
Cut the required width and length from your material using the dimensions you took earlier. Your curtains should be hemmed with enough of room for both hems and the curtain cord to slide through.
Step 6:
It’s time to start stitching! Having a sewing machine will make making campervan curtains a lot easier. If that’s the case, it could take a while! Pin where you wish to stitch to use as a reference point as you sew. You can begin stitching once the pins are in place for direction. You don’t need to hem your fabric, but I encourage it to prevent it from fraying.
Step 7:
Fitting the van’s curtains is now a simple matter! You’ll be able to attach the curtains to your van in no time if you slip the curtain cord through the opening at the top of the material.
Nevertheless, here are some safety-improving suggestions for your drapes:
You can use velcro dots to attach your van’s curtains to it. They won’t be blown about aimlessly this way.
Curtains should be tied back with a cord as well, in my opinion. This was accomplished by simply cutting a strip from some leftover curtain material. There is no difference between ribbon and rope!
Step-by-step instructions on how to make your own camper curtains are provided in this article. Please do not hesitate to contact me if you have any concerns or questions concerning the procedure. Creating curtains in a van is just one of many ways you may customize your vehicle.
We used to push our windshield up to increase the blackout effect, and it was especially helpful because our front-curtain rails had a gap between them and the ceiling of the van.
Tips
Your campervan curtains can be made from a variety of materials. To enhance both privacy and energy efficiency, consider installing a dark-blocking curtain. You can also secure both ends of the curtain with another set of curtain cords at the bottom. Rod pockets at the top and bottom of the curtain fabric are required for this.
To keep the curtain in place while you’re on the road, attach a piece of velcro to the sides. In order to let in natural light, you can use a small rope to hold or tie them together.
Making camper curtains is very similar to learning how to create ordinary curtains. Simply alter the cloth size to fit your smaller rooms.. You can save money by making your own camper curtains rather than getting more expensive insulated ones.
Nguồn: https://iatsabbioneta.org
Danh mục: Curtains


