Lack of knowledge on how to knit a border for a completed blanket is frustrating.
- How To Crochet A Simple Blanket? Complete Guide for Beginners
- How To Personalize A Fleece Blanket? Easy Step-by-step Guide
- How Big Is A 30×40 Blanket? Comprehensive Guide
- How To Make A Wool Blanket? Complete Step-by-Step Guide
- How To Make A Weighted Blanket With Glass Beads? Everything You Need To Know
Several different knitting methods exist for creating decorative borders. However, determining which one is ideal for your blanket might be difficult.
Bạn đang xem: How To Knit A Border On A Finished Blanket? Comprehensive Guide
The final steps in hand-knitting a blanket can be the most challenging. These are the elements that will determine the success or failure of your blanket pattern.
That’s the reason why it’s extremely important to do it properly.
What Is Knitting?
As a result, doing it right is crucial.
Evidence of knitted items dates back to the early Common Era, between the third and fifth centuries AD.
Knitting, though, may be considerably older than that, according to archaeologists. This demonstrates that knitting is at least as old as humanity itself.
As advocated by Anne Veglio-White, knitting has replaced yoga in our lives, and we couldn’t agree more. There’s more to knitting than just making things and being creative.
In addition to improving your overall health, doing so has been shown to reduce blood pressure.
Knitted Borders
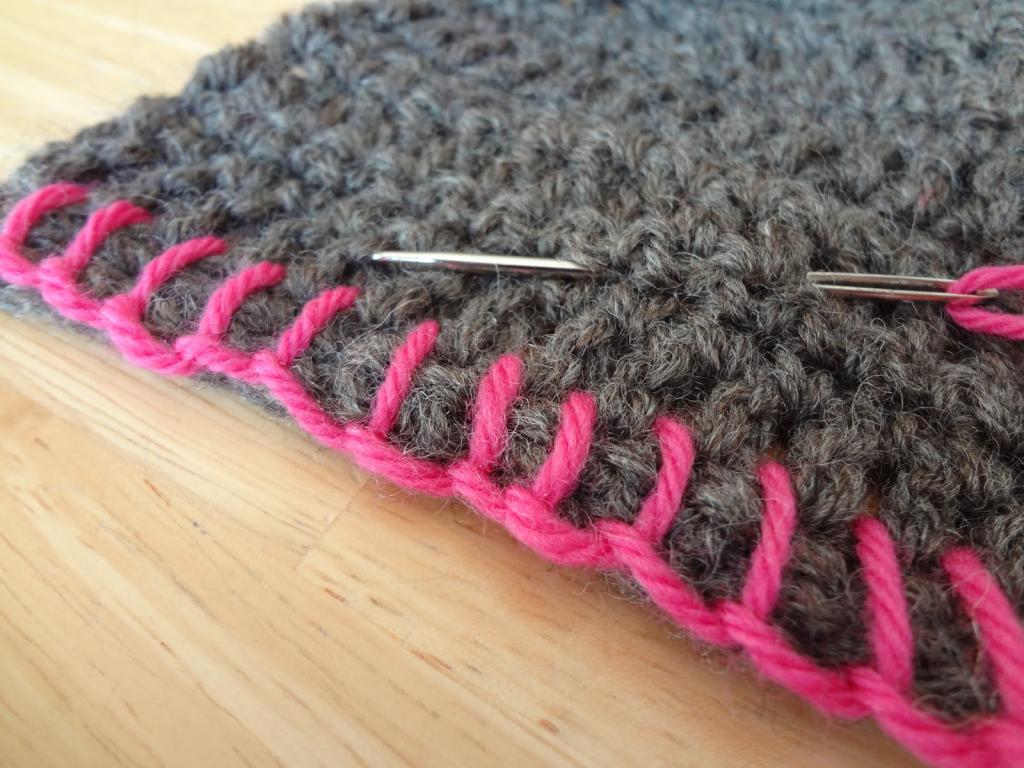
Do you like to add a crocheted or knitted border to your finished work? Knitters typically add a border to the edge of their work, whether it be a blanket, washcloth, or anything else. If you can knit and crochet, but you prefer crochet, you may want to put down your knitting needles and pick up a crochet hook to make an edge instead. A good thought, but not everyone can crochet, and that may not be the look you’re going for anyhow. It’s amazing what you can accomplish with just yarn and needles.
Heike Gittens, Carol Meldrum, and Graeme Knowles-Miller were each asked to recommend a favorite knitted border or edge for use in knitted crafts. All of them were given two different colors of Scheepjes Our Tribe to experiment with, and the resulting knitted borders are nothing short of spectacular.
Heike Gittens – Knitted Border
Heike has collaborated with Black Sheep Wools on a number of occasions. Formerly recognized as June 2014’s Blogger of the Month, she currently leads classes at the Craft Barn. Additionally, she creates beautiful shawl designs. Check out her Made with Loops blog for additional info.
In a nutshell, what Heike is saying is –
I-Cord Border
Heike’s sample swatch required 45 stitches, but this number will change with each project.
Knit one row after casting on 45 stitches in the main color.
First (WS) row: Knit till 3 stitches from end, then slip 3 stitches by bringing yarn in front (wyif).
Row 2 (RS): Knit 3 in a contrasting color, then knit to the end of the row.
The gauge swatch should be 15 centimeters from the cast on edge, so repeat rows 2 and 3 until that length is reached. Keep the strands from unraveling by twisting them.
The I-cord throw:
Close the loop and secure the ends by weaving them in.
Graeme Knowles-Miller – Knitted Border
We have previously featured an interview with knitwear designer Graeme here on the site. He’s made fantastic clothes for baa ram ewe and other yarn companies, and he conducts classes at the Craft Barn. Our website now features Graeme’s original design: a limited edition mitten set. Check out the Bl Votter Mitts.
As Graeme puts it:
Corrugated Ribbing Border
The first row is worked as follows: *Knit 1, purl 1 in color A, rep from * across.
As for the second row, you should *knit 1 in color B and purl 1 in color A*, and then repeat from * to *.
Xem thêm : How To Make A Cross Stitch Blanket? Comprehensive Guide
Simply repeat row 1 to continue the pattern in the circle.
Carol Meldrum – Knitted Border
Carol Meldrum’s seminars at the Craft Barn have been favorites for a long time. Carol is also the author of several knitting and crochet books under her own name, such as Freeform Crochet with Confidence. We featured a series of Carol’s knitting tutorials on our blog and YouTube channel last year.
Quote from Carol:
Abbreviations
K knit
st(s) stitches
rep repeat
Right-Side Up
Incorrect WS
Shorthand Notation
Bobble Edging
The Pattern Note
Knit a multiple of 3 stitches around the edge of your choice, with the RS facing out.
In rows 1 and 2, knit to the end.
Cast off and wobble at even intervals down the next row.
Cast off the first stitch on the wrong side, then *MB, pass the remaining loop on the RHN over and off, then cast off the next two stitches, and repeat from * until the end of the row.
These crocheted borders were designed to help you put a stylish final touch to your knitting creations. If you do decide to give them a try and share a photo of yourself doing so, make sure to tag Black Sheep Wools and include the hashtag #blacksheepwools so we can see how you fared.
5 Basic Ways On How To Knit A Border On A Finished Blanket
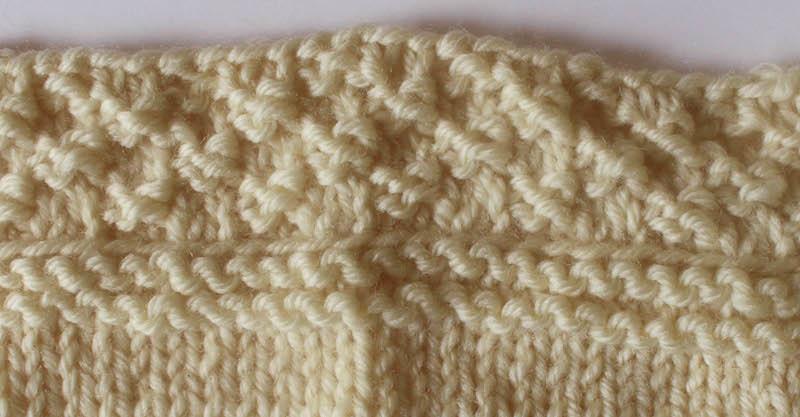
Method #1. Seed stitch
If you’re going for a minimalist look, then seed stitches along the perimeter of your blanket are the way to go.
There are the same number of knit and purl stitches. The purl stitch is the polar opposite of the knit stitch since it is worked from the back to the front.
You can also rest easy knowing that this type of quilting will complement any design you choose for your quilt.
Method #2. Scalloped knitting edge
When knitting with two needles, a scalloped edge can be achieved.
Make a knot in the end of your working thread to prevent it from unraveling.
This will easily determine where you placed your first yarn when you need to come back for it.
If you need to retrieve your first yarn, you can easily remember its original location.
You should then transfer the remaining stitch to the other needle and make eight more stitches alongside the one you just shifted.
Xem thêm : How To Dry A Wool Blanket? Comprehensive Guide
Double-wrap the yarn with the other needle. To accomplish this, simply perform two stitches as you would while purling.
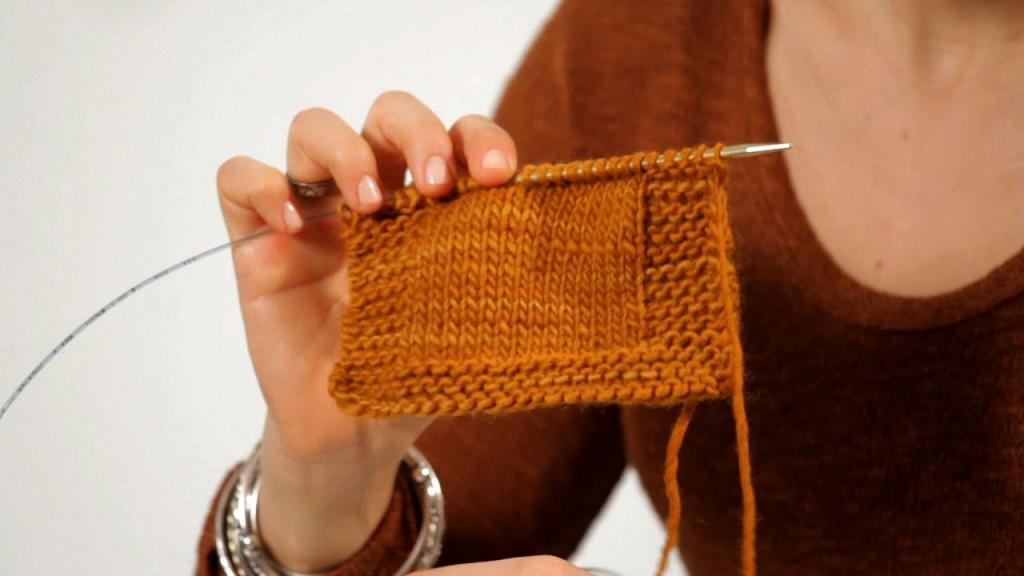
Method #3. Garter and stockinette stitch
Stockinette stitches are the ones that immediately come to mind when you think about knitting. The stitching looks like a gorgeous braid and is quite aesthetically nice.
When used singularly, though, the edges tend to curl in, creating an ungainly appearance. For this reason, garter stitch is frequently used in conjunction with stockinette stitch.
After casting on, knit a few rows to create a garter stitch border. Start at the front of your work and insert your needle into the first stitch.
If you bring your needle forward, you can wrap the thread around it and capture it. The stitch on the left needle is transferred to the right.
The number of rows can be adjusted by repeating the procedure along either side of the border.
Method #4. Double seed stitch
This is a cross-grain knitting pattern that looks like a seed-stitch variation.
Double seed stitching is a process where you alternate two knits and purls for two rows.
In order to create double seed stitch, knit and purl together for two rows before switching.
It will help if you have a little note beside you to remind you what kind of stitching you have to do next.
Method #5. Ribbed knit border
Having a reminder of the type of stitching that has to be done next can be helpful.
It’s also a great way to finish off the edge of a crocheted blanket. Every knitting pattern will use this stitch at some point.
For those of you who are unfamiliar with knitting, this stitch is created by alternating knit and purl across the needle.
However, if you have an odd number of stitches, you have to knit one time and purl again for the first row.
Tip
If your starting number of stitches is not divisible by 2, knit once and purl once on the first row.
Is Knitting Safe?
We had a lot of downtime because of the pandemic. However, when you find yourself at a loss for what to do with all of your spare time, it can be frustrating.
Therefore, many individuals are taking up knitting as a means of increasing their productivity in these trying times.
Knitting, like every other hobby or activity, is risk-free if basic safety measures are taken.
However, because knitting involves repeating the same motions over and over, it can create discomfort in the hands.
Compression of the median nerve causes carpal tunnel syndrome, a condition characterized by numbness, tingling, and weakness in the arms and hands.
Those interested in learning more about knitting in a responsible manner should read this.
Conclusion
Putting a finishing touch on a knitted blanket is easy, and there are numerous border patterns from which to pick. From teeny-tiny seed stitches to thick ribbed knit edgings!
There is a wide variety of options available, and it is entirely up to you to decide how you want to complete your blanket.
Knitting is a wonderful pastime activity. Do your homework so you can accomplish your goals successfully.
Nguồn: http://iatsabbioneta.org
Danh mục: Blanket


