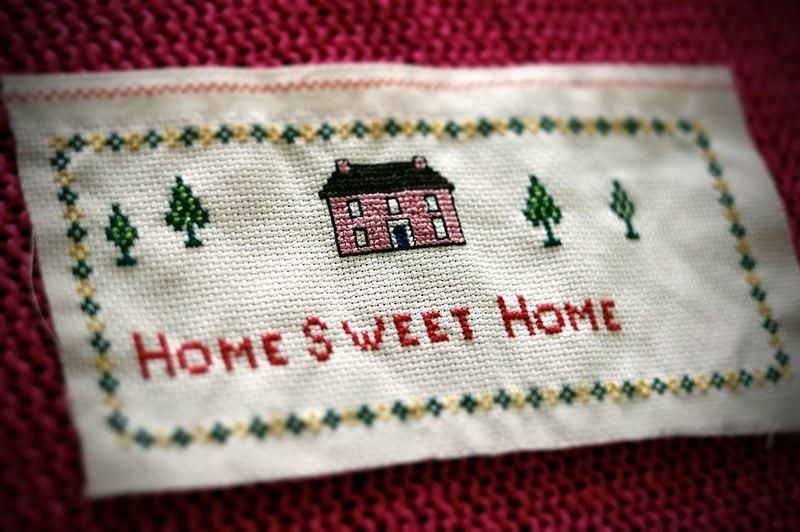
Although Aida and Evenweave are the most popular fabrics for cross stitching, you can use any fabric you like. You can’t cross-stitch an entire blanket, but you can certainly add your finished work to one.
Cross-stitch is a popular craft, and many sewers like to use it as a decorative accent for other projects. You might even be wondering if you can sew the finished pieces onto things like blankets and clothing. You certainly can, but it might be too much for newcomers.
Bạn đang xem: How To Make A Cross Stitch Blanket? Comprehensive Guide
Some people have no idea where to start or how to sew their cross-stitch fabric together. Please continue reading to find out more about sewing your cross-stitch pieces onto other fabrics and garments.
How to put a cross-stitch on fabric?
One of the best ways to make your materials and clothing unique is by adding cross stitch designs. Putting adorable cartoon figures on your children’s clothing and other accessories is a great idea, too. In order to properly attach cross stitch patterns to textiles, please refer to the following instructions:
- To Introduce This:
- It all starts with a waste canvas. Using weaved threads that are starched strongly to keep them in place, this sort of Aida cloth is created. For even and consistent stitching, place this canvas over your garment fabric.
- Think about the scale of your design. The next step is to trim a piece of your leftover canvas so that it just barely covers your artwork. You can leave a margin of roughly an inch around the pattern. You should next drape your waste canvas over the garment and secure it with pins.
- Make sure the cloth doesn’t pucker by pinning the waste canvas in a diagonal fashion to the garment. To secure your waste canvas, first put a line of tacking around its perimeter.
- Your hoop will stay in place if you sew it to the inside of the garment. The hoop can be worn on the outside of the garment or sewn into the seam on one side.
- Putting the Final Touches On:
It’s best to begin stitching from the design’s focal point. If you do that, your clothing will be less likely to pucker.
You can use the leftover canvas in the same way you would an Aida cloth for your embroidery projects.
Carefully align your needle and thread so that your stitches will meet in a smooth seam.
- After you have finished stitching your design, take off the hoop and the tacking stitches. You should then remove some of the surplus canvas that surrounds the stitched region.
It is easier to pull the threads from the waste canvas if you first wet it down to eliminate the starch and soften it. Tweezers should be used to gently tease out individual threads of canvas.
For best results, take them out one by one to preserve your layout.
Toss out the used canvas threads. Always start by picking them off one by one in the direction opposite to the blue line. After you’ve pulled these lines, you’ll have an easier time with the rest.
This technique works great for washing blankets, pillowcases, and other fabrics. However, I can’t promise that every variety of fabric will yield the same outcome.
Can you cross-stitch on clothes?
I already said that a wide variety of fabrics are suitable for cross-stitching. Then, of course, you can also do cross-stitch on apparel! It’s a great opportunity to express yourself creatively by adding your own flair to your wardrobe or by creating unique gifts for friends and family.
How to cross stitch on clothes?
Xem thêm : How Does A Heated Blanket Work? All You Need To Know
When it comes to cross-stitching, the same technique is used for clothing as it does for other fabrics. However, you may benefit from using fabric stabilizers in this procedure, particularly if your pattern is really huge. If you want to know how to cross stitch on clothes, here is a guide:
- Inert or soluble canvas waste
- Items of clothing designated for cross-stitching
- The Embroidery Hoop
- Thread. Colorfast, high-quality fibers are a must.
- Needles for tapestry
- Large-scale design fabric stabilizer
Stabilizers are used to support fabrics so that they don’t stretch or pucker when the stitching is done. Stitching, even with a large pattern, will be less of a hassle thanks to the added rigidity provided by these products.
You can also cross-stitch on clothing using either waste canvas or soluble canvas. Cross-stitch across the threads and then draw them through the waste canvas. It’s not hard to get rid of them, although it could take some time.
To put it simply, soluble canvas is perforated canvas that dissolves in water. If the fabric and thread you’re using are colorfast, cleaning up once you’re done shouldn’t be a problem. However, the leftovers left by this canvas may not be to everyone’s liking. As a result, it’s all up to personal taste.
The next step is to cut the canvas to size. You should enlarge it by a comfortable amount in relation to your pattern. Then, pin the canvas to your clothing where you want the pattern to go. If you cut your canvas to a size that is nearly identical to that of your design, you will be able to position your cross stitch just where you want it to be.
The design should be centered on the canvas, therefore it’s best to make it a little bigger than necessary. This is also the first thing you need to do in order to begin sewing in the middle of your pattern.
Begin basting the canvas by stitching a loose running stitch all the way around the edge. If you pull it too tightly, the undergarments will be distorted. Be sure you’re not shedding more than one layer of clothing at a time. If you are working with a delicate pattern, basting threads over the top and bottom will do the trick.
The time has come to begin stitching your creation. If you want a smoother ride through the openings, try a needle size 26. If your fabric is too loose to thread through easily, try stretching it over an embroidery hoop.
- Get your basting threads ready by removing the hoop. Cut the strands close to where you tied them, then untie them.
- Reduce the number of squares along the perimeter of your canvas to about 1 or 2. In order to extract them swiftly, you’ll need enough of thread to grip onto. If you are working on a soluble canvas, you can safely leave a border. This allows you to make the closest possible cuts without snatching your threads.
Finally, you may put down the paintbrush. Soften and remove the starch from your waste canvas by wetting it first. To get rid of the threads, simply pull them out one by one. You should ideally tug them in the direction opposite to that in which you first noticed the weaving. Accordingly, the vertical threads must be drawn upwards or downwards, while the horizontal strands must be drawn either to the left or the right.
If the threads won’t budge, you might have actually sewn through them. To minimize its visibility, cut the waste canvas as close as possible to the cross stitch’s finished edge.
In addition, you can try dragging it under each stitch until you find the one that is caught.
How to cross-stitch on linen?
You should expect a more polished look when using linen because it is a gorgeous fabric with a greater thread count than Aida. It may look complicated to stitch, but there are really only a few key changes. If you want to learn how to cross-stitch on linen, here is a guide:
- Place the center of your fabric as your starting point. Linen is woven with a distinctive over-and-under pattern of warp and weft threads. Therefore, you should be mindful of its weave and begin in the middle.
- If you examine the fabric carefully, you can begin your stitch adjacent to a vertical thread. Keep in mind that the horizontal strand above your beginning point should be crossed by this vertical thread. The “post” should be leaning against your stitch. Better-lying, neater stitches can be achieved by ensuring that the needle rests on a vertical thread.
Once you’ve settled on a beginning place, you may begin stitching. Linen is typically stitched by manufacturers over two threads. Consequently, you’ll see that the average stitch crosses four threads total (two warp and two weft). Consider your sewing space to be a tic-tac-toe board for optimal results. There are nine holes, and you use the four corners of the “board” to make a cross stitch.
a. Position the needle at the bottom left and raise it. The next step is to place your needle in the hole that is two threads away from the center in both the horizontal and vertical directions. This process requires you to move across the fabric in a diagonal direction.
Xem thêm : How To Make A Weighted Lap Blanket? Comprehensive Guide
To make a row of “over two” half stitches, b. repeat the first step.
- Wash the finished product very carefully in cold water with a mild detergent.
What Thread Should I Choose For My Cross Stitch Blanket?
Stranded cotton
Your cross stitch blanket can be worked with two strands of cotton if you use 14 or 16 count Aida cloth.
You can alter the texture of your finished piece with the type of thread too.
The thread you use might also affect the final fabric’s feel.
Perlé cotton
Given its undivided, lustrous cotton appearance, perlé cotton finds most widespread application in Hardanger stitching.
Silk thread
Silk thread is more costly than the other thread types listed. When a high gloss or exceptionally fine texture, like that of silk, is needed, this is the fabric of choice.
Because of the wide variety of colors and styles available, these are often preferred by both large manufacturers and smaller, specialized distributors.
Metallic and blending threads
These come in a wide range of sizes and can be used with metallic and blending threads.
It comes in a wide variety of thicknesses and is sometimes mixed with other threads to add glitter.
Wool yarns
Embroidery on canvas is done with wool yarns, which are twisted from pure wools.
Conclusion
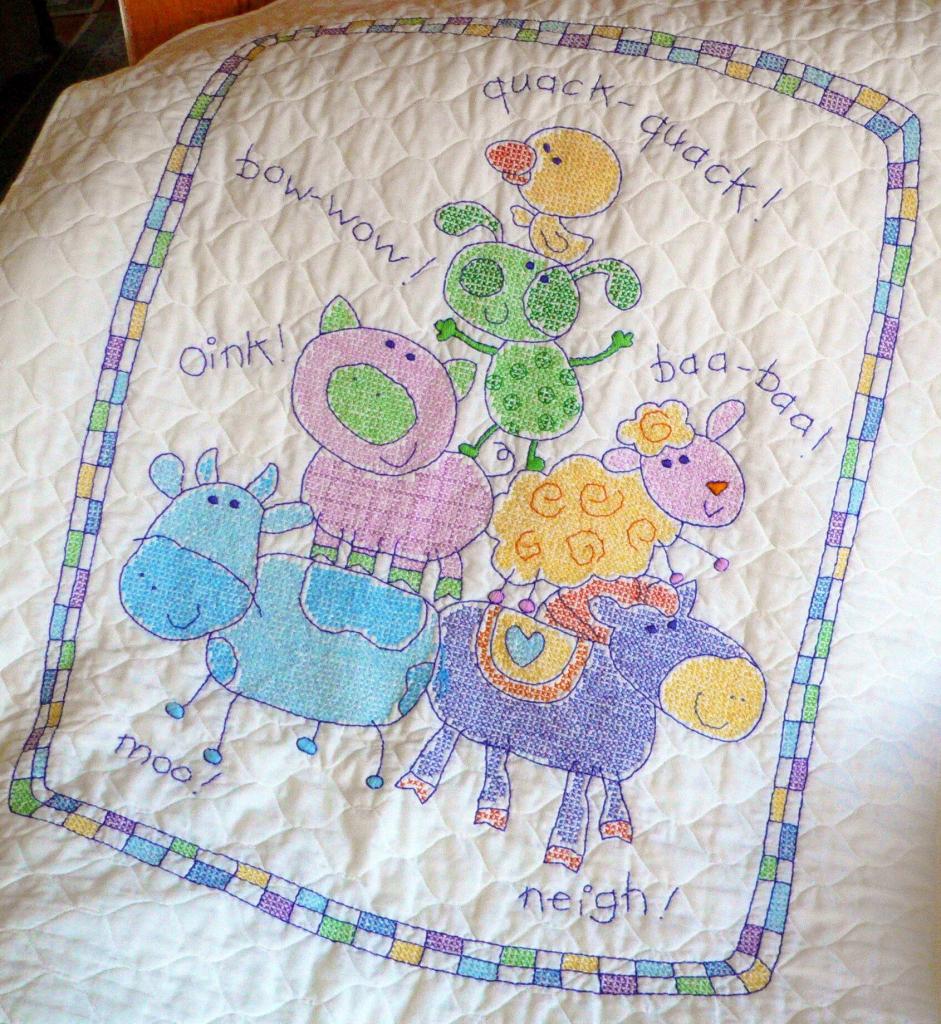
A cross stitch blanket is a wonderful keepsake since it allows the maker to show off their artistic skills while providing warmth and comfort.
A cross stitch blanket may be made in only 6 easy steps now that you know the secret!
If you want to get the most out of your cross stitch blanket, you need to make sure you pick the right fabric, the right thread, and the right patterns for your tastes.
Nguồn: https://iatsabbioneta.org
Danh mục: Blanket


