The two simple steps here will be appreciated by anyone who has ever wondered how to crochet a blanket’s corners. If you are just starting out with crocheting, we have identified the easiest approach to avoid being stuck in a corner. If you want to learn how to edge a crochet blanket, you can also read this helpful article.
There are various tricks you can use to speed up your corner-to-corner crocheting that we’ll go over here. So, my question is: why the delay? Let’s get to work on those blanket corners, and don’t be afraid of the size of them.
Bạn đang xem: How To Crochet Corners On A Blanket? Step-By-Step Guide
How Do You Crochet Around A Corner Of A Blanket?
Step 1. Crochet one stitch for every stitch on the first blanket edge
Use the same crochet hook and yarn to work a single crochet stitch into each space along the first edge of your blanket. Please refer to our separate size guide if you are unclear about the size of the crochet hook used to make the blanket. When you approach a corner, pause and sew three stitches.
Step 2. Work three stitches onto the corner stitch and finish
Xem thêm : How To Make A Flannel Blanket? A Must Read!
No of your gauge, you should be able to fit three stitches into each corner of the blanket. If you’re using chain stitches to form a corner, for instance, the corner stitches will be worked on top of the chain stitches. Alternately, if you want to finish the blanket, you can do so by working three stitches into each corner and one stitch down each edge.
How Do You Crochet A Corner To Corner Blanket Border?
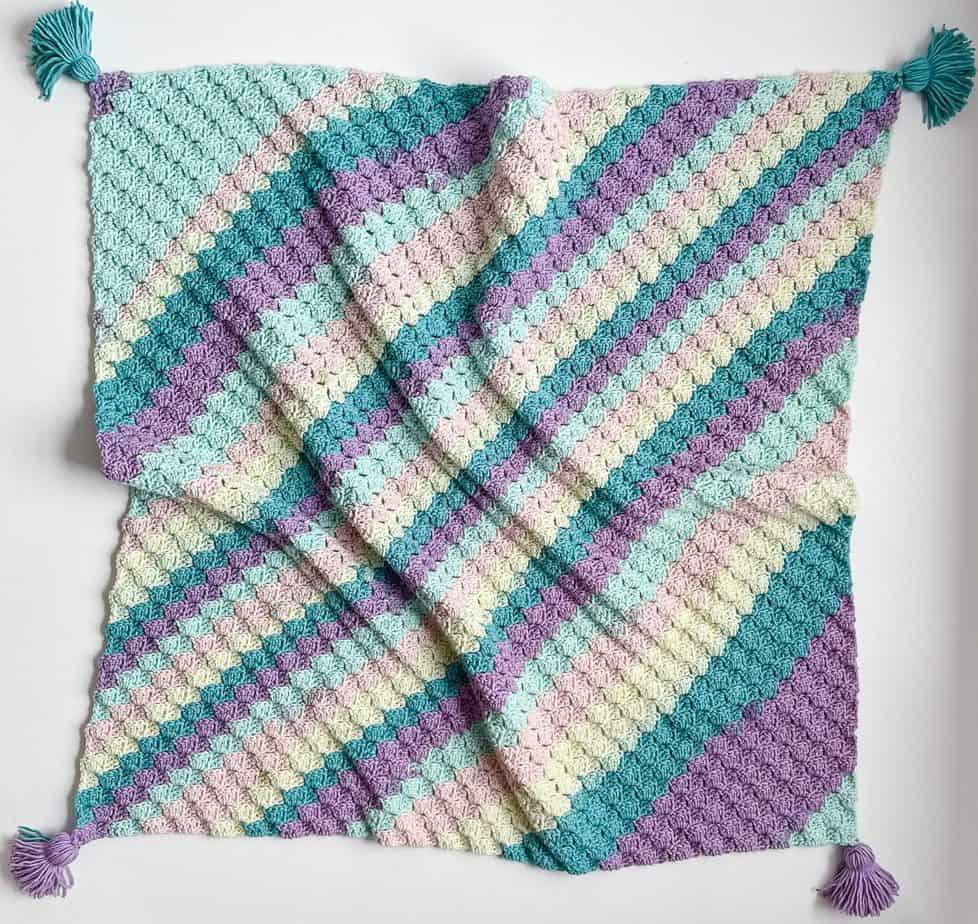
Popular for blankets, the corner-to-corner method involves beginning in one corner and working to the opposite corner. Because of this, the C2C crochet technique is perfect for creating blanket borders. Make a blanket edging that goes from corner to corner by following these steps.
- It all starts with slip stitching the final C2C square together to prepare the border.
- You’ll chain 3, then single crochet in the next space between the squares along the corner side.
- Working single crochet, chain 3, and single crochet in repetition until you reach the corner.
- On the sides of the blanket, work three chains and single crochet; at the corners, work three chains and a single crochet.
- Single crochet stitches should be worked before the beginning chain 3 at the end of the row.
- Even if the C2C squares on the edge face in different directions, by making the pattern comparable on the sides and corners, you are free to use whichever crochet stitch you like for the blanket.
How Do You Change The Color Of A Corner To Corner Blanket?
Several methods exist for dyeing a corner-to-corner blanket a different hue. Insert the hook between any two squares to change the border color. To make the corners, chain 3, single crochet, and single crochet with the new color.
Xem thêm : How To Crochet A Basket Weave Blanket? Comprehensive Guide
Conclude the round by working a slip stitch into the first single crochet to join. Carrying the yarn or laying the dropped yarn across the stitches you will knit into is another useful technique for beginners. After that, continue to crochet and work with the new yarn color.
What Is The Hidden Stitch In Crochet?
In order to avoid having a visible seam between crocheted rounds, a special variation of the slip stitch known as the “hidden stitch” can be used. It is important to keep in mind that the slip stitch, while useful for moving from one round of knitting to the next, does reveal a seam. When inserting the hook in the first stitch of the round from front to back, a seam forms due to the hook’s loop.
How do you do an invisible slip stitch?
The seam can be concealed by doing the slip stitch on the back. If you finish the crochet stitch from the back, the loop you made will be concealed behind the final product. The mattress stitch is another method for joining fabrics without visible stitching.
How do you use the mattress stitch to hide seams?
- Arrange the items to be joined in a flat position, right sides facing.
- When working with two pieces that are aligned side by side, enter the threaded needle into the lowest stitch of one piece and exit through the turning chain of the same stitch on the other piece.
- Then, insert the needle into the top of the next double crochet stitch and pull it through to the back.
- Now that you know how to perform a mattress stitch, you may join the sides by placing your needle into the top of a double crochet stitch on the opposite piece and pulling it through.
- Assemble the two parts by pulling them together, and keep doing so until they are locked in place.
- To conclude, weave the tail.

Conclusion
If you’ve never tried crocheting before, making a blanket shouldn’t be scary. Even the corners of a blanket can be made in only two easy steps with crochet. Chain 3, single crochet in each corner, and chain 3, single crochet in each side. We have included the four most effective ways to address additional crocheting problems, such as an uneven crochet blanket.
Nguồn: https://iatsabbioneta.org
Danh mục: Blanket