A baby blanket, afghan, or toss blanket may all benefit from a crochet border. You’ve found it! This collection of seven basic blanket borders, as well as a few unusual ones, is ideal for bringing a blanket project to a successful conclusion.
Adding a crocheted border to a blanket project gives it a finished, polished appearance. To learn how to make a border for any sort of crocheted blanket, continue reading this post.
Bạn đang xem: How To Crochet A Border On A Blanket? Comprehensive Guide
HOW TO ADD A BORDER IN CROCHET
Crochet borders come in a wide variety of styles. A simple crab stitch or a reverse shell stitch repetition might work well here. A double crochet or picot stitch around might also work. Every time I add a border to my crochet projects, there is one thing I always do first.
To what end? First and foremost, work a single crochet stitch around! Below you’ll find video tutorials showing you how to make additions to single crochet and double crochet as well as a border to c2c.
HOW TO MAKE A CLEAN BORDER IN CROCHET
Always start with a single crochet row before adding a border to a finished blanket or other creation. If you chose your yarn color carefully, you may not even see the tiniest (read: shortest, least prominent) of the crochet stitches. The only purpose of this row is to smooth out the edges in anticipation of the actual border that will come next.
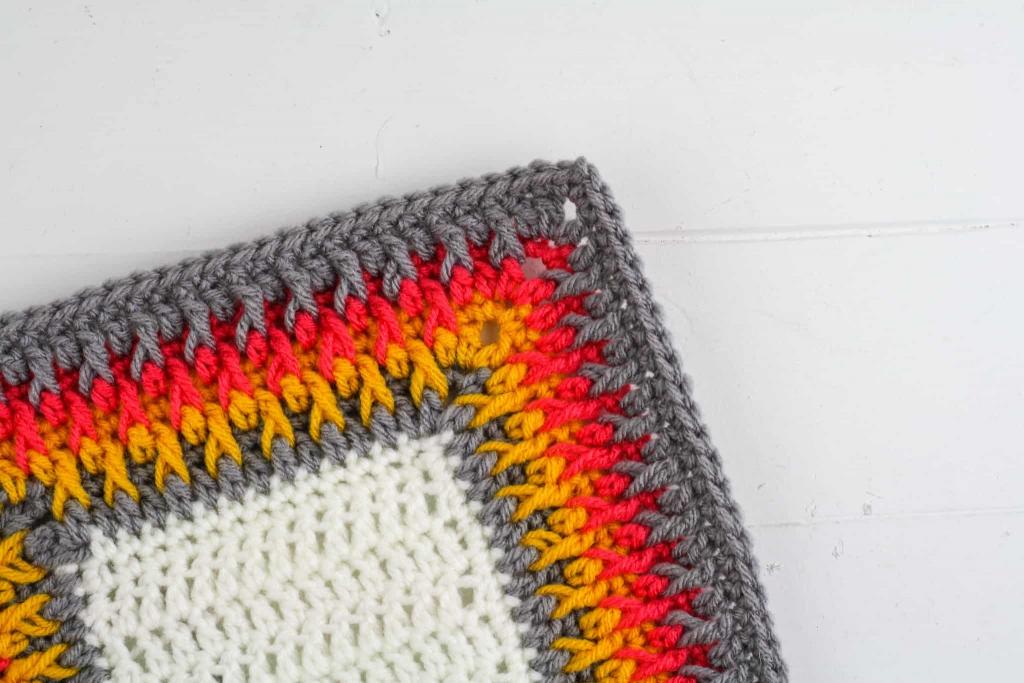
Keep in mind that a single crochet receives one stitch, a double crochet receives two stitches, and a triple crochet receives three stitches when you place your border stitches (going along the SIDE of the stitch instead of the top or bottom of the stitch). There are a few things you’ll want to keep in mind when inserting those stitches. It is important to keep the same two border single crochet stitches in the same area as you travel up the side of a double crochet blanket, for example, to create a border.
HOW TO CHOOSE A COLOR WHEN ADDING A BORDER
To begin, you must first choose the color of the yarn. Will you utilize the blanket’s primary color, or the color that will be used as the border? The color of the single crochet row is entirely up to the wearer’s taste, however I personally prefer a muted shade. I’ll use the same color as my blanket if it’s all one shade. I can then go back and add a border in blue, pink, or green. The most subdued shade of the blanket’s hues may be my starting point if it is striped or has numerous colors.
GOING BACK THROUGH YOUR BORDER
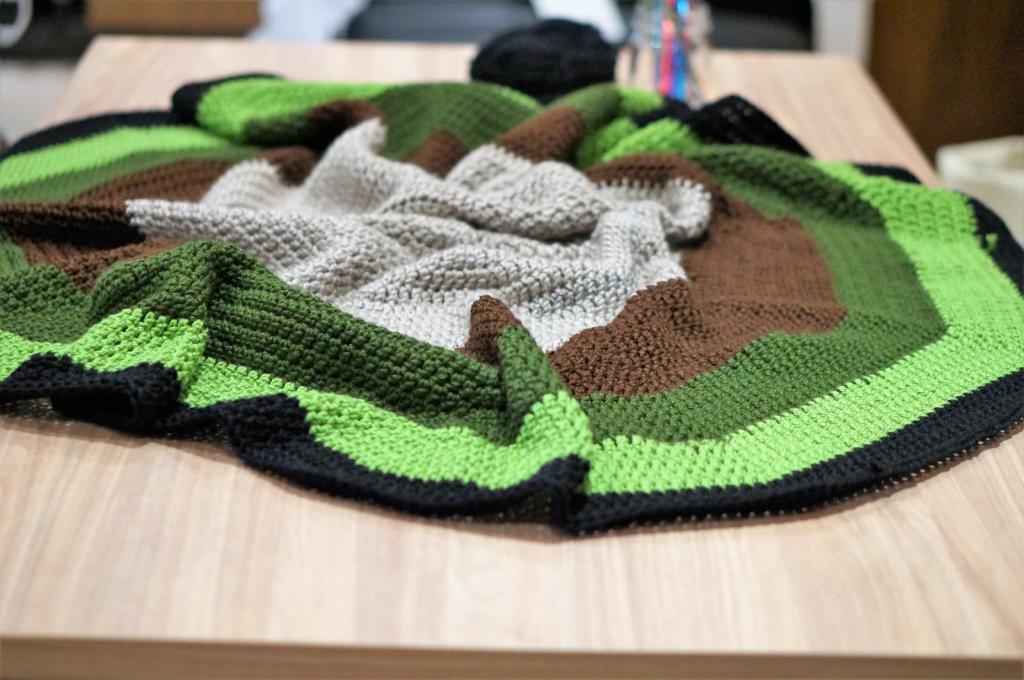
After you’ve added the single crochet border to neaten up the edges, it’s as simple as pie to add additional rows. The first row of colors is homogeneous and beautiful, rather than red or blue, which are clearly defective. In my son’s Power Rangers blanket, for example, the initial row of gray looks particularly good because it is worked into a real row of white yarn, rather than just the sides of the C2C graphghan.
Is there a further step? Sure. The new design, on the other hand, is far superior in appearance. How can you add a crochet border to your work?? Let me know what you think of my approach!
Why Should I Add a Border to a Crochet Blanket?
These border edging patterns are a great way to disguise any faults or imperfections in your crochet afghans, as well as give them a polished look. For most people, it’s nothing more than an easy and inexpensive approach to enhance the finished product.
Top Reason to Use Borders
- Top Reason to Use Borders
- Use of Borders for the Most Important Reasons
- Toss in a pop of color or two by way of a blanket.
- A simple method to give depth and dimension to a blanket.
A border may or may not be necessary depending on the type of crochet blanket or blankets you’re producing. It is possible to add a border to a blanket that doesn’t need it, using one of the edging techniques described below.
Xem thêm : How To Knit A Blanket With Straight Needles? Comprehensive Guide
Keep in mind that the stitch count for each simple crochet border method below may vary, so keep this in mind when selecting a border for your afghan. When using a different yarn or crochet hook size, the border may look different from the tutorial.
Yarns For Crochet Borders
The border of a crochet blanket pattern may feature a different color than the rest of the blanket. This is an excellent technique to give any blanket pattern a little extra oomph. The use of different weights of yarn in borders can also give interest and texture to a piece!
Upon reviewing the selections, please let me know which blanket border edge is your favorite. In the comments below or on the Easy Crochet Facebook page, please tell me what you think.
We’re friendly. Promise!
Take a look at some of my favorite yarns to use in blankets and borders below, so click on each one to find out more about it!
The Best Crochet Borders for Blankets
Use this collection of simple blanket borders to finish your next crochet blanket project..
Camel Stitch Blanket Border Pattern
This camel stitch border is perfect for giving any blanket or afghan a polished touch! You don’t need to keep track of the precise number of stitches in order to utilize this border, so you’ll obtain a wide crochet border every time.
Winding Road Crochet has a free written guide and video lesson on how to crochet the camel border.
Picot Crochet Border Edging
With a picot border, any crocheted blanket would look fantastic. Beginner crocheters will find this pattern easy to follow. This border is simple enough to make if you know how to single crochet and chain.
There’s a free picot border pattern (picture instruction!) and a bonus picot border tutorial available at Easy Crochet!
Shell Crochet Edging + Border
To give your crochet blanket a traditional appeal, use this shell stitch border. A little ruffle to your baby blankets with this crochet shell edging border. Add a splash of color with a solid-color yarn in a contrasting hue.
Lullaby Lodge offers a free shell crochet border pattern.
Easy Ribbed Double Crochet Border
To produce this textured border, you only need to know how to do double crochet (one of the most common crochet stitches). A video tutorial is available to assist you understand this design pattern, which appears to be difficult at first glance. Double crochet stitches are used to create a fun and quick edging for your blanket.
Xem thêm : How Many Chain Stitches For A Blanket? All Questions Answered!
Daisy Farm Crafts offers a free ribbed crochet border instruction.
Flat & Simple Straight Border
You’ll be able to make a straight border without any waving thanks to this detailed instruction! This is the border for you if you’re looking for something that will lay flat. Baby blanket border tip: For a quick and easy finish, use single crochet stitches!
Kerry Jane Designs offers a free straight-edge border instruction.
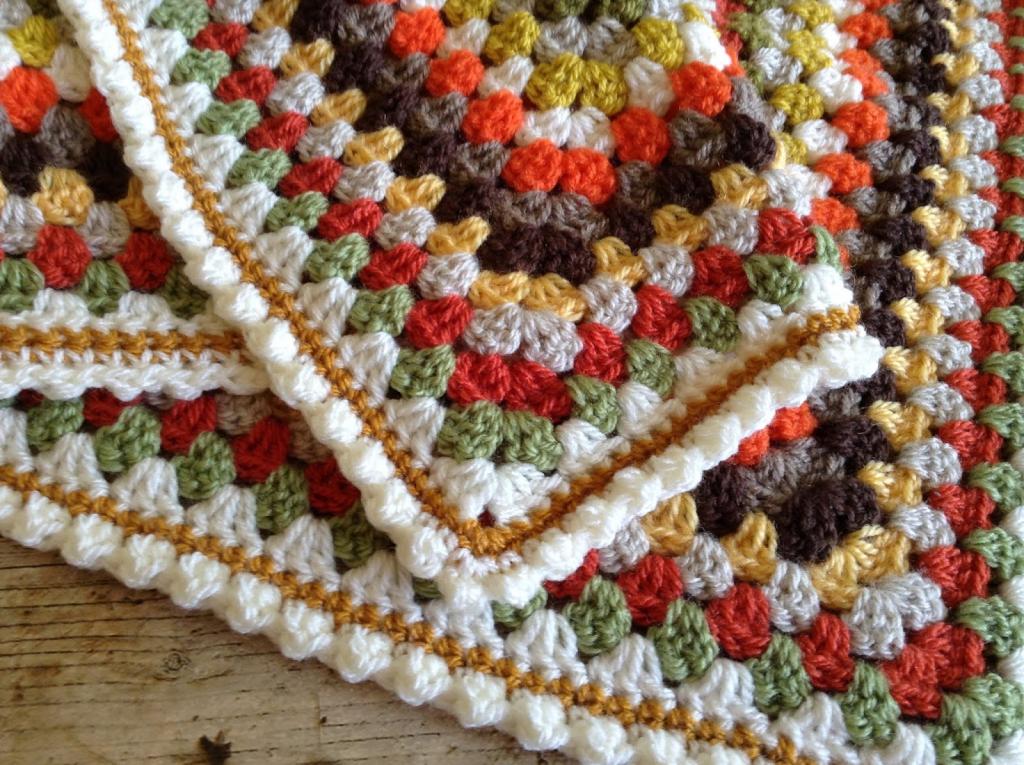
Scalloped Crochet Border
This scalloped blanket edging is ideal for crocheting blankets and afghans! With these beautiful borders, you can give any blanket an heirloom look, and this edging pattern looks fantastic on connected blanket squares!
Crochet 365 Knit Too has a free scallop border pattern and photos to help you make your own.
Moss Stitch Crochet Border
Simple crochet edging using the Moss Stitch pattern is a great option for blankets that need a clean-edged finish. This crochet border can be made larger or smaller depending on how much time you have to crochet, or you can use different colors to make it more visually appealing.
Crochet a moss stitch border with the help of this free tutorial from Every Trick on the Hook.
Single Crochet Border
Crochet borders can be made with simple edging stitches like the single crochet! This style of border can be used on any crocheted blanket pattern to produce a neat edge. This simple crochet border has a photo lesson and a written pattern that you can find further down in the article.
Check out Dream a Little Bigger’s free crochet tutorial for a single crochet border.
This collection of free crochet patterns for blanket borders and edgings is for you, I hope you enjoy it. Crochet designs can benefit from a variety of border options. We only touched on a few of the many options available, but these are the most straightforward for someone just getting started.
Free Crochet Blanket Patterns
It’s time to put your newly acquired knowledge of crochet borders to good use on a new blanket project. For a more finished effect, add a simple border to any of these free blanket patterns.

How Do You Crochet A Ribbed Border On A Blanket?
There are several options for blankets with ribbed borders, such as this one. Not only does this result in a more attractive visual appearance, but it also ensures that the blanket sides are all the same size. Double crochet stitch, front post double crochet, and back post double crochet are all you’ll need to get started.
- Single crochet or double crochet the edges of your blanket to even them out. Remember to work your corner stitches on the round below’s chain stitch if you don’t have a precise count for this border.
- It’s up to you which corner of the blanket you begin from.
- Double crochet around the blanket in the first round. Double crochet, chain one, and double crochet will be your tools for every corner.
- A slip stitch is all that is needed to link the first stitch to the second stitch.
- After chaining three, work front post double crochet, rear post double crochet, and repeat until the corner, chaining one, double crocheting, and repeating.
- Crochet front and back posts twice more, then double crochet, chain one more times for the last row.
- The slip stitch in the chain three space is used to join the double crochet.
- Fasten or widen the border to your liking.
Conclusion
Be sure to always pay attention to the blanket border. The bobble stitch is the easiest for novices to learn how to crochet a blanket border in, although there are many more. Any stitch or ribbed border will do, as long as it complements the blanket in terms of appearance and practicality.
Nguồn: https://iatsabbioneta.org
Danh mục: Blanket