We show you how to complete your crochet with the crochet fasten off technique and how to carefully weave in your crochet ends.
How to fasten off crochet
To learn how to fasten off/tie off crochet and weave in your ends, either watch the video lesson below or refer to the step-by-step pictures below.
Bạn đang xem: How Do You End A Crochet Blanket? All You Need To Know
You Will Need
- Yarn
- Hook for crocheting
- Scissors
Step 1
You’ll only have one loop on your hook after doing your final stitch. After you’ve finished cutting the yarn, leave a 15-centimeter tail. In order to complete this project, you will need to wrap the yarn around a hook (yrh).
Step 2
Remove the hook and tug the tail of the yarn to tense it up. Your yarn will no longer unravel as a result of this method.
Once you’ve mastered the art of crocheting a fasten off, some individuals choose to take the hook from step 1, loosen the last loop, and thread the yarn through by hand instead. * That’s all there is to it, now you know how to tie off crochet!
How to weave in crochet ends
Step 1
One more thing you’ll need to do to complete crochet is to cover up that last bit of yarn that’s hanging around (what is often called a yarn tail or end). Adding a tail not only makes your crochet seem better, but it also keeps it from unraveling even if you move it a lot (never cut the tail right up to the crochet fasten off knot as this could potentially work itself loose).
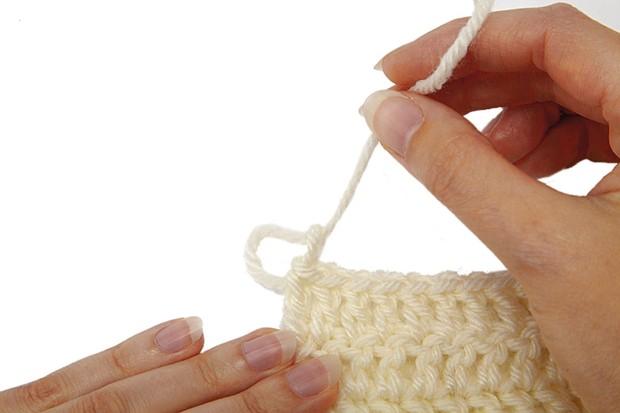
Thread a yarn needle with your crochet tail and use it to weave in your ends (also called a tapestry needle). On the wrong side of your crochet, weave the needle down in and out of the back of a few stitches as shown in the picture.
Step 2
Reverse the needle’s direction of movement, going upwards. The most important thing to remember when tucking in yarn ends is that they should be safe and unnoticeable from the front. If your crochet involves a lot of pulling or movement, it’s possible that the woven-in yarn tails will come loose. To avoid this, try weaving the yarn tail in different directions.
That’s all there is to it! If you don’t think about it, you’ll be tying yourself off before you know it.
How to Fasten Off in Crochet
You might see anything like this at the end of a crochet pattern: Six stitches will be left in the tail. Retain the shackles.
What does “fasten off” mean, and how does it apply to this situation? To “fasten off,” you just pull the yarn taut after threading it through the final stitch. Fastening off keeps your crochet project from unraveling by securing the final stitch.

Regular Fasten Off
A 6-inch tail of working yarn is needed to adequately cover the yarn when you finish your project.
Xem thêm : How To Make A Photo Blanket? Easy Step-by-step Guide
You’ll need to take the yarn end, remove your hook from the last stitch, and thread your yarn through the last stitch to finish the project. Close the opening loop and secure your work by pulling on the yarn firmly.
In a typical straight row crochet, the yarn is tied off in the following manner:
Fastening Off While Working in a Round
If an item is worked in a round, it is necessary to finish and weave in all the ends.
Regular Slip Stitch Fasten Off
Crochet to the end of the row after which you want to stop your round. Using a slip stitch, finish the row.
Remove the hook from the final loop and pull the yarn tail through the loop to complete the stitch. Make a tiny knot by squeezing the loop shut. Hide the tail of the yarn between the stitches using the yarn needle.
Here’s an example of how a round-robin fastening is done:
To finish a round of work, you can also use a technique known as a needle join.
Needle Join Fasten Off
Instead of completing a slip stitch at the end of a row, snip the yarn and thread the tail through a yarn needle to finish the row (also known as a tapestry needle).
Make a regular crochet stitch by sewing the last and first stitches of the row together with the needle.
In order to conceal the rest of the tail, sew it in between the stitches. This type of fastening is less obvious because it does not result in an additional knot.
A demonstration of the needle connect is shown here:.
How to Finish Off in Crochet
Crochet projects can be completed once the final stitch has been attached. Once you’ve finished crocheting, you’ll need to go over your work and cover any excess yarn tails.
There may only be two tails to tuck away, depending on the scale of your crochet masterpiece (1 end of the yarn at the start and 1 at the end if you were lucky enough to have a 1-skein kind of project).
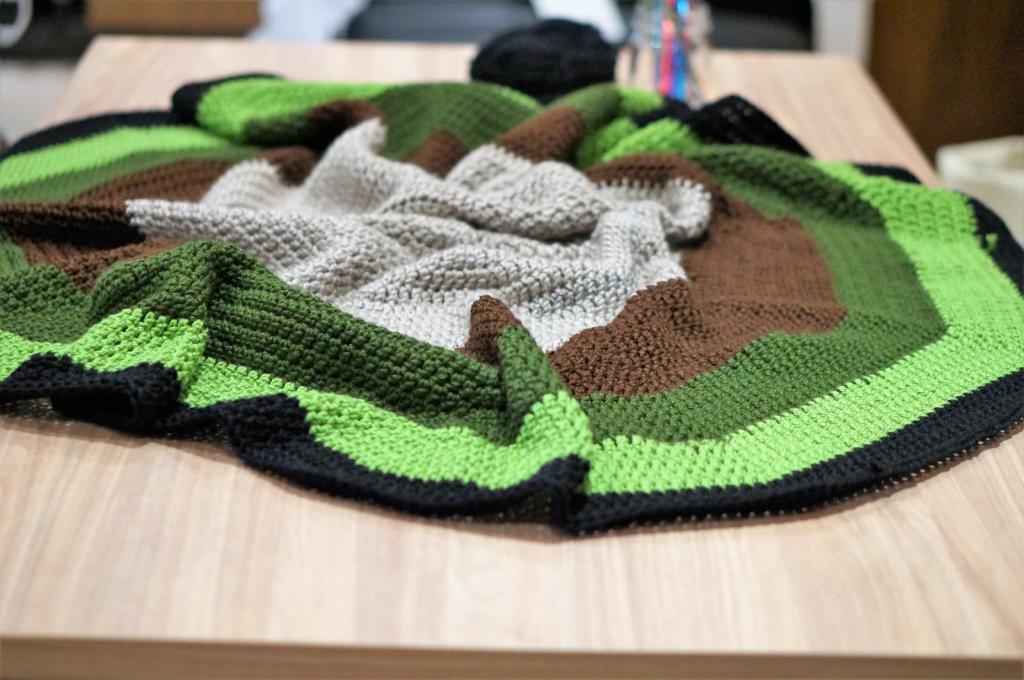
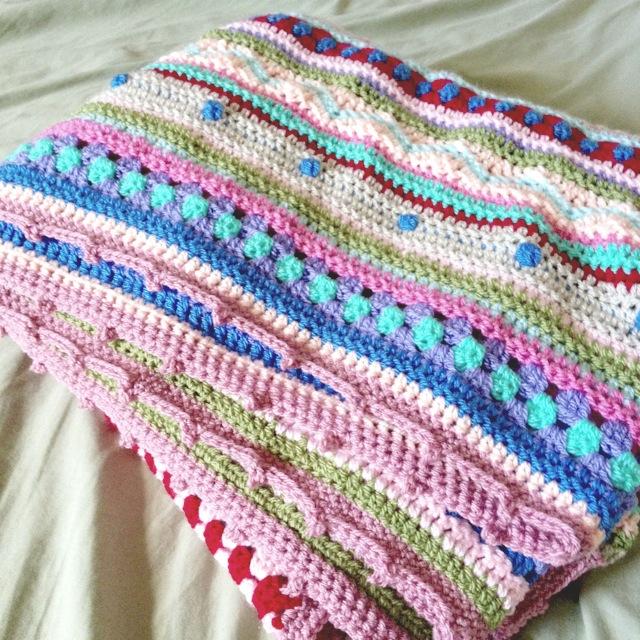
It’s not uncommon to have dozens of unfinished threads when working on a granny square blanket or other large-scale project. You’ll hear a collective groan from all the crocheters if you bring up the subject of hiding the tails. We can all agree that this isn’t the best part of crocheting.
Xem thêm : How Much Does An Alpaca Blanket Cost? Everything To Know!
However, if you view it as a form of therapy or as a way to make your idea official and ready for the world, it’s not such a terrible thing. The best way to hide those loose tails is to pick a night (or two) and put on your favorite movie. Weaving in the ends is another term for this procedure in crochet.
Basic: Weaving in the Ends
Using a darning needle with a large eye (typically made of plastic and with a blunt tip) is necessary to finish the ends. Also, a pair of scissors are required. After the yarn has been woven in and trimmed, many producers employ flexible fabric glue to keep the ends in place, especially if the yarn is of a smooth, slippery kind.
To begin, check all of the locations where the yarn was linked and tighten any loose knots. Thread the end of the yarn through the yarn needle and then sew it into your work, being sure to go in the same direction as your stitches in order to hide it. Sew most of the time on the wrong side of your crocheted project if it has a right and wrong side.
Secure the yarn by working in one direction for approximately an inch and then the opposite direction, making sure it doesn’t escape when you’re using your crochet product. Dab a small amount of glue on the tip of your tail and gently push it in place if you so choose.
Take care of the remaining yarn ends in the same way. Look at this blog post with an image tutorial if you’d want a step-by-step guide on how to weave in the ends on your project’s corner, edge, or central section.
Advanced: Blocking and Connecting Multiple Pieces
The steps outlined above are applicable to simple items such as blankets and scarves.
If you’re working on a multi-piece project, such as a sweater with front and back panels, sleeves, and even pockets, you’ll need to join all the components.
Blocking each piece to ensure an equal shape, sharp corners, and prevent the edges from curling is a good first step. Granny square blankets, for example, require blocking in order to ensure that all of the squares are equal in size.
Granny square blocking is seen in this short video:
There are several ways to join an afghan or granny square blanket together:
- Using an extra-long strand of yarn, you can sew them together (or using long tails left on the squares in advance)
- Crochet the parts together as you go if you have the right tools.
You can use a yarn needle and a long strand of complementary yarn to sew the components of a garment together. The procedures outlined above can be used to conceal the yarn ends once your pieces have been put together.
All of the crochet patterns and designs can be finished in many different ways.
In order to give your crocheted products a polished and finished appearance, I hope that you will try out some of the methods described above.
Nguồn: https://iatsabbioneta.org
Danh mục: Blanket