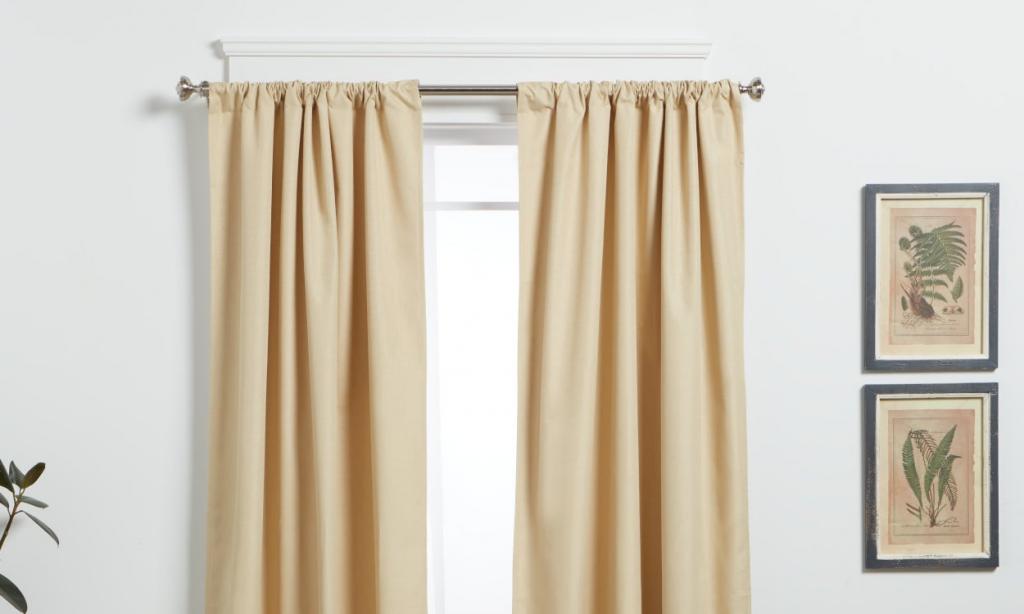
Curtains over rods can add a sophisticated and calming touch to the decor of any room in your home. Sheers draped across the top of your window give it a fresh look while softening the rigidity of the rod or hardware.
Fortunately, putting together this beautiful and economical window solution is a piece of cake. You have the option of purchasing or making your own sheer curtains. The drapes can be formed by wrapping the soft cloth around the rod and adjusting it to the desired length.
Bạn đang xem: How To Drape Curtains Over Rods? A Few Tips to Remember
What are Window Scarves?
Begin with the fundamentals.
It is possible to entirely cover your windows with traditional curtains that hang on a curtain rod.
Curtain rods are not covered while using a window scarf. Window scarves can be used alone or in conjunction with other draperies or window coverings.
By itself, window scarves let more light into a room, but they also reduce privacy. Adding window scarves on top of drapes, blinds, or shades improves energy efficiency while also letting in more light.
Instead of covering the entire top portion of a window and hiding the curtain rod, window scarves cover the entire top portion of a window.
Best Fabrics for Window Scarves
The finest materials for window scarves are lightweight sheer textiles, but you can also use thicker materials to make a stronger impact.
Window scarves can be made from a variety of textiles.
- Organza is a popular silk-derived fabric that is sheer with a little shine. An airy, spongy look can be achieved by using this sumptuous cloth in almost any room.
- Chiffon: If you’re on a tight budget, choose for chiffon instead of the more expensive organza. The delicate shimmer of this cloth softens the look of a room and provides an air of sophistication.
- Cotton-based voile is a light and airy fabric. Voile is a sleek, contemporary fabric that looks well in areas with large, open windows.
- Velvet is a good option if you’re looking for a more luxury, opaque fabric. Velvet is a sturdier material with a more regal appearance. In a formal dining room, living room or master bedroom, velvet is ideal.
3 Window Scarf Draping Techniques
Let’s take a look at the three most typical ways to drape a window scarf in a home:
- U-Shape
- Asymmetrical
- Layered
1. U-Shape Window Scarves
Window scarves can be draped in many ways, but a ‘U’ shape or a’swag’ in the centre is the most common and easiest method.
This style is best suited for small windows, although it may be used in any room. To make a window scarf, all you need is a long curtain panel or a piece of your favorite fabric.
Depending on the effect you’re going for, you can either stretch the scarf to floor level or the bottom of the window sill. Floor-length scarves are more formal, but they can also get in the way in busy areas or in rooms where little children are present.
In order to add depth to a wide window, use a longer piece of fabric to create two draperies (two U-shaped patterns) out of it.
2. Asymmetrical Window Scarves
In master bedrooms, formal spaces, and libraries, the asymmetrical curtain draping technique is romantic and suitable for tall windows.
You can get an unbalanced appearance by suspending a curtain from a lower point than the other.
3. Layered Window Scarf Draping
For formal and flamboyant dcor, layering window scarves is a gorgeous and elaborate option.
Xem thêm : How To Choose The Right Curtains For Your Yellow Walls? Comprehensive Guide
To create depth and dimension to your windows, try layering several materials of different hues. If you want to add more contrast, you can even mix and match different patterns and colors.
Loop each scarf at a different location on the curtain rod to create a layered effect.
How to Hang a Window Scarf Over Curtain Rods
Using a scarf to cover your window is a simple and quick process. Window scarves can be made using ordinary curtain panels or bulk fabric purchased by the yard.
To look your best, follow these pointers.
1. Measure
Simulate how the scarf will look by draping a spool of string in the same way. When looping the string around the curtain rod, keep in mind where you want the curtain to fall and the amount and depth of swags you want to produce.
Use a measuring tape to figure out how many yards of fabric you’ll need.
2. Fold
Curtain panels can be folded in half or pleated to obtain the desired effect. Alternatively you can use a curtain lining. Then, use safety pins to fasten the folds or pleats.
3. Drape
Creating only one piece of swag requires the following steps:
- Use a curtain rod to hang the fabric.
- In a ‘U’ form, drape the scarf across the pole in front of you.
- Re-drape the rod at the other end.
Loop the curtain over the center of the rod to make many swags for larger windows. Then drape each side of the curtain rod over the end of the curtain.
Window scarves may be made to look even more stylish by layering them. To achieve this, drape the bottom scarf once, then the top scarf twice.
4. Adjust
Now, you can customize the swags’ depth to your satisfaction. On both sides of the window, let the fabric fall to the appropriate length. Remove the safety pins to finish the effect.
In the case of full-length window scarves, consider tying them using curtain holdbacks or tiebacks.
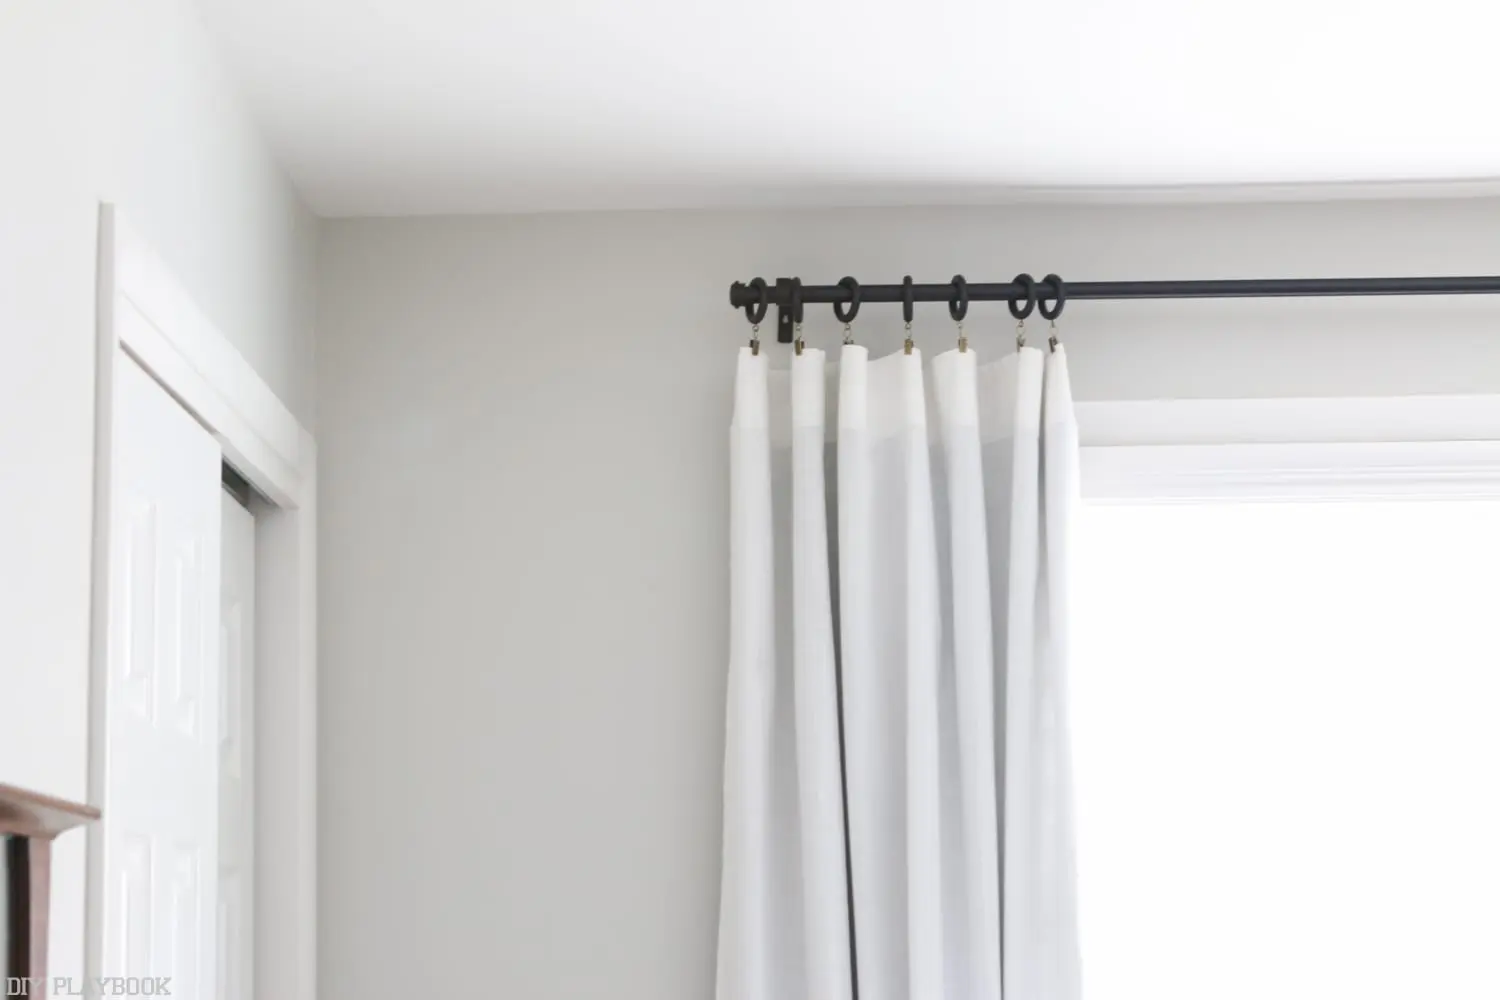
How to Drape Curtains Easily With Kwik-Hang
Kwik-Hang can help you speed up the rest of the curtain-hanging process after you’ve learned how to hang scarf curtains over rods.
The no-drill curtain rod brackets from Kwik-Hang make it quick and simple to hang curtains. You don’t need any specific tools or measurements to complete the installation, which takes only a few minutes.
Using a hammer, pound the brackets into your window frame and you’re done! Ready to put up the window scarves immediately?
Kwik-curtain Hang’s rod brackets and rods are inexpensive and dependable, so you can give your windows the facelift they need.
Window scarves
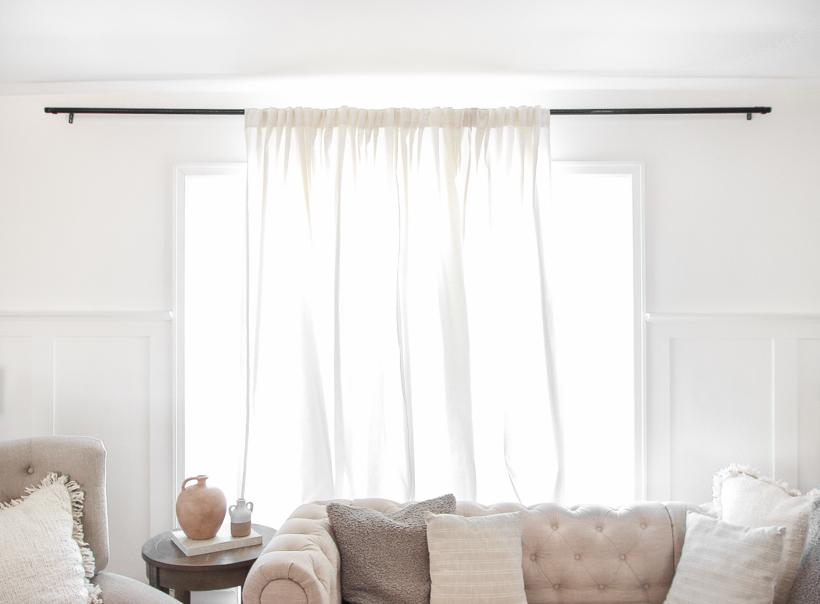
Window scarves are a term used by designers to describe curtains that are hung on rods in a graceful manner. For a sense of refinement and depth, it can be placed at the top or side of the window.
Xem thêm : How To Hang Wall To Wall Curtains? A Few Tips to Remember
To create a pool of fabric, extend the scarves to the top part of your window, or leave them all the way down to the floor. Style dictates how long your hair should be. Uneven lengths, with only one end flowing sensuously to the floor, are popular among some women.
When it comes to choosing a curtain for the rods, most homeowners go with a sheer fabric. Lightweight materials allow for easy reshaping when wrapping around the rod. In addition, it’s ideal for achieving delicate curves and a fluid drape.
It is for this reason that we must master the art of drapery over rods before we can use scarves as window decorations. Fortunately, all you need to get started is a step-by-step guide that outlines everything you need to do.
Step 1: Determine measurements.
As previously stated, there is no standard length for window scarves to be hung at. It’s up to you whether or not you want the fabric to flow from the rod in a balanced or unbalanced manner. Measure the fabric after deciding on the style you wish to accomplish.
Note: To make the steps clear, we will use a traditional window scarf design with its ends flowing just above the window sill as our point of reference.
Get a spool of thread to figure out how much cloth you’ll need. Yes, a spool of thread, not a tape measure. Using a thread and wrapping it around the rods would be easier than using a tape measure.
Step 2: Thread your string.
Start at one end of the rod and work your way to the other by unwinding your spool. The curtain rod can be easily draped over it. Your window treatment’s look will be exactly what you want it to be based on the swag of your depth and how the strings are adjusted.
You’ll be able to see how your curtain will drape and wrap around the rod thanks to the thread. If you want to make simple window scarves, hang one end of a string on one side of the rod, let it hang loose, then hook the other end of that string on the opposite side of the rod.
Cut the string’s ends and remove it from the rod once you’ve achieved the desired length and positioning. Make a complete measurement of the length of the string, as this will act as the finished curtain’s total length.
Step 3: Make adjustments.
You should be able to make a window scarf out of regular sheer curtains without any additional tailoring. You may always change the arrangement of your fabric to use the whole length of your curtain if it is short by a few inches.
Remove the hem, cut off the excess fabric, or add a few inches if you prefer longer or shorter drapes to drape over the rods (depending on your desired result). Repeat the process of hemming the edges and pressing the fabric.
Step 4: Drape the curtain.
Using the brackets, attach your rod to it. Put a curtain or pre-adjusted curtain on one side of the rod and drape the other end over it. First and foremost, you must support the front weight to prevent it from slipping.
Carefully drape the other end over the rod’s unused portion. Adjust the fabric so that it may rest on the pole horizontally.. Add pins, staples, or tacks to the curtain edges to keep the cloth in place.
Design Tips
In the middle of the rod, you can create swags or curves in any number of ways. Drape the curtains by looping them around the rod and letting the sides hang freely. Use staples or pins to keep the fabric in place.
You can add pleats and other accessories, such as string lights, to complete the look. For this style of window treatment, you may wish to utilize ornate rods with finials rather than your typical curtain rod.
The sheers on the windows only serve to soften the angular look of the curtain rods. Even if you use sheer curtains as your drapes, the rod will still be visible. However, you can play around with different designs to disguise those unsightly curtain rods to your heart’s content.
How to Drape Curtains Over Rods
Flat-panel curtains draped over a pole soften the look of windows that are otherwise unadorned. Adding color or pattern to a room without the hefty cost of more labor-intensive window treatments is also a benefit. Alternatively, you can buy a ready-made curtain, known as a window scarf, or you can make your own by sewing straight stitches on all four sides of a piece of fabric.
Measuring
- The length of your curtain doesn’t necessitate complicated calculations. Instead, use a spool of string to wound it back up. The finished treatment will have the swag depth and number you specify on the string you use. Puddle the string on both ends if you want the ends to fall to the floor.
- Remove the string from the rod by snipping the ends of the string at your selected hem length. The finished curtain length is determined by measuring the length of the cut string. Make two separate scarves that look like curtain panels at either end of the pole by wrapping the thread around the rod until both ends reach your desired length. Using the string as a guide, cut and measure the desired length.
Curtain Preparation
- Pinch pleats 1 to 3 inches wide along the length of the curtain as you fold it. Window scarves purchased from a store should be hemmed to a width of 36 inches or less, and drapery-width fabric should be hemmed to a width of 3 inches or more.
- You want each pleat to overlap two-thirds of the one before it. All along the curtain’s length, pin the pleats into place with the wrong side of the cloth.
Draping Methods
- Both drapes should be folded in half width-wise to achieve the illusion of independent drapery panels. The widthwise folds should be set at the top of the curtain pole. Fold the curtain in half horizontally to create a single swag. Pull the curtain over the top of the rod after passing the folded end behind the rod.
- Pull the folded end of the swag down to the desired length of the swag. When you get to the breadth you want, simply pull apart the fold until it’s there. Once you’ve made one swag, wrap each end around the pole twice, creating two swags on either side of it. Adjust the swag’s dimensions and position. Continue to the end of the rod for each successive set of swags. Then, let the rod’s two ends fall to the ground.
Finishing
- Keep your distance from the glass. Adjust swags as necessary after ensuring they are the correct length and spacing. Swags and fabric hanging from each side of the pole should be removed from the swags by removing the straight pins.
- The pleats collapse into gentle folds when the pins are removed. Pins should be hidden by the rod’s top or back. Pin the pleats to the top and rear of the pole using more pins if necessary. Consider using staples or tacks to attach the curtain to the back of a wooden curtain pole.
Summary
In general, learning how to hang curtains from a rod is a rather simple task. Even if you already have your rod and brackets in place, there isn’t a lot of hardware you can use. Drape drapes beautifully to give your window treatments depth, texture, and additional color.
Nguồn: https://iatsabbioneta.org
Danh mục: Curtains


