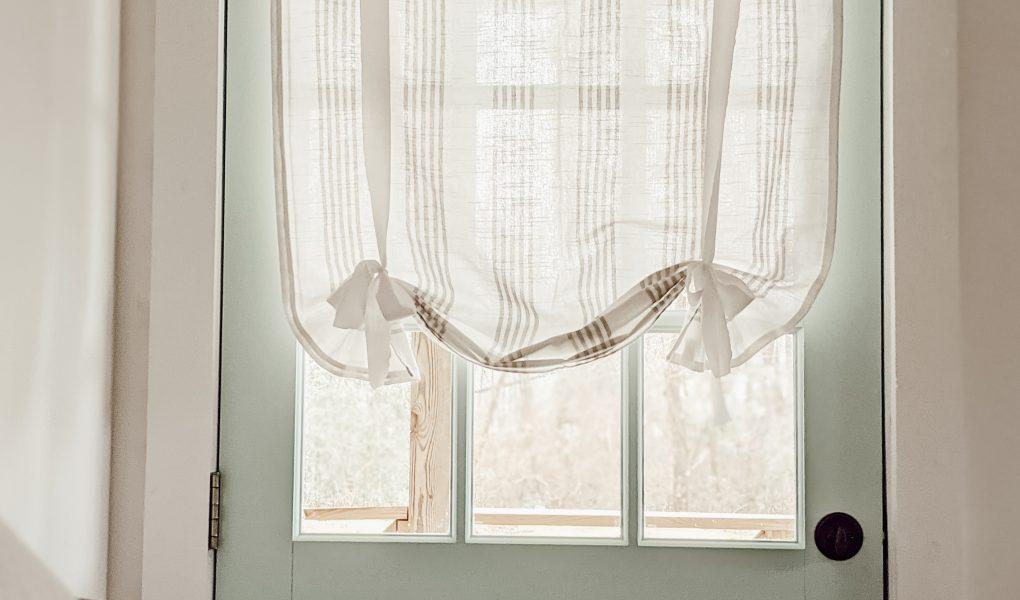
One method to save money while honing your sewing skills is to learn how to make tie-up curtains. Curtain styles range from modern to contemporary to bohemian and minimalist. However, as you may already be aware, different curtain designs go well with various types of interiors.
Ornamental window treatments, such as tie-up curtains, have their ancestry in the Victorian era. In this era, leather furniture and knickknacks ornamented with elaborate window treatments were commonplace.
Bạn đang xem: How To Make Tie Up Curtains? Complete Step-by-Step Guide
To build a tie-up curtain, all you need is some basic sewing supplies like cloth, ribbon, needles, and thread. A few simple steps and you’ll have a finished piece of clothing in no time at all.
If you think tie-up curtains are out of style because of their antique origins, you might want to rethink that. Interior design styles such as minimalism and bohemia can benefit greatly from the addition of new technologies, and we’ll teach you how to accomplish it yourself.
Step 1: Preparation
Gather all of the items you’ll need for this project.. Start by prepping the fabric. Measure your window to get the exact dimensions of your curtain and cut your cloth accordingly. Don’t forget to account for the seams when calculating your measurements (2 inches for the width and 3 inches for the height).
While you’re taking the window measurements, you can preshrink the fabric. Before cutting, remove the fabric from the dryer and press it flat. Cut a straight line when trimming your cloth to its final size using a straight edge and pencil.
Step 2: Hemming the fabric
In order to make tie-up curtains, you’ll need to complete this step. Double-hem all four sides of your fabric. This can be accomplished by tucking the material in 38 inches and sitting 12 inch higher than normal. Use a pin to secure the folds, then stitch them into place. The curtain’s hems need to be ironed.
Step 3: Make the ribbon.
To tie up your curtains, you’ll need grosgrain ribbon or any other form of ribbon. The same fabric can also be used to produce ribbon by cutting a long strip and hemming it on both sides.
Since the ribbon will be tied to the window’s height, it should be twice as long. The center of your ribbon should be marked with a pin. Folding the ribbon in half makes it easy to find the center.
Step 4: Sewing the curtain
Start with the hemmed fabric and lay it out flat on a work surface with the right side (printed side) facing up. Divide the curtain’s width in half using a measuring tape as a guide. Mark the fabric with creases or a fabric pencil, if necessary, to indicate the measurements.
At the top hem of the curtain, place a pin in the center of your ribbon, 14 inch away from the right side of the curtain. The curtain’s crown should be able to receive one-half of the ribbon. A quarter of the way down the hem, you’ll need to place your second ribbon.
Xem thêm : How To Decorate Vertical Blinds With Curtains? Comprehensive Guide
Using your ruler or tape measure, mark four inches down from the curtain’s top hem and pin the ribbons again in that position. Make sure the ribbon is aligned with the side of the curtain. Flip your curtain over, its right side (patterned side) facing away from you.
Step 5: Finishing touches
Xem thêm : How To Decorate Vertical Blinds With Curtains? Comprehensive Guide
Using your ruler or tape measure, mark four inches down from the curtain’s top hem and pin the ribbons again in that position. Make sure the ribbon is aligned with the side of the curtain. Flip your curtain over, its right side (patterned side) facing away from you.
Pin the ribbons again four inches down from the curtain’s top hem, using a ruler or tape measure. In order to avoid snagging, make sure the ribbon is parallel to the curtain. Your curtain should now face away from you, with its patterned side facing you.
The ribbon should be held in place by the thread. Removing any remaining pins from the drapery Hang the curtain rod with the cloth ironed on it, and let it rest on the brackets.
Design tips
Before making any fabric cuts, double-check the curtain measurements. You’ll be less likely to make costly blunders that need starting over. If you want to mark the fabric, you can use a fabric pencil other crease techniques.
Make the most of your sewing pins as you weave your curtain. You’ll be able to get a neat, fitted hem a lot easier this way. To pull your curtains together, you can either sew them by hand or, if you have a sewing machine, utilize it.
You don’t have to stress about the appearance of tie-up curtains because they’re simple to style and manage. It’s possible to experiment with different types of cloth and finish it off with an attractive valance or swag curtain.
One of the simplest projects to learn is how to build tie-up curtains. The curtain-making procedure can be learned by even novices. If you’re looking for a challenge, try customizing your cloth with a fabric marker or classic embroidery techniques.
STEPS FOR DIY TIE UP SHADES
Step 1)
Double-hem the top piece on both sides. Double hems are commonly used for beginners since they are folded over twice and sewn to keep them in place. Measuring 1/4 inch, folding it twice then ironing and pinning the inner border of the fold is how to make a double-hem hem.
Step 2)
Fold the top piece in half lengthwise, with the double hems facing in. Allowing enough space at the top for the tension rod loop, secure with pins. It’s time to join the two folded edges. For the rod, I left a 1 1/2-inch gap at the top. Create a loop for the tension rod to pass through by sewing across the width of the material where you designated for the tension rod at the top.
When you’re ready to hang the blinds, insert the tension rod as shown below.
For beginners like me, I recommend using a piece of tape as a sewing guide. You’ll be able to stitch more accurately if you do this.
Step 3)
The sides should be hemmed in the same way as the top piece. Then, sew a double hem on one end of the top piece only, as shown in the illustration. Cut the corners at an angle at the end you plan to do the double hem after you produce the double hem for the sides. When sewing, the side and end folds can more easily overlap at the corners, which reduces the overall bulk.
Xem thêm : How Do Air Curtains Work? All You Need To Know
Putting everything together and sewing it together is now the only thing left to do. The image that follows is of a single shade.
Step 4)
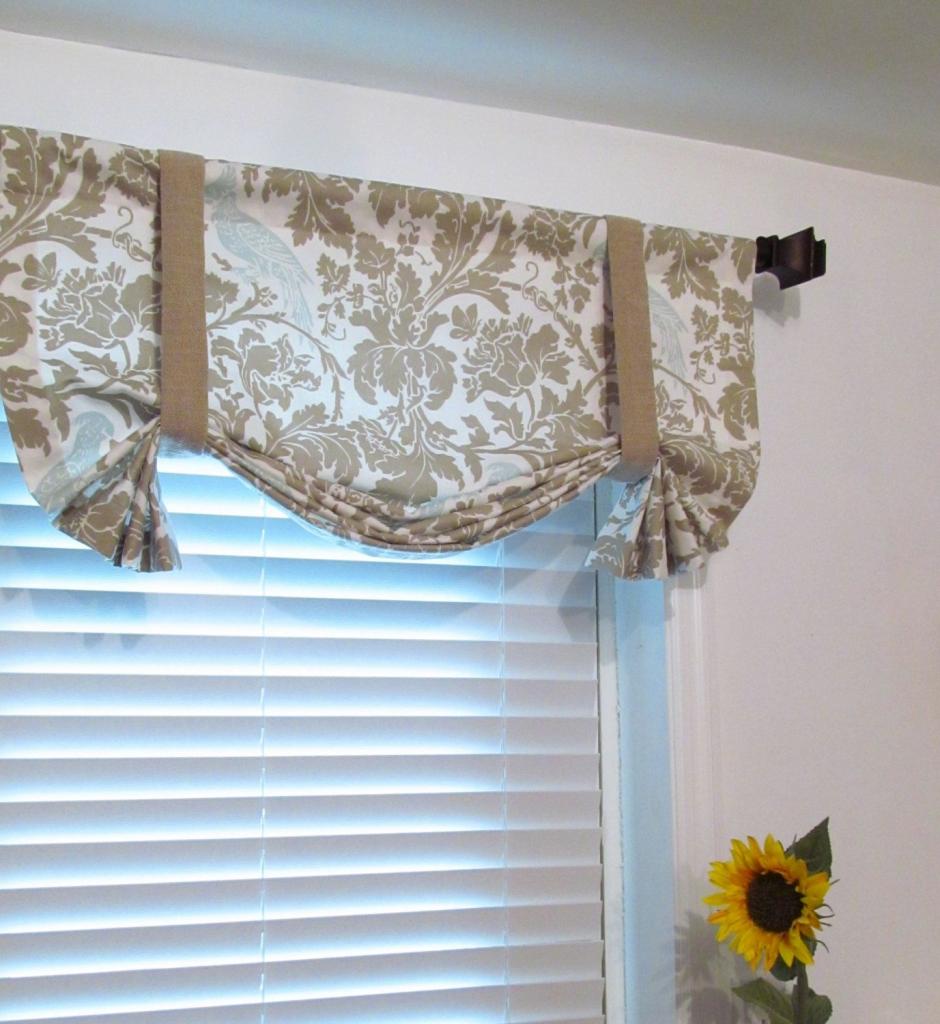
A few of pins will help you keep the four ties in place once you’ve placed them on the bottom piece. The bottom piece will have two ties on one side and two ties on the other side at the same spot. My ties were put 3 1/2 inches from the edges.
Place the top piece on top of the bottom piece with the ties fastened in place. Make sure the top piece’s unfinished edge lines up with the bottom piece’s finished edge. Pin the top piece to the bottom piece.
Step 5)
The top and bottom parts and the ties should be sewn together with a single stitch along the top edge. This is the beginning of the sewing process.
Step 4: Sew a second seam about 1/4 inch below the first one, keeping the materials in place. I sewed over the seam of the double-folded hem on the bottom piece in order to get a decent marker.
I’ll do my best to explain this final seam so that it makes sense. The ties on your top and bottom pieces should be secure at this time. When all of the edges are in place, you will sew a third and final seam. Sewing the edge of the previous hem to the top piece is the best way to accomplish this.
Step 6)
Pin the top piece in place by folding it in half and pinning it in place. Afterwards, while the top piece is still open, sew a second seam on top of the previous one.
Step 7)
Use a pair of scissors to trim the bottom section if necessary. Sew a double-fold hem to the bottom of the bottom piece, following the same procedure as in step 3 for the other end of the bottom piece (woh thats a lot of bottom talk).
Keep going until you’ve achieved the desired number of hues. I had to repeat this process five times for my living room’s bay window, which was a pain.
Step 8)
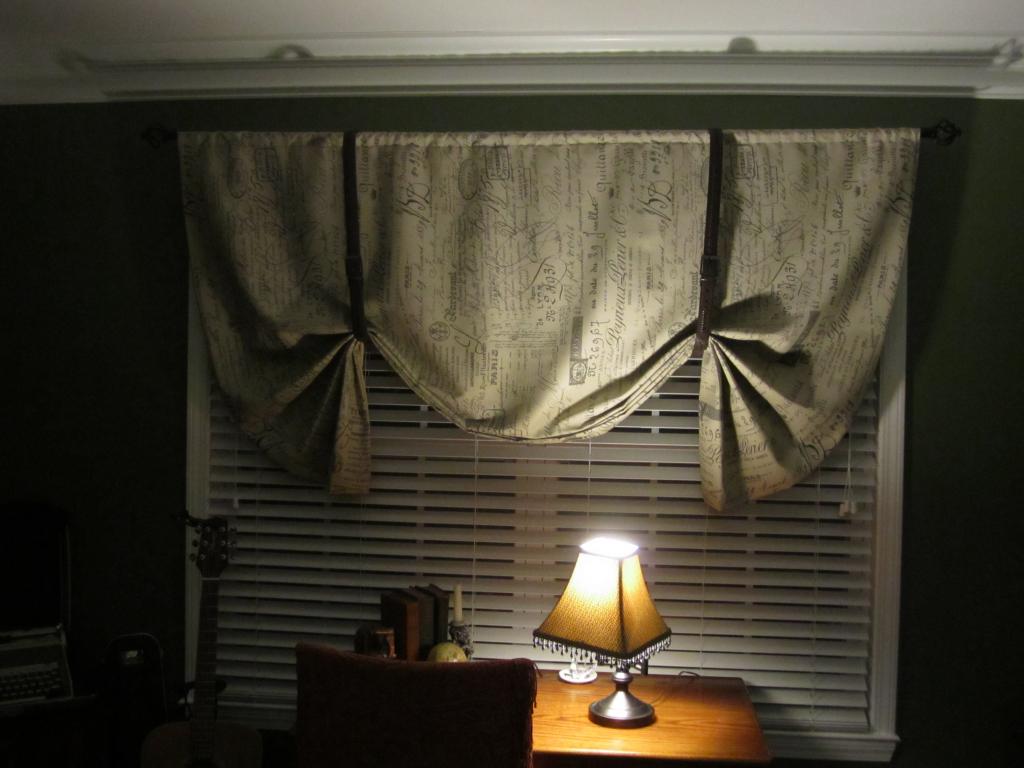
The shades should be pressed. To install the shades, just thread the tension rod through the loop and hang them from the window (s). Fold and tie your hair in the manner you like. To get the appropriate length, I accordion-folded the bottom section. Then I tied the ties into a bow.
This project cost me absolutely nothing because I used materials that were already in my house. However, it annoys me when individuals claim that their project only cost $15 because they recycled materials from their own homes. I want you everyone to have an idea of how much it would cost if you didn’t have any of the necessary supplies.
Thank you very much for reading this! I feel the need to make it clear that I am not an ingenious person by nature. I’m good at building and remodeling, but I’m terrible at making things. You have the ability to succeed in this endeavor! Simple as that! Craftiness isn’t required! Try it out with the cheapest cloth you can find and see if you can get it correct before committing to the project. My confidence in your ability to succeed is unshakeable. Let me know when you’re done. Send me a link to your work so I can check it out. It’s something I’d like to make public. Until then, I’m going to get my nails done (the nails are looking a little rough). Have a good time!
Nguồn: https://iatsabbioneta.org
Danh mục: Curtains


