Curtains with inverted pleats demand a great deal of work and attention. Simple and interesting, but a lot of labor is done by hand and not by machine, making inverted pleat curtains a challenge. The following list of ten steps will walk you through the process of making inverted pleat curtains.
Professionally constructed inverted pleat curtains are distinct from other types of drapes in that they lack visible hand stitching.
Bạn đang xem: How To Make Inverted Pleat Curtains? Easy Step-by-step Guide
Inverted pleat curtains, on the other hand, are almost exclusively stitched by hand, with the occasional use of a needle and thread. This takes more time and effort because there is more to be done.
Inverted pleat curtains require the following materials: drapery fabric, lining, drapery hooks, thread, hand sewing needle, iron, measuring tape, pins, scissors, and drapery weight.
Steps on How to Make Inverted Pleat Curtains
Step #1: Arrange the Pleats
Before cutting the curtain fabric, you’ll need to determine the size of the pleats. The size of the wrinkles will depend on how you want them to look.
Pinch pleats so that they repeat on the front and back of an item. Since the front and back are both inverted, it’s best to place more designs on the front side than the back.
To avoid confusion, it is important to note that if the curtains are primarily for aesthetic reasons, you can apply the exact amount of wrinkles while if they are utilitarian, smaller pleats are ideal.
Step #2: Take the Dimensions
The next step is to take the measurements once you’ve positioned the pleats. To measure the length and width of the cloth material, use a measuring tape. 13 inches long by 14 inches broad can be used for windows of various sizes and patterns, depending on the length of the window and how the design is laid out.
The curtain lining is carefully measured to verify that the cutting is correct. Before recording, it is critical to know the parameters. Before pleating the curtain panels, stitch the seams and make any necessary changes. To prevent wasting time and money, take the measurements and plan beforehand.
Step #3: Cut the Drapery Fabric
The drapery fabric should be cut and arranged in accordance with the measurements you’ve taken. When you’ve got your thread and hand needle ready, make sure it’s double and long by securing the thread to the needle.
Step #4: Seam the Fabric Material
Creating inverted pleat curtains begins with this step because it’s where the designs come to life.
Xem thêm : How To Wash Curtains? Effective Guide For You!
A half-width piece should be used on the inner part where the edge joins a narrow piece when building a single panel curtain, while a full-width piece should be used on the inner section where the edge joins a narrow piece when making a double panel curtain.
Seaming thick cloth with a plain seam is quicker and easier than sewing pattern fabric. The first step is to cut a piece of fabric that is 6 inches longer than the finished length of the garment. To be on the safe side, measure again and add a few additional inches.
Step #5: Seam the Lining
Cut the lining piece’s overall width to 4 inches longer than the finishing length, as determined in the preceding steps. Sew the two pieces together by pinning them together and cutting another length.
Step #6: Hem the Lining and add Drapery Weight
Fold and iron the lining. Bring out one and a half by unfolding it. Press after a final fold. Pin the hem if necessary to keep it from unraveling.
Close the hem with a stitch. Tack the raw edge of the hem to the folded hem. At the lower corners of the curtain, drapery weights are placed in order to keep the drapes from falling off track.
Step #7: Sew all the Fabrics
Together, using pins, adhere the outer cloth to the lining that is tucked underneath it. At the same time, you get the sewing machine ready to sew.
Step #8: Mark and Sew the Pleats
Pin together the top cloth and the lining that is tucked underneath it. The sewing machine is also set up and ready to go.
Together, using pins, attach the outer cloth to the lining that is tucked underneath it. At the same time, you prepare your sewing machine for action.
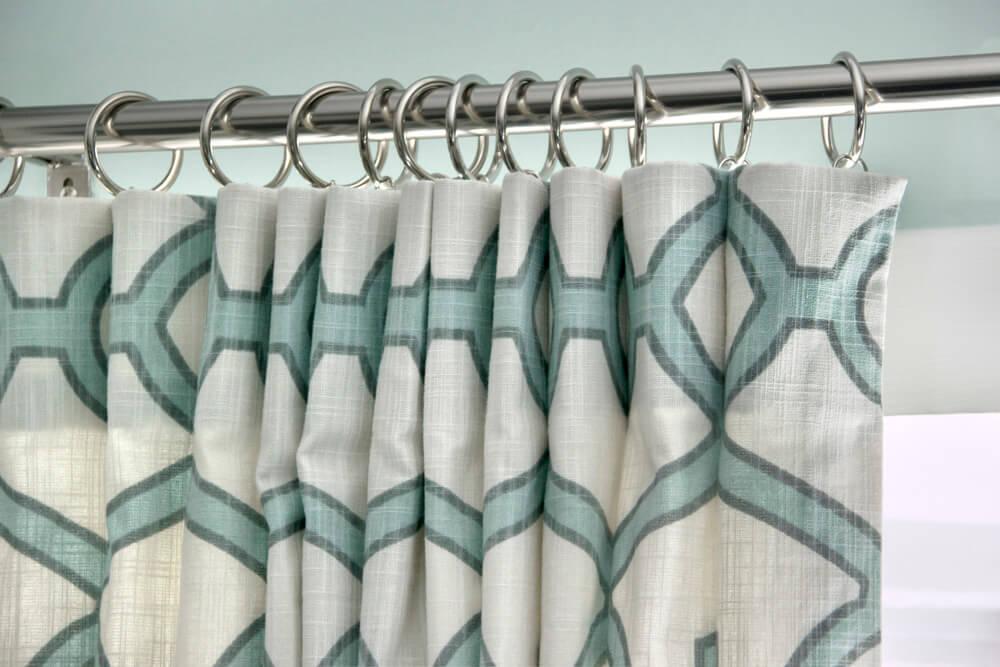
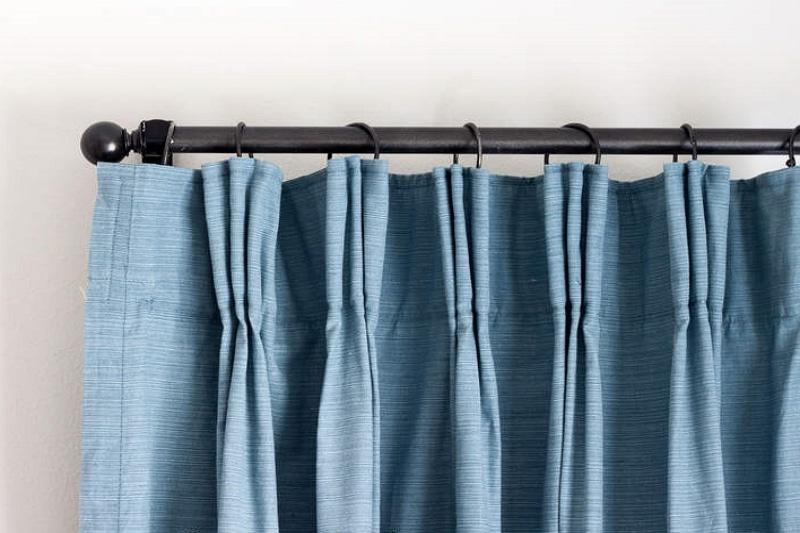
Step #9: Hang the Curtains
Pass the curtain rods over the hooks since they are organized in such a way. It’s a curtain with two panels. As a result, it is positioned in a left-to-right fashion. The illustration below shows how to fold it for the ideal appearance.
Do People Prefer Inverted Pleat Curtains to Other Curtains?
To make inverted pleat curtains, the preceding methods show that they are more difficult than other types of curtains.
In addition, because they look so good in the living room, people aren’t hesitant to acquire ready-made inverted pleat curtains.
How to Sew Lined Inverted Pleat Curtains
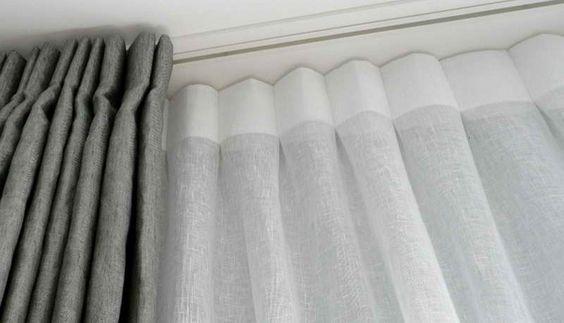
The pleats of inverted pleat curtains are hidden by a smooth, flat front. Interiors with a contemporary or modern aesthetic would benefit greatly from the simplicity and straight lines of these stationary panels. These curtains can be hung as panels under a valance or cornice or on a stylish rod for added panache. When it comes to sewing pleats, a drapery maker’s tip might make the process much easier than it appears.
Make the Panel
Xem thêm : How To Hang Wall To Wall Curtains? A Few Tips to Remember
A curtain’s completed length plus 12 inches is equivalent to the décor fabric’s cut length. Slash it so that it’s twice as wide as it will be when done, plus an additional six inches. Cut the lining to the finishing length plus 9 inches and to a width that is twice as wide as the finished product. Fabric widths can be joined together as needed.
Press the fold in the bottom hem of the décor cloth by 4 inches. Press the button for another 4 inches. Ensure that the hem is secure by sewing it near to the second fold. Overlap and push the 4-inch top edge of the sleeve. Press the fold in the side borders by 1 1/2 inches. Turn 1 1/2 inches to the right and push the button again.
Press the hem of the lining 3 inches. Press for a further three inches. Close the second fold with a stitch. Fold the top 4 inches over and press.
Open the hems of the decor fabric by laying it face down on the table. Align the lining’s side edges with the second fold of the decor fabric’s side hems and place the lining’s wrong side against the decor fabric’s wrong side. Align the lining’s top pressed fold 1/4 inch away from the decor fabric’s top folded edge. Pin the layers of the curtain together at the top.
Sew from the bottom edge of the curtain to the top of the curtain, close to the second fold, with the pushed side hems over the lining.
Make the Pleats
Prepare your table by laying your curtain flat and lining-side down on it.
Calculate the pleat location. When measuring the curtain, subtract the finished curtain width from the side-to-side measurement. The amount of cloth that can be used for pleats is the consequence. Find a number between 4 and 6 that is divisible by both figures. Dividing both the completed width and the cloth available for pleats by 8 results in 6. As a result, each of the 8 pleats and spaces will require 6 inches of fabric.
Indicating where the pleats and empty spaces should be located on the lining is easy. Make a half-space allocation starting from the left side of the curtain. Place a pin perpendicular to the top edge of the fabric at this spot and measure one-half the measurement of a pleat allotment from this point. The first pleat is marked by this pin. Make sure that your next pin is placed on top, in a position that is equivalent to one space and one pleat’s total length. Place pins perpendicular to the curtain’s top edge and continue measuring along the top.
For each center-of-pleat mark, fold the curtain right sides together and sew from the top edge toward the hem for 4 inches. As a fold line marker, leave the pin in place.
In step 5, open the channels established at each pleat site and push the cloth down to meet the stitching line. Flat pleats will form on the lining side of the curtain when the sides of the channel flare out. Removing the pin is the only way to do this. To keep the curtain’s pleats in place, sew across the top of it. To keep the bottom of the pleat in place, tack the pleat’s outer edges to the curtain.
Using a traverse or ring rod, attach a pair of drapery hooks to the center fold line.
Conclusion
It’s not difficult to learn how to manufacture inverted pleat curtains. Your time, effort, and dedication are the only things that will get you through. Step by step, you’ll be guaranteed to get the best-inverted pleat curtains.
Nguồn: https://iatsabbioneta.org
Danh mục: Curtains


