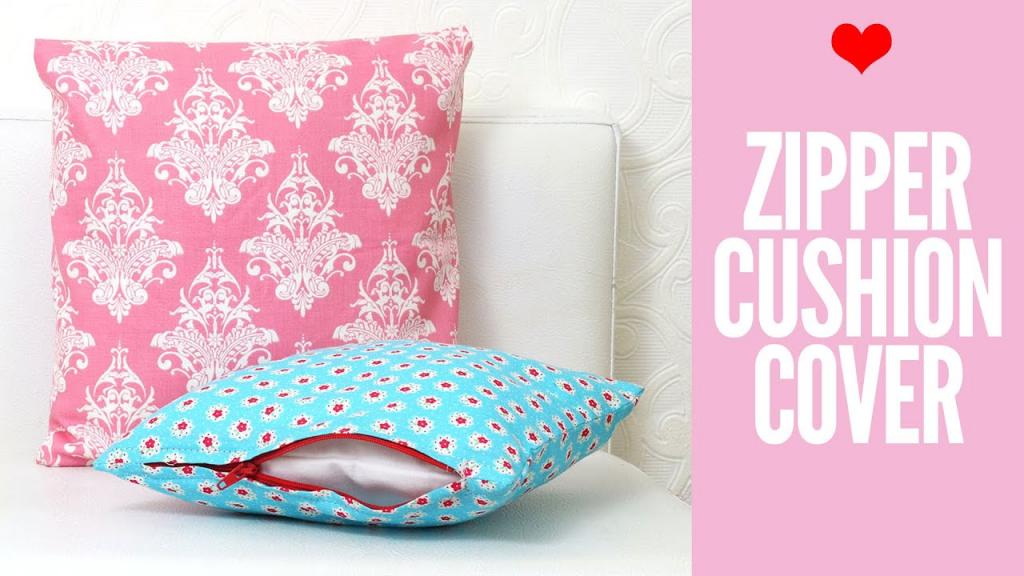
Learn how to construct a zippered pillow cover in this beginner-friendly guide. It’s a lot easier than you think!
For your convenience, this post includes affiliate links. To view my full disclosure, please click here.
Bạn đang xem: How To Make A Pillow Cover With A Zipper? Step-by-Step Tutorial
My sewing machine used to frighten me.
First, I used hem tape on my first pillows, which didn’t last long, and they lay on my sofa with a bulging seam for much too long because I wanted to avoid sewing a zipper. I had to put them in such a way that you wouldn’t be able to know. This is embarrassing for me, but here we are.
To be honest, the thought of sewing a pillow zipper terrified me as well.
Even though I’m a self-taught seamstress, I’ve learned that making zippered pillowcase covers isn’t intimidating, and my pillow covers can now be washed repeatedly, which is great because disgusting stuff (like drool) tend to accumulate on the throw pillows in my house.
I hope you’ll join me today as I show you how to build a zipped pillow case! Once and for all, it’s time to overcome your fear and sew a zipped pillow cover.
There’s nothing to be terrified of at all, really. I’ve got your back.
You’ll want to redecorate your room with new pillows all the time now that you can pick out your own fabric!
For your convenience, I’ve partnered up with my pals at Fabric.com to provide you with two different tutorials.
In order to build a zippered pillow case cover, you can either follow the photo guide below or watch the video!
Supplies to Make a Zippered Pillow Case
You’ll need the following to construct your own zippered pillow case:
- (Fabric can be purchased online). Here are five of my favorite online fabric retailers.) Using a home décor cloth, which is thicker and more stable, is preferable. The dimensions of the pillow insert will dictate how many pieces you need for each pillow.
- A Pillow Filler: I prefer 18-inch pillows for my bed. I know it’s a lot of furniture, but I think it looks best on a couch. And if you’re trying for a more luxurious look, I recommend using down pillow inserts.
- Ideally, your pillow’s bottom border should be at least three and a half inches shorter than the bottom of the zipper. Zippers are purchased here.
- When it comes to sewing projects for the house, I always reach for this model. It is easy to use, affordable, and can sew through thick or several layers of fabric without difficulty.
- a zippered footbed
- Thread, scissors and an iron are required.
- Cutting mat and rotary cutter are optional but strongly recommended to ensure that your cuts are perfectly straight. It will save you a lot of time and effort, and your end product will be flawless.
Here is the link to the blue and white fabric I used to make this exact pillow.
Step 1: Cut your fabric
You will need two pieces of fabric: one for the front and one for the back. Glue them together.
Because my pillow inserts are so small, I prefer to cut my fabric to match them. There are no gaps in the pillow’s shape when I use half a seam allowance. Using a rotary cutter and a cutting mat is also the easiest technique to create perfectly smooth edges. There are a number of ways to get started making pillows if you don’t already have one, but if you become hooked on it, a rotary cutter will be your best friend!
Decide which edge will be the bottom edge of your garment once your fabric has been cut and laid out with the lovely sides facing in. STOP! A pattern should follow the same path on both pieces if it is successful. Avoid a disaster by checking this out first!
Step 2: Place and Mark your zipper
Place pins in the fabric at the beginning and end of the zipper before pinning it in place. Pins aren’t necessary just yet. Just to make sure we don’t forget where the zipper will go in our pillow case.
Step 3: Sew your bottom edge
Sewing the bottom edge is now ready for you. The secret to a perfectly straight zipper is right here.
From the edge to the pin, you’ll use a typical straight stitch to sew, starting and stopping with backstitching. Do it on both sides.
Between the pins, you’ll sew the broadest stitch possible with your sewing machine. ‘ The zig-zag stitch is what I’m referring to. This section should not be backstitched. Once the zipper is in place, you’ll want to be able to easily remove this stitch.
Step 4: Get ready to add the zipper
Place your zipper facing down on the seam you just ironed open. The zipper on one of my pillows goes backwards, and it is a headache to open. Isn’t that what life is about?
Xem thêm : How Many Pounds Of Buckwheat Hulls To Make A Pillow? A Must Read!
Pin the zipper in place with a few pins and head to your sewing machine. Avoid being alarmed. You’ll be alright, I promise you that much.
Step 5: Sew your zipper in place!
Ok. Breathe deeply. Surely you can do it!
The first step is to put your zipper foot in place. Keep your zipper foot in your hand while you zip. Isn’t it interesting how it resembles a half-foot? To begin sewing, you’ll want to attach the “missing side” to your machine and sew down that side, then switch it and sew down the other side.
Ok. Ready. Make sure you’re using a typical straight stitch and begin stitching at the end of the zipper furthest from the zipper handle. Sew as close as possible to the zipper teeth.
Keep your needle down in the cloth as close to the zipper pull as possible when you get to it since you won’t be able to keep going much further (if possible.) Reverse the zipper by lifting your foot and carefully unzipping it past the ankle, then drop your foot and finish the zipper. To complete your stitch, use a backstitch.
The other side of the coin is now shown. Make sure that the “missing” side of your zipper is at the zipper’s end, and then move your zipper foot so that it’s facing you.
You’ve accomplished your goal! Zippers are now installed! Congratulations on your accomplishments!
When your hubby falls asleep on the couch, he’ll have a beautiful new area to drool! (Which is unheard of in this town.)
Step 6: Undo your temporary stitch
Using a seam ripper, carefully unwind the lengthy stitch you created along the zipper’s pulls.
Before continuing on to the following step, make sure your zipper is unzipped at least halfway.
Step 7: Sew the remaining sides of your pillow cover.
Pin the remaining edges of your pillow cover into place after re-laying it with the good sides facing in. (At the very least, unzip the zipper halfway.)
Get back in there and sew the remaining edges with a 1/2-inch seam allowance, cutting diagonally across the corners this time. Replace your regular foot. This is an example of what I mean.
Rather than continuing to sew, lift your foot, turn the fabric, and then lower your foot. When stitching, this is the best technique to ever turn a corner.
When you’re finished, trim the corners of the stitch by about a half-inch. You’ll be able to create beautiful corners for your pillows by doing this.
Final Step: Serge the edges (you don’t need a serger for this)
The whole aim of zippered pillow covers is to make them easy to remove and wash. So if you intend to wash them, you’ll want to polish the edges for extra durability.
In order to do this, you’ll need to serge the corners.
Because I don’t own a serger, I use a zig-zag stitch to sew my edges such that the needle passes through the fabric on one side but just misses the fabric on the other. To make a zig-zag stitch, place your needle on the edge of the fabric and the middle of your foot in a straight line. (As shown in the photo.)
This will prevent fraying and give your edges a polished appearance.
Alright! You may now stuff your pillow into your zipped pillow cover, which you should do the right way around.
Now that wasn’t so bad, was it?
How to sew a pillow cover with a zipper
Other people are afraid of sewing zippers, too? I’m not sure why it’s so frightening to me. My apprehension has passed, however. A few zipper projects in the past have helped me overcome my apprehensions about sewing zippers.
Xem thêm : How To Clean Bed Rest Pillow? Step-By-Step Process
So when I chose to use a zipper instead of an envelope closure to make some throw pillow covers, I thought it would make a terrific instructional. See, we’ve got these disgusting barftastic faux fur cushions in the house.
Their appearance has declined significantly since having a reflux-prone kid who frequently spat on them and a few washes in the washing machine and dryer. It’s just not possible to wash faux fur. Because of their size and sturdiness, they make excellent shell pillows. I chose to use a cover to hide the matted faux fur. It’s all about reducing, reusing and recycling.
They’re gorgeous, too! (This is especially true given the fact that the front and back are made of two distinct materials: brush stroke watercolors on the front and velour on the back.)
Here’s what I used:
- Velour, ornamental fabric, and more. Jo-had Ann’s both of mine.
- Thread and a sewing machine
- Foot for your sewing machine with a regular and zip closure.
- scissors, pins, measuring tape, straight edge, pen, and a seam ripper are some of the tools you’ll need.
- Zipper
- Iron
And here are the steps for how to sew a pillow cover with a zipper.
Step 1: Prep and cut fabric.
Once you have pre-shrunk your cloth, you can begin sewing. Cut and iron if necessary. As a result, the pillow form I used had to be 20 inches by 20 inches, and I also included a 1-inch seam allowance on each side.
I used a mix of tape, a straight edge, a marker, and pins to verify that all of my cuts were perfectly straight and square.
Step 2: Place and mark for the zipper.
Use a pin or a pen to mark the metal stoppers on each end of the zipper.
Pins have been inserted into the ground below. As an added convenience, I marked the location of the 1′′ seam allowance using a straight edge and a marker.
Step 3: Close the ends of the zipper side.
Using an ordinary straight thread, sew from where you marked with a pin or marker on each side of the fabric to the end. The beginning and end of each of these threads should be backed or locked stitched.
In the first photo, you can see where I sewed my thumb and pointer finger. Second, my pointer finger shows the end of my stitch (which I’d marked with a pin) in the second picture.
Step 4: Baste stitch where the zipper will go.
If you have a “baste” setting on your sewing machine, set it to the longest stitch possible. Begin by sewing the two regions that were previously stitched shut together (between the two marks you made to signify the end of the zipper).
Then, as seen in the photographs below, open the two parts you’ve stitched together and iron the seam you produced open.
(This stitch will be removed in a subsequent step.) A basting stitch is one that can be easily undone without damaging your work.)
Step 5: Attach the zipper to the pillow cover.
Zipper should be placed face down on the seam. Pin it in place, making sure it’s aligned with the basted stitch.
To sew a straight line along either side of your zipper, switch to your zipper foot (4th and 5th photographs below, check carefully for the seam! ).
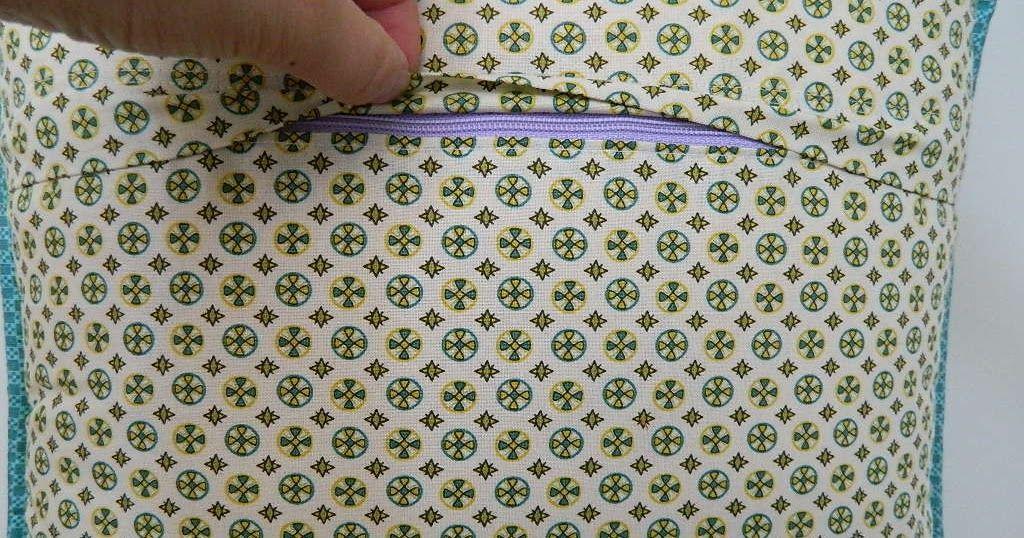
Step 6: Open basting stitch.
Congrats! The zipper is now installed! To remove the basting stitch, turn the fabric over and use a seam ripper. The right side of your zipper should come out rather easily, which is the side you use to open and close it.
Step 7: Finish the pillow cover.
The most difficult portion is now behind us. The correct sides of the zipper need to be facing each other, so pin them together and stitch along the 1′′ seam allowance on all three sides.
If it helps, you can use a straight edge and marker to mark the 1′′ seam allowance. It is a lifesaver for me!
Turn the case right-side out and trim any extra fabric from the sides and corners. Push each corner out with your finger to create a clean straight angle.
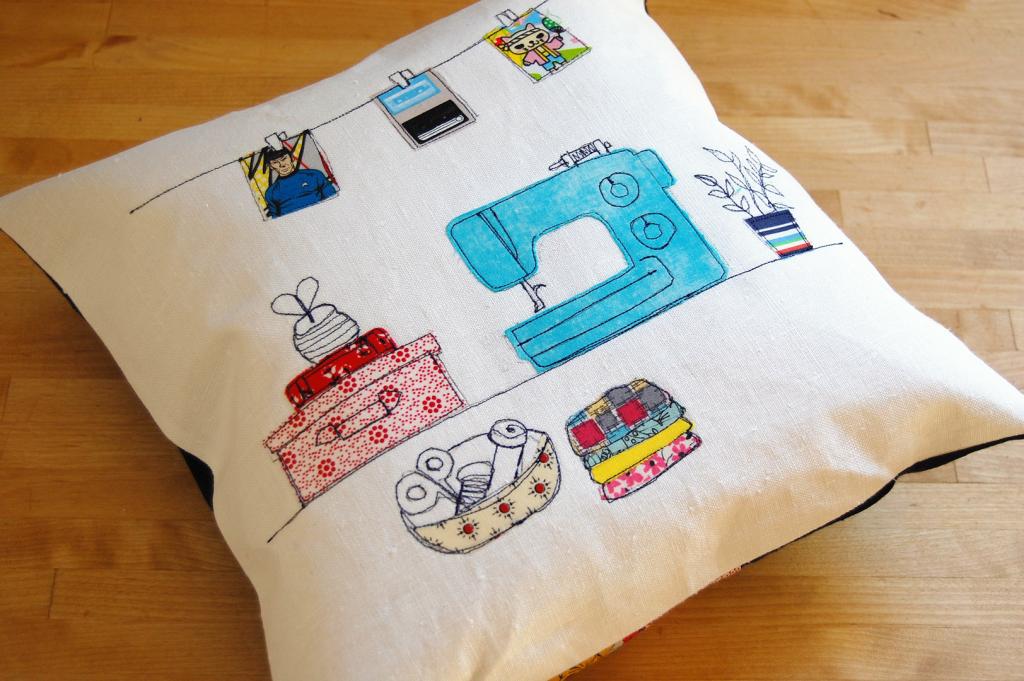
It only takes a few seconds to put your cushion in place and zip up your hoodie. The new pillow is a big improvement, don’t you think?
Also, the cover may now be removed and washed with ease if necessary. In addition, they can be reversed, which is a nice feature. Solid velour or a watercolor brush stroke design
My other videos include how to make the ideal curtain hem, how to sew a laptop sleeve envelope, and how to dye a rug.
Nguồn: https://iatsabbioneta.org
Danh mục: Pillow


