If you want to ensure that your curtains stay in place no matter how much you mess with them, use a magnetic closure. When curtains are hung flat with the wall, magnets connected to them can assist prevent light from spilling out. The same principle underlies the effectiveness of a blackout. According to Outdoor Curtains, little magnets may be purchased at any craft or fabric store to make your own version.
1. Remove a Curtain Panel
Remove each curtain panel by lowering the curtain rod. Place it so that the side that will be facing the window is facing up on a flat, large work surface. At a time, focus on one panel at a time.
Bạn đang xem: How To Keep Curtains Closed Properly? Comprehensive Guide
2. Mark the Location of the Magnets
Set up the magnets by drawing a straight line across the curtain. The magnets should be placed in the vertical edge of the curtain panels where they meet each other to keep them closed. In order to ensure that the curtain’s edges are completely sealed to the window opening, place magnets on both the sides and the bottom, if not the top. Each curtain panel should be measured at least three times along its length. You can use a straightedge, a grease pencil, or even a roll of tape to draw a straight path.
3. Select and Prepare the Thread
To sew a curtain, thread a needle with a suitable length of sewing thread, double it back, and tie a knot at the end of it. Make sure you pick a thread color that complements the color of your curtain and is appropriate for the fabric’s weight. When the thread on the needle runs out, replace it with a fresh spool and start over.
4. Position the Magnet
The guiding mark you produced earlier will serve as a guide for where you should place the magnet on the curtain. Turn the magnet over so that the grooved side is facing up — in some cases, this is the side that is facing up. Others utilize a symbol with a positive and negative aspect. The correct technique to test this is to see which way the magnets attract each other. Before affixing the magnet, make sure it does not protrude past the edge of the curtain.. Make any necessary adjustments and make a note of the final positioning before moving on to the next magnet.
5. Sew the Magnet
Sew the magnet in place according to the instructions provided. When a magnet is circular, the needle is typically pierced through its center once before re-piercing the center of the magnet. To put it another way, imagine wrapping a piece of string around the steering wheel of your car. The magnet’s hold on the curtain gets stronger the more rounds you do.
6. Attach All Magnets
Continue affixing magnets to the guideline that was previously drawn. You should use at least three magnets on each side – the more you want to use, the more privacy or sealing you want. Magnets placed every four to six inches keep the fabric closed enough to obscure the majority of light. Always make sure you install magnets with the correct side facing up on each side of a panel where they are to be positioned.
7. Match the Other Curtain Panels
Set up each curtain panel in a way that it exactly matches the first. That will ensure that the magnets are perfectly aligned. To ensure that the magnets are attracted to one another, sew the opposite magnet to the next curtain panel where it meets the first. Before securing, conduct a test.
8. Determine Magnet Wall Attachment Location
The wall can be adorned with magnets where they’re needed. Those bottom curtain magnets, for example, will be useless if your window isn’t steel-framed. Replace the curtain rod once you’ve hung the curtains. Find and mark any magnets on the wall by peeking under the curtain’s edge.
9. Attach the Magnets
Glue a magnet to the wall with a small amount of glue, making sure the magnet is positioned to attract the magnet in the curtain. To avoid damaging the wall, use a glue that is designed for that surface. According to K&J Magnetics, you may be able to find magnets that already have an adhesive backing. It’s also possible to attach the magnet by driving a screw through the magnet’s center hole. Insert a plastic anchor first if there is no wood framing underneath the wall. Finish the process by attaching each magnet in the same way down the length.
Things You Will Need
- Measure with a tape measure.
- Sewing needles, tape, or a sewing pencil
- Stitching magnets
- Thread
- Needle
- Screws or glue (optional)
5 Smart Ways to Keep Your Curtains Closed
Affiliate links may be used in this post. At no additional cost to you, if you click on one of these links and make a purchase, I will receive compensation from the company. Earnings from eligible purchases are also a part of my compensation as an Amazon Associate
You can’t dispute how interesting curtains may be when it comes to your home’s design. There are few things better at balancing form and function than curtains, and few things achieve it better than draperies.
To keep the heat or air conditioning in and the light or heat from the outside out, curtains are the obvious choice. It’s hard to deny their visual merits.
There are many ways to use curtains to enhance your home’s decor, from stately Victorian homes to Gone With the Wind-inspired Southern Gothic style houses to French doors and Parisian-style flats.
But what if your drapes are stubbornly refusing to stay in place? You can appreciate the visual appeal of a summer breeze blowing your billowing drapes in all directions, but what about when you want them shut?
Fortunately, the following advice can help you achieve this goal.
1 – Consider Your Curtains
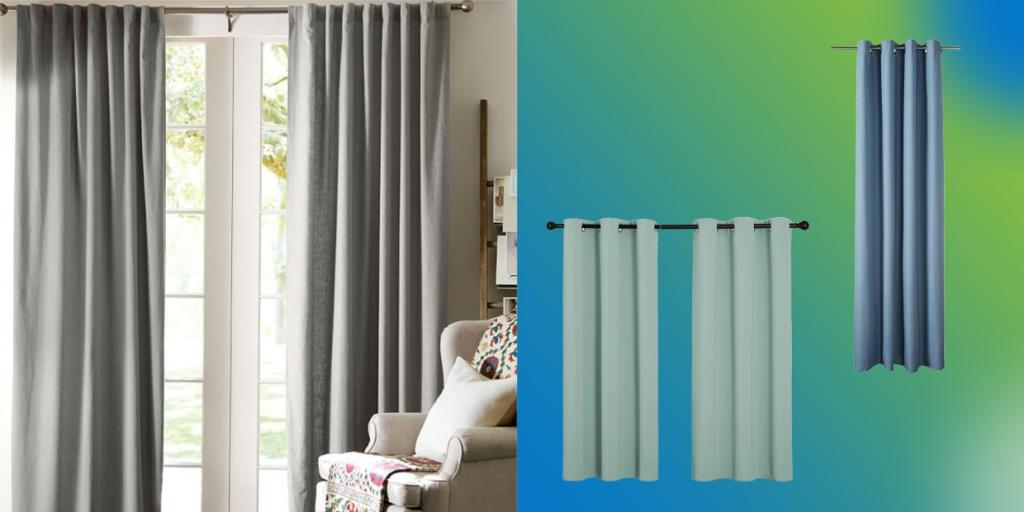
The type of curtains you currently have should be your first consideration. Lighter fabric means that curtains will be more easily blown by the breeze.
That’s why stronger curtains that the wind has a harder time blowing open can be a better option if the curtains need to stay closed.
Is this, however, usually a sensible decision?
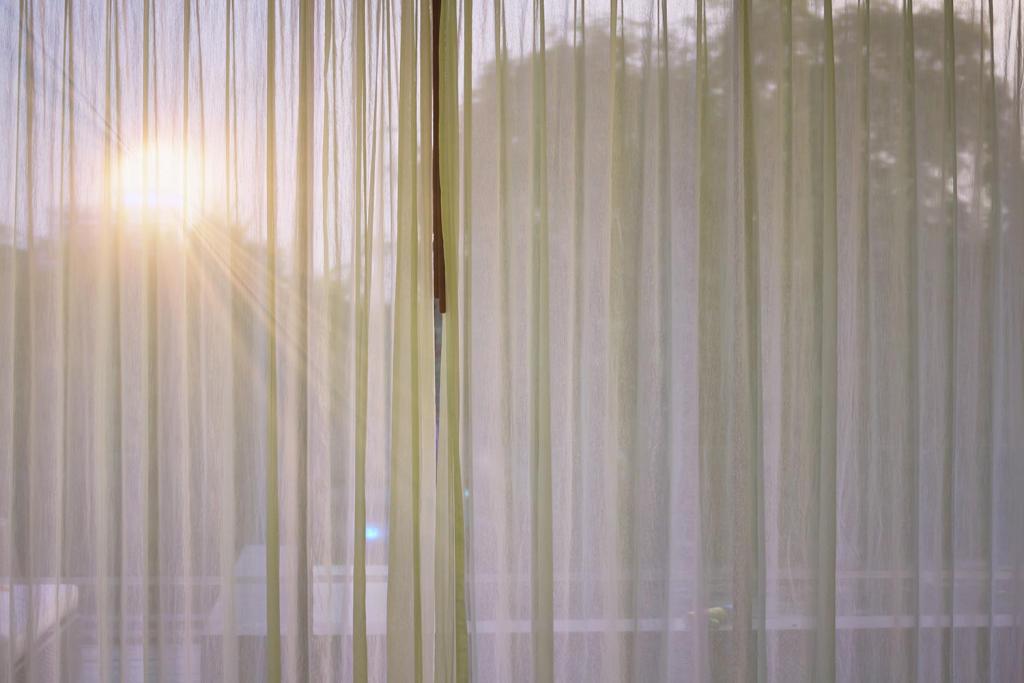
Thick curtains, on the other hand, could clash with the rest of your decor. White curtains work great as curtains for a number of reasons. Doors and windows that lead to your front or garden will appear lighter and more airy when draped in light linen.
Xem thêm : How To Hang Grommet Curtains Without A Rod? Easy Step-by-step Guide
Furthermore, thicker curtains can potentially trap more heat than you like, resulting in a warmer environment than you had hoped for or expected.
Some features may be thicker, while others may be thinner. Thicker curtain edges or tops, for example, can help add weight to it and keep it in place.
2 – Clothes Pins and Clips
This is a great example of inventiveness addressing a seemingly hard problem that, upon closer inspection, turns out to be quite straightforward.
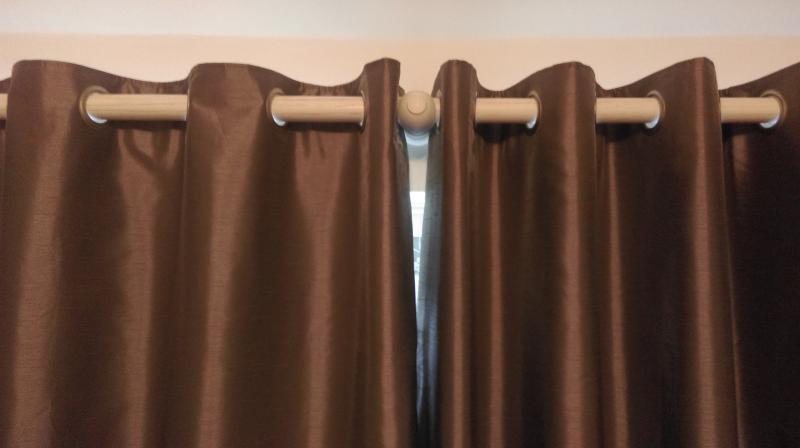
After all, for many curtain fixtures, the curtains are separated from one another, part of the reason they are so easily blown outward. These sheets aren’t a single piece, but rather a series of sheets linked together by a rod at the top.
As a result, the ripple effect makes it more difficult to block the breeze from blowing between the sheets.
However, there is a simple solution to this problem: clip the separate curtains together.
In addition to its seeming simplicity, this solution has a number of advantages.
For starters, this is one of the cheapest options on the list. Thicker curtains and the rest of the extras aren’t necessary, and they’re all free. Most of us already have clips in our possession in some form or another.
In the end, it doesn’t matter if you use clothespins or larger black clips to keep together a stack of documents.
Clips also have the advantage of rarely coming loosening. Clothespins, which are likely to be more flimsy than office clips, make this more challenging.
However, the biggest disadvantage of this method is that if you pinch delicate curtains too firmly with these pins, it may leave an impression. This way can avoid this.
You don’t want to ruin your expensive drapes with a $2 clothespin or office clip. Even though it’s not prevalent, this method is still an option and one of the most straightforward and least expensive options on this list.
3 – Magnetic Closures
Magnetic blinds may be a better option if you’re searching for something that’s both more secure and more complex. These are magnetically-shut blinds, as the name suggests.
Because it keeps your curtains closed, this is a great way to ensure that you have complete privacy when you’re at home. Even if your regular curtains aren’t the finest at keeping your privacy safe, these can provide an extra layer of security.
You’ll need a curtain rod that’s aligned with the blinds if you want this to work. You’ll want to lower the curtain rod to get the most out of this. It’s also possible to remove the complete curtain panel.
After that, you can begin working on the magnetic blinds. Make sure you have plenty of space to spread them out. Make certain that the upward-facing side is towards the window on the side that will be facing out.
As you progress through this process, you’ll want to take it one panel at a time.
Make a plan for where the blinds will line up with the magnets and the curtains before you begin. The magnets should be placed quite close to the vertical edge where the opposing panels touch one another in order to keep them together.
Remember to mark everything out in advance once again.
Now is the moment to sew your blinds to your curtain. As a last step, make sure the magnetic blinds are close enough to one another so that they may be drawn together and opened and closed properly.
You’ll also need to figure out where to place the magnets on the wall.
It’s now time to attach the magnets to the wall by dabbing them with glue. Line them up with the blinds, which should be in perfect alignment with your drapes.
4 – Tie Them Together
Xem thêm : How To Hang Curtains With Clips? A Step-by Step Learning Guide
This is yet another straightforward do-it-yourself project. Tie the drapes shut if they keep billowing open. Sew the two ends of opposite curtains together with some string that is thin but strong enough to hold them in place.
5 – Weight Them with Furniture
The simplest solution here is to just use a piece of furniture to keep the fabric in place. A simple push of a door or footstool against the curtain is all that is required.
Despite this, there is still a great deal of complexity to be discovered. Your curtains don’t want to be creased or crumpled by heavy furniture and you don’t want furniture that doesn’t match the color scheme of the curtains either.
There are various ways to keep your curtains closed, just like there are many ways to make your curtains work with your interior design. You can improve the dependability and refinement of your home’s interior design by picking the proper way for closing your curtains.
How to Keep Curtains Closed Properly
It is possible to keep our drapes open and let plenty of natural light into the room by using tiebacks and holdbacks. Even still, it’s a universal truth that knowing how to close the curtains is a much more pleasant experience.
Closing your curtains can improve the privacy and heat-insulating features of your house. Curtain layering designs can also benefit from this technique. Fortunately, simple clips or magnet closures can be used to keep your curtains closed.
A more elaborate and secure magnetic closing can be made with a lot less effort than you might think. For your convenience, we’ve put up this step-by-by-step guide on how to manufacture your own curtain magnets.
Step 1: Take down the panel
When a curtain panel is irritating the rod, it’s impossible to deal with it. If you can, please lay one of them down, right side up, on your work area so that you can see it better. For each panel, we’ll go through the identical process; however, we can tackle it one panel at a time.
Step 2: Mark the magnet placements
Make a straight line across the top of the curtain to assist you find the magnets’ exact location. Because we’ll be working with magnet wall attachments, be careful to do both sides of the project.
Starting at the top and working your way down, mark the vertical positions of your magnets using the vertical line. A tidy and fitted effect can be achieved by placing them at similar distances from one other.
Long strips of magnet can be used to cover the whole surface of the panel. When it comes to circular magnets, all you have to do is figure out how many you’ll need. Be aware that putting them too far away from each other will diminish their ability to close off an area.
Tip: Try placing the magnets at a four to six inches distance to keep your curtains firmly closed. It will help you block out most of the light and maintain your room’s privacy.
Step 3: Attach your magnets.
Strong adhesives and tapes make it simple to connect the magnets to their designated locations. Magnets can also be sewn directly onto the curtain in thin strips. Attach the magnets to the fabric by drilling a small hole in the center of each one.
Make a loop around the magnet and sew it in place, going back through the center to pierce the thread a second time. Make more loops around the magnet to make it more secure. Continue this process until all of the panels have been joined to both sides of the initial one.
Lay the second, third, and subsequent curtain panels next to the first. You’ll save a lot of time by not having to label the other draperies in this manner. When the curtain is closed, you’ll be able to see exactly where the magnet should be placed.
Tip:
Always remember to sew the attractive sides of the magnet facing upwards. You may want to mark all the magnets beforehand, so you don’t have to worry about them during the sewing process.
If you have thinner curtains and don’t want your magnets to show, you can sew them with the attractive sides facing the fabric. However, remember that the magnet has to be strong enough to stay together even with the material in between.
Step 4: Attaching wall magnets
In order to prevent light from peeking through the sides of the curtain panels, we now offer magnets for them. After all, the goal here is to completely dim the lights and create an atmosphere of seclusion. The first step in attaching magnets to the wall is to change your curtain panels.
Placing the panels on the bracket is as simple as hanging them normally. Make sure the fabric is in the right place before closing it and arranging it as desired. Mark the location of the magnet on the wall by moving to the other side of the window.
Ensure the magnet’s wall location matches that of its fabric counterpart. To identify the components, mark them using a pencil or another marking tool. Glue one magnet at a time to the wall, starting with the smallest piece.
The magnet should be attached with the right side facing up. You can screw magnets to the wall if they have a hole in the middle. In this case, a suitable surface adhesive, such as glue or tape, is all that is needed.
Why should I close my curtains?
Aside from its visual appeal, curtains are there to provide some privacy in your rooms. As a result, it serves as an effective means of insulating a certain area. Draperies with exceptional insulating capabilities, such as blackout curtains, are a good example.
It shields your private property from prying eyes that might be interested in what’s within. In order to achieve maximum privacy, magnetic tapes are applied to both the walls and the sides of the panels.
Closing your curtains using clips or pins is another option. Some varieties of fabric are so heavy that they can stay closed all by themselves. Pinch pleats can also be added for a more refined look. As a curtain owner, it is crucial to know how to maintain your curtains closed at all times.
Nguồn: https://iatsabbioneta.org
Danh mục: Curtains


