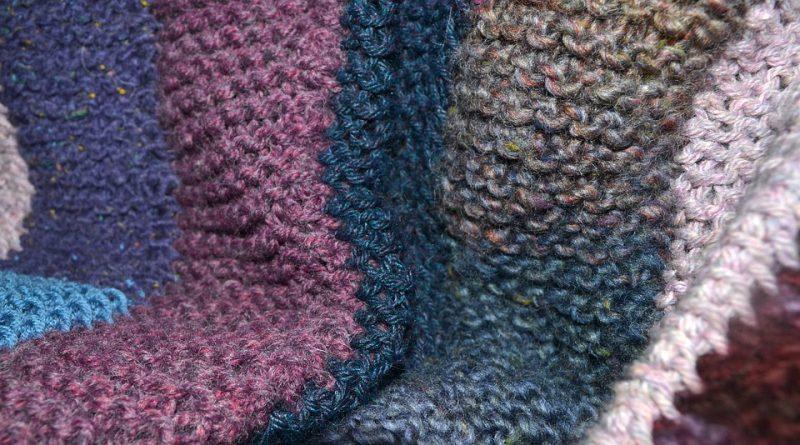
Your finished knitted creation looks so much better when it has been blocked!
Are you unsure if blocking your project is necessary? Before and after pictures can be found at the bottom of this post. It’s like comparing an ironed shirt to a wrinkled shirt from the bottom of the washing basket. When compared to a wrinkled shirt, the ironed shirt presents a more polished and professional image.
Bạn đang xem: How To Block A Knitted Blanket? A Perfect Guide For You!
It’s not difficult to block a finished knitting project if you’ve never done it before… A little more effort is all that is required. It’s worth the effort to block! In many cases, blocking is what elevates an ordinary effort to the level of a polished professional endeavor.
Step-by-step instructions are included in this document.
How to block a blanket, scarf, or another knitting project:
1. Weave in all the ends on the back of your knitting.
The Traveling Afghan sampler pattern knitting project is an exception to this rule because it will be put together afterwards. In this situation, I leave the cast-on and cast-off ends free so that they can be used to stitch up seams.
Starting from the back (the wrong side) of your knitting, weave in all of the ends.
2. Soak the knitting in cold water
for at least 20 minutes in a large basin or pot in the kitchen sink. Push the knitting beneath the water with your hand so that it is completely submerged and saturated.
Using a big bowl, place your knitting in the water and let it soak for a few minutes.
For around 20 minutes, soak the knitting in cold water. My knitting pattern for a Westport Blanket is available here.
3. Allow the water to drain out
removing the drain stopper or using a large colander for knitting. Wait a few minutes before using the knitting so that any extra water can drain. Do not wring or twist the knitting as you gently push out the water.
Drain the sink of any remaining water. Drain the water from the blanket by allowing it to sit for a few minutes.
I use a colander to remove some of the leftover water from small knitting items like a scarf or a small blanket. (I’m wearing my Room with a View scarf in this picture.)”
4. Carefully transfer knitting to an old towel
To remove extra water from the surface. Avoid twisting or wringing the yarn.
Make sure you use a towel that matches the color of your yarn, or one that won’t transfer color to it. Don’t use a red towel with white yarn if you want your knitting to turn pink!
To remove excess moisture, place the knitted item on an old towel. The Traveling Afghan sampler begins with this square.
5. Set up blocking mats
Carpeted or water-resistant (don’t set up on hardwood floors!) floor is best. A craft table or counter top with a water-resistant surface would be an alternative option if you have the room.
There are a wide variety of blocking mats to choose from! A tape measure, nine 12″ white mats with grid lines, blocking pins, and a box from Hephaestus Crafts are among the recent additions to my craft stash.
Xem thêm : How To Crochet A Basket Weave Blanket? Comprehensive Guide
Hephaestus Crafts blocking mats set purchased in September of 2020. 9 white mats, 150 T-pins, and an elegant tape measure are all included in this lovely packaged set. A fantastic collection!
Blocking mats with 1″ grid lines make it simple to align a scarf or blanket project so that the edges are tidy and straight. My new Hephaestus Crafts blocking mats set may be found at this website. If only I had gotten these grid mats sooner!
Some more choices for knitting blocking mats:
- A set of nine 12′′x12′′ light grey square mats from Knit Picks includes a package of 100 T-pins and a storage bag. To make it easier to align all of your project’s straight edges, the mats feature 1″ square grid lines.
- KnitIQ’s extra-thick mats, grid lines, and T-pins are all included in this set.
- Blocking shawls or other circular or curved garments is a snap with this blocking mat set, which features grid lines and circular markings each 1″ apart.
- Many of my blanket and scarf projects have been blocked using two sets of POCO-DIVO “kid play mats.” Each set comes with nine 12′′ square mats that slot together like a jigsaw piece.. Large blankets can be blocked using one of my two sets of blocks, which I have. When I bought them, they were the cheapest option I could find.
The use of yoga mats or workout foam mats as blocking was another suggestion I picked up from one of my customers. What a brilliant concept for something that can serve multiple purposes!
Even if you don’t have blocking mats, you can still achieve great outcomes. You can use old towels or a sheet as a base for your project… Just make certain that the subsurface is water-repellent. Without mats or pins, I blocked my Belleview Blanket before I got blocking mats…
It’s possible to block without mats or pins. Check to see if the ground beneath is water-resistant before you begin! My studio table was set up with my Belleview Blanket.
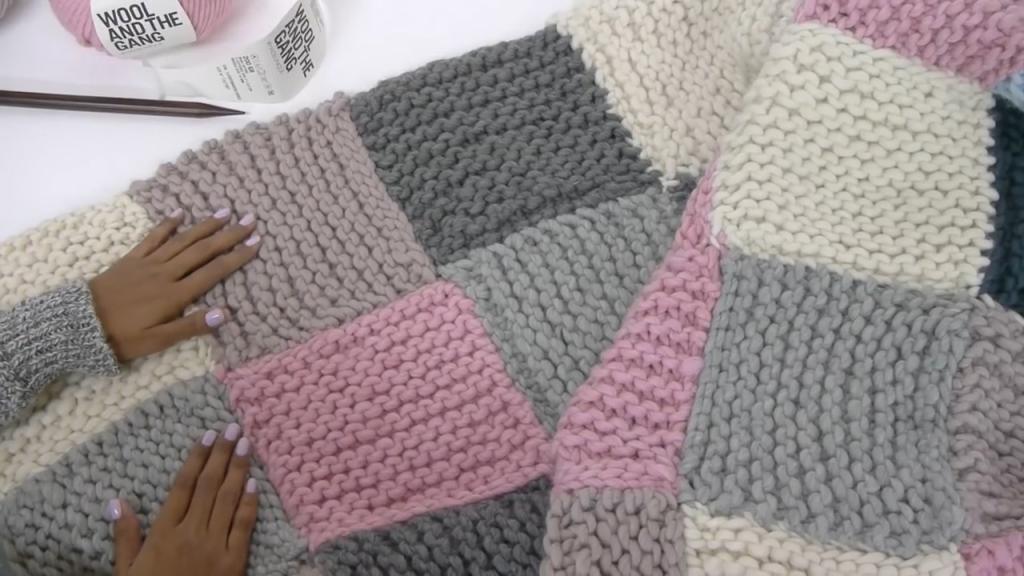
6. Carefully unfold the wet knitting and spread it out on the blocking mat
Your first few rows of knitting may look a little sloppy and unkempt…
Knitting should be placed on blocking mats… This cannot be allowed to continue.
7. Next, adjust the knitting so that the stitches on the edges and in the center are straight and even
(or whatever shape you like). The edges of the mat and a ruler can be used as a guide to ensure that the edges are perfectly straight.
Invest some time in this process.
Stretchy yarn should be avoided at all costs. When knitting with wet yarn, be sure to adjust the gauge to meet the required size. In order to get the required appearance, the knitting must be blocked according to the specified gauge. The finished dimensions mentioned in the pattern can serve as a guide for you. For this to work, you may need to “nudging” the stitches closer together a lot.
Occasionally, I use a plastic quilting ruler to ‘nudge’ the stitches into a straight line and tweak them. I used this method to make my “All These Places” blanket.
Adjust your knitting so that the edges and the middle of the work are straight and even. Over the Rooftops is the name of my knitting design for the blanket displayed here. Click here to see the finished product after it has been blocked.
8. Pin the edges in place using rust resistant T-pins or other blocking pins.
My favorite rust proof t-pins are the ones made by Knitter’s Pride.
Using a pin, secure the knitting in place. The blanket displayed here is the Together Again pattern. Knitter’s Pride rust-proof T-pins are the ones I use.
To view more of my favorite knitting supplies, go here!
9. Allow knitting to dry
A tiny fan can speed up the drying process if required. The drying time for a worsted-weight knitting project is roughly one day. An extremely large blanket knit with extra bulky yarn may take up to four days to dry, depending on the type of yarn and surrounding conditions. The wait is worth it!
10. Enjoy your finished knitting project!
Xem thêm : How To Crochet A Batman Blanket? Comprehensive Guide
To see all of my free knitting patterns for blankets, scarves, pillows, and more, please visit my pattern page.
What is the purpose of blocking?
How come blocking my knitting project is necessary, you might ask? There are a few ideas that come to mind…
Blocking isn’t necessary for all projects. Blocking can make a lot of projects appear a lot better, though.
The following is one of my favorite pre-blocking and post-blocking comparisons:
The stockinette stitch area of my “Dance on the Breeze” blanket was puckering and the blanket looked ‘lumpy’ and unsightly before blocking.
It seems like it was ironed after blocking because the stockinette stitch region is totally flat and silky. It was no longer necessary to pucker up. There are no lumps or bumps in the seed stitch border.
A look of the blanket before and after blocking. Using seed stitch, the inner border’s seed stitch section is neatly squared off.
INSTALL YOUR OWN PATTERNS NOW!
MY PATTERNS ARE AVAILABLE ON RAVELRY.
My These Days Blanket looks a lot better thanks to blocking. Before the border was blocked, it was a pretty unappealing sight.
My These Days Blanket’s garter stitch border was wavy, lumpy, and unsightly after I completed knitting it. In addition, the side borders were not flat. ‘ All of these problems were solved via blocking!
Blocking has made this blanket’s edging look nice and tidy. More photographs of the These Days Blanket design can be found on the blog article mentioned above. This blanket knitting pattern may be purchased by clicking here.
Why is Blocking Important?
The kneading parts will become more professional if they are blocked. To get the job done, it’s a way to combine dampness with heat. Proper blocking can improve the appearance and fit, as well as restore the symmetry of the garment.
Cloth drape can be improved by blocking the stitching. Blocked sections are easier to seam and edging. Smaller sizing alterations can also be made during the blocking stage.
Conclusion
Knitting can’t be completed without blocking. It’s a necessary evil. Blocking a crocheted blanket is explained in detail in this step-by-step instructional video. The first step is to prepare the fabric by soaking or heating it in order to make it more pliable and ensure accurate measurements. The next step is to make it into the form or size you want it to be. After that, just let it dry. To block a knitted blanket, simply follow these three simple steps.
Lay the wet blocking cloth on the ground for a few seconds, then remove it and repeat the process for the rest of the sock.
Nguồn: https://iatsabbioneta.org
Danh mục: Blanket


