I’m thrilled that Nadra from ellis & higgs will be with us today to show us how to make a sweet quilted patchwork pillow. You could use a variety of colors and fabrics to create many different variations on this pattern. Nadra’s work is all I can think of that I enjoy. So many great ideas may be found on her Tutorials page.
The ellis & higgs team is pleased to welcome Nadra to the blog to share a quick and easy tutorial with you all.
Bạn đang xem: How To Quilt A Pillow? Everything You Need To Know
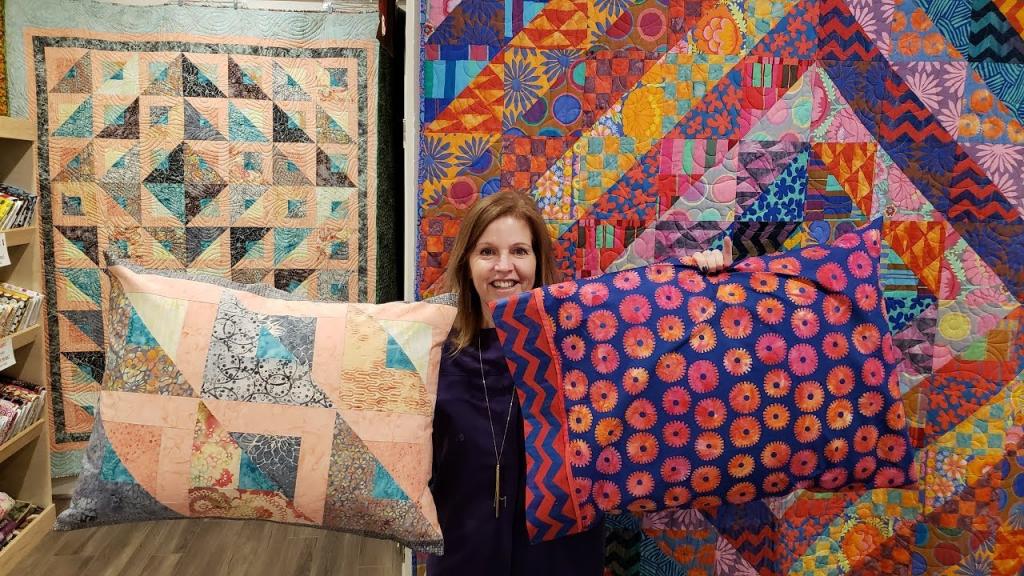
For those of you who are unfamiliar, here are some facts about me: German-born Riley Blake Designs fabric designer, quilt pattern creator, and teacher. It is one of my favorite things to do and you can discover a wide variety of designs and motifs in my Etsy shop.
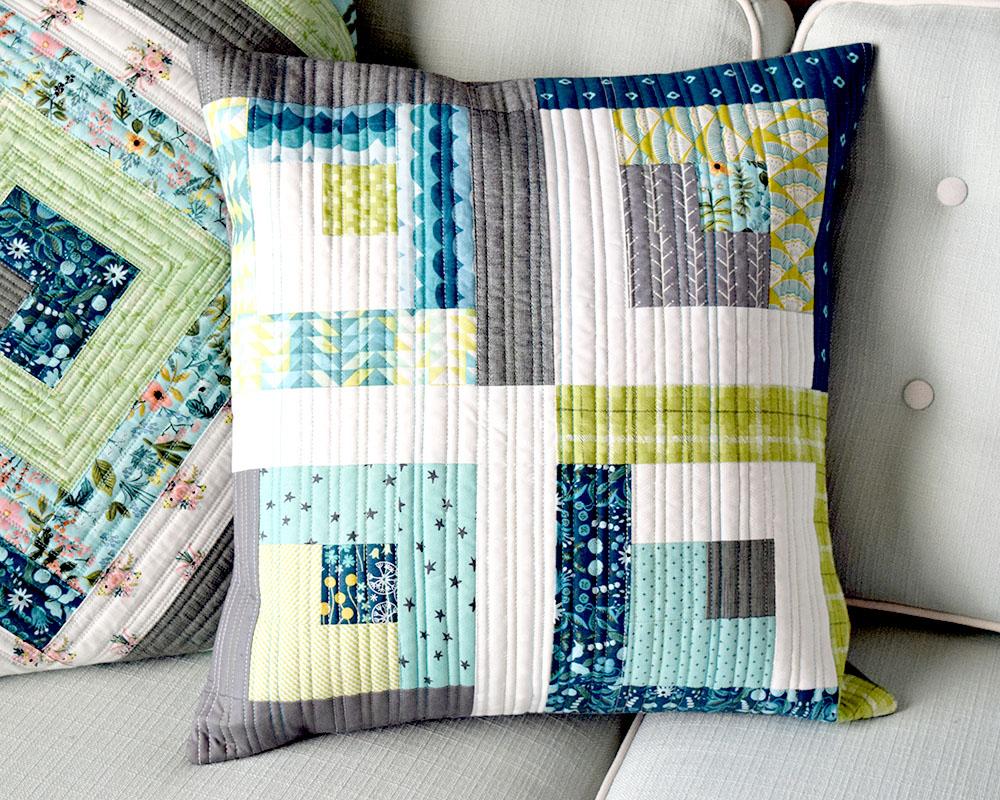
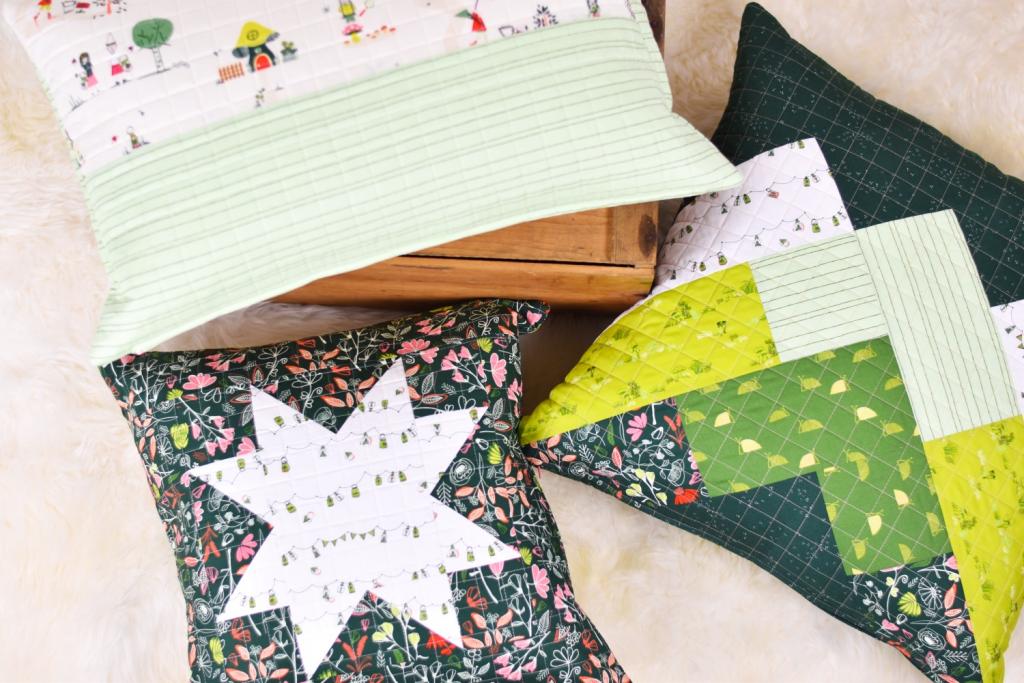
When it comes to making a thoughtful handcrafted present for someone special, I always turn to quilted pillows. Split Square Triangles, a variant on the famous Half Square Triangles, will be the basis for today’s Simple Quilted Pillow tutorial. These blocks are a breeze to put together and may be used in a variety of ways. This pattern can be made in a zillion different ways by experimenting with different fabrics and block placements.
Simple Quilted Pillow uses a combination of fabrics from my current Riley Blake Designs fabric line, as well as a green solid to complement the designs.
The finished pillow is 1612″ by 1612″.
The following are the necessary supplies:
a fat one for each person a final piece of crimson, pink, pale emerald, and olive green cloth
- Fabric for the blocks, 1 fat quarter white
- Backing fabric, one fat quarter
- 12 yard for the closure of the envelope
- 4 yds. of binding cloth
- A batting that is 18 inches by 18 inches.
- Pillow insert: 16″x16″
This includes the cutting board, rotary cutter and fabric marker for quilting.
Cutting:
From each of the four primary colors—red, pink, light green, and emerald—comes Cut to the “Fat Eighth”
- a 6-inch by 6-inch piece (Fabric A)
- Two 5 12′′ × 5 12′′ rectangles (Fabric B)
White Fat Quarters are used to create this project.
- (4) 6 x 6 inch squares (Fabric C)
to be used for making an envelope closing out of fat quarters
- Rectangles of 12 12′′ x 16 12′′ (Fabric D)
A piece of binding cloth was snipped
- (2) 2 14′′ x Fabric Strip Width
Instructions:
To assemble the pillow, follow the instructions below. When sewing, use a seam allowance of 14′′ and press seams as shown by the arrows. Color and size are important considerations when pairing your fabric pieces.
STEP 1: On the back of the B and C squares, draw a diagonal line. Pin the right side of a C square to the right side of an A square. Stitch 14′′ away from the indicated line on both sides. Cut along the sketched line and press the pieces so that the seam allowances face the darker cloth. Cut and press the pieces. A little over 5 12′′ × 5 12′′ is the ideal size for your two Half Square Triangles (HST).
Assemble one HST into a B square and place it on top of the HST with right sides together and a line drawn across the seam. Stitch 14′′ away from the indicated line on both sides. To assemble, fold the cloth in half and press with the seam allowances toward the B side. Use your second HST unit in the same way. After making four Split Square Triangles, you’re done.
Xem thêm : How To Make A Bow Pillow? Easy Step-by-step Guide
Stagger the Split Square Triangles to 4 12 inches by 4 12 inches in Step 3. Your ruler should be aligned such that it is parallel to your diagonal seam and parallel to the 4 12” point on the second seam. The right side and the top of your block should be trimmed off of your piece. Line up the two sides you cut at the 4.5-inch mark on your ruler and trim to the correct size.
Make a total of 16 Split Square Triangles by repeating the same processes with the remaining A, B, and C squares in the diagram above.
STEP 4: Assemble the blocks in the manner depicted in the image below. The dimensions of your pillow top should be 16 12′′ x 16 12′′.
Assembling a pillow:
Sew your pillow top, batting, and backing together to form a quilt sandwich. Cut away any extra batting or fabric.
Put Fabric D on the wrong side up and press and sew the full edge of the rectangle 12″ twice. Make two of each. Pillow backs should be 11 12′′ x 16 12′′ in size.
The Pillow Top’s back should be aligned with the back of the backing pieces, with the correct sides up and the raw edges aligned. There should be a six-inch overlap between the hemmed and raw edges. Machine baste 18′′ from the edge of the backing once it has been pinned in place.
Finishing:
Bind the cushion using your preferred method of binding after assembling the binding strips.
Thank you so much for visiting by and reading my guide!
Nguồn: https://iatsabbioneta.org
Danh mục: Pillow


