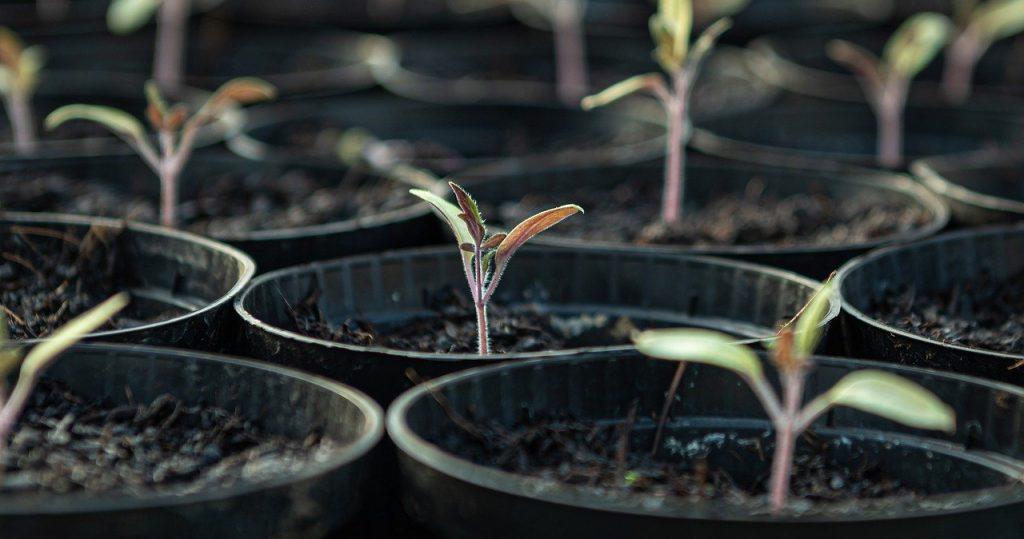
Learn how to grow thuja green giant in just two simple steps. This is a fast-growing hybrid, so you shouldn’t have any problems cultivating it from seeds. Starting thuja green giants from cuttings is the ideal method since it eliminates the need for as many painstaking processes as starting from seeds would require. Cuttings can be started indoors in a greenhouse if you have one. Roots can thrive in a variety of environments. Thus, you’ll be able to produce transplants that are more vigorous more quickly.
Propagating Thuja Green Giant From Cuttings
Step #1. Cutting collection and planting
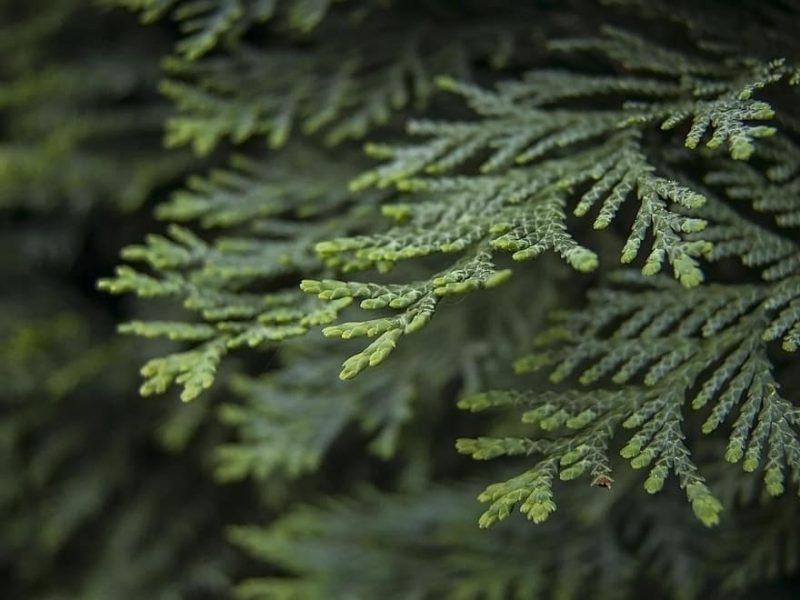
Thuja green giant, or thuja x green giant, is a hybrid of arborvitae plants, hence cuttings are the preferred method of propagation. However, you must choose the healthiest and best-looking plants for your cuttings to ensure that they will root and the plant will not be upset when you cut them. Rooting the thuja green giant requires a length of 4 to 10 inches, but be sure to inspect it for any symptoms of disease or injury. Using hardwood cuttings will ensure rooted, however soaking the cutting with rooting hormone before planting may speed up root formation. Thuja green giant cuttings do best in a moist mixture of peat and perlite in a pot in the greenhouse. This manner, you may cover the container with plastic to preserve humidity, and you can set the indoor temperature to 65°F to speed up root development in the container.
Bạn đang xem: How To Propagate Thuja Green Giant? Ultimate Guide
Step #2. Maintenance
The thuja green giant is a reasonably straightforward plant to maintain, requiring only regular checks to see if the medium is drying up. Occasionally opening the plastic cover to allow fresh air to reach the cuttings is also recommended. Since you’re in a greenhouse, use the grow lights at night to expedite the process of plant development. You may check for rooted by gently tugging on the cutting, and you can begin feeding them after a few weeks. Drainage and adequate watering are particularly important at this time of year to avoid fungus problems. It’s important to remember that you shouldn’t transplant your plants too early or directly outside without acclimatizing them first. If you began your thuja green giants inside, the best time to plant them outside is in the spring or fall when they are less stressed. Dig a hole twice as wide as the root ball’s height, but only half as deep as the hole requires. The plant should come out of the container easily, but don’t forget to separate it and backfill the hole to ensure that it is secure in its new location.
Growing And Caring For Thuja Green Giant
Location
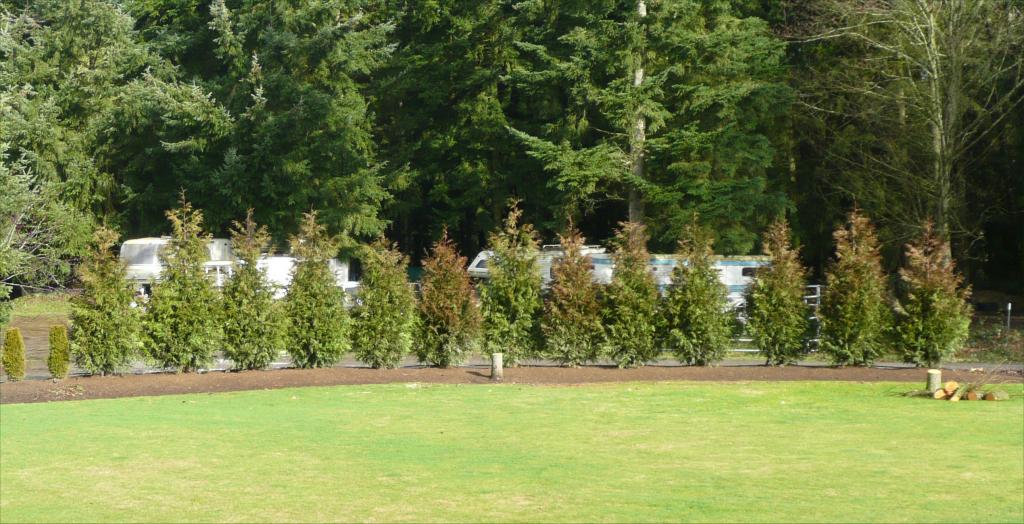
As previously said, the first thing to think about is whether or not there is enough room for these enormous creatures. Each year, this plant can grow as much as 24 inches in height. A minimum of 5-6 feet of area is required for each thuja green giant. Because once you get the room, location requirements themselves are not overly stringent. Thuja green giant can withstand a wide range of soil conditions, including drought once it has established itself in the ground. This plant does not do well in salty soils, and full light is needed for best health. Thuja green giant isn’t an issue for those who live in zones 5 to 8.
Maintenance
Additionally, thuja green giant requires minimal care and grows quickly into mature specimens that require even less attention to survive. Pests and diseases aren’t a problem, and they’re also resistant to deer. In the case of young plants, trimming them into hedges is an option, but pruning is not.
Is Thuja Green Giant The Same With Arborvitae?
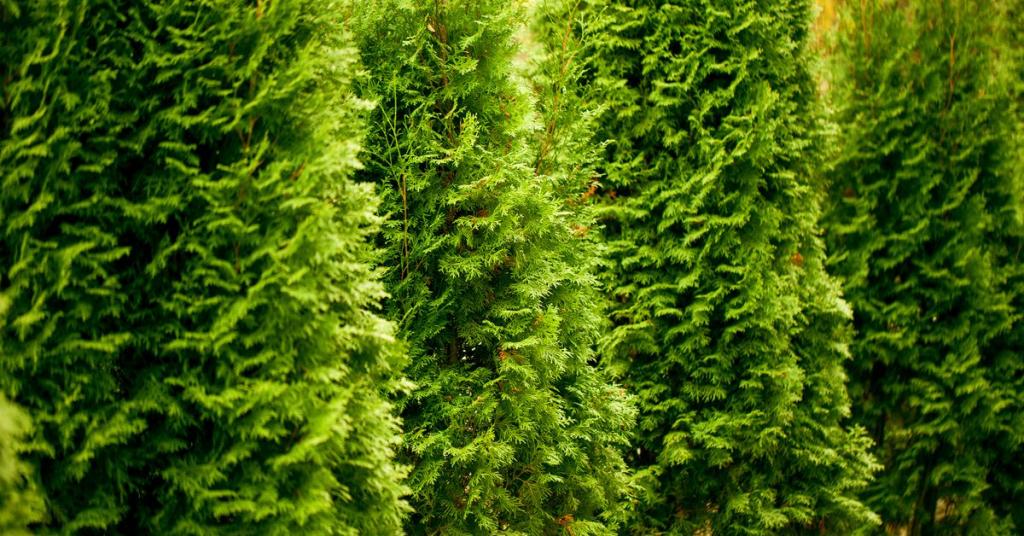
Gardeners often use the terms thuja green giant and arborvitae interchangeably, which can lead to confusion. Although the thuja green giant is technically an arborvitae, it’s preferable to discuss it in greater depth. Western Redcedar and Japanese arborvitae are the parent species of this hybrid cultivar of the two. As a result, a 60-foot-tall evergreen tree with low branches is created. In addition to being tall, the pyramidal thuja green giant can span 20 feet in width. Even though it requires minimal upkeep, you may expect it to last up to 60 years. The thuja green giant is a large plant, and you want to make sure you have a place big enough for it. Take into account the difficulty of hedging, which is impossible to reverse. As a result, this fast-growing plant is a good choice for those who need screening plants.
How to Grow Arborvitae Cuttings
Xem thêm : How To Swivel A Chop Saw? Step-By-Step Guide
There are five evergreen Thuja species known as arborvitaes that are commonly used in landscaping, and the common word arborvitae refers to these trees. Cuttings of arborvitae are easily propagated. Missouri Botanical Garden indicates that arborvitae may grow in USDA zones 2 to 7.
Growing Arborvitae Trees
Trees known as arborvitaes can grow up to 30 inches per year for the first few years of their life and are a great addition to newly planted landscapes because they are known for their rapid growth.
Easy to grow arborvitae from cuttings. According to the University of Florida, amateur gardeners should only utilize semi-hardwood cuttings since they root easily and have a high success rate. Cuttings should be made in the summer.
Taking Arborvitae Cuttings
1. Prepare a nursery pot
Fill a six-inch nursery container with horticultural sand. Put the sand into a bucket. Mix the sand by hand as you drizzle it with water. To achieve a medium moist texture, continue to add water until it is. Make a 6-inch nursery pot by filling it with the moistened sand. The sand should be compacted and the surface leveled. Wait for an arborvitae cutting to come in before moving the pot.
2. Take the cutting
Make sure the branch has a healthy 6- to 9-inch-long twig at the end. Look for a tree with soft, green growth at the top and mature bark at the bottom. Use a good set of pruning shears to sever the cut. Make a 45-degree angle cut in the wood.
3. Apply rooting hormone
Trim the arborvitae cutting’s bottom half of foliage to expose the stem. Indolebutyric acid rooting powder can be applied to the defoliated section of the stem. A little paintbrush or a cotton swab can be used to apply the powder.
4. Insert the cutting into the pot
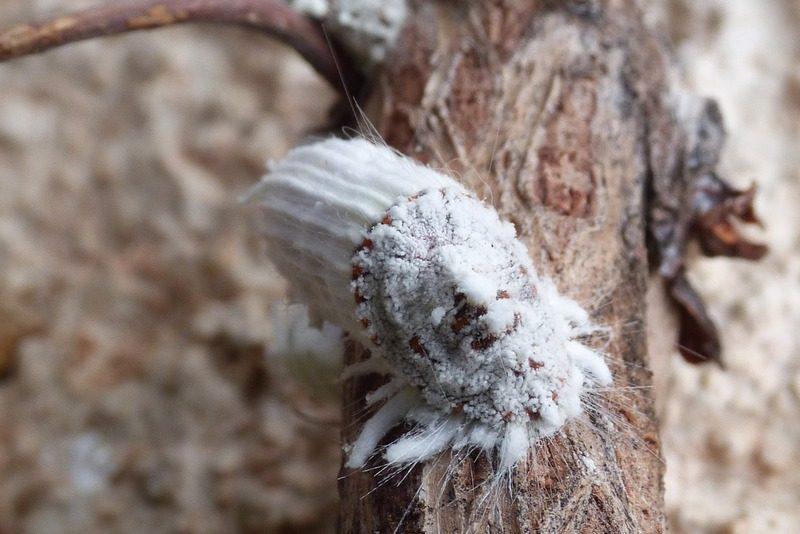
Xem thêm : How To Get Rid Of Cottony Cushion Scale? Ultimate Guide
Using a fork, make a small hole in the moistened sand in the nursery pot. Make the hole’s depth equal to half the cutting’s length. Cut through the hole using the powder-coated end. To keep the cutting stable, place a small amount of sand around the stem.
5. Protect the new cutting from direct sun and wind
Put the potted arborvitae cutting in a greenhouse or an area that is shielded from the sun and strong winds if you’re going to leave it outside. Provide salt spray protection in coastal locations.
6. Maintain proper moisture
Spray the foliage of the potted cutting using a spray bottle or an automated misting system. It’s best to use an automated misting system or to spray the foliage by hand as often as necessary to keep it moist and to keep the top inch of sand damp.
7. Check for the cutting’s roots
Check for roots on the arborvitae cutting six weeks after it is cut. Lift the cutting by firmly grasping the stem’s base. Look for signs of resistance to the migration, a sign that new roots have been established.
8. Transplant the rooted cutting
Four weeks after the cutting has roots, transplant it into a 1-gallon nursery container filled with potting soil. If you can wait until spring to put your sapling in the garden, do so in a somewhat shaded location.
Conclusion
Known for its rapid growth, the thuja green giant hybrid plant is a favorite among gardeners. If you want to learn how to grow thuja green giant from cuttings, you can do it with your adult plants. The ideal type of cutting to use is a healthy hardwood one that has been dipped in rooting hormone. Get a moist medium and cover the container with plastic to keep the cutting moist and hygienic. Cuttings can be grown in a greenhouse with the proper amount of heat and light to promote root development. To help your plants grow, make sure to water and fertilize the soil regularly.
Nguồn: http://iatsabbioneta.org
Danh mục: Guide