Is there anything more special than a handmade quilt?
Today I’ll show you an easy way how to make a Puff Quilt at home that is simply adorable!
Bạn đang xem: How To Make A Puff Blanket? Complete Step-by-Step Guide
Having worked together with Crafter’s Edge, I was able to write this post. The views expressed, the projects conceived, and the creativity displayed are all mine alone.
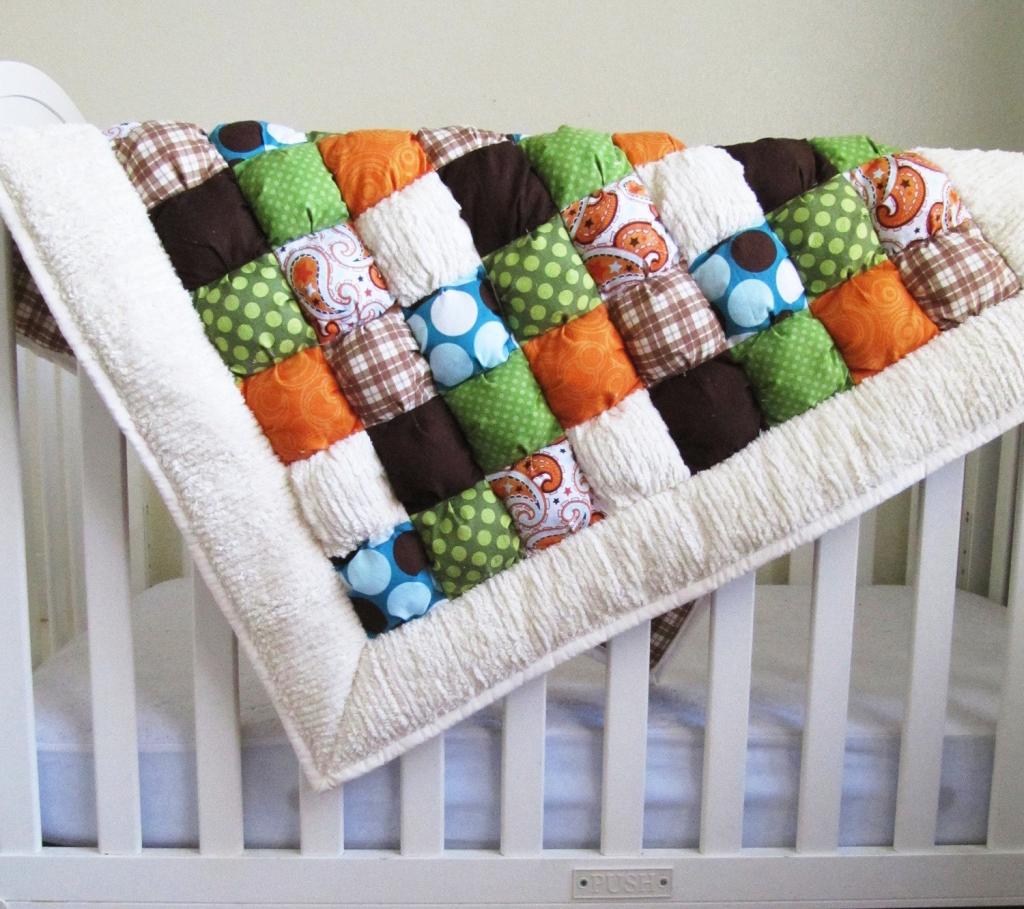
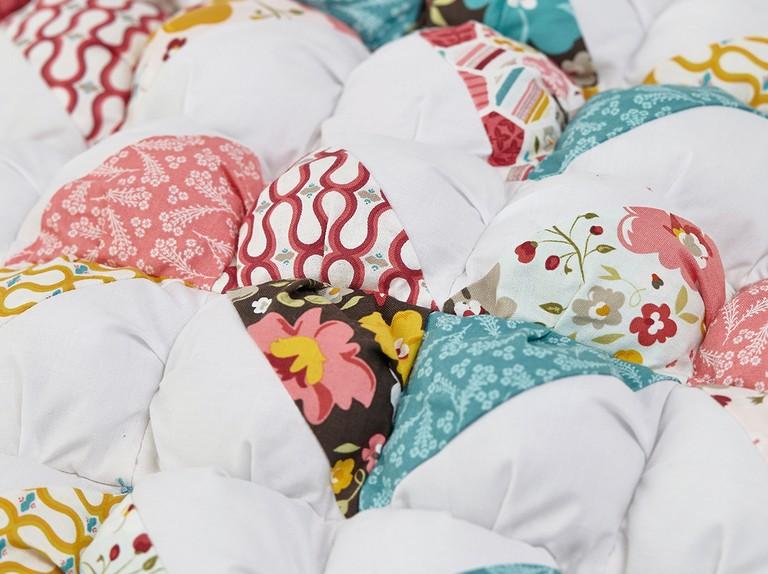
WHAT IS A PUFF QUILT?
A Puff Quilt can alternatively be termed a Bubble Quilt or a Biscuit Quilt. The polyfil inside the quilt squares gives the finished product a fluffy, airy feel.
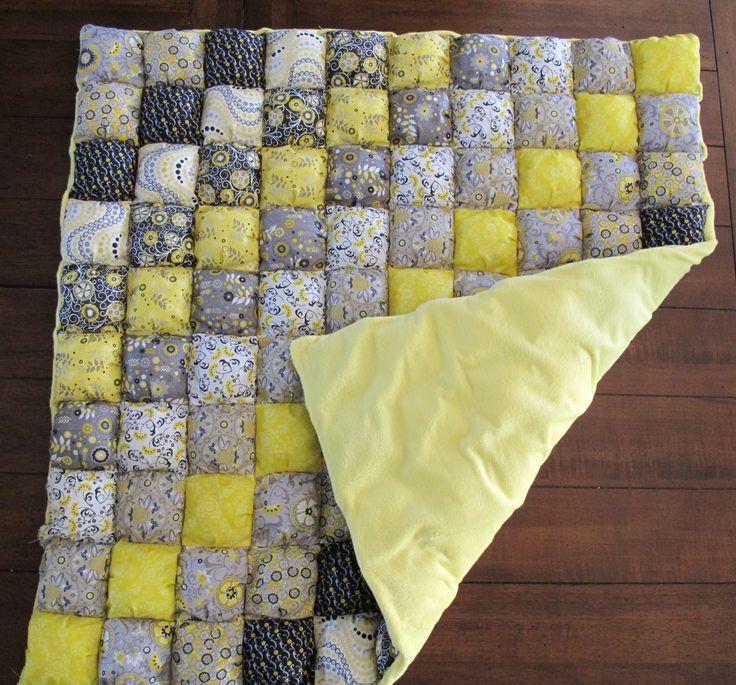
Even though I have found that Puff Quilts are ideal for use in newborn photo shoots, I am currently working on a larger version to fit my daughter’s twin bed. It’s not as hard as you may imagine, and I can’t wait to share all the tricks I’ve picked up along the way!
SUPPLIES NEEDED FOR THIS PROJECT
- Material, or Cloth (see below)
- thread
- stitching machine (I am really excited about my brand new machine!)
- Scissors for stitching
- Thread for needlework
- needle
FABRIC REQUIREMENTS FOR A PUFF QUILT
A finished quilt using this pattern measures around 42 inches wide by 53 inches long.
Xem thêm : How To Fix An Electric Blanket? Step by Step Instructions
Using charm packs made piecing this quilt a breeze. A charm pack is a collection of precut, coordinated fabric squares. They’re a neat square of 5 inches, and they make everything so much easier. A second volume of the tea service was the inspiration for my line.
The following materials are required to complete this quilt:
- 108 five-inch squares are required, so purchasing five 5-inch charm sets is recommended. If you choose to cut your own squares, however, 2 yards of fabric should be sufficient.
- Cut two yards of white or muslin fabric into 180 four-and-a-half-inch squares.
- Two and a half and a third of a yard of fabric that is either 43 inches wide or 108 inches wide will do for the back.
- Half a yard of cloth (43 inches wide) to be cut into 3 inch strips for the binding.
- A good rule of thumb is to use 50-60 ounces of polyfil, which is around two 32 ounce bags.
HOW TO MAKE A PUFF QUILT
How much fabric do I need for a Puff Quilt?
Choosing the appropriate cloth is the first step. It takes a square of fabric measuring 5 inches by 5 inches, plus another measuring 4 inches by 4 inches (both of which can be scraps), to construct a single puff. The 4-inch square’s fabric will be completely hidden in the completed quilt.
Making a quilt for a Twin bed requires a total of 120 squares, of which 120 will be 12″ squares and the remaining 20 will be 10″ squares. That adds up to a total of 240 squares in this example.
You will also need a backdrop cloth that is roughly 42 by 70 inches in addition to the fabric required for the individual puffs.
Step 1: Cutting all the fabric
Here, I’m using the Crossover 2 Die Cut Machine to cut out the shapes for my Puff Quilt. Using the metal plate with the die face cut side down, as shown in the figure below, it quickly and effortlessly cuts through multiple layers of fabric with a single pass.
Read my earlier post for a complete guide to die cutting fabric if you’re a beginner. Fabric for use with a die cutter IRON-ON TRANSFERS MAKE IT SIMPLE TO REVAMP OLD SWEATERS
Step 2: Pin the puff blocks
Xem thêm : How to Hand Knit A Merino Wool Blanket? Step-by-Step Tutorial
When making a puff quilt, it’s important to pin the blocks together before sewing. The squares should be lined up so that the right sides are touching. Make a pleat in the middle and secure the fold with pins. The process is repeated with another pile of squares. You will need pins for the first few squares.
Step 3: Sewing the Puffs and filling them
It’s time to go to work with the needle and thread. I stitched three of the block’s edges with my sewing machine and a very narrow seam of only 1/4 inch. To finish, we use polyfil to stuff the block before closing it up.
Step 4: Joining the Puffs
To make a puff, put two puffs right sides together and stitch together using a quarter-inch seam. Iterate to make a row!
When making a Puff Quilt, many patterns will instruct you to turn the puff squares inside out before sewing them together. To save time, I just did not do the inside-out stage, but the final product is still quite neat and attractive.
In my next post, I’ll detail the steps I took to complete the puff quilt’s front. Hold tight for further updates. Meanwhile, feel free to post any inquiries in the space provided below.
TIPS:
- Cutting my squares at once into 4 and 5 inch sizes was a huge time saver for me. The Crossover always produces the cleanest, sharpest results.
- Make sure your puffs aren’t too full! A small amount of filling is fine; don’t go crazy.
- When making a Puff Quilt, many patterns will instruct you to turn the puff squares inside out before sewing them together. In a rush, I skipped the stage of working from the inside out, but the final product is just as clean and lovely as before.
- I use prefilled bobbins as a shortcut in quilting. Inane as it may sound, I was relieved to find this compact container complete with prefilled bobbins.
CONCLUSION
Making a Puff Quilt is perfect for beginners because it does not require a large quilt sandwich or machine quilting. The puffs add a wonderful new dimension of texture and are totally cute to boot! I am so pleased with the progress so far!
I’m excited to see how you all put your own spin on today’s project, the Puff Quilt, and I hope you had fun learning from me. Have fun with your DIY projects!
Nguồn: https://iatsabbioneta.org
Danh mục: Blanket


