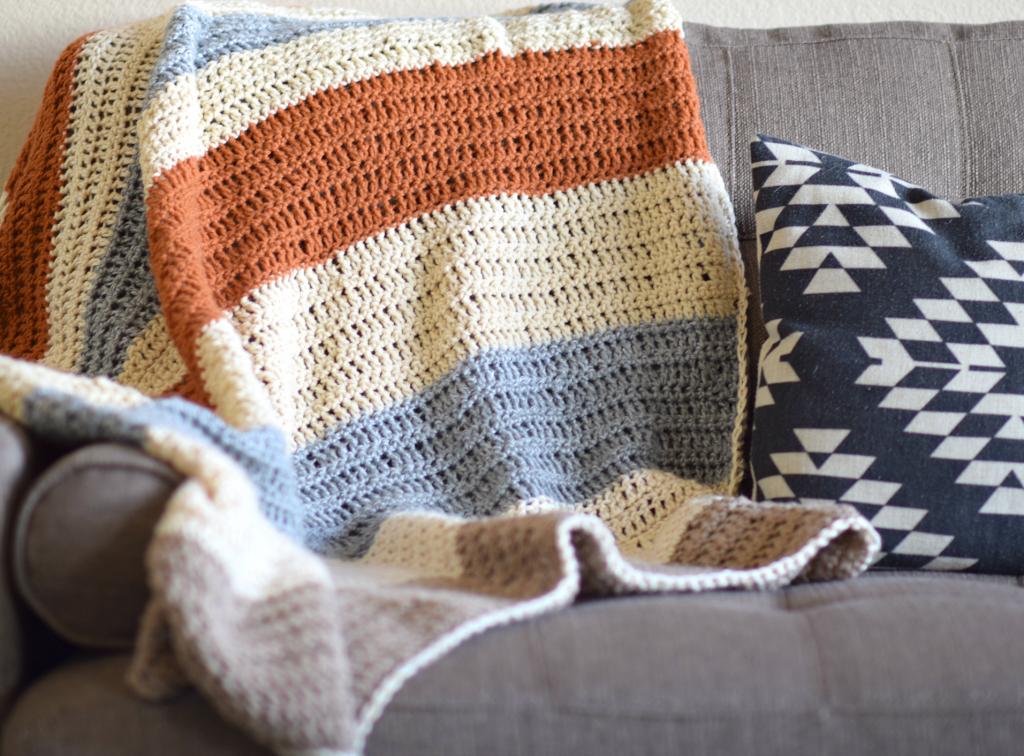
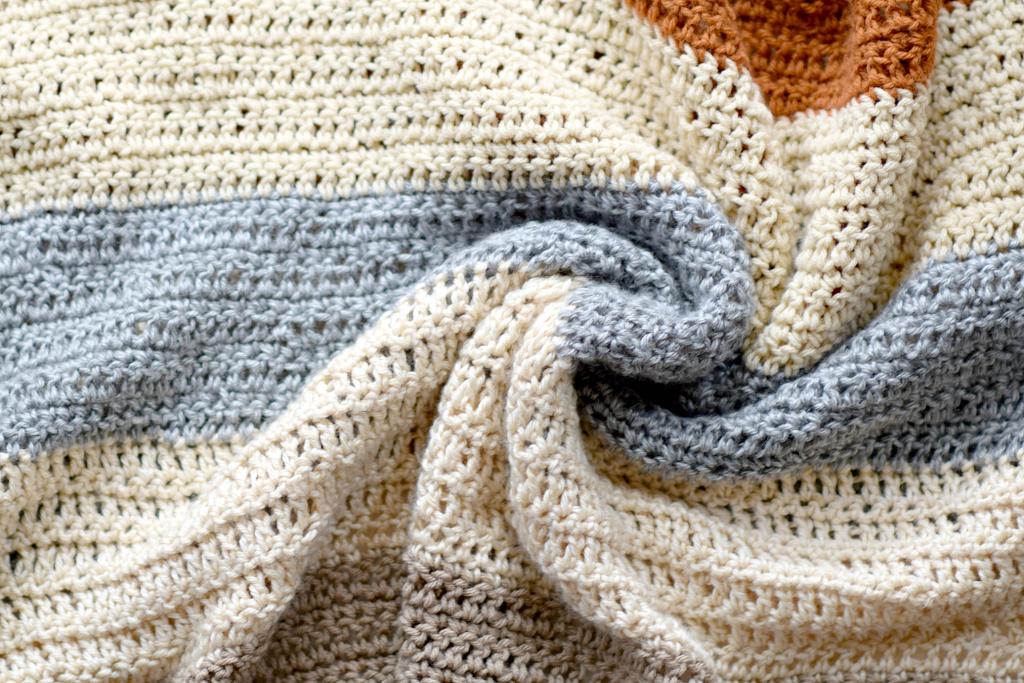
Have you ever thought about turning a special photo into a blanket? Get the lowdown on methods and best practices.
Let’s jump forward and compare the original image to the completed graph in order to get a feel for the process.
Bạn đang xem: How To Crochet A Picture Blanket? Comprehensive Guide
The Trick To Get this Far
You need a picture with enough information to be interesting, but not too much.
- If you want to produce the greatest possible graphghan, swatching and determining your personal gauge are necessary first steps.
- Make a decision on the type of yarn and hook size you’ll be using.
- The directions for making a gauge swatch can be found on the ball band. In this case, 12 sc stitches across by 13 rows up equals 4 inches when using a hook size of 5 mm (or H).
- When making a swatch, it’s best to add a few more chains than the stitch count across. Given this scenario, I would probably begin by chaining 19. Then, work 1 single crochet in the second chain from the hook and in each chain across. You’ll have a few more stitches for accuracy.
- Ch 1, 1 sc in each st across; repeat across the row. Turn. When the swatch is a little over 4 inches in height, stop. Don’t snip the yarn.
The ball band’s gauge is representative of typical product specifications. The number of plies and other technical specifications are taken into account. But your own sense of proportion may be different.
We need you to use your own judgment to help us out here. The ball band is simply a guide for determining how many chains to make. Your internal barometer might not align with mine in the following scenario.
Get Your Personal Gauge
A person’s gauge will always be slightly different from another’s. Everyone has their own unique gauge, which is determined by factors such as lifestyle, muscle tension, and training methods.
As soon as the swatch is finished, we can measure its width to determine the number of stitches and its height to get the number of rows.
Check the Number of Stitches Every 4 Inches
Using a measuring tape, determine how many stitches fall between 0 and 4 inches. You can see if you need to make a change in the pattern by looking at the extra stitches in the row.
In this case, 11.5 stitches are being displayed, which is near enough to 12 single crochet stitches to be useful.
Determine the number of rows that can fit into a 4 inch space.
You can figure out how many rows can fit in a 4′′ space by counting them. 13 rows are visible here.
Your individual tension is represented by the amount of stitches you have between 4 inches. The number of rows is a matter of personal preference, as is the amount of tension in each row. Keep a record of it if you must.
12 single crochets and 13 rows works for me. Let’s use that as an example to explain how it operates.
Stitch Fiddle Walk Through
Xem thêm : How Much Wool For Arm Knitted Blanket? Best Answers To FAQs!
This is the main landing page for Stitch Fiddle. You can choose crochet.
A free account is recommended before beginning so that the chart can be kept.
For pictures in projects. Select Crochet With Colors.
- For pictures in projects. Select Crochet With Colors.
- For photos in projects. Select Crochet With Colors.
To use as visual aids in writing assignments. Pick Colorful Crochet if you want some fun with yarn.
Pick an image from your computer’s cache or upload one to have graphed.
The devil is in the details, so keep that in mind. Please be aware that if you submit a logo or piece of artwork that isn’t yours and doesn’t come from a free source, you will be held personally responsible for doing so. Sports teams, TV shows, cartoon characters, and characters from amusement parks are all examples. You could technically pull this off, but you’d be responsible for any legal penalties.
There Will Be a Picture of You There
Since Bernard’s gauge information doesn’t apply to you, he’s been looking a little scruffy lately. Thus, it’s defaulting.
- You should give the information about the gauges you found up there to Stitch Fiddle.
- The size of your completed project is another detail that Stitch Fiddle requires. Since it automatically crops, you may need to adjust the photo beforehand to prevent unwanted trimming.
We need to clean up Bernard so we have to click SIZE CALCULATOR.
We need to clean up Bernard so we have to click SIZE CALCULATOR.
- Clicking the SIZE CALCULATOR button will allow us to tidy up Bernard.
- Size 4 (or 4 inches) should be entered in the red circle for both the horizontal and vertical dimensions. The number of single crochet stitches required for the horizontal section should be entered; in my case, that was 12. Therefore, I clocked in at the age of 12. The number of rows in the vertical was 13, so enter 13 for the number of single crochet stitches in the vertical.
- The only thing left to do is enter a number into the green circle that represents the size. To customize your blanket, please provide the width in inches and the height in inches. Just fill in the blanks, please. I inserted a width of 48 inches and a height of 48 inches.
- Please continue below.
When you enter your desired project dimensions and click Create Chart, the graph will automatically adapt itself to accommodate them.
If you’re feeling stressed out, Bernard will show up again.
- Your default sizes have been set appropriately.
- I wanted a 48′′x48′′ square, so I cropped Bernard to make him fit.
- The larger canvas allows for a more distinct depiction of Bernard.
- You need to make a decision on whether or not you’re set on using 10 colors. The more complexity you add, the more challenging this becomes. A lot of them can be done with only 5 colors, but you have to experiment, and the original photo can’t contain too much information.
More colors can help Bernard become more distinguishable, but do you really have that many in your collection? Changing the colours over may be your personal nightmare.
More colors can help Bernard become more distinguishable, but do you really have that many in your collection? Changing the colours over may be your personal nightmare.
If you add additional colors, Bernard will become more clearer, but do you have that many shades of colors? Perhaps swapping the colors is your worst fear.
Bernard is a Graph
Xem thêm : How To Clean Alpaca Blanket? A Perfect Guide For You!
In my instance, printing Bernard requires 16 pages, which I taped together to make a huge square of graph paper (4 by 4).
- Keep tabs on it on screen and manually keep track of it.
- If there’s something about the dog that’s irritating you, you can use the tool to adjust the box colors and smooth down the rough spots.
Premium Services
Before I continue, I want to make it clear that we have zero connections to Stitch Fiddle and have never received any compensation from them. Since I often asked about it, I figured I’d write up a guide to share what I’ve learned. The Crochet Crowd receives no money or other advantage from this.
The Premium Service’s add-ons take the experience to a whole new level, and they’re surprisingly affordable. In my opinion, the free tier is already quite generous, but upgrading to the premium tier will significantly improve your odds of success.
It is possible to translate the graphs into textual guides:
In Seat 5: 40A, 4B, 21C, 5A, 49B.
Instead of counting boxes, the number of stitches for each color assignment will be provided.
- You will be able to increase your stitch counts and rows up to 1,000 stitches which is really huge… like super-duper huge. However, you aren’t restricted to only the 300 stitches included in the free service.
- You will be able to increase your stitch counts and rows up to 1,000 stitches which is really huge… like super-duper huge. However, you aren’t restricted to only the 300 stitches included in the free service.
You will be able to raise your stitch counts and rows up to 1,000 stitches which is pretty enormous… like super-duper huge. However, you aren’t restricted to only the 300 stitches included in the free service.
You can knit or purl up to 1,000 stitches in a row, which is gigantic. I mean, super-duper huge. However, the free service doesn’t cap you at the standard 300 stitches.
- Reading this graph is a skill you can acquire.
- There are specific bobbins that must be used to ensure that the final product has vibrant, true-to-life colors.
- Look for methods of altering color.
- Corrections to the pattern.
- The finishing touches and tying up of loose ends.
You can find the fabric and embellishment on the background here:
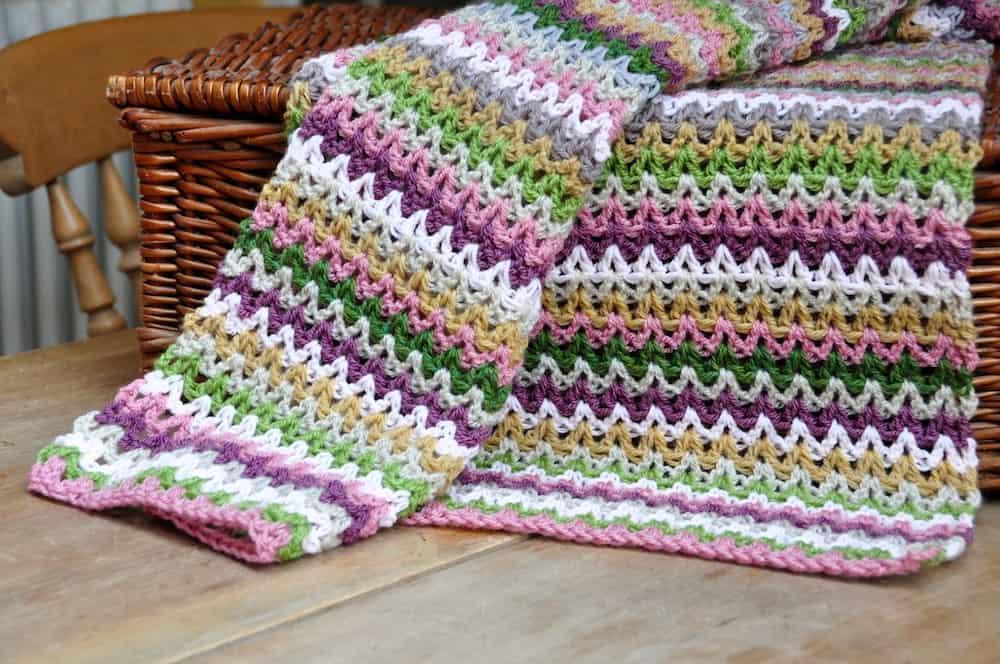
What is the best crochet stitch for blankets?
A few crochet stitches have been developed. A few of the more well-liked examples are presented below.
- Stitching in the style of a granny
- Single crochet Chevron stitch
- Chevron stitch in single crochet
- Stitch a shell
These stitches all require more time and attention than the simplest crochet stitch, the single stitch. They are similar to level-ups in that they require practice to master.
A newbie crocheter might need months to create a single blanket using the single stitch method. If you’re not patient, it’s probably best to stick to simpler stitches. We will also inform you that completing more difficult tasks will result in a more satisfying sense of personal growth.
Conclusion
We’ve laid out the process for making a crocheted photo blanket for you. Of course there are a myriad of other approaches, but all you need are some yarns and a hook, and you’re set to go!
We are not in the business of making or selling crochet grapghan charts. Questions about how to use Stitch Fiddle can be directed to the site’s built-in help system. Our main focus is on providing free pattern and tutorial services, so we will not be making charts for anyone. If you need assistance, ask a friend to assist you.
Nguồn: https://iatsabbioneta.org
Danh mục: Blanket


