A common practice is to use satin to line the blanket. How to bind a Minky blanket: instructions.
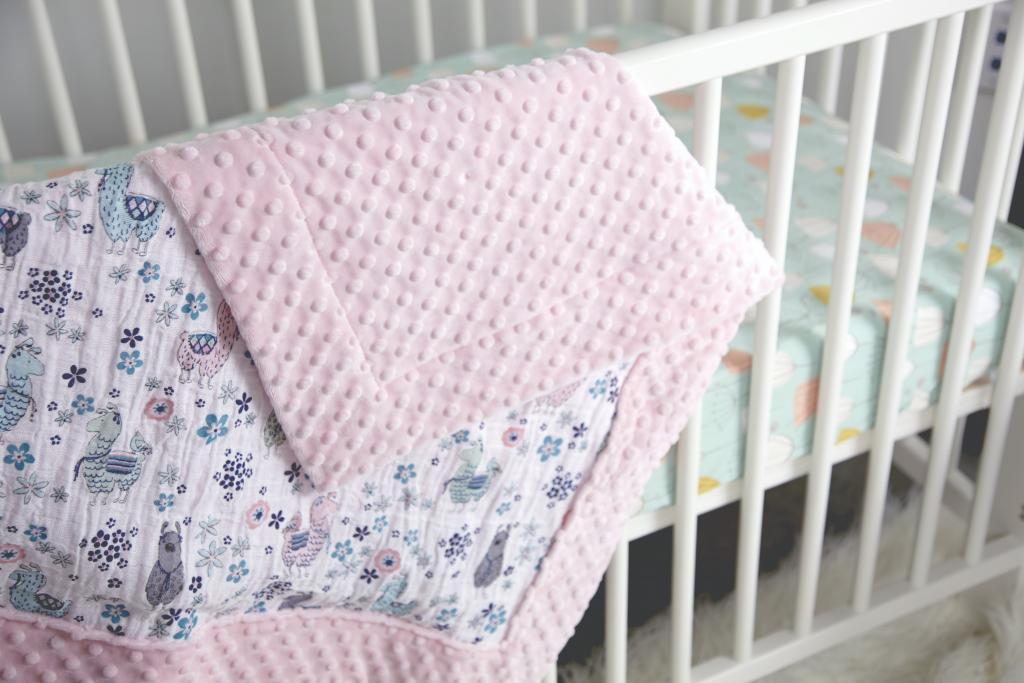
When you think of a blanket, you always look for the most comfortable option. One of the softest fabrics available is Minky.
Bạn đang xem: How To Make A Minky Blanket With Binding? Step-by-Step Tutorial
As soon as you think of a blanket, your mind immediately goes to the coziest possible choice. To be sure, Minky fabric is exceptionally plush.
Clothes and blankets’ raw edges can be kept in place with the help of binding. Because it is soft and comfortable to wear, satin has become a popular fabric choice.
Are you confident in your ability to bind your Minky blanket? Although some have said it’s challenging at first, with time and effort you may learn to construct cozy throws for your house.
At the outset, you should learn the basics of the topic and method.
What Is A Minky Fabric?
Polyester Minky is a plush synthetic fabric with a faux fur feel. It’s popular for use with infants because of its thick and plush texture. Typical applications include items for infants such as blankets, clothing, and stuffed toys.
Why does everyone love it?
Due to its practical applications, this resource is highly sought after. It’s a sturdy cloth that may be put to a wide variety of uses. It’s multicolored and hypoallergenic, to boot! Think about that for a second: isn’t that cool?
Minky Fabric Sewing Tips
It seems like Minky is a great fabric. Sewing with it, there must be some precautions to take.
Xem thêm : How Big Is A Throw Blanket? Comprehensive Guide
If you want precise cuts, you should definitely mark this material first. The cloth should be cut with the appropriate tools, such as a rotary cutter or craft scissors.
Minky fabric can also leave a dust mess when you cut it. There is no problem that a damp towel can’t fix.
To keep your cloth in place while you stitch, keep a supply of pins close at hand.
Why Should You Bind Your Blanket?
Imagine the edges of a blanket you’re using to keep warm are tickling your face. I mean, you know it’s going to be awkward. I wish there were a foolproof method of keeping your cloth tidy and secure.
To remedy this situation, binding can be used. Finishing stitches keep your work from fraying and are used at the end of a sewing project. It completely conceals your material’s underside, seams, and frayed edges.
Types Of Binding Procedures
Your components can be made using a variety of methods. Binding methods for curved and straight edges are distinct.
Bias binding
This style works well with curved edges. It includes double fold, single fold, and double-fold tape bias binding.
Grainline binding
This design is best suited for rounded corners. Tape bias binding comes in multiple folds, including double, single, and no folds at all.
What Do You Need To Bind Your Minky Blanket?
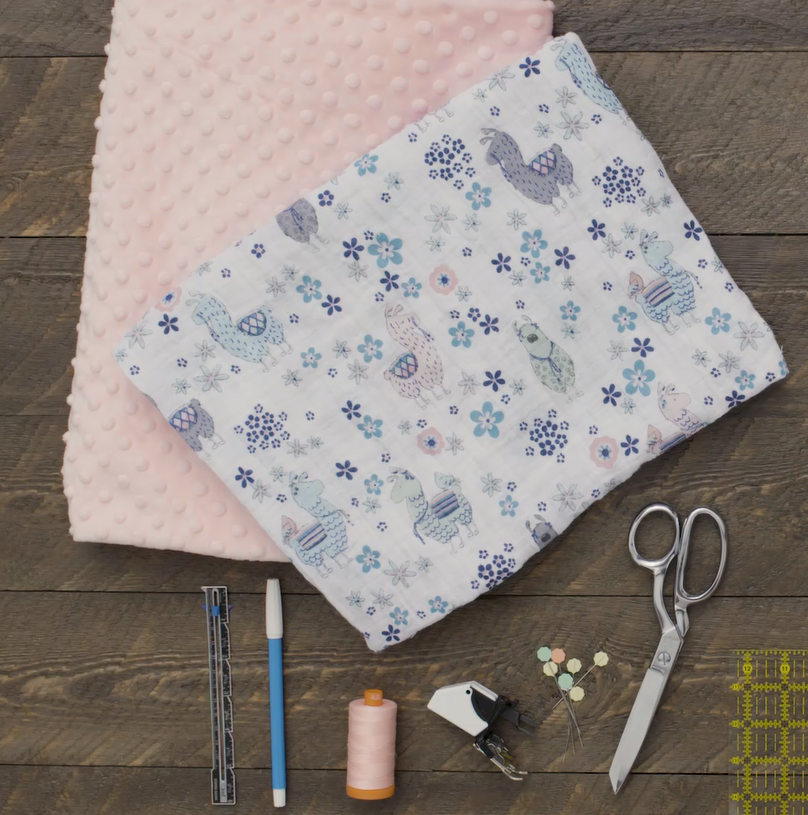
It is time to move forward with the binding itself now that you have all the necessary information. You should get ready for:
- I really like the Minky cloth you used.
- The blanket’s satin edging
- Thread
- Pins
- Circular saw
- An implement for chopping food
- A position of authority
- When you need to get your iron on,
- Machine for stitching
Step-By-Step Process On How To Make A Minky Blanket With Binding
Xem thêm : How To Knit A Chevron Blanket? Helpful Tips To Remember
Following are the instructions you should follow when creating your blanket. The binding won’t come undone without the pins holding it down.
Step #1. Cut your Minky fabric
Gather the fabric and lay it down on the cutting mat. Determine where you need to make cuts by marking them with a ruler. The recommended size is 30×30 inches, and the tool of choice is a rotary cutter.
Divide this square in half and sew it together to make a double blanket.
Step #2. Attach the two cut-outs
Fabrics should have their smooth sides facing outward. Sew the two pieces of fabric together, stopping half an inch from the edge.
Step #3. Get your satin binding ready
Split the binding, and then fold the two ends in to form a triangle. The next step is to iron them carefully so that they retain their original form.
Step #4. Align the binding to your blanket
You’ll want to have a bunch of pins on hand for this step. Fold the binding over the edge of the blanket so that it is centered.
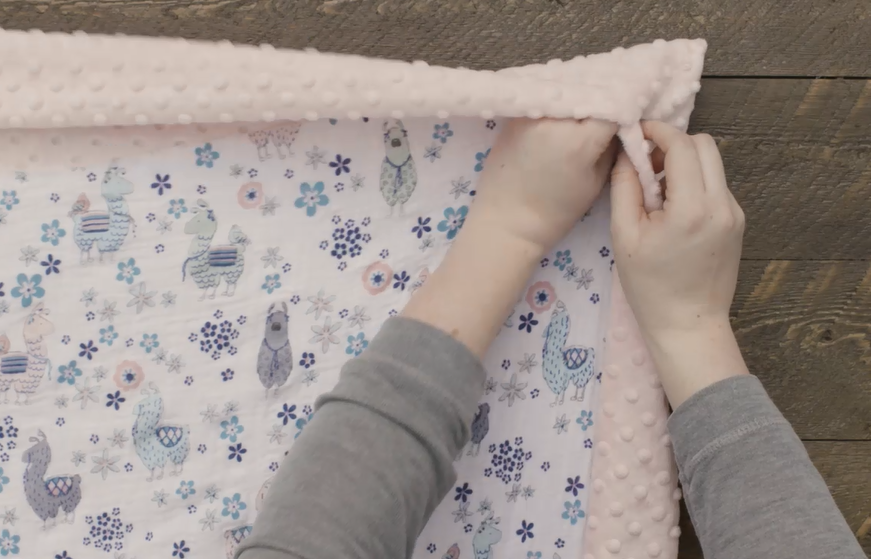
Step #5. Sew the binding
Get out the sewing machine now. Sew the folded binding together along the diagonal using a zigzag thread. When you get to the end of the straight edge, turn around and go back the way you came.
Step #6. Make the corners
When you reach a corner, fold the binding into a triangle and secure it with a pin. Continue this throughout, and when you are finished, you may sew it with the zigzag stitch.
Conclusion
You can make some really cozy blankets out of this cloth. Making a Minky blanket with binding is a skill that will pay off in spades. The blanket’s binding will do double duty by keeping everything in its place.
Just get it done already! Get out the needles and thread and the scissors and start practicing!
Nguồn: https://iatsabbioneta.org
Danh mục: Blanket


