When I was in high school, I used to work in a bedding department and came across a product called a “European pillow.” At the time, I had no idea what they were, but I loved the way they looked on the model beds we had to create for the store.
If you’re looking for a quick and easy way to update the look of your bedroom with a few European pillows, look no further!
Bạn đang xem: How To Make A Euro Pillow Sham? Step-By-Step Process
The standard size of a European pillow sham is 26 by 26 or 28 by 28 inches. I bought a 26-26 from Kohl’s and started creating two shams.
Here’s how to do it quickly and easily:
For this project, you’ll want to use these fabrics:
For a 28×28-inch pillow, simply add two inches to the above measurements. *TIP* These measurements are for a 26×26-inch European pillow.
Fold and iron half an inch down on one of the 28″ sides of one of the back pieces.
Fold another half-inch over and iron it to the fold.
To keep your iron fold in place, use pins.
Stitch 1/4″ seams on each side of the garment.
Steps 1-4 are repeated for the second back piece.
On your table, place your back piece right side up, or as it is sometimes referred to, patterned side up.
Then, as shown in the illustration, lay your back pieces right side up, as shown in the text.
Stitch 1/4″ inseams on all four outer sides, pinning each side in place before sewing.
You’re done! Flip it over and stuff it with your pillow!
Check out this tutorial on how to make a double-sided cushion.
The reversible top left corner is shown in the illustration. To view the other side, please click HERE. The lessons for the pin tucked pillow and the standard sham will be released this week!
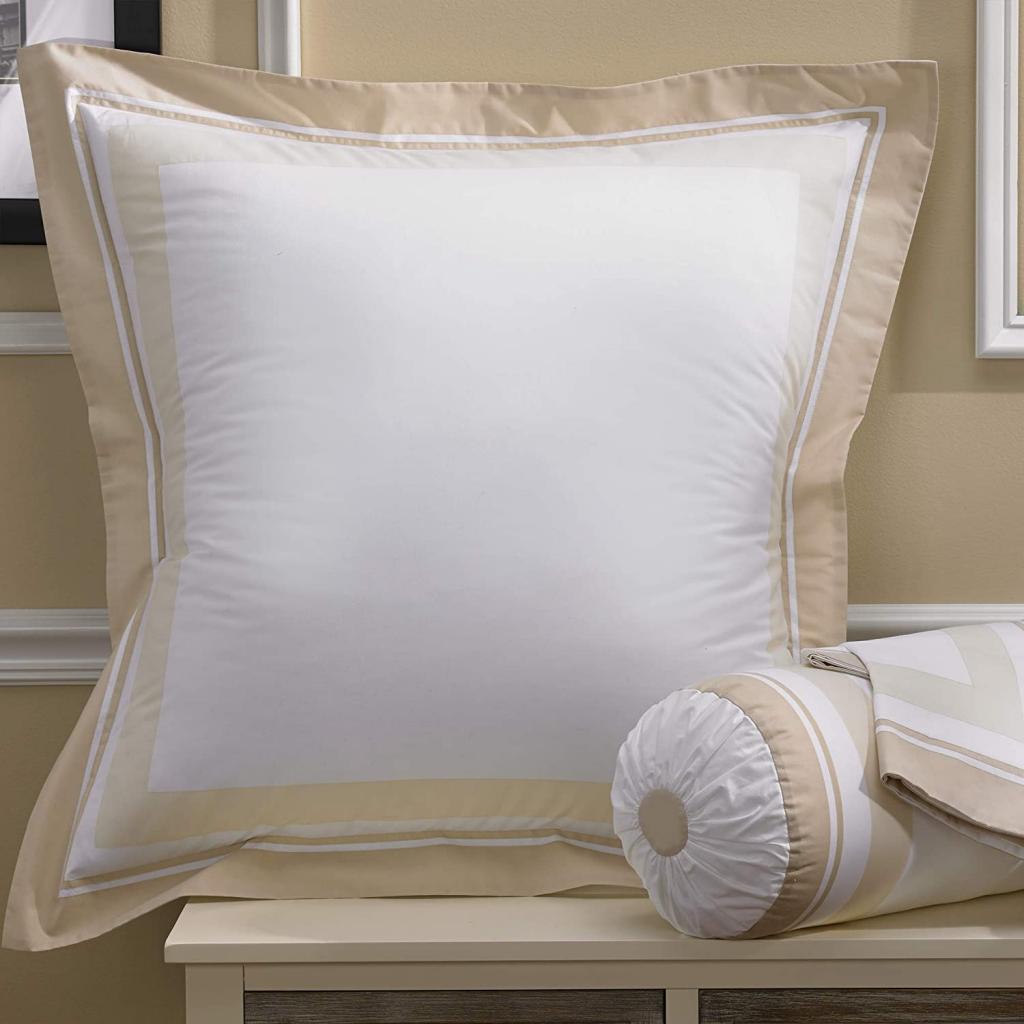
SEWING A EURO SHAM PILLOW WITH FLANGES
You saw the new bedding for my southwest guest room a few weeks ago, and today I’ll show you how to make euro sham pillows. (Those are the orange ones in the back, though I’ve heard several names for them.) Large square pillows, such as euro shams, are often 26 by 26 or 28 x 28 inches in size. They are quite simple to make, even for a beginner. Because I’m a novice, I know this. I’ve been sewing for years, but I’m limited to square items like pillows and curtains because of my lack of experience. (Proof.)
Of course, the first step is to choose your cloth. Anything will work, but I prefer home décor fabric because it’s a little heavier. To determine how much fabric you’ll need, consider how broad it is. A 55-inch-wide Robert Allen fabric called Handcut Shapes costs $10.50 per yard, and I used over 3.5 yards to make two pillows.
You can begin cutting your cloth after you have it. Envelope closures (as opposed to zippers) are my preferred method of closing my pillows because they are quick and easy to manufacture. One 29-by-29-inch square and two 29-by-24-inch rectangles are required for this project (per pillow).
After you’ve cut all the pieces, you’ll need to sew the envelope’s closure edges.
Xem thêm : Added: How To Make A Lumbar Pillow? Comprehensive Guide
You’ll need to fold over the long edge of each 29 x 24 piece by approximately a half-inch to an inch before ironing it flat and sewing it.
All three sections should now be put together like a sandwich, with printed sides facing outward and the sewed edges facing inward.
Then pin in place and run a stitch around all four edges.
Then sew around all four edges after pinning in place.
If you don’t use a pillow insert of the same size as your pillow cover, the pillow will seem sloppy and unhappy. Filling the vacant area with a larger insert in a smaller cover results in a perkier cushion. Even if you choose for a down insert rather than a polyester one, you’ll still get the same level of plushness. You can always fluff up a down insert, unlike a poly fill insert, which develops into a pillow pancake over time and needs to be replaced frequently.) These are fantastic, and I’ve already used them. The insert size you need for a 28-inch by 28-inch cover is 30 inches by 3 inches. If you want to make a 16 by 16 pillow, you’ll need an 18 x 18 insert.
Take the pillow cover and mark two inches along the edges to form the 26-inch pillow with flanges.
The sad, floppy flanges I see on pillows made me ponder how I could avoid that when I was sewing this. It occurred to me as I was mulling through possible options in my head: collar stays!
Adam is now required to wear them as part of his school attire, so I purchased an entire container of them for him. When it comes to maintaining my pillow flanges in good condition, they would be the ideal solution. It took a few hours for the fabric glue to dry after I applied it to both sides of the cover.
In order to sew around the pillow, I used two-inch marks that I had previously marked with a needle and thread.
As a precaution, I decided to stitch the collar stays all the way up to their base instead of sewing them into the seam (the machine would run right through them) so that they wouldn’t potentially snap in the wrong position. They’ll be OK with just the fabric adhesive, which is a great product.
It’s time to stow away that extra-large down pillow insert. Isn’t it easier than you anticipated?
Easy DIY Euro Sham (Pillow Sham) With Flanges
A simple DIY euro sham with flanges is the final project from the second condo bedroom makeover I want to show you.
The flanges on the euro shams I created for the second room were slightly smaller.
Honestly, if you’re able to sew a straight line, these are a breeze.
Start by cutting 26 inches by 1.25 (for a regular 5/8′′ seam) + the necessary flange width (for a Euro sham), and you’ll be ready to go. In order to get 2.5-inch flanges, I had to use a 32.25-inch square piece of face cloth.
For the record, the navy blue shams in the other bedroom have smaller flanges, which I prefer.). Because they are smaller, the flanges stand out more and have a more finished appearance. I believe the flanges are 1.5 inches wide. The bigger the flange, the more likely they are to topple over. Adding anything between the layers of fabric at the borders can help give the flange a more substantial appearance. Buckram could be used. It would be even more convenient to use an interfacing that could be ironed on. Iron-on interfacing can be applied to the face fabric on all four edges of the sham before sewing it together, making the sham a little more sturdy. Alternatively, you can either reduce the flange size or make do with floppy flanges to save time.)
The next step was to cut out the back panel. Because I didn’t have enough of the paisley fabric to complete the shams’ backs, I resorted to using some white cotton that I had lying around. Envelope backs are easier and faster to work with than zippers, so I shortened the back piece to 32.25 inches by 40 inches.
As a final step, I sliced the 32.25-by-20-inch sheet in half to create two pieces that were exactly the same size. I stitched the inside cut edges in the next step.
I pinned and pushed the fold into place after turning the fabric one inch right side down.
In order to secure the hem, I folded it over once more, pinned, pressed, and then sewed it along the inside fold.
On the second piece of white fabric, I did the same.
Xem thêm : How To Make A Bed Wedge Pillow? Complete Step-by-Step Guide
On my work area (the floor, always), the right side facing up, I laid out both back pieces, with their hems already sewn, and lined them up along all three edges with the face fabric. The hemmed edge was centered on each back piece. To keep it in place, I pinned it to the face cloth at the corners.
Once the first piece of back fabric had been pinned in place, I took the second piece of back fabric and, with the right side of the cloth facing down, lined it up opposite the first piece. In the center, the hemmed edges overlapped.
Using a regular 5/8-inch seam, I stitched all four edges of the pillow sham and then carefully ironed the edges so that the seams were nice and crisp.
For the flanged edge, I then stitched through both the face and back fabric 2.5 inches from the edge, on all four sides of each of the sham’s corners. To eliminate any room for error, I label any length that isn’t already recorded on my machine using painters tape.
There you have it! For less than an hour and fifteen minutes, you can easily make two shams, saving yourself money in the process.
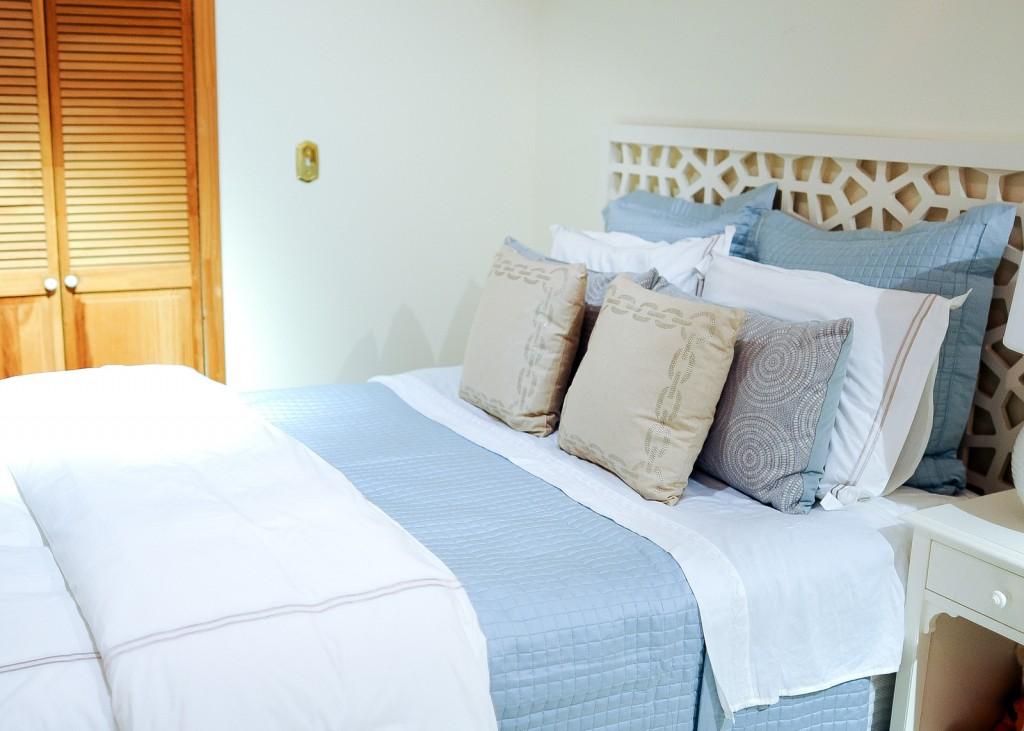
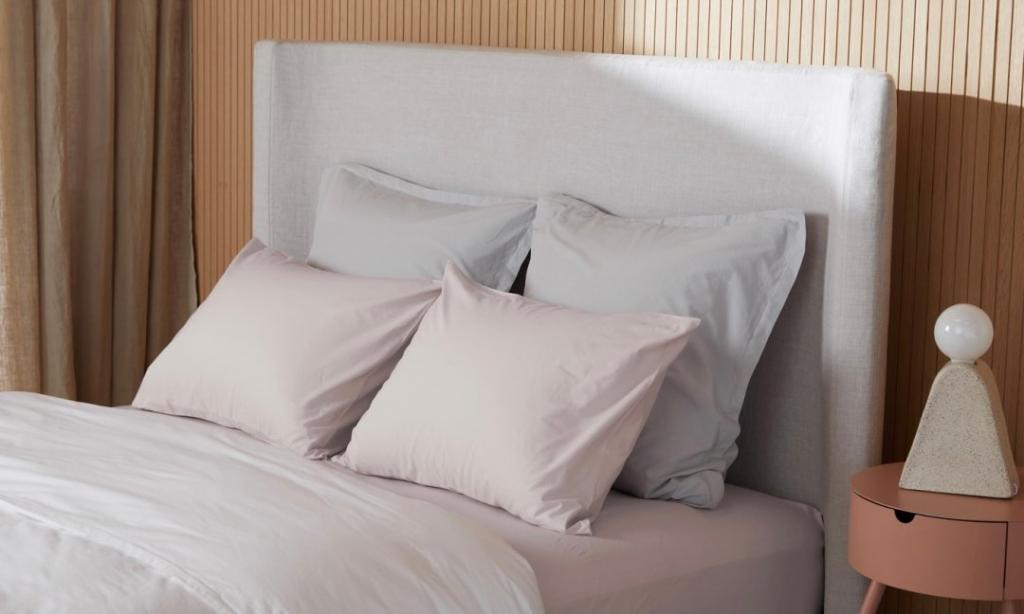
How You Can Use a Euro Pillow
Business-class hotels are more likely to feature the elegant Euro pillows. They’re either placed on top of the king-sized bed or propped up against the headboard to offer a touch of luxury and relaxation. In front of them, two or more standard pillows are commonly stacked. Throw pillows can even be placed in front of the bed pillows to complete the look.
The Benefits of Euro Pillows
Don’t be fooled into thinking that your Euro sham pillows are merely aesthetic accents to your bedroom design. While viewing your favorite shows or reading, you can use these to help keep your back in the right position.
In addition to making their beds look more welcome, many individuals buy Euro pillows because they provide a wonderful level of comfort. They don’t disappoint when it comes to ease and support.
Steps in Making a Euro Pillow
You can alter the pattern to tone down, or you can pair basic euro shams with usual euro pillows to match the cover. A movie or book before bed? No problem with Euro shams. They’re the ideal size for most beds.
Affordably priced pillows, on the other hand, are more likely to be flat. You may save money on euro pillows if you make it a point to shop around for the best deals.
Step #1: Pick the right kind of fabric
Pick a fabric before moving on to the next stage. For projects, most people prefer to use thick home décor cloth, but anything can be used. Material’s length and width affect the amount of fabric you need to purchase.
With two pillows at a distance of 3.5 meters from each other, you can use the Robert Allen Buy Handcut Forms, which are 55 inches wide or $10.50 per yard.
Step #2: Cut the ends of the garment
Using a utility knife, cut the garment’s tails off. Pillows with envelope-like locks are easy to make, and they save you time as well. Zippers, on the other hand, are more difficult for beginners to attach to pillows.
Step #3: Cut the envelope closings on four sides
Each cushion will require a 29 x 29 square and two 29 x 24 rectangles for its construction. You may want to cut the envelope closures on all four sides after removing the two bits of hardware.
Step #4: Stitch the edges
Two 29×29 squares are folded in half and sewed together at the edges with a half-inch seam. Stitching layers and the sides that have previously been sewed together should be placed in the middle, like a fabric bun.
Step #5: Stitch all four corners
After that, sew and pin the four corners together. You’re done with your 28 x 28-inch euro pillows without flanges when you turn the cover inwards. To build a pillow with flanges, you must, however, pay attention to one crucial detail.
Important Tips to Remember
Cotton inserts that fill the entire pillowcase are required when you add flanges to your 26 x 26-inch pillow cover. Insert a 28 x 28-inch pillow plug into a smaller pillowcase for an elegant look.
Because it won’t fill the space, a cushion that’s the same size as its insert will be rendered useless and hollow. Pillowcase plugs should be thicker and filled with more cotton so that they are fluffy and hefty.
A cotton cushion plug is a better option than a polyester one. Using cotton inserts will cost you substantially more. In contrast, polyester makes the pillow seem flat and needs to be replaced regularly, which is why they are more convenient.
Making a 28 x 28 pillow flanges
Make a 28-by-28-inch pillowcase and you can get a 30×30 insert. If you have a 16 × 16 case, you can utilize a plug of 18 x 18 inches. To make a 26-inch euro pillow, trim the pillow cover and add two centimeters of fabric to the corners.
Wait for the fabric adhesive to dry on both sides of the board. Using the 2-inch markings you made earlier, sew all around the pillow to ensure that the pillow’s collar is sewn into the seam.
Final Thoughts on How to Make a Euro Pillow Sham
To ensure it doesn’t snap, you can even pick right down to the base. With these instructions, you’ll be done in an hour or less and save money by making your own euro sham.
Nguồn: https://iatsabbioneta.org
Danh mục: Pillow


