Does a broken bed warrant expensive repairs?
Everything today appears to be disposable. If your bed breaks, just go get a new one. To what extent, then, should we attempt repair?
Bạn đang xem: How To Fix A Broken Bed Rail? 7 Easy To Follow Steps For You!
My husband, I can tell you, was prepared to go out and purchase a new bed. All of our furnishings are either antiques handed down through the family or thrift store finds. Fixing things up is usually necessary at this point.
About 40 years ago, my great-grandfather built this bed for me. My brother and I shared a set of bunk beds for the first few years of our lives.
Throughout the years, it has been painted in a wide variety of colors and styles. My son Aiden can finally use it in his bedroom! It was absolutely worth restoring this broken bed, even if it could have been more appealing to run out and acquire a new bed (at least to my spouse).
The Broken Bed Rail
This bed, as we’ve established, has seen its fair share of action throughout the years. Therefore, it’s safe to assume that the bed has been used for jumping on and other similar activities. I mean, kids will be kids.
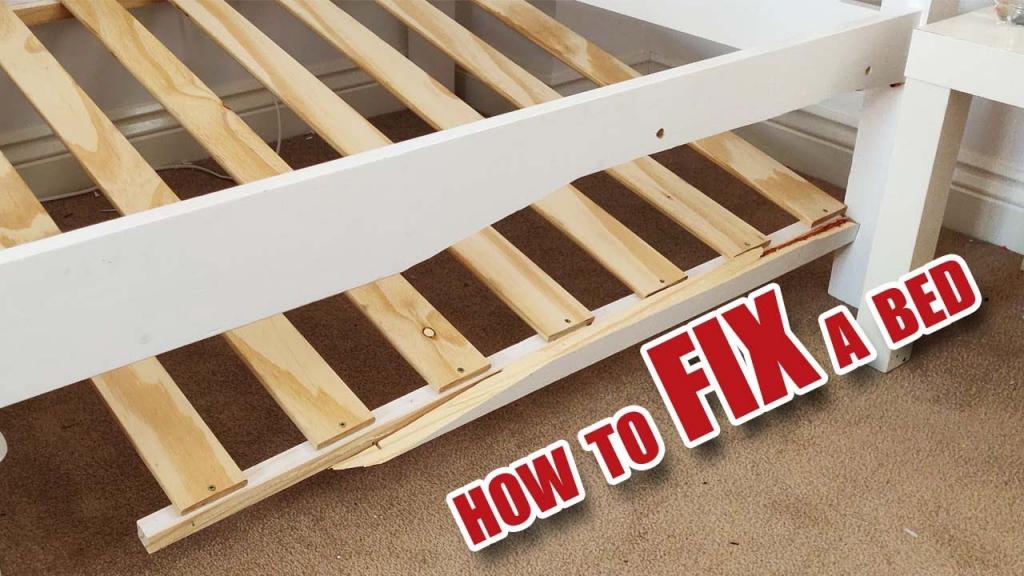
It was only a matter of time before a bed rail snapped.
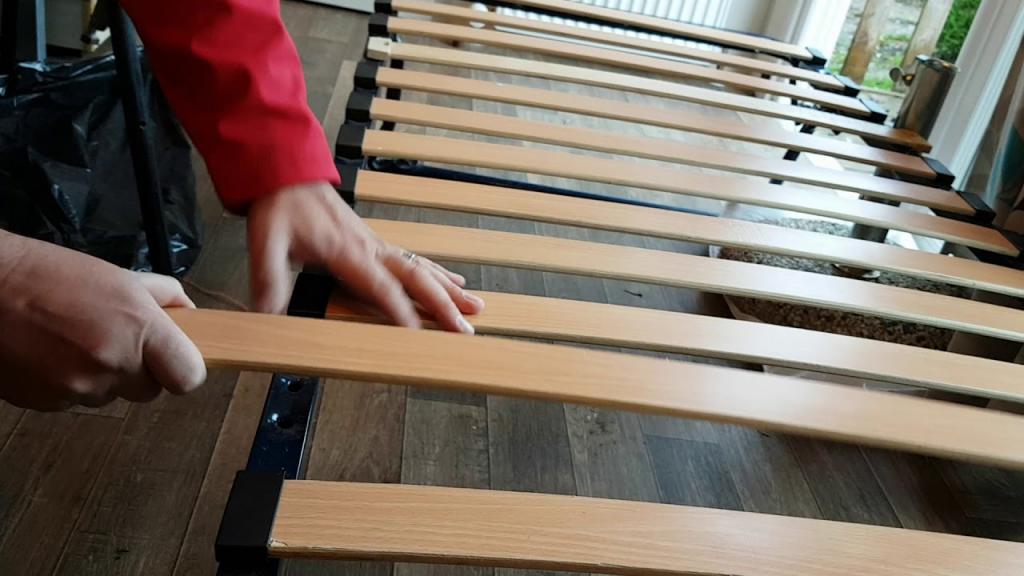
It’s not as difficult as you would imagine to repair a damaged bed rail. Here we see the inside of the rail on the other side of the bed.
This tiny 2×2 board is fastened to the underside of the rail, and it’s where the box spring sits.
The cleat broke off, and the bed rail shattered in two.
The New Bed Rail
A fresh pine board was bought and trimmed to fit. My father took his router and added some decoration to the outer side of the bed rail so that it would be consistent with the other rail. The board was then finished off with a coat of paint to match the bedroom set.
TIP! If you want to match the paint to your damaged bed, bring in a little piece of the bed to The Home Depot. Having been repainted many years ago, there was no remaining paint to touch up this bed. It worked like a charm after being scanned and color matched at Home Depot.
When the paint was dry, we replicated the holes in the broken bed rail by measuring, marking, and drilling.
Supports for the new bed rail
Instead of screwing a 22 board to the new bed rail’s underside, we opted to utilize this sturdy angle iron instead.
After repurposing the new daybed for Ellie’s bedroom, we found that we had a surplus of these.
Simply determine the required depth for the angle iron to meet the other bed rail and cut it to length.
Attach one in the middle and one on each side, 5 inches from the end, of this angle iron to the new bed rail. Placed three wood screws into each angle iron for added stability.
Ready for another 40 years
Here you can see the new bed rail installed and attached to the remainder of the bed frame. These angle iron pieces serve as new bases for the box spring, which means it’s as good as new.
There will be no more shifting in bed thanks to the addition of this brand new bed rail.
Fixing this faulty bed took very little time overall. It was a simple fix, fairly inexpensive, costs coming from the purchase of one pine board, a sample size of paint and new wood screws.
This bed is here to stay for good. We were able to preserve a family heirloom, and Aiden isn’t a fan of change, so it was a win-win. When his bed was eventually mended, he was overjoyed. Certainly, this is good news for everyone.
If the occasion ever presents itself, we hope you’ll be able to apply this method to fix a broken bed.
Xem thêm : How To Clean A Feather Bed? Step-By-Step Guide
If this is your first time visiting, let me say hello and welcome! Find out more about us on this page.
Make sure to save this image to Pinterest and spread the word. In turn, this contributes to the expansion of our fan base.
Once again, I appreciate your visit.
And, of course, you can always count on the best service from us here at Sunny Side Design.
Your home, we hope, will soon be located on the bright side of the street.
Please click on the links below to view the individual DIY projects that went into creating this exciting Cars Themed Bedroom.
Get more money-saving tips by following us on Pinterest.
In addition, we have a YouTube channel with a number of helpful video guides. If you want to know when we publish new tutorials, you should subscribe.
Steps To Fix A Broken Bed Rail
You can’t identify exactly where the break was in the bed rail simply by saying that it’s broken.
Typically, this occurs at the very end of your bed rails and serves as a hint.
It implies it can be found more easily on the footboard, but that doesn’t mean you couldn’t look elsewhere on the bed.
Is there a solution to the problem of a broken bed rail?
So, let’s get started with the procedures you’ll need to follow to successfully repair your bed rail.
Step #1. Prepare everything
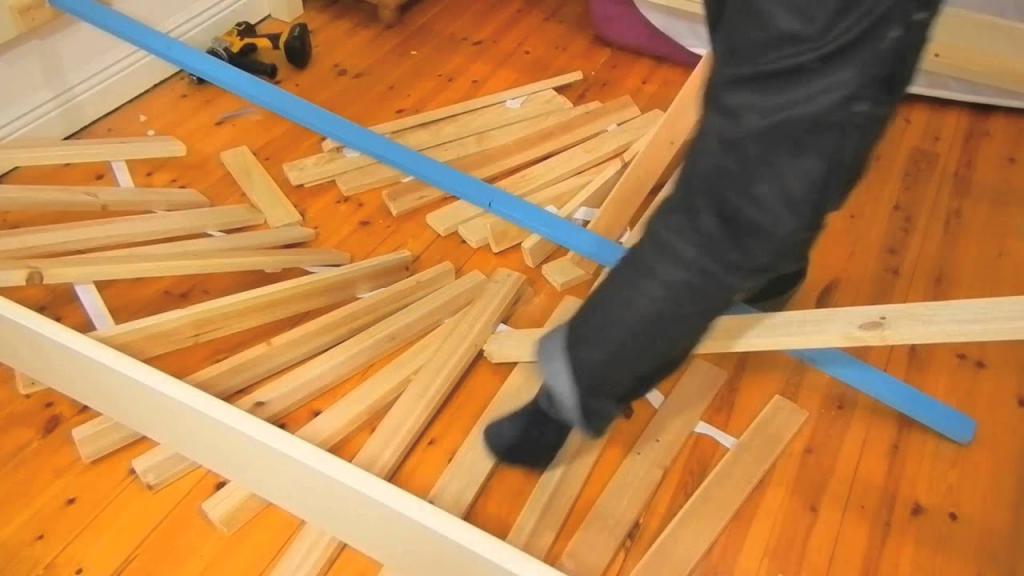
There are a lot of items that need to be cleared away before we can get started on fixing our damaged bed rail.
First, we’ll discuss everything above your bed, including the mattress, sheets, coatings, pillows, box springs, and so on.
Just leave the slats where they are for the time being. In this way, the effect will be mitigated.
Step #2. Try to open the split by prying
The first order of business, then, is to use a little tool to pry apart your splits.
Taking our time and being careful is essential. If it has a split or crack in it, you should use a knife to repair the damage.
Use a utility knife or other tiny knife whenever possible.
By doing so, you will have easier access to it.
Step #3. Add some glue
Glue should then be applied to the gaps. It will act as an internal filler, preventing further growth.
The end of the glue stick can be used to ensure a snug fit. If that doesn’t work, you can always try a knife with a very fine blade.
Xem thêm : How To Put A Futon Bunk Bed Together? Everything To Know!
With a sharp object, you can spread the glue along the interior of the fracture.
Step #4. Use some clamps
After the cracks and splits have been glued together, the clamps along the area need to be tightened.
C-clamps are an alternative that can be used in this situation. However, their functional equivalents in terms of its strength do not exist.
If you leave the clamps in place overnight, everything will hold better and look better the next day.
Step #5. Make some support piece
Plywood will serve as the next step’s support beam. Your bed’s structure will rest upon it.
To begin, measure the width of the room in which the beds will be placed.
It’s possible you’ll also want to gauge the depth of your split on the inside. The split length needs to be extended by 6 inches.
For each set of dimensions you have, cut a half-inch plywood piece.
Step #6. Pre-drill holes
The next phase would include making holes in the support structure. However, it would be more effective if you did it in a random fashion.
But remember that there needs to be at least 2 inches between each one. So, there is a preferred drill bit that you should use when drilling.
The optimal tip orbit is 3/16 inches. This is not to say that you shouldn’t pay attention to other factors; they just won’t be as crucial.
The screw holes, for instance. They must be offset from the holes you plan on drilling currently.
Step #7. Place the support made
All your efforts up to this point will culminate in a finished product that improves upon your original vision.
The completed support must now be fastened to the bed’s frame. Again, wood glue might be useful.
You should put it on just one side of your wooden strut. Put this where you just patched up the damage.
Then, use screws approximately an inch long to secure your support in place. In other words, you need to drill some pilot holes.
You need to improve its appearance and functionality before putting it back into service.
Please wait until the following day to replace the items that you have to relocate in preparation for the renovation.
In case you were wondering what a bed frame was, read this.
But anyway, it concludes the matter.
Conclusion
Finally, this article has come to an end. We’d like to think that you’ve picked up some useful information from us today.
The question, “How to fix a damaged bed rail?” has been satisfactorily addressed in this article.
Nguồn: https://iatsabbioneta.org
Danh mục: Bed