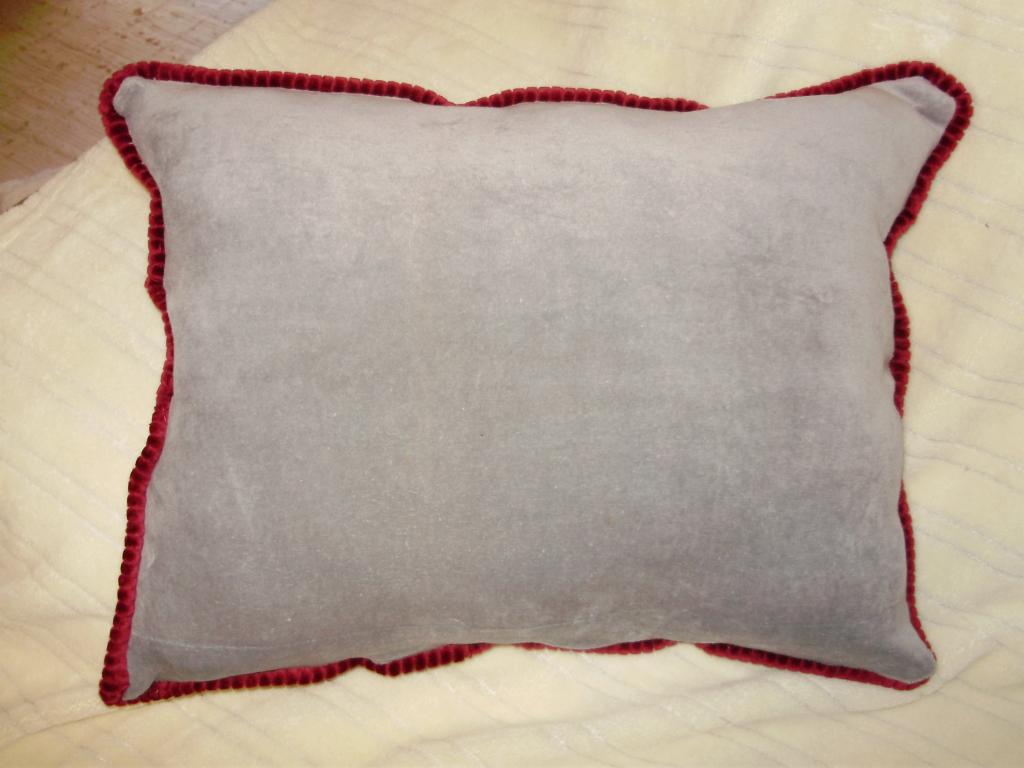
What’s the best way to make a pillow trimmed with cording? Bias tape or a long piece of fabric can be used to stitch the pillow’s edges together.
It is a piece of fabric that has been wrapped around a cord and sewed into a seam. Cording The piping is placed in the centre of the two pieces of fabric that are to be sewn together.
Bạn đang xem: How To Add Cording To A Pillow? Step by Step Instructions
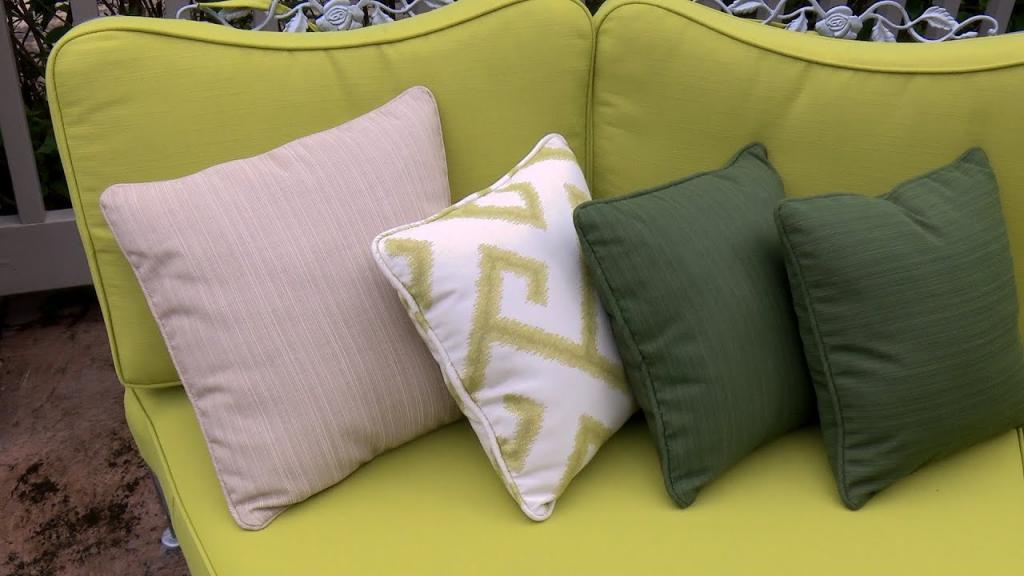
Adding piping to a garment can make it stand out. If you don’t have it, the cushion will seem drab. I used to find my pillow boring because it was only one color.
However, now that I know how to spice things up a bit, I went ahead and took these measures. I’m glad it worked out for me, and I’m sure it will for you as well.
Any type of fabric can be used for piping, so long as it matches your personal style. Various pre-made piping can be found online as well.
Is making a pillow with cording on it on your to-do list? Let’s get this show on the road!
Materials You’ll Need
Some items will be required to build the corded pillow.
- Fabric should be cut to size (for pillow)
- A cord of three yards
- Kit/machine for stitching
- a material such as a fabric or a pipe
- Scissors
Steps To Make A Pillow With Cording
Why not make one with cording?
As long as you follow these guidelines to the letter, it’s as simple as 1, 2, 3.

In order to add cording to a cushion, these are the steps:
Step #1. Cutting
You can cut two squares of your cloth or a pair of any other shape you like. You’ll need two for the front and back of your pillow, respectively.
The length of your rope and piping will be determined by the shape’s perimeter.
The cord should be sewn to the piping once the piping has been cut.
In order to properly align the piping on the edges of the two pieces of cloth, turn them over.
Make sure the rope is positioned on the pillow’s outer edge. This is in the middle of the two. Pin it to the ground.
Step #2. Pinning
To finish sewing the fabric and cording, use a zigzag stitch. For a cleaner appearance, begin and end your stitching near the bottom center of your pillow.
The cords should be overlapping by about 2-3 inches.
Round the corners of your pillow for a more upscale appearance.
Step #3. Make it neat
Sew close to the cord to get the greatest results. This will provide the impression that the cord is attached to the fabric, making it appear cleaner and more professional.
However, leave a 3- to 4-inch-wide space at the end for subsequently filling in the filler.
Check for repairs by turning the cloth inside out. If everything checks out, you can move on to the next step.
Step #4. Filling
Fill your cushion with the appropriate amount of stuffing.
A variety of materials can be used to create it.
Your mall’s department store has an online catalog of materials.
Making A Pillowcase
For those who currently own a pillow and are looking for a replacement case with a cord, just follow these procedures.
Measure
Xem thêm : How To Make A Lavender Eye Pillow? Step-by-Step Tutorial
Your pillow’s dimensions and perimeter should be measured.
Following your measurements, cut out the fabric of your choosing using the measurements.
Determine the length of the rope and the piping based on the measured perimeter.
Add a few extra inches to the cord’s length to allow for future overlapping.
Pinning out
Once you’ve cut your materials, you’ll need to align them so that the right sides are facing out.
If you want a zippered pillowcase, all you need to do is sew the zipper into the bottom of the fabric.
A non-zipper pillowcase requires three pieces of cut fabric, so plan accordingly.
Simply follow the instructions for making the pillow when pinning the pillowcase with a zipper. It’s okay to leave the bottom open, though
If you want a pillowcase without a zipper, fold one of the fabrics over the other so that the front is on the first piece and the back is on the second and third pieces.
The sides of the two fabrics should be 3-4 inches apart when they are sewn together. In order to keep the pillow inside the pillowcase, this will be necessary.
Sewing
To begin sewing, you first need to pin the fabrics.
You must have a basic understanding of sewing to get started.
With a sewing machine or by hand, you can make a garment.
- Mechanized Stitching
The invention of tools and equipment has made life a lot simpler. Using a sewing machine to sew cushions.
It is possible to buy a sewing machine in either a manual or an electric model. The two modes of operation: manual and electric. Both of these options are available to you.
A Juki high-speed sewing machine is what I’m now using for this project. There is a lot of work to be done with this sewing machine.
Sew the piping as close to the cord as possible for a neater appearance while making your pillowcase.
- By hand sewing
To sew by hand, you’ll need to put together a sewing kit. You’ll need a pair of scissors, a pair of needles, and thread in the same color as your fabric.
To provide a more professional appearance, begin by sewing the piping to the fabric with the cord first. The pipework will be installed this way.
In order to sew the garment, use a backstitch. You’ll get better results if you make your stitches as small as possible.
Once the first three sides are sewn and an opening for a zipper is desired, we will sew the fourth side.
The bottom must be placed out when stitching the zipper on the fourth side. The zipper should be slightly open so that you may easily turn the garment later.
Finishing touches
The pillowcase is ready to be turned inside out after sewing.
Open the zipper on your pillowcase if it’s there, and then flip your pillowcase inside out.
Zipperless pillowcases can still be turned inside out by the gap between the two fabric layers on the central back of your pillowcase.
Xem thêm : How High Should Your Pillow Be? Perfect Information For You
After rotating, inspect your pillow for holes and loose threads.
Take a pair of scissors and cut the loose thread instead of yanking on it.
Your work will be damaged if you pull on stray threads.
Also, check to see if anything has to be repaired, such as crooked or incorrectly sewed cording.
How to Make a No Sew Pillow with Piping
The process of making a cushion with piping was new to me, but it was surprisingly simple.
Having a cushion with a cover is a good place to start when it comes to making a pillow. This is a Homegoods find.
In order to accurately measure my fabric, I ripped off the cover. You’ll need the size of your cover, plus an additional inch on all sides except one. As a result, increase the length by 2 inches and the width by 3 inches.
Cut two pieces of this size of fabric. Tablecloths are made using my fabric. The hem was lopped off. Make sure everything is smooth by ironing it all together.
Make a 1 inch hem on each of the eight sides.
I’ve discovered that diagonally cutting the ends of your folds when you first iron them is a huge time-saver afterwards.
Use fusible hem tape to adhere the flap to the side where you left an additional inch. Observe the instructions on the hem tape you purchased. This should be done on both pieces of cloth.
In reality, the corners are not that difficult. Simply cut slots in the piping’s flat surface. I was able to remove a portion of the flat surface using it. Then, as normal, apply the glue.
Overlap the end of your tubing a bit and secure it in place with additional adhesive, if necessary. An hour was recommended per the glue’s instructions, which I followed.
Attach your Velcro closure while you wait. If you don’t have or don’t like Velcro, you can use the envelope style pillows instead, which I prefer.
Glue Velcro on the two sides that you previously hemmed and left an extra inch. In order to get the best results, make sure that the “good” side of one piece is facing the “bad” side of the other. Allow for complete drying by placing a heavy, flat object (such as a stack of books) on top of the paper.
Afterwards, you’ll want to join the two halves together. The hem tape was sandwiched between the non-piped and piped sides. To seal, use iron.
It’s critical to align the edge with the piping for a smooth finish.
Fabric-wise, you should be sewing flap to flap. In this manner, you make a “sandwich” of fabric – the flap, the piping, and the flap. The pillow will go in all the way to the seam if you push this to the front or rear.
Now is the time to get a piped pillowcase. Place your cushion in place and relax.
Conclusion
It is possible to liven up your living space in numerous ways.
As well as being visually appealing, affordable and hand-made decorations can add to the appeal of a room.
Pillows come in a wide variety of designs, all of which can be found online.
Make sure to have a look at them and see which one you like most.
Make a cushion with cording if you’ve already done so by following our step-by-step directions in this post.
It’s an enjoyable way to pass the time.
Your pillows will be a lot more lively as a result of this project, and you’ll have a lot of fun making them.
Nguồn: https://iatsabbioneta.org
Danh mục: Pillow


