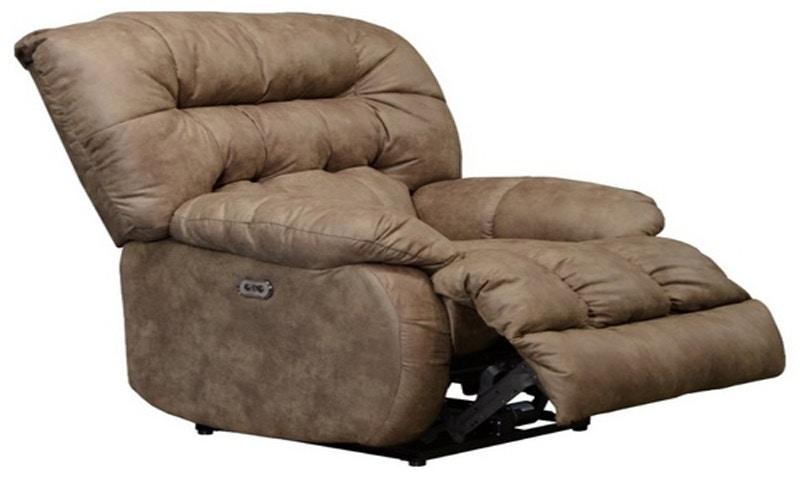
In the evening, a huge recliner is a terrific spot to unwind. However, what happens if it malfunctions? Unless you want to spend hundreds of dollars, you can’t just throw it away and get a new one.
- How To Tighten A Loose Recliner? Comprehensive Guide
- How To Manually Restore A Power Recliner? Helpful Tips To Remember
- How To Make A Vinyl Cover For A Recliner? Step-By-Step Guide
- How To Clean Recliner Upholstery? Comprehensive Guide
- How To Make A Slipcover For Your Recliner? Perfect Information For You
So, what are your options for repairing your chair? 7 DIY solutions to replace lazy boy recliner seat springs will be discussed in this post to make them as good as new!
Bạn đang xem: How To Replace Lazy Boy Recliner Seat Springs? Easy Step-by-step Guide
Steps on Replacing Lazy Boy Recliner Seat Springs
Step One: Materials Needed and Tools Required
Materials are the first item you’ll need to get going. A screwdriver, pliers, wire cutters, or a pair of scissors can be used to get your project up and running quickly. It isn’t necessary to have any special tools for this task, however you may want to have some needle nose pliers and a screwdriver on available.
Step Two: Remove the Old Springs
Prior to installing new springs, you must first remove the old ones from your chair. All you have to do is remove them from the frame by unscrewing them. To gain a good grip on the fastener, you may wish to use the pliers to grip it and unscrew it at an angle.
Step Three: Install New Springs
It’s as simple as screwing in new springs now that your old ones have been removed! These will come with directions on how far apart to position them in the frame, so this should be a breeze. Use a screwdriver that will fit snugly into the grooves and screws without being too large, and avoid cross-threading or harming your new springs!
Step Four: Mount Seat Cover on Top
Putting your seat cover on top of the springs and attaching it to the frame is all that is left to do now!
Step Five: Test Seat Recline
Once you’ve done that, you may see how far you can recline with the new springs installed. For your convenience, you don’t need any kind of footrest, so you don’t want it to stop at any point in the process.
Step Six: Replace the Screws and Put Everything Back Together
Just replace your screws and put everything back together, and you’ll be all set!! Make adjustments if something doesn’t feel right, or if there are any gaps.
It’s now time to kick back, relax, and take use of your brand new springs!
How do you Replace a Tension Spring on a Recliner?
Step One: Unscrew the Springs
A good place to start is by removing any fabric covering your springs. Use a sharp utility knife to cut around them and then pull out any leftover stitches or threads holding them down if they are stitched in.
The springs can be unscrewed from underneath if there is enough room between the seat cushion and the backrest of your chair.
Step Two: Purchase a Replacement Spring
You’ll then need to buy and replace your tension spring. Just keep in mind that it won’t operate properly if it’s too short or lengthy for your chair!
In the third step, sew them back together. Sew your new tension spring in place and enjoy your springs!
How do you Measure a Spring for a Recliner?
The simplest method of determining the length of a spring for your recliner is to determine how long it should be. Coiling up and cutting down lengthwise, you’ll need enough slack so that when you let go of one end, the wire will extend out about two feet before stopping.
Xem thêm : How To Disassemble Bob’s Queen Ann Recliner? Comprehensive Guide
Spring replacement requires the following tools:
- phillips head screwdrivers
- A pair of pliers or a vice grip (optional)
- A metal file, if your recliner chair seat springs have a metal frame.
- Most kits will include new screws to replace the old ones. You may also be able to repurpose some of the older ones if they are in good condition.
An grasp of how springs work as well as the specific design of your chair would be beneficial.
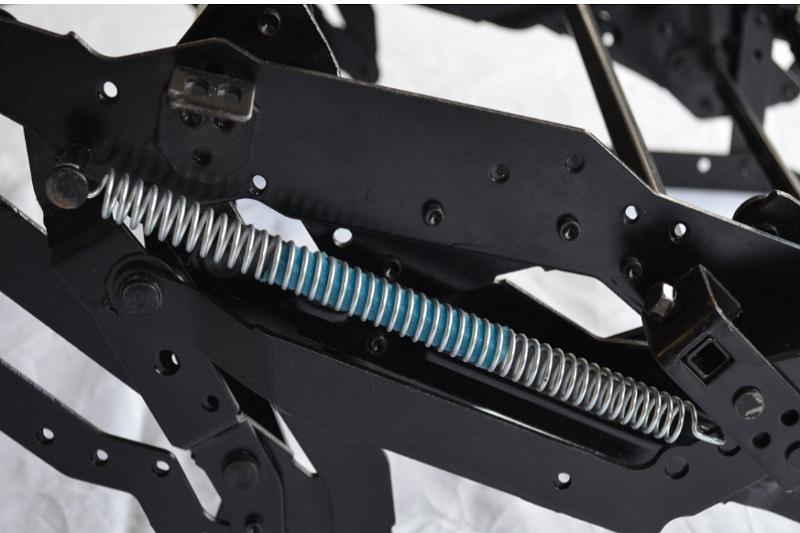
Why do Recliners Lean to one Side?
The most common cause of a recliner tipping to one side is a broken spring. Each spring will tilt to one side if the two wire coils that make it up are not extending evenly anymore. This results in an unbalanced weight distribution.
How to Protect a Recliner to Last Longer
To keep your recliner in good working order, it’s crucial to take care of it and keep up with the necessary maintenance. After four years of sitting in the same position, most individuals modify their springs every six months. As a result, they will last longer and the chair will be safe to use.
How do you Replace a Recliner Slipcover?
One of the simplest ways to breathe new life into an old chair is to use a recliner slipcover. If you have an old, worn-out recliner in your home that needs some TLC but you don’t have the money to buy a new one or even simply replace the seat cover, this DIY project is for you.
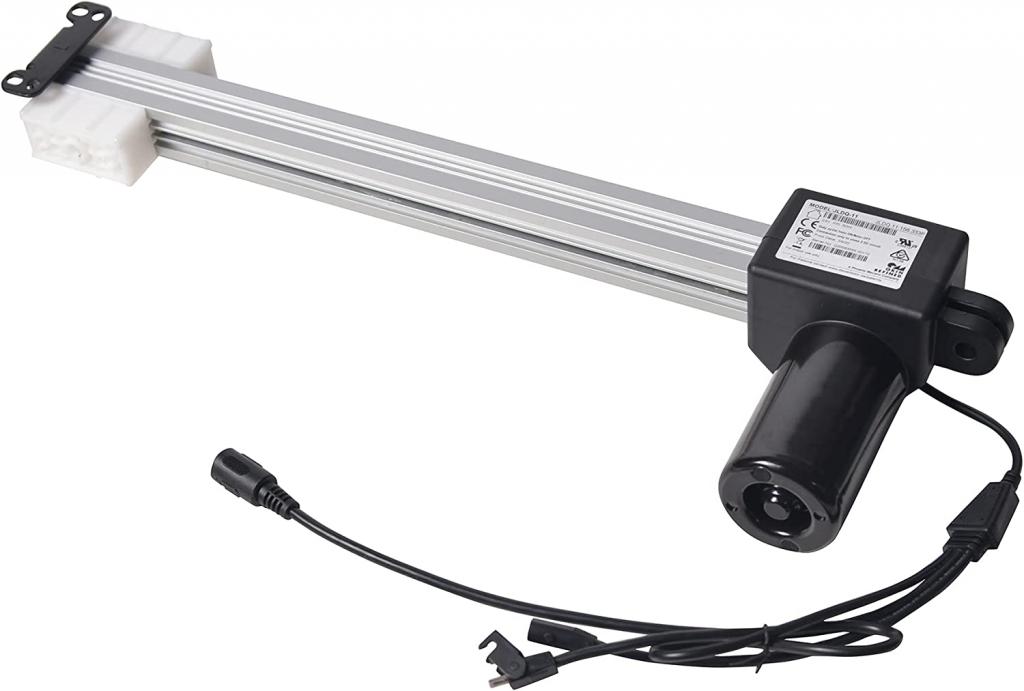
How to Replace a Recliner Tension Spring (DIY Repair)
Recliners provide a sense of security and are designed with your comfort in mind. A recliner is so adaptable that you can rest and relax, watch TV, play games, and even fall asleep while sitting on it. The spring will eventually break down due to its constant use. You don’t have to toss it away when it’s done. Self-replacement is an option. We’ll walk you through the process step by step.
Recliner Tension Spring Replacement: A Step-by-Step Guide
You may have a defective recoil spring if the reclining action is too easy and provides insufficient support. However, if you suddenly feel as though you are sinking, it is possible that the zigzag spring has to be changed. Let’s get started with the many stages involved right now.
The zigzag spring can be replaced:
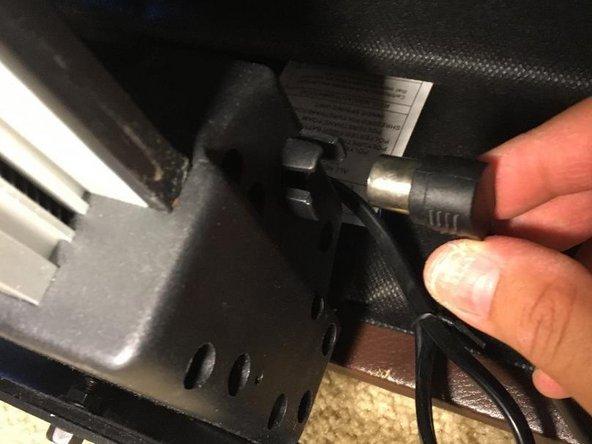
Remove the chair’s cover by flipping it over. Use an adjustable wrench to release the retaining nuts holding the recliner spring in place. Make sure you don’t totally remove the bolts. Get them all out of the way before you remove the screws.
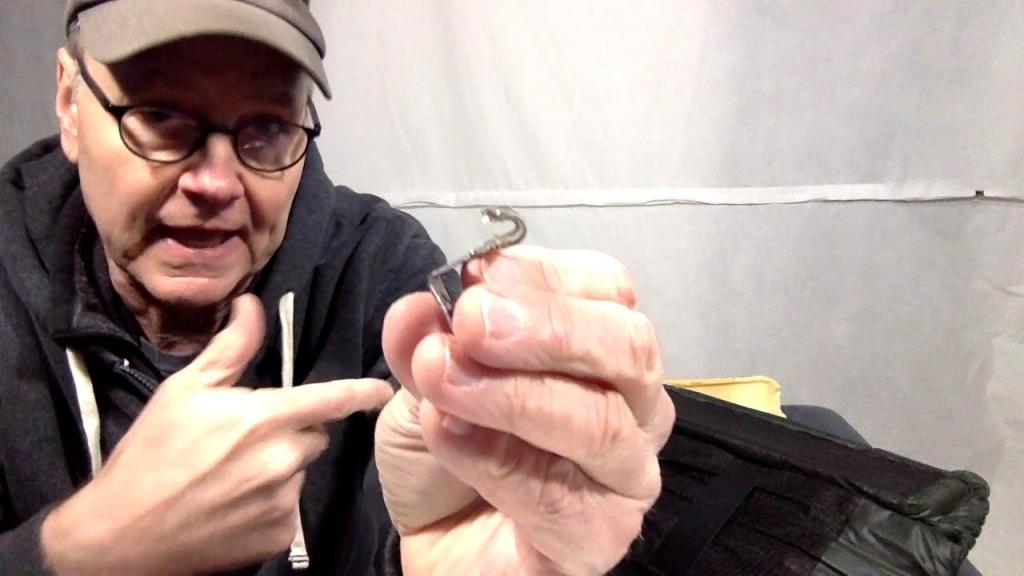
Step 2: Locate the faulty spring. When it comes to recliner tension springs, this shouldn’t be a problem. Take the next step after you locate it.
Using your free hand, carefully pull the top section of the broken tension spring apart. Once it’s removed, you may pull the bottom section from the clamp it’s attached to and do the same thing.
Replace your recliner’s tension spring by purchasing a new one. Depending on the amount of broken springs, you’ll need to acquire a different number of replacement springs. You can buy a zigzag spring online or speak with your recliner’s seller or maker.
Having purchased a new spring, the next step is to replace the broken or damaged ones. It is possible to do this by first attaching the upper component, and then re-clamping the lower part.
Xem thêm : How To Lock A Rocking Recliner? Step-By-Step Guide
Place the chair back into its original position by reattaching the cover or fabric and rotating it. Sit in the recliner to see if the new spring is working properly. Repair or replace the damaged or worn-out spring correctly.
For a recliner spring replacement, you’ll need a few tools and supplies. The following are the tools you’ll need:
- screwdriver
- pliers
- tools for slicing wire
Also required are two new springs and a spool of copper wire. You may find it on Amazon or in your local general store.
Make sure to ask for advice from those who have gone through the same thing before. However, if you don’t have any friends or just want to learn how to do it on your own, stay reading.
5 EASY STEPS TO CHANGE RECLINER SEAT SPRINGS
It’s not as complicated as it appears. The complete procedure can be broken down into the following five steps:
- Your recliner should be dismantled.
- Removing the seat is necessary.
- Remove the springs.
- Replace the old springs.
- Reassemble the recliner.
Your chair’s seat springs can be replaced without the requirement for any advanced training. Let’s go through each stage in further detail now.
1) DISASSEMBLE
Taking apart the chair is the first step in replacing the seat springs. Using a screwdriver, remove the screws holding the chair’s back together. You will be able to remove the chair’s back and look inside once the screws have been removed.
2) REMOVE THE SEAT
Remove the seat from your chair after removing the back. Staples holding it in place can be removed with a tool. Then, using your chair’s frame as a lever, raise the seat until it comes free. It may require some work from you. Also, place it such that none of its components will leak out when you remove it later.
You can see the construction of your lazy boy chair after removing the seat and all staples. Pulling the foam off the frame is the first step in the process.
3) REMOVE SPRINGS
You’ll see the springs after you remove the foam. You’ll need to replace these items. Cut the wires keeping them in place with a wire cutter, then remove them from the frame and discard them.
4) INSTALL NEW SPRINGS
You’ll have to replace the springs now. You can secure it with pliers or wire cutters by feeding it through the frame and then securing it. Add back all the layers you removed before beginning this project. Before reassembling your chair, check for any staples that were left over from when it was first placed. If so, remove them.
5) REASSEMBLE RECLINER
The final step is to reassemble everything. Attaching the back and inserting the screws will do this. I know this is a challenge, but I’m confident in your ability to succeed. If you persist, eventually you will succeed.
Installing the spring system in your chair gives you a chance to give it a test drive. If it still feels like new, you should be happy. Congratulations on completing the assembly of your new recliner!
![How to Replace Lazy Boy Recliner Seat Springs? [2022]](https://iatsabbioneta.org/wp-content/uploads/2022/08/how-to-replace-lazy-boy-recliner-seat-springs-img_62fa04893e0dd.jpg)
ORGANIZATION AFTER THE PROCESS.
Clean up or organize anything that may have been left over after the project. Remove anything that is no longer required. A neat and orderly workspace is essential for the successful completion of any project. With these instructions, you’ll be able to replace the springs on a chair in no time.
CONCLUSION
When in doubt, don’t hesitate to get in touch. I would be happy to help you out in any way possible!
Nguồn: https://iatsabbioneta.org
Danh mục: Recliner