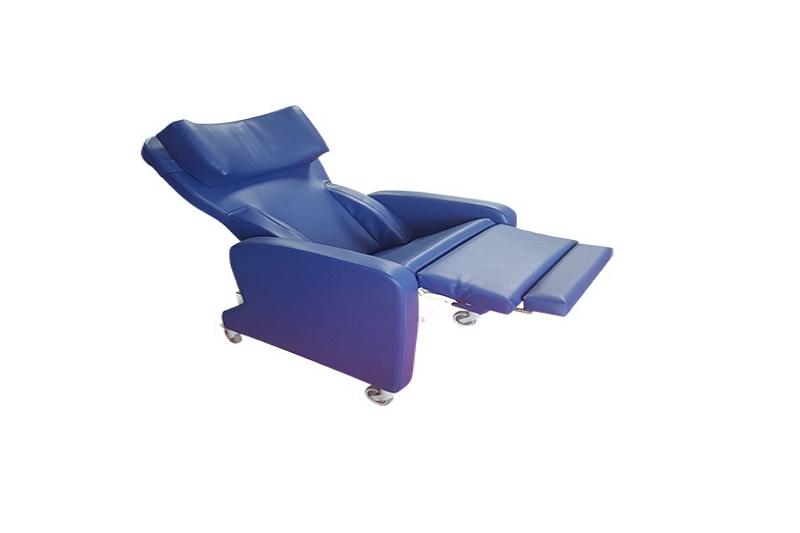
It’s inconvenient to have a sagging chair, but fortunately, it’s a simple fix. To begin, determine which model of chair you currently own.
There are distinct differences between a loose rocker recliner and an armless tilt-back model when it comes to repairs. Following these simple steps can help you get the most out of your recliner.
Bạn đang xem: How To Tighten A Loose Recliner? Comprehensive Guide
Steps on Tightening a Loose Recliner
A voltmeter can be used to check for voltage at the breaker box before you begin working on your chair.
Step 2: Use needle nose pliers or wire cutters to remove the cloth from the frame and remove any screws holding it in place.
Metal components should be checked for bent pieces or nails that may be out of place in order to prevent further damage.
Step 4: Remove anything that appears to be out of place and re-bend the metal. If your recliner is still loose after completing the steps outlined above, you may need to seek the assistance of a furniture repair professional.
What Causes a Recliner to Loose?
So now that you know how to tighten a slack recliner, let’s have a look at how the chair got loose to begin with. The following are only a few of the possible causes of chair loosening over time:
As a result of furniture moving around it, some of the upholstery has broken loose from its attachment to the frame.
After years of usage, some of the metal on your chair has bent and become brittle, making it more prone to slipping.
a flaw in the manufacturing process caused by the use of low-quality materials (this is rare). If there is a warranty on the product, the fault should be listed there, so look there before calling anyone else!
The screws that hold the furniture together have come loose.
How to Care for Recliner Chairs
If the screws on the chair have loosened, tighten them on a regular basis.
Check for signs of damage to the springs or the upholstered furniture (and get these fixed promptly).
In order to prevent the spread of germs and bacteria, keep your furniture away from drains and toilets.
Xem thêm : How To Adjust Recliner Tension? Effective Guide For You!
Consider selecting flame resistant fabric if you have children or if you live in a location where animals frequently wander, such as a basement. This can assist in preventing fires that may occur as a result of children or dogs resting too close to lamps or candles being knocked over.
Reasons Your Chair Loosens
Many things can lead to a sagging recliner, including improper installation, neglected screw tightening, and damage or deterioration of the springs and fabric.
In the event that you have children or pets roaming around your home, you may want to consider a replacement chair.
To avoid fires, children and animals alike should keep lamps at least three feet away from their bodies.
The moment has come to get rid of your old chair and buy a new one that is safe for everyone in your family (typically found only on high-end models).
How to Prevent Wear and Tear on Recliner
The following are the best strategies to keep your recliner from breaking down:
keeping the area free of potentially damaging items like toys and shoes;
- Sitting in a chair and not eating
- The use of coasters for beverages (e.g., soda) to prevent stains
- Avoiding sitting on the arms of a chair to prevent wear and tear.
If you see any symptoms of wear, such as frayed fabric or damaged pieces, on your recliners, it’s best to have them repaired right away to avoid more damage. The springs in your chair weaken over time and can snap, resulting in an unpleasant chair.
Make sure your recliners are safe for everyone in the house by tightening them up on a regular basis.
How to Deep Clean Recliner?
Deep cleaning recliners isn’t a tough task, but it does take some time and effort to get it done right.
What You Will Need
- Utilize a handheld vacuum cleaner to dust other surfaces, such as hardwood floors, and a crevice tool or upholstery attachment to thoroughly clean fabrics.
- a pail of hot water with a few drops of dishwashing liquid
- After each usage, rinse the vacuum attachment in a small bucket or basin filled with clean, lukewarm water. This will help keep your furniture clean. Disposable wet/dry vacs made exclusively for upholstery cleaning are also available.
- absorbent than paper towels or sponges, microfiber cloths come in a variety of widths and lengths.
- a clean, dry towel (to dry surfaces)
- If you intend to use an electric vacuum cleaner, you will need an extension cord.
Cleaning
Once the reclining chair has been vacuumed, use a wet microfiber towel to wipe down all of its surfaces.
The first step in seeking professional assistance is attempting to fix the reclining chair yourself if you are unable to do it or if it is displaying signs of neglect (e.g., peeling veneer).
In the event that you’re still unable to resolve the issue on your own: Whether the frame is wobbly, check to see if all of the screws have not come free; this could be caused by age or by cats leaping on chairs while they still had a beautiful cushion but lost it over time.
How to Fix a Recliner Chair Back
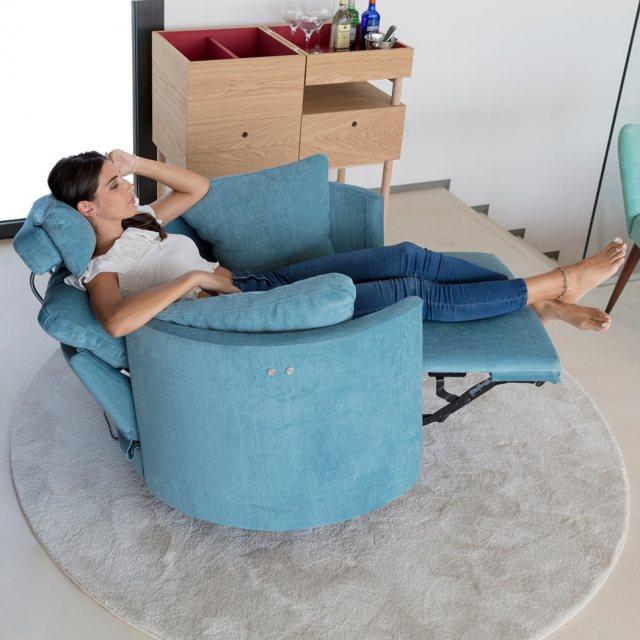
The right chair for your body type can take a long time to find, so be patient when looking. Most people merely buy the most comfortable recliner they can find at the nearby furniture store and hope their body and the chair adjust to each other.
Because the back of your recliner isn’t working properly, you might reconsider dumping it in the garbage.
Xem thêm : How To Adjust Lazy Boy Recliner Pitch Too Low In Front? Comprehensive Guide
Breaking in a chair, which allows it to conform to your shape, might take months or even years of use. Just because it requires some effort doesn’t mean you should abandon that relationship.
The best part is that it’s a simple fix that anyone can perform!
Narrow Down the Problem
You can’t just bring your automobile to the mechanic and claim it’s broken, just like you can’t just bring your chair to the mechanic and say it’s broken. Think about exactly what is causing you problems right now.
As an illustration, consider the following issues with the chair’s back.
- The chair’s back is way too flimsy, and it moves a lot.
- The chair’s back isn’t leaned back far enough.
- There is a problem with the back of the chair leaning too far back.
Don’t Become Overwhelmed
Your chair consists of only a few basic parts. To name a few, there’s the handle, footrest, back, and springs, in addition to the cable. One of these things will be wrong if there is a problem (other than the random stain on the material that you can always blame on someone else, but that is just cosmetic anyway).
So when you think about it that way, it doesn’t seem so difficult.
Tools Needed
While repairing the recliner back, you may require some of these tools. To reiterate: You may not require all of these tools, but having them on hand at the outset will save you the time and frustration of hunting around afterwards.
- Flashlight
- Sniper’s tool (flathead and Phillips just in case)
- The adjustable wrench
- Welding compound WD40 (take care of any squeaks in the process)
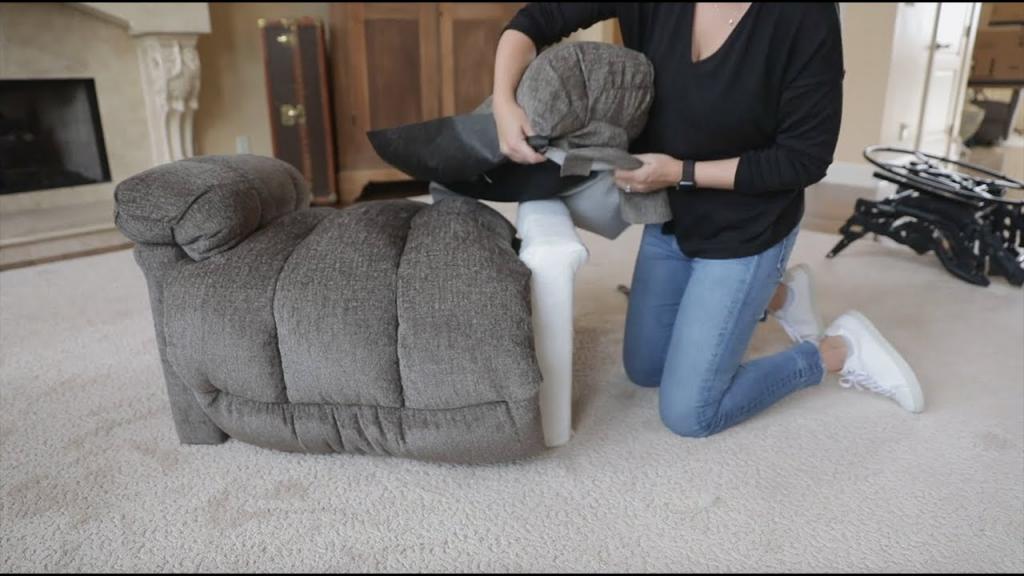
Getting Started Removing the Back
Lean the chair all the way forward until the back of the chair is pointed straight up at the ceiling in order to obtain complete access to the back. You can see exactly what you’ll need to do to remove the chair’s back here.
You’re more than likely to possess a recliner with one of these backs.
- The Lever Has Been Retracted (brackets attached to the sides of the back)
- Bolted to the Ground (accessible through a panel covering up the bolts)
- Rear-Locking Tabs or Clamps (locked into place)
It’s best to identify the type of recliner back you have, and then use the basic tools you have nearby to either unhinge, unbolt, or unlock it. When removing the back, make sure the locking levels are flipped up.
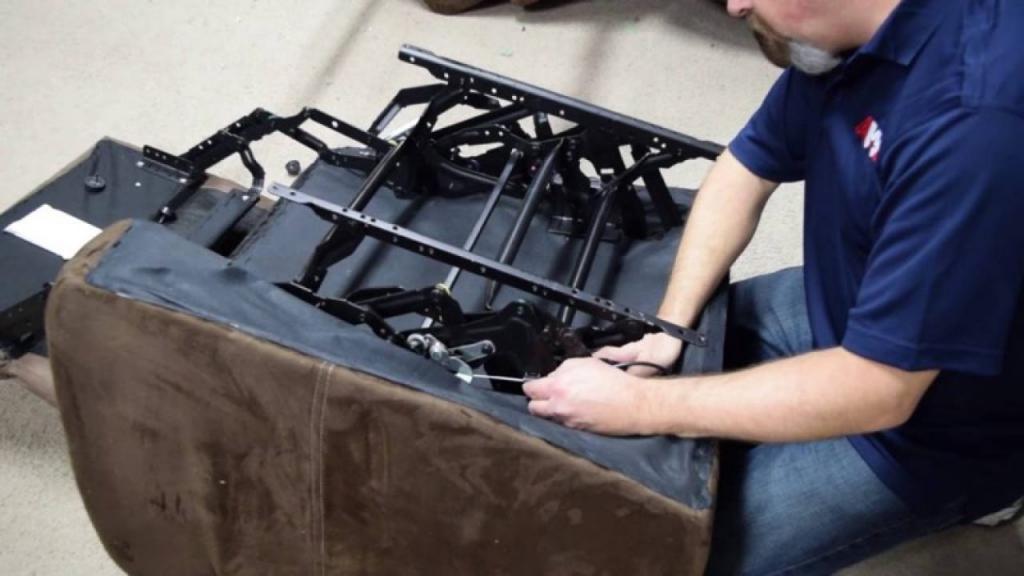
Did You Just Find the Problem? Loose Attaching Hardware
This problem may have already been discovered by chance. Check all of the recliner’s attaching hardware brackets and tabs once the back of the recliner is removed. Tighten the hardware if it’s loose, because if the problem is shifting in the recliner’s back, tightening the hardware could halt it.
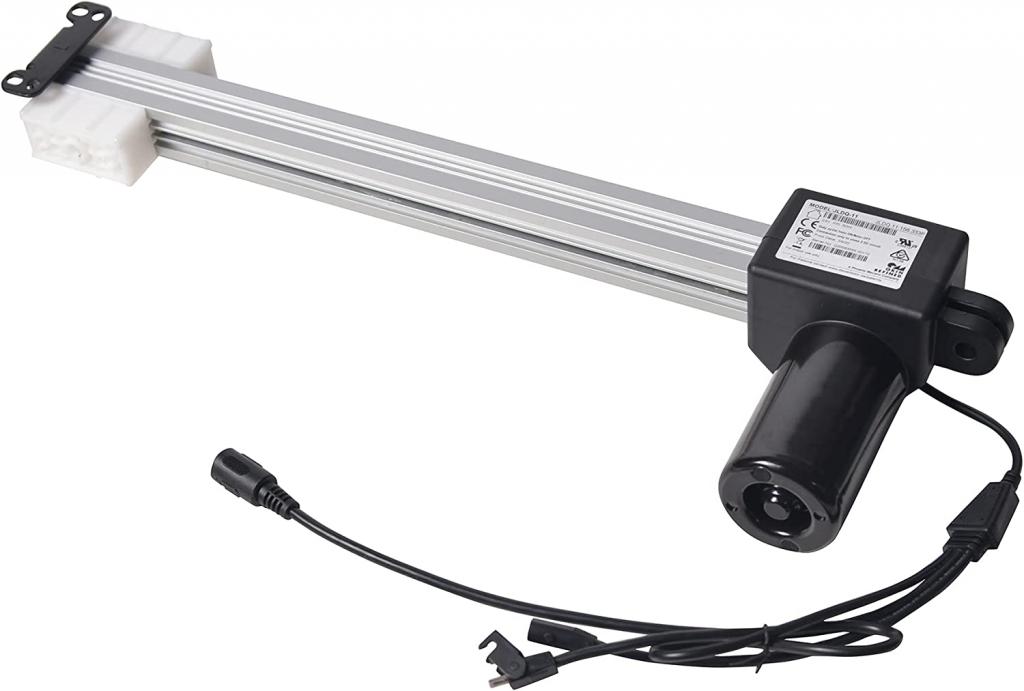
Does Your Recliner Back Have a Mind of Its Own? Probably the Cable
If the chair doesn’t want to recline or reclines too far, the cable is most likely to blame for the problem. Although it will take some time to mend, the good news is that you won’t have to pay for a repairman and your beloved recliner can be saved.
How to Repair the Cable
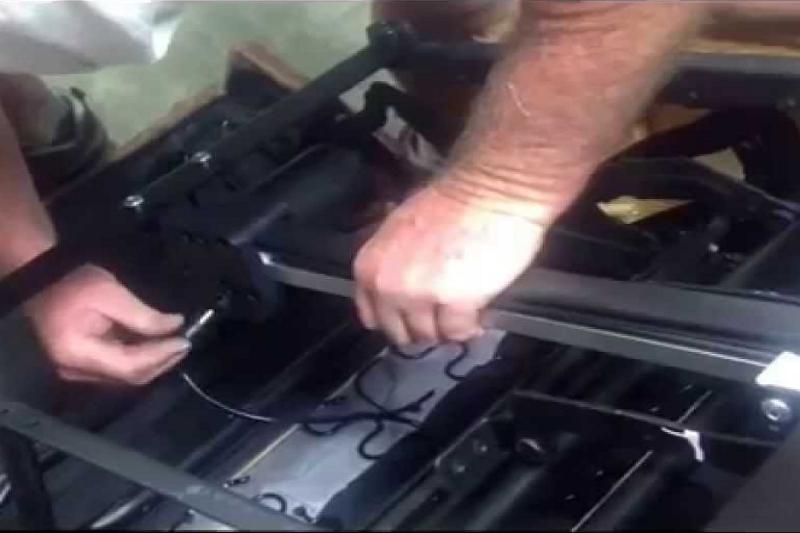
- Flip your chair around so that the bottom is facing up towards your ceiling and the seat is facing down.
- On the bottom of the footrest, there are likely to be four bolts. Then get rid of them.
- The squab should be attached to the underside of the recliner with two more bolts. These two screws should be removed at this time.
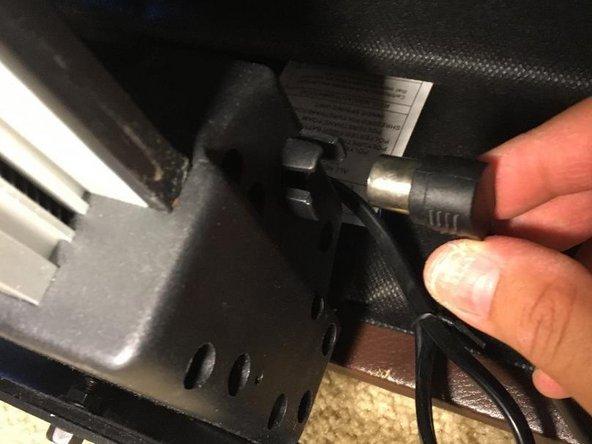
- The cable that controls the reclining mechanism should now be visible. The recliner’s handle side will have it.
- Simply rejoin the cable if it has come loose and is slithering about unhindered.
- The cable may be good, however the lever mechanism is being held on by a slack bolt at this point. Put it back together using the new bolts.
- To fix a broken cable, simply remove it and install a new one after you’ve gotten inside. Be patient and don’t give up if you don’t find one within a few days. They’re available on Amazon for less than ten dollars, as you can see.
- Since most of us prefer to follow textual instructions with visual aids, we’ve compiled a handy movie to serve as an example.
Place the Chair Back into Place Once Again
Reattach the chair once it’s been fixed and you’re ready to try it out. You’ll be putting it back on the same manner you removed it. For example, the bolts or the lever brackets can be used to secure it.
What Is the Worst that Can Happen?
Even if you are considering dumping the recliner back on the curb with the sign “Free to Good Home,” this is a good moment for you to try and fix it on your own.
Do you know what could happen? It’s already on your mind to get rid of it. Reach out to a friend who is more mechanically minded if you feel you’re in over your head while dismantling it. Regardless of the outcome, it will serve as a catalyst for future DIY endeavors.
Nguồn: https://iatsabbioneta.org
Danh mục: Recliner