Learn how to manufacture a vinyl chair cover in today’s post. Step-by-step instructions will be provided to help you accomplish your project. We hope this information will help you keep your furniture in good condition.
- How To Remove The Back Of A Catnapper Recliner? Step-By-Step Guide
- How To Change The Bearings On A Recliner? Complete Step-by-Step Guide
- How To Add Padding To A Recliner? Complete Step-by-Step Guide
- How To Add A Wooden Swivel To Lazy Boy Rocker Recliners? Step-by-Step Tutorial
- How To Repair Swivel Recliner? Troubleshooting and Repair Guide
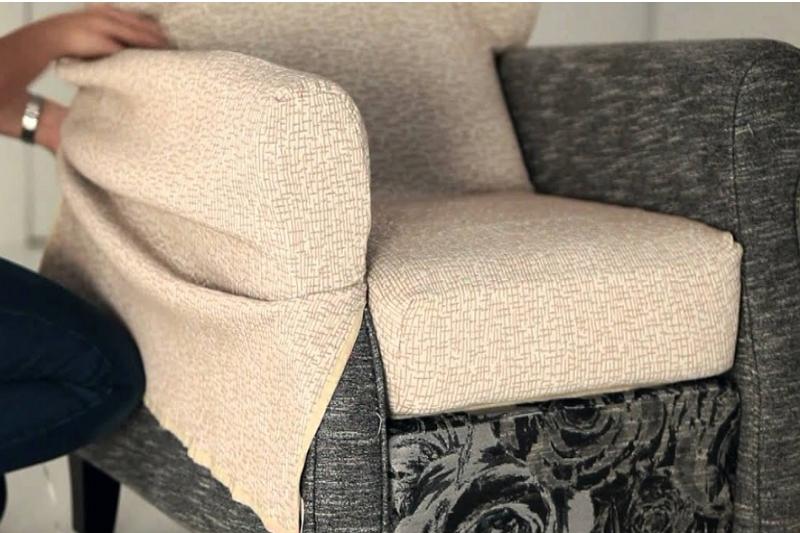
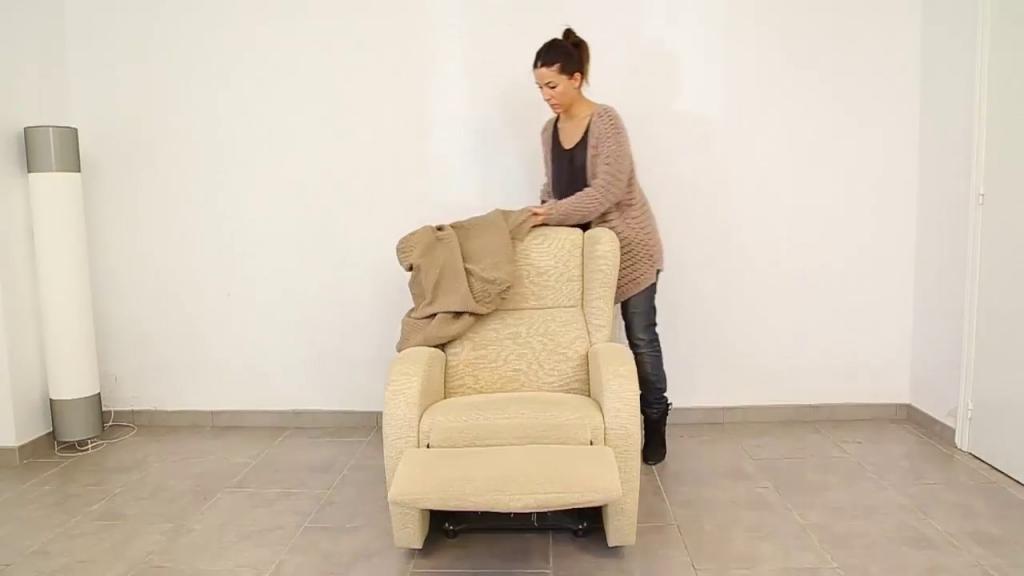
Steps on Making a Vinyl Cover for Recliner
Determine the size of the cover you desire. Measure and cut it to the correct size.
Bạn đang xem: How To Make A Vinyl Cover For A Recliner? Step-By-Step Guide
As seen in the preceding photographs, cut the vinyl cloth diagonally. Top to bottom, the shorter side should measure around 18 inches while the longer side should measure about 36 inches.
Using a zipper foot, sew the two sides together, but leave about 24 inches of cloth un-sewn on one side for sewing Velcro.
Take a pair of scissors and trim away any excess fabric. You’ve got your cover now!
Next, fold each edge of the zipper over by approximately an inch to get an idea of how big it should be.
The fifth step. Each flap should be sewn with Velcro. When the two strips of velcro are joined or “zipped” together, they leave an area big enough for you to reach your hand through to grip onto and pull open, making it easier for you to get in and out. You should be left with a 24 inch wide flap of fabric that extends from top to bottom.
Use a zipper foot to sew the two flaps together and leave an opening big enough for you to slip it over your recliner. In order to attach the recliner’s snap hooks, you may wish to sew some loops or small Velcro pieces along one edge.
Using a sewing machine with matching thread, sew Velcro loops about an inch apart along one edge.
Each flap should be folded back towards the center, overlapping the other flaps. The three-quarters-inch overlap between the two sections should be sewn all the way around.
Place a line of sewing glue on the overlapping edges of the two pieces, and then overlap them again to secure them. All around, sew, fastening with three-quarter-inch-apart stitches
Before removing the hinge pins from your recliner cover, wait for it to completely dry!
How to Care for Vinyl Cover for Recliner
Protect it from filth and pet hair by covering it with a pillowcase (or something else, like an old bed sheet).
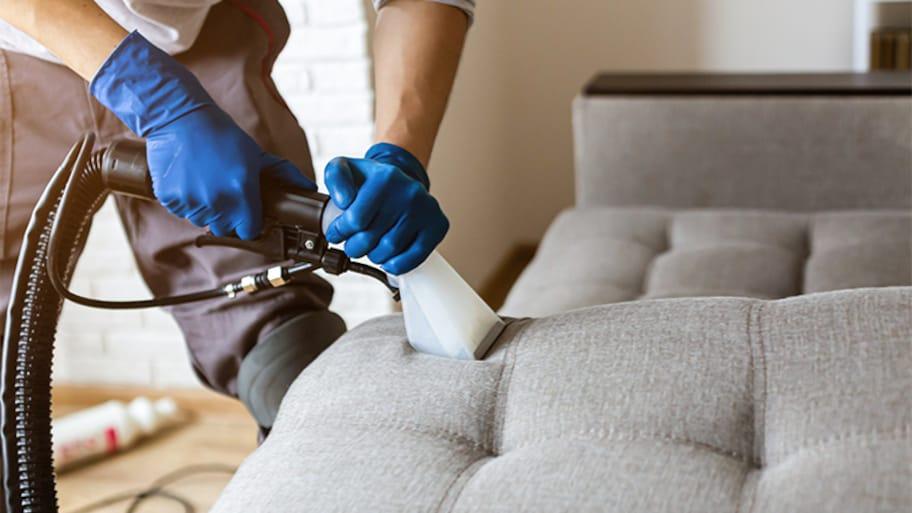
Clean the vinyl cover with mild soap, water, and a sponge or cloth, if necessary.
Sun-dried clothes
Is it Necessary to Deep Clean a Vinyl Cover for Recliner?
Clean the vinyl cover with mild soap, water, and a sponge or cloth, if necessary.
To dry in the sun, dripping Soft brush or vacuum cleaner attachment for dusting Solvents may damage this surface, so avoid using them to clean it.
Deep Cleaning Vinyl Cover for Recliner: Follow these steps when the cover becomes dirty or stained
Remove the screws from your recliner and lift the seat out of the way.
In order to keep the vinyl surface clean, use a cloth or sponge to apply mild soap and water.
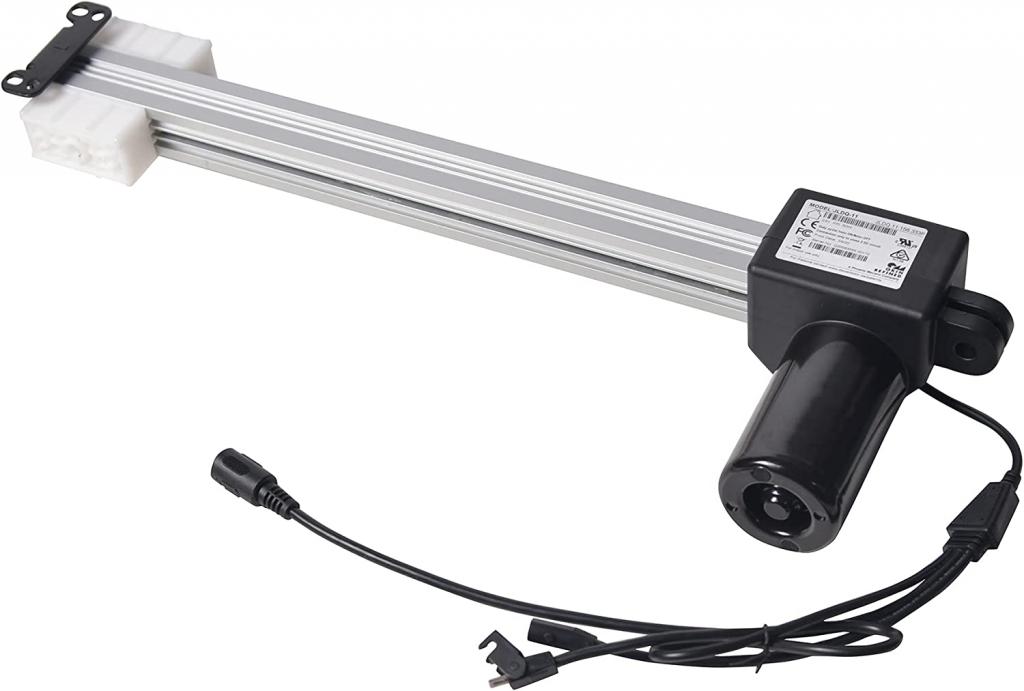
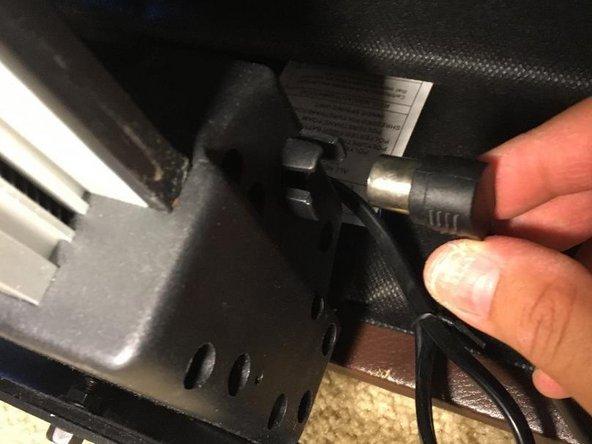
Xem thêm : How To Connect Electric Recliner? Comprehensive Guide
Replace the recliner’s seat and screws.
Cover the vinyl cover with a plastic bag or the lid of a garbage can to protect it from the elements.
Clean all surfaces, especially those that will come into contact with the chair frame, with an old towel.
Allow to air dry in the sunlight. If necessary, use a cloth to shade yourself from the sun.
How Much Does Vinyl Cover Cost?
Prices for a recliner’s vinyl cover might range from $20 to $150 or even more. Size of your chair, the amount of material required, and the quality and thickness of the materials used in its construction all have an impact on its price.
How Long Does It Take To Install?
This will be determined by your level of comfort with do-it-yourself tasks.
Installing a vinyl cover can take anywhere from 15 to 30 minutes. Even if this is your first time installing one, it could take an hour or two if the instructions aren’t clear.
Do I Need to Hire a Professional to Make Vinyl Cover for Recliner?
In order to ensure the longevity of your vinyl cover, you need hire an expert to execute the job. How much material you need and the size of your chair will determine how much it will cost you. A professional may be a better choice if you aren’t confident in your ability to complete the project yourself.
Benefits of Using Vinyl Cover for Recliner
Covers made of vinyl are built to last.
Your chair will be kept clean and free of pet hair and dust with these on.
Installing the cover on your recliner is a breeze, and it looks fantastic.
Drawbacks of Using Vinyl Cover for Recliner
Choosing vinyl may not be the ideal option if you’re seeking for a more personalized look.
How to Make Your Own Simple Chair Covers
The L-shape of my chairs made this project quite simple. Dining chairs in the parson style look well with the L-shape as well. It’s possible to utilize these techniques to update a different style, however the measurements might be a little more complicated.
For personalized slipcovers that don’t require you to manufacture them yourself, check out this shop: Blues in August If you want to learn more about her, click here.
1. Measure the Chairs
To obtain an idea of how much fabric you’ll need, first measure your chairs.
As a general rule, if your fabric has a repeating pattern, you’ll want to match up all the lines as much as possible, which means you’ll need to buy more fabric.
I started at the bottom of the chair’s back and worked my way up and around to the front. On each side “L” piece I took a measurement. After that, I had to figure out how to fit all those components onto one piece of fabric..
2. Pick Fabric
After that, you’ll need to choose the fabric. There are countless options when it comes to upholstery fabric, but my preference was for heavy-duty upholstery fabric because it would be able to withstand wear and tear from my kids and dog. I should also point out my raucous visitors.
Pick up a spool of thread to go with your cloth when you’ve decided on it. In the case of upholstery fabric, use a heavy-duty thread.
3. Make a Pattern
Next, sketch out your design. Don’t worry about this being too complicated or intimidating. Just a way to transfer your measurements from paper to cloth. Make a mark with a pencil or chalk on the fabric’s reverse side with your measurements.
Xem thêm : How To Repair A Hole In A Leather Recliner? Complete Step-by-Step Guide
If you want your fabric’s lines and designs to meet at the seams, be careful to align them first. I didn’t choose my cloth because of its pattern; rather, I chose it because it was easier to work with. Score!
It’s important to leave a few inches at the bottom of the chair so you can hem the entire piece.
4. Cut the Fabric
This is where the fun begins. Keep an inch of seam allowance around each edge when cutting your design. To prevent the seams from unraveling, use that inside edge.
That was the easy part, to be honest. Here’s when things start to get interesting…
5. Fit and Pin the Pattern
Place your fabric on your chair with the right side up. Around the chair’s edges, secure the fabric pieces with straight pins. In order to ensure a snug fit, keep your pins as close to the chair as possible while also using as many pins as you can (about every couple of inches).
Following the shape of your chair may necessitate a little tucking of the fabric.
6. Sew it Together
Pull each pin out one by one while you stitch the entire line you’ve drawn with your pins. Is the bottom edge a concern right now?
The best thing you can do is ask a friend to come over and assist you sew.
7. Fit and Adjust
Try putting the cover on your chair with the right side facing up. You will need to restitch any locations that appear to be excessively tight or loose. That may sound inconvenient, but it’s not.
At this stage, it’s likely that you’ll just need to make small tweaks.
8. Hem and Trim
As soon as you’re satisfied with the fit of the cover, you’ll want to hem the entire “skirt.” Stitch around the bottom of the fabric by folding the fabric twice toward the inside.
You’ll have a lovely, neat edge without having to go through a lot of trouble. You may finish it off with a nice piece of trim at the bottom if you choose.

Tuck the excess fabric under the seat back and tidy everything properly before putting your cover on.
Finally, you’re done! With just a few yards of fabric and no need to look for a design, you can get brand new chairs for a fraction of the cost of purchasing new ones.
Simple Chair Cover Resources
- Machines for sewing
- High-quality sewing scissors
- Pinch Pins
- Fabric
- Thread
Finishing Off the Spring Refresh
In order to add a little color to my new seats, I decided to use my Easy DIY Placemat Pillows, which occurred to be the ideal size and form.
I finished the vignette off with a HomeGoods garden stool, which offered a pop of color to that corner of the space and connected everything together.
To complete the look, I went to World Market and bought an Ikat pillow to replace the ones I had stolen from the couch.
Now that the red and yellow rose chairs are gone, the entire area has a calming blue hue. Plus, if I ever want to switch up my color scheme, I can just make new slipcovers using roses as a pattern.
While I wait for the weather to cooperate, I’m looking forward to my new Spring theme. What are your thoughts? Ready to give a piece of furniture in your house a much-needed facelift?
Do not hesitate to contact me if you find any errors in the information I provided or if you have any other concerns.
Nguồn: https://iatsabbioneta.org
Danh mục: Recliner