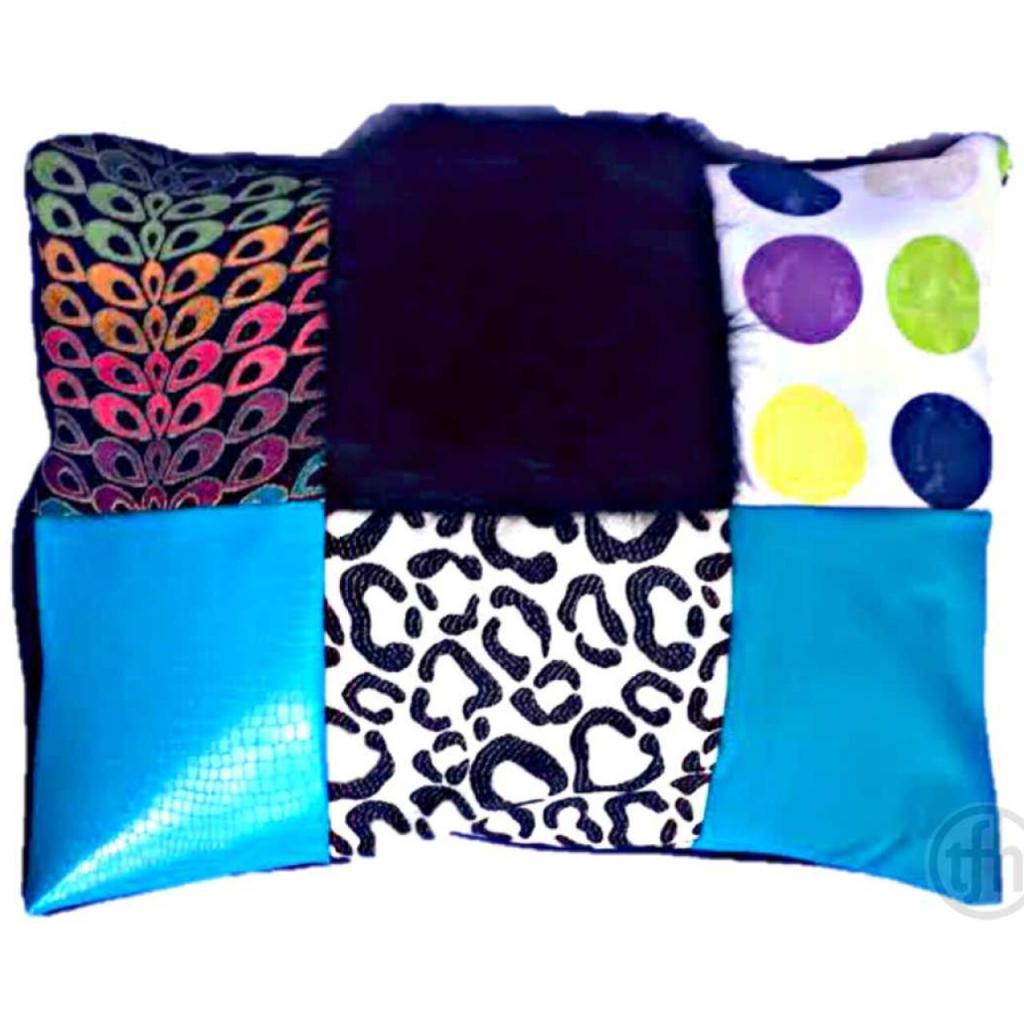
Making a weighted cushion is as simple as 1, 2, 3. This is advantageous since you have more control over the final product’s size and shape. A weighted cushion, like a weighted blanket, has numerous advantages.
The weighted pillow can be used for more than simply sleeping. It can also be used to alleviate discomfort while completing other duties. This post will teach you how to make one and how to get the benefits of using it. When it comes to pillows, there’s no such thing as too many!
Bạn đang xem: How To Make A Weighted Pillow? Step by Step Instructions
Complete Guide For Making A Weighted Pillow
Step #1. Sewing the case
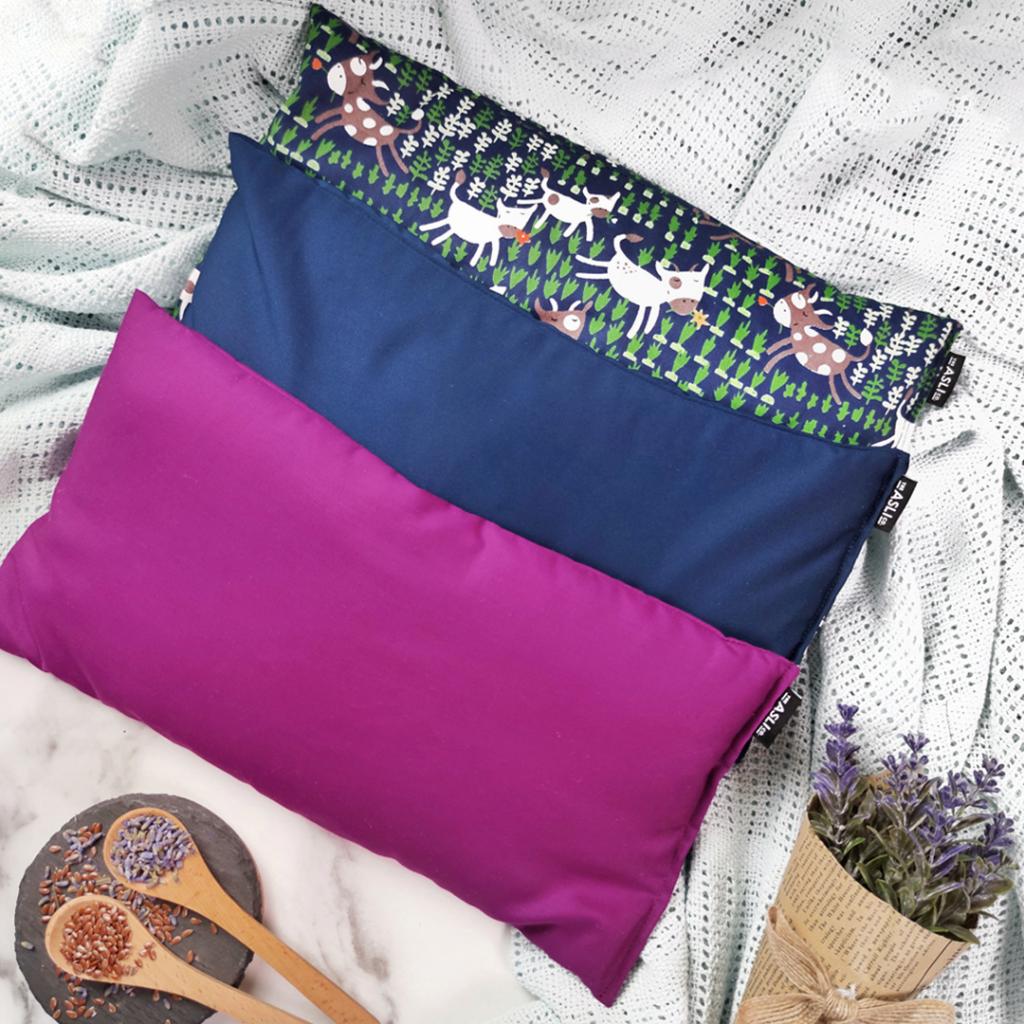
Sewing the cushion’s cover is the first step in creating a weighted pillow. Any pattern and size can be used with any fabric, as long as it serves the intended function. For example, if you’re looking for a cover that’s big enough to fit you comfortably while you sleep, you’ll want to go for cotton textiles.
You can make a square or rectangle pillow for a common use. Cut two pieces of cloth with a half-inch seam allowance. If you want a snug weighted cushion, cut the fabric to the same size as your chosen pillow before sewing it together.
Use pins to assist keep the two fabric pieces in place before sewing them together with the correct sides together. To make stuffing easier, flip the pillow over and press the corners out. Even when sewing other sorts of pillows like backrest pillows, this fundamental pillowcase technique will come in handy.
Step #2. Stuffing
This process of producing a weighted pillow is similar to stuffing cushions with polyfill and other materials, like you would when manufacturing regular pillows. When it comes to stuffing, though, you’ll be using plastic pellets, which are around 10% of your body weight.
The weight of your weighted pillow is determined by the quantity of pellets you utilize. A blind stitch can be used to sew it shut after you’ve finished stuffing the bag. When you’re done sewing, make sure you backstitch both ends to secure the seam.
If you don’t want to make your own pillow case, you may simply fill your existing pillows with pellets. Rip out the seams and stuff the cushion till you’re happy with the weight. You can also play around with the filling of the pillow.
Why Use A Weighted Pillow
Adding a weighted pillow to your evening ritual can have the same positive effects as a weighted blanket. Because you may manufacture any casing and fill it yourself, you can make a variety of different weighted pillows that are tailored to your own needs and preferences. Weighted body pillows, for example, are preferred by certain users because they have the same calming effect as a hug.
Add weight using plastic pellets or a polyfill/glass bead mix for a varied texture. Serotonin and dopamine, the feel-good hormones, are released when you sleep with a weighted pillow. As a result, you will feel less irritated and less stressed and anxious.
If you need something that you can take with you, consider making a weighted neck pillow or a lap pillow. Even children can benefit from the therapeutic benefits of employing weighted items. It’s also possible to use a weighted beck pillow with glass beads to relieve neck and shoulder pain while doing other tasks.
How To Soothe Your Mind For Better Sleep
Weighted pillows and blankets aren’t the only ways to help you sleep better at night. Slowly inhale and exhale as you go to sleep. Taking deep, steady breaths might aid in calming the nervous system. As your heart rate slows, your thoughts will also relax, allowing you to get a good night’s sleep.
In addition to relaxing your mind, you should also take steps to calm your body. Using pillows can help alleviate some of the stress, but you should also take a few deep breaths to help you relax. You can achieve this by letting your body go limp and deep breathing.
Xem thêm : How To Wash A Foam Pillow? Comprehensive Guide
Starting from your toes, squeeze and release each part of your body. Others utilize this time to meditate and concentrate on their breath. Repeating a mantra might help you focus and relax if you find it difficult to keep your thoughts from wandering.
How to make your own weighted lap pad!
Occupational therapists frequently utilize weighted lap pads and other weighted things. They provide the body with proprioceptive input, which helps regulate and increase awareness of one’s own body. With the use of a weighted item, some youngsters may feel more at ease and relaxed since they have more information about their own bodies. You’ll learn more about the proprioceptive system and how to construct your own lap pad in the following blog article!
Proprioceptive system definition:
Our joints house the majority of our proprioceptive system. Our brain is able to determine the position of all of our body parts based on the pressure or stretch we feel in our joints at any one time. Is your knee flexed or completely straight? Will you hit the wall if you extend your arm backward? Being aware of our surroundings and how to avoid stumbling or bumping into items is made possible thanks to this data. In the same way, a weighted lap pad gives the same type of input as our bodies recognize weight. Proprioceptive input can soothe and control some youngsters so that they can accomplish tasks.
For making your own lap pad, you’ll need the following:
- Foods like rice, beans, and tiny pellets are all examples.
- Scale and measuring cup
- A pillow case.
- A quarter of a yard of material
- Chalk or fabric paint
- Scissors
- Thread and needle
- Pins for clothes
Directions:
- Rice, beans, or little pellets should all be measured out the same way. Ten percent of the child’s weight is advised for the lap pad. It shouldn’t surpass 15% of the child’s weight at any given time. Speak to your child’s doctor if you have any questions or concerns.
- Make a pocket out of half of a pillowcase by folding it over. Draw lines using fabric markers or chalk to divide it into four equal sections.
- Stitch three sides and the lines together to produce a closed pocket, leaving one side open for the little pellets, beans, or rice to be inserted into.
- Rice, beans, or tiny pellets can be stuffed into the pockets.
- Close the pillow case by sewing the top shut.
- Wrap the pad with two pieces of fabric. A few extra inches on either side of the pad should be left over to build a cover for the lap pad, so draw a line around it with fabric markers or chalk.
- Cut slits into the fabric’s edge that are 2 to 2.5 inches long and equal in length. Stitch both pieces of fabric together with clothes pegs to create a uniform hem line.
- In between the two pieces, place the lap pad.
- Close the pad by tying a little flap from each side together with a knot.
Using a weighted lap pad: When and how
Lap weights come very handy for a variety of reasons! When dealing with children who are seated at a table or on the floor, occupational therapists employ them. They can be used for a variety of purposes, including schoolwork, meals, and breaks.
***An occupational therapist or physician should always be consulted before using weighted lap pads***
Only use weighted lap pads for 20-minute periods at a time. At any time, a youngster should be able to remove them. Concerning the use of weighted items, you should speak with your child’s doctor.
Sensory Integration Dysfunction
My daughter, who has flat feet, has been toe-walking for the past few years, and for the first time in her life, she is able to walk without the aid of casts or braces! YAY! However, this does not imply that we have completed our voyage. Isabella has been walking and standing on her toes since she was just a few months old.
For the previous two years, Isabella’s leg tendons had been lengthened through serial casting and retrained to walk on her flat feet through physical therapy and braces. Finally, all the experts agreed that something else was going on. Even while I was aware of “red flags” for sensory integration dysfunction in Isabella, I wasn’t sure how much of that was due to her actual impairment and how much was due to her simply being a hyperactive child in general. Due to the fact that Isabella does not suffer from autism, my experience with sensory processing disorder was very different from what I’m used to seeing with children on the autistic spectrum.
This diagnosis was a tough pill to digest for me. It’s not that it changes anything or alters who she is, but it reveals a glaring oversight on my part. That there were ways I could have parented better to aid her in her social and emotional development as well as her toe walking. Even now, a year later, as I type these lines, I am broken and crying.
However, there is also joy in this revelation! God continues to be a source of blessing. He knows her and made her this way since he is familiar with her personality. Because of this, I have faith in the future and self-forgiveness. He also provided abundantly for our needs. Some of the greatest doctors in the country may be found just outside of Baltimore. Toe walking and the regulation of her sensory input (and, consequently, her emotions) have greatly improved thanks to the aid of our pediatric Occupational Therapist (OT). With Isabella’s support, we’ve been able to implement some of these OT practices into the classroom this year. Every time I think I’ll have to battle or persuade the school that we need aid (or that I’m not insane), they go above and beyond my expectations and answer with kindness. The fact that this isn’t the norm means so much to me.
That gets us to the current time. Isabella’s behavior has been out of control since the time change and Spring Break. She has been weeping and melting down after school every day for no apparent reason, and she has refused to go to school in the morning. Neither she nor the school can detect any changes or problems at school. She is above grade level in math and reading, school work is quite easy, and she has a lot of friends. Transitions and changes can be particularly difficult for children with Sensory Integration Dysfunction, as our OT recently pointed out. The OT recommended a weighted lap cushion because our school does not have a swing, which was one of Isabella’s most successful coping mechanisms. Isabella’s teacher and the school’s occupational therapist came to an agreement and set aside specific times during the day for her to sit quietly with her weighted pad pad and do a favored activity with her weights. Since then, Isabella’s kind, considerate personality has returned. Sure, there are still times when she gets into arguments with her sister or refuses to follow directions, but that’s just part of growing up.
Pillow Pet Weighted Lap Pad
Xem thêm : How To Break In A New Pillow? Step By Step Guide
Weighted Lap Pads can be expensive. Also, I wanted Isabella to be happy about using her lap pad at school and for it to not be stigmatizing with her peers. A favorite prize of Isabella’s is the school’s behavior modification program, which allows the students in her class to earn days off by bringing in stuffed animals. As a result, I reasoned that a Pillow Pet would be an excellent option!
Because I sewed and resewed this pillow pet lap pad at least six times, I suppose I should have labeled this post “how NOT to construct a pillow pet lap pad.” So, here are my advice based on the mistakes I’ve made so that you don’t have to do them yourself. lol.
It is recommended that weighted Lap pads be no more than 10% of a person’s weight. Isabella weighs around 55 lbs, hence the lap pad should not exceed 5.5 lbs. Because the lap pad will be used at school, I wanted to ensure that it could be washed. There is a solution, but it’s expensive: Plastic Poly Pellets. So I made it out of beans and a removable component. As a result of their weight, the insert couldn’t be secured and kept slipping out from under the velcro flap. When I went to Michael’s to get the plastic pellets, I ended up making three journeys because I had a 50% coupon for each visit. Also, because we didn’t have any pillow pets, I appealed on Facebook for donations of one Jr. Moose Pillow Pet and one large Puppy Pillow Pet. At $15 for 6 pounds of pellets, the pillow pet was a no-brainer. In comparison to a $60 online lap pad, this is a terrific deal!
Now it’s time to start building… The little moose couldn’t hold the pellets, and the Puppy was overflowing with them. Isabella reads from the small moose at home since I filled it with 5 pounds of dried beans and it can’t be washed.
It only took four simple steps to complete the big Pillow Pet!
1. Rip out the bottom seam on the Pillow Pet.
To prevent snagging on the pillow pet’s fur, proceed with caution. Remove all of the filling after the seam has been ripped.
2. Use painter’s Tape to create sew guides on the Pillow Pet and sew three lines, bottom to top.
This little nugget proved to be crucial for me! Sewing with fur takes longer because it’s difficult to see if you’re sewing straight. Due to all the hair, my sewing machine was clogging, so I used a needle and thread (doubled for strength). Otherwise the pellets will fall to the sides of your child’s leg, preventing them from receiving the weight and pressure they require.
3. Fill the four compartments with the Plastic Pellets.
5.5 pounds of pellets fit nicely throughout the four compartments, despite the fact that my middle two sections were somewhat larger. Using a folded piece of paper to guide the pellets through the perforations kept the funnel from becoming blocked.
4. Sew the bottom closed.
It’s perhaps the most crucial phase in the process. The pellets will seep out if you don’t sew the seams close enough together!
My final touch was to add a custom label from Minted! What can I say besides wow? This is ideal because I invested so much time and effort into this project and didn’t want it to be lost or stolen while I was at school. It’s also really adorable!
When Lucy noticed that Izzie had tagged all of her precious possessions, she immediately raced out to fetch all of hers and began labeling them as well! lol
Since using the lap pad in our classrooms, our days have improved dramatically!!! I apologize for taking so long to submit this message. It happened in a matter of seconds. With more self-control and less frustration, she’s been returning home more cheerfully. It’s a great day to be alive!
Conclusion
Pillows and blankets can be therapeutic if they are weighed down. In fact, a weighted pillow is something that you may learn how to construct on your own. To increase the weight of a simple case, place plastic pellets within the case.
To change the feel of an old pillow, you can remove the stuffing and fill it with a mixture of pellets and other materials, such as polyester. The same simple procedures can be used to construct weighted lap and neck pillows as well. When we sleep with a weighted pillow or a hug, our happy hormones are released and stress is relieved at the same time.
Relaxation methods are essential, but don’t neglect them. Relaxing your muscles and meditating can help you get a better night’s sleep, so don’t forget about it. Weighted pillows can help you sleep better, but it’s also important to cultivate a peaceful and restful night’s sleep.
Nguồn: https://iatsabbioneta.org
Danh mục: Pillow


