Making a pillow cover with a Velcro clasp is one of many recent home decor trends. Why is this the case? Pillows have a way of defining a place.
A splash of color and flair in your home’s decor can be achieved with a little ingenuity, so here are a few unique ideas to get you started. You’ve already made a fantastic start by customizing your pillows.
Bạn đang xem: How To Make A Pillow Cover With A Velcro Closure? Step by Step Instructions
Throw pillows can be used in a variety of creative ways to enhance the look of your living space. One of the most popular choices among people contemplating home renovations, especially do-it-yourself ones, is this one.
And if you’re willing to put in the time and effort, you won’t have to spend a lot of money on this. Making something from scratch and displaying it in your home as a work of art might be one of the most fulfilling experiences a person can have.
Things You’ll Need
- Pillowcases
- Fabric
- Using a caliper
- Ink or crayons can be used on fabric.
- Scissors
- Strips of Velcro
- A sewing machine is what you are looking for.
- Two things: a needle and some string
- a binding agent for textiles
If you’re bored with your current design but don’t have a lot of money to spend on a complete makeover, consider making these Velcro-closed removable throw cushion coverings. With these covers, you don’t have to spend a lot of money to get a new look for your room. For families with young children or pets, the removable feature makes them ideal.
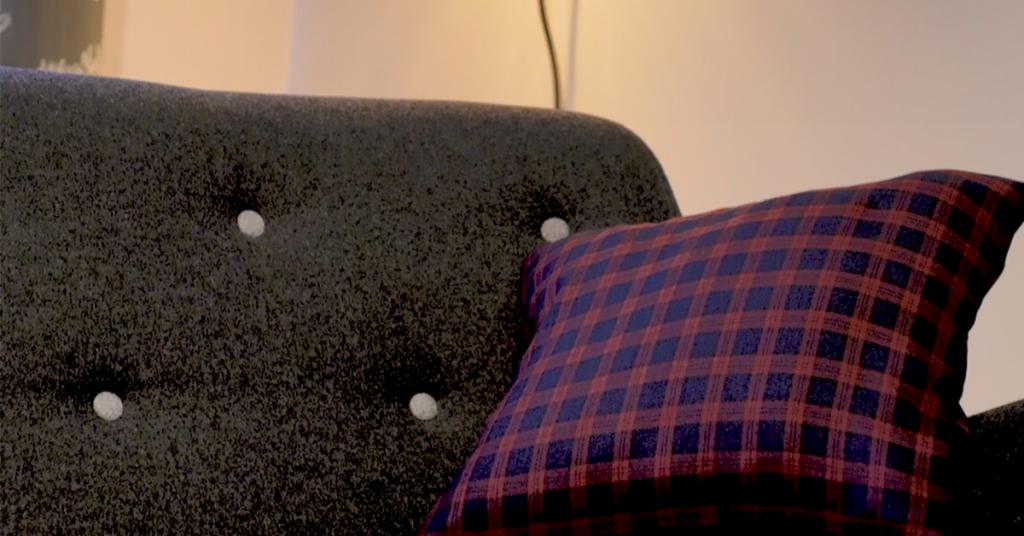
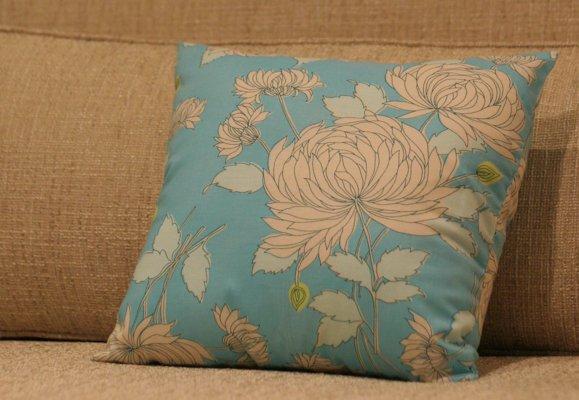
Spice Up Your Throw Pillows
Step 1
Measure and cut the material. All edges of your pillow should have fabric that is one inch longer than the pillow itself. Measurements should be made with fabric chalk on the backside of the cloth (the side that will not be seen).
Step 2
To avoid fraying, sew the edges of the fabric. Make two 1/4-inch folds on each sides of the cloth by rolling the fabric in 1/4-inch increments twice. Then stitch. For each piece of fabric, do this on both sides.
Step 3
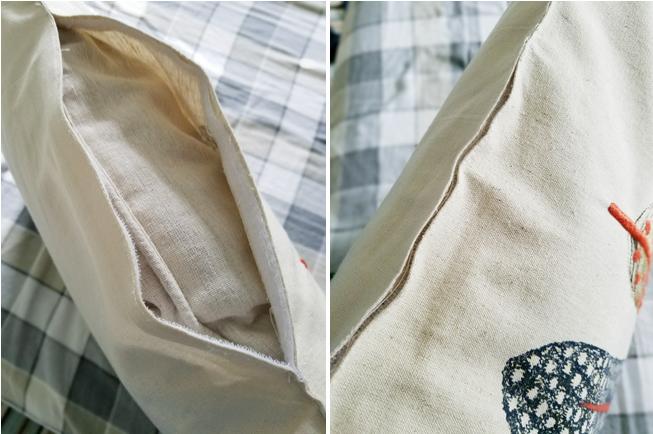
Pieces of cloth should be sewn together. Sew three sides of the pieces together, right sides facing out, so that you have an open pocket and an extra flap.
Step 4
In order to get a pocket with a flap that covers the opening, you must flip the pocket inside out.
Step 5
Velcro is a great addition. Attach a piece of Velcro to the bottom of the flap and the pillow case itself where the flat joins the rest of the pillow. When you fold the flap down, the pieces should come together.
Step 6
Insert your cushion and fasten the Velcro flap to the pillow with ease. If you’d like, you can dress up the pillow’s front with embellishments like glued-on trim or sewn-on buttons or appliques.
Tip
Xem thêm : How To Wash Polyester Pillow? Step-By-Step Guide
Straight or flowing stitches can be used with a sewing machine or by hand. If you don’t know how to sew, you can alternatively use fabric glue or no-sew fabric adhesive.
To determine where the flap will meet the pillow backing when inserted, insert the pillow before applying the Velcro.
If you’d like, you can dress up the pillow’s front with embellishments like glued-on trim or sewn-on buttons or appliques.
Warning
Using the pillow as a guide, pin the fabric together and test it out before stitching.
Your Guide on Making a Pillow Cover with a Velcro Closure
Step-by-step instructions for making a Velcro closure pillow cover are provided here.
Step 1
Make sure you have all of the supplies you’ll need on hand. To begin any project, it is necessary to have all of the necessary materials on hand. That way, you won’t have to go back and forth to get things done.
Fabric, fabric glue, fabric chalk, a needle and thread, a measuring tape, Velcro strips, and, of course, the throw pillows you intend to cover, are all necessities for this DIY project.
Sewing allowance is 1 inch added on all edges of the fabric while cutting. Since Velcro will be attached to the bottom, you may want to add an additional 2 inches. Mark with chalk on the fabric’s reverse side (the side that won’t be seen).
Step 2
A quarter-inch fold on each of the edges will help keep them from tearing apart. If you’re going to do it twice, measure out 14 inch of the fabric and then roll it up again before sewing.
Step 3
Make sure that the proper sides of the cloth are facing each other as you sew it. Three sides of the fabric pieces should be sewn together. Allow an additional side to be left open, like a pocket. Make this pocket look like a flap by flipping it over so that it covers the opening.
Step 4
The underside of the flap should have the Velcro pieces pinned so that they are facing each other. Using a running stitch or a straight stitch, sew each of the pieces onto the fabric one at a time. If you want them to stick together, you’ll need to make sure they’re aligned correctly.
Xem thêm : How To Make A Bean Bag Pillow? Step-By-Step Guide
Sewing the Velcro by hand may be tough for individuals with only basic sewing skills, but don’t let that deter you from trying. It is possible to use fabric glue or a no-sew fabric adhesive in place of stitching.
The most essential thing is to get the task done, so use whichever method works best for you here.
Step 5
Before attaching Velcro to the pillow, double-check the pillow’s dimensions. Ensure that your dimensions are accurate before you proceed further. Through the flap, the cushion should be inserted easily.
Step 6
Try flipping the cover right-side-out once it’s done. Closure Velcro ought to be located at the bottom. This should be kept a secret. Your pillow cover will appear cleaner as a result of this.
Step 7
For a crisp look, iron all the edges of your pillow cover. This gives the fabric a more polished appearance. It is also important to iron the Velcro closing region in order to avoid ugly wrinkles.
Step 8
Sewing on ornamental buttons or appliques to the front of your pillow cover can give it a more artistic appearance. Trim can also be glued around the edges to give them a more finished look.
In other cases, graphics are painted directly onto pillowcases after being traced onto freezer paper and then dried ironed on. To avoid paint getting under the stencil, stokes are used to apply the paint. To remove the design from the cover, the freezer paper must be pulled back.
Additional Tips
Tip 1
For hand stitching, use a straight or running stitch; for sewing machines, use a decorative stitch. If you’re not sure in your stitching abilities, you can alternatively use fabric glue or adhesive.
Tip 2
Using fabric adhesive or sewing, you can add a few embellishments like buttons, textured fabric, lace, and ribbons to the pillow.
Tip 3
Insert the cushion and measure the point where the flap meets the pillow backing before sewing the Velcro.
Final Thoughts on How to Make a Pillow Cover with a Velcro Closure
Home projects like making ornamental pillow coverings with a Velcro clasp sound like a lot of fun. It’s not just that crafting your own pillow cover gives you complete control over the design, but it also saves you money.
Nguồn: https://iatsabbioneta.org
Danh mục: Pillow


