Tulips are a great way to brighten up a home or patio in the winter or spring. There are many ways to force Tulips to bloom early or in warmer climates where they wouldn’t normally experience the requisite winter cold to break dormancy. Temperatures between 35 and 48 degrees Fahrenheit are required for tulip blooming. This cold treatment can be provided by planting in containers if your moderate climate does not provide cold enough winters.
Getting Started
Add moistened potting soil to a 6-inch diameter pot. Tulip bulbs should be placed on top of the soil with their pointed ends just below the container rim, and watered thoroughly. In the pot, space the bulbs approximately an inch apart. The pot should be completely filled with soil.
Bạn đang xem: How To Keep Potted Tulips Alive? Step by Step Instructions

Just Add Water
Make sure the soil is moist by applying water till it is. Seal the plastic bag with the pot inside. If it’s too hot outside, put the place in a 35-48 F environment for 10 weeks, like a refrigerator. You should only water the soil if it is starting to dry out.
Preparing for Blooms
Once the shoots appear, take the pot out of cold storage and remove the bag. A temperature range of 50 to 70 degrees Fahrenheit is ideal for the pot. Water the tulips once the dirt has dried on the surface. The pot should be drenched with water until it drippings from the bottom. After 30 minutes of draining, remove the drip tray beneath the pot and discard the water that has gathered there. Once or twice a week watering for indoor plants, whereas once or twice a day for outdoor pots is typical.
After the Flowers Fade
Take a tulip after it has finished blooming and snip off the blooms. Dispose of the bulbs after they no longer bloom, or transplant them to a garden bed after the foliage yellows and dies back naturally. A second year in a pot for tulips is extremely rare.
Things You Will Need
- Take a tulip after it has finished blooming and snip off the blooms. Dispose of the bulbs after they no longer bloom, or transplant them to a garden bed after the foliage yellows and dies back naturally. A second year in a pot for tulips is extremely rare.
- Snip each tulip blossom as soon as it has finished blooming. Bulbs that stop blooming should be thrown away, but if the foliage turns yellow and dies back naturally, you can replant them in a garden bed. It is quite rare for Tulips to thrive in pots for a second year.
- A watering can
- a single-use plastic bag
- Shears
Tip
Potted tulips require 14 weeks to bloom, including cold treatment, so plant them 14 weeks in advance of when you want them to bloom.
In potted tulips, the bulb has all the nutrients necessary for one flowering season.
When it comes to spring, the brightest and most eye-catching hues come from Tulipa spp. (Tulipa). While tulips may be grown outside in USDA plant hardiness zones 3 through 8, with proper indoor tulip care, they can also liven up your house. Tulips may thrive in a number of areas in your home, provided they receive the correct amount of light and temperature.
Pot and Soil
The size of the pot is critical for bulb growth, even if it’s just a coffee can with holes punched in the bottom. Iowa State University Extension and Outreach recommends planting tulips in pots with a diameter of at least 5 to 7 inches at the top. In a 5-inch pot, you can fit four or five bulbs.
Make sure the bottom is well-drained with some gravel, and then add a soil mixture made up of equal parts peat moss, sterilized planting medium, and fine sand to the container on top of that. During the blooming stage, the bulbs benefit greatly from this well-draining mixture. According to the National Gardening Association, you may want to line the bottom of the pot with a piece of window screen to avoid soil loss. Don’t fill the pot to the brim. Water the tulips by leaving at least half an inch to an inch of space at the top.
Dark and Cold
If you have a potted tulip, get it ready to bloom in the fall by giving it some extra care now. Make a cool, dark space your new home for the potted bulb. Keeping the pot in the fridge is an option if you don’t have access to an area with temperatures between 40 and 45 degrees Fahrenheit; however, fruit that generates ethylene gas, such as apples, should not be kept in the refrigerator since this can cause the bulbs to rot. Iowa State University Extension and Outreach recommends that the pot be kept in a dark, cold setting for 12 to 16 weeks, or until little yellow shoots begin to emerge from the dirt.
Tulips and Summer Blooms
For about four days, or until the shoots become green, Purdue University Cooperative Extension recommends moving the potted tulip to a warmer place with moderate sunshine, between 50 and 60 degrees Fahrenheit. Tulips require more heat and light after this to keep growing and blooming. They thrive in full sun at temperatures between 60 and 70 degrees Fahrenheit, such as on a windowsill or in a sunroom. One to three weeks later, they should begin to blossom.
When the Blooming is Done
Tulips are perennials, especially when grown indoors, although many gardeners treat them as annuals in their outdoor plots. the flower has died, it is imperative that you deadhead your tulips immediately, advises The Old Farmer’s Almanac.
After the flowers have faded, keep the pots in a bright and warm position until the foliage has turned yellow and withered. Purne it off and discard the old foliage as tulip petals begin to fall off in autumn. Until it’s time to cool it again, which is normally in late fall or early spring, keep the pot somewhere with moderate light and temperature.
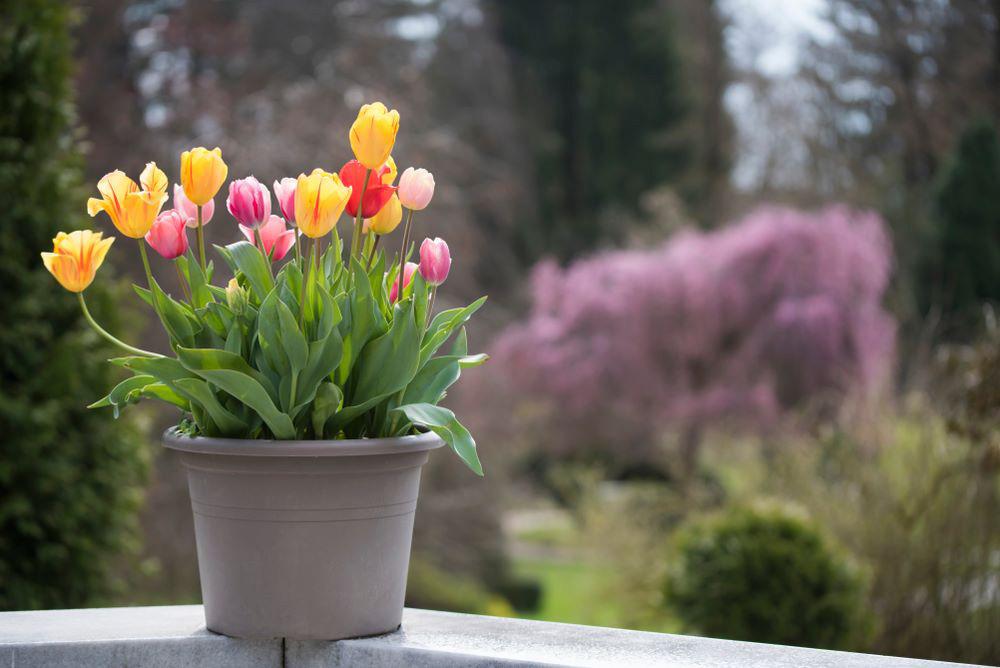
Tulips add a delicate scent and a splash of color to any room or yard. With proper care, tulip pots can grow in the garden or in the house.
You’ll need to know how to care for potted tulips whether you’re enjoying the peak of bloom or preparing for the following year’s crop.
You will want to start potting tulip bulbs in the fall so that they are ready to bloom in spring. In the spring, you may also buy pre-potted tulips.
Some tulip bulbs are required, as well as pots with holes for the plants to grow in.
Find out how to care for your potted tulips in the following paragraphs.
How to Care for Potted Tulips
Step 1: What you will need
Tulips should be planted in clusters of five to ten for the best effect.
Potting soil, rocks, and high-quality fertilizer are all you’ll need to get started.
In addition, choose a pot for your tulips (in Step 3).
Additionally, you’ll need a watering container and a pair of garden shears.
Step 2: Choosing the right time to plant your potted tulips
Late fall is the best time to plant them if you want to grow them in a planter at home. Tulips will bloom in the late winter or early spring as a result of this.
Tulip bulbs require time to rest before blooming, which is why they are planted in the fall. In order for the tulips to bloom in the spring, the winter temperature must be frigid.
Xem thêm : How To Store Turmeric Rhizome? Comprehensive Guide
Tulips that are already potted and ready to bloom in the spring can also be purchased.
Step 3: Pick a pot
Choose a pot with a drainage hole on the bottom wherever possible. You can drill drainage holes into your favorite pot if it doesn’t already have one.
Disks, rocks, and cracked pots can all aid in drainage in the absence of any holes.
In addition, the pot should be equipped with holes in the bottom.
At a minimum, the pot’s height should be 7 inches.
Step 4: Fill the pot with draining media
Adding broken crocks to the bottom of the pot will help with drainage. Rock fragments are another option. A coating of up to 20 cm is required.
Alternatively, you can drain your potted plants using container drainer discs, which are a lightweight option.
For a little more money, you may acquire a container drainer disc, which keeps the potting soil in your pot and off your table or floor while you water.
Step 5: Fill the pot with soil and the tulip bulb
The next step is to add potting soil to the pot. Do not fill it all the way.
Make use of a standard multi-purpose compost. Use your hands to break up any lumps.
Add organic material, like compost, if your soil is too sandy or clayey.
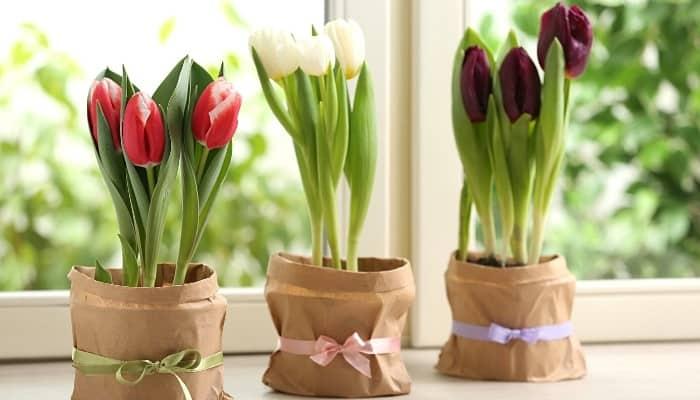
You’ll need to remove the tulip bulbs from the paper bag to begin. When preserving tulip bulbs, paper bags are preferable over plastic bags because they allow the bulbs to “breathe.”
Stack them with the sharp end facing upwards in the pot. The spherical, flat base will be lowered.
Tulip bulb spacing is something you might be interested in learning about.
Each bulb should be at least 3 inches apart. Because of this, the roots will be able to grow.
After that, add more soil compost to the pot. At a minimum, cover the tulip bulbs with a depth of three times the bulb’s height.
Use a modest amount of pressure when pressing the dirt down with your hands. Remove any air pockets using this method.
Applying a high-quality fertilizer is an option.
Step 6: Take the potted tulips outside
Thoroughly soak the newly transplanted tulips in water, then let the excess to drain out of the pot.
Place the tulip pot outside of your home.
Step 7: Optionally, move the tulip pot inside when the stems are at least 1 inch long
You may begin to notice the plant’s growth in the late winter months or early spring. Be sure to keep an eye out for growing stems on your tulips.
Mulch your bulbs if you reside in a place that gets very cold, like Canada.
If you wish, you can move the plants indoors when the stems reach a length of 1 inch.
To reach 4 to 5 inches, the stems will require several weeks.
Step 8: Water the tulips once a week
Its growth will be triggered by the winter’s rain and snow. The compost will begin to sprout leaves as the weather warms.
You should water them thoroughly 1-2 times a week if you’re keeping them indoors. Ideally, the water will seep into the ground and then drain out.
Root rot can be prevented by draining the water away from the roots.
These are the procedures to planting and caring for your potted tulips.
Step 9: Deadheading spent flowers
Wait until the blossom stalk is completely yellow or brown before removing it. Deadheading the tulip is the next step.
Xem thêm : How To Grow Mache? Everything You Need To Know
Using a garden scissor, cut the stalk off. Prior to moving between plants, disinfect the blade with alcohol.
You don’t need to clip the leaves, and they’ll help the bulb get ready for the next bloom.
When the leaves are totally yellow, about six weeks after the flowers have faded, you can prune them.
When is the Best Time to Plant Potted Tulips?
You’ll want to plant the tulip bulbs at least 15 weeks in advance of when you want the flowers to blossom. Typically, they take between 14 and 15 weeks to flower. ‘
Planting tulips in pots is best done when the nighttime temperature is 40 to 50 degrees Fahrenheit.
Before the ground freezes in the northern hemisphere, this usually occurs in October.
Typically, you can start planting in December in warmer climes. For the same reason, in milder winter areas, you’ll need to buy pre-chilled bulbs or put the bulbs in the refrigerator to cool them down.
Do You Need to Fertilize Potted Tulips?
Adding fertilizer to the tulip bulbs is unnecessary because they already contain a variety of nutrients. Additionally, the nutrients in high-quality compost will be sufficient for the bulbs.
A granular fertilizer can be added, if desired. Fresh compost or fertilizer is best applied at the following times:
- the first time you pot a bulb
- during this time of year
- following the removal of spent flowers by deadheading
How Long Do Potted Tulips Last For?
Tulips are perennials, blooming year after year. The weather in your location has a significant impact.
Tulips can be maintained by watering and removing deadheads prior to seed forming.
The climate and tulip species in your location will have an impact on these variables. Tulips can last anywhere from one year to ten years depending on the kind.
If you reside in a place where the winters are cold and the summers are dry, they will survive for a long time.
Do Potted Tulips Need Sunlight?
A window or an open space with direct sunshine is required for potted tulips as well. When planting tulip bulbs, they should be placed in an area that receives indirect sunlight.
Until they are fully bloomed, the tulips will need to be exposed to direct sunshine.
How Do You Keep Tulips Alive?
Many tulips wilt due to overwatering.
Use a layer of drainage media at the bottom of the container to prevent overwatering. Draining discs, rocks, and cracked crocks are all examples of this.
A pot with a drainage hole on the bottom is ideal for this task.
1-2 times a week, tulips need to be watered thoroughly. Drain the excess water from the soil after thoroughly soaking it.
Root rot can be prevented by draining the water away from the roots.
Plant the bulbs in the fall to ensure their success. Organic compost soil should be used and the bulb should be covered by at least three times its height. If you reside in a cold region, mulch the bulb to keep it warm.
Tulips’ bloom time ranges from one to four weeks.
Deadheading the tulip while it is seeding is necessary after the flowers have finished flowering. Cut off the dead blossom with a sharp garden scissor once the stalk has turned entirely yellow or brown. Leave the leaves on the bulb since it will help it prepare for the following flowering season when it comes to the bulbs.
How to Get Your Tulips to Stand Up Straight?
By following these instructions, you’ll return your flowers back to their straight and narrow form in no time.
Until the paper’s edge touches the dirt or water, wrap it tightly around each tulip stem. Check to see if they are level.
Wait for them to soak in water or to be watered.
Remove the paper after an hour.
This time your tulips will grow upright!
The tulips in your room will slant toward any sources of heat or light in your space.
Nguồn: https://iatsabbioneta.org
Danh mục: Guide