Growing your own hops is a logical next step for home brewers who are also gardeners. Hops are the long, ascending female flower cones of the hops plant. To help keep the beer fresh and give it a distinctively bitter flavor, hops are an essential element in brewing. Your homebrewed beer will take on a unique flavor if you have the space to grow your own hops. Learn more about harvesting hops by reading on.
When to Pick Your Hops
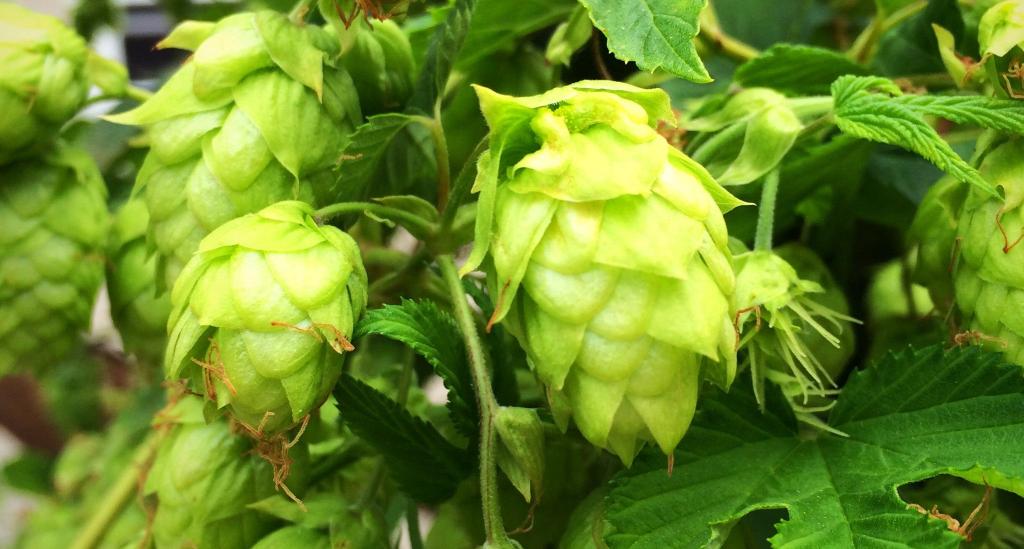
The moment has arrived. Throughout the summer, you’ve carefully planned, pruned, inspected, monitored, and cared for your organic hops. You’re giddy with anticipation as you see the vine’s cones begin to form. Just a little bit longer on the curb. Picking the cones too early is a common blunder. Picking underripe hops will deplete them of their amazing alpha acids, so be sure to use overripe hops instead. Mid-August to early September is when most farmers harvest their crops. A little harvest is expected from first-year hops since most of the energy is spent to create root systems, making it difficult for cones to reach their full potential. The second year’s crop should be more plentiful, and the third year should see a significant increase in hop yield.
Bạn đang xem: How to Check Hop Cone Ripeness? How To Harvest Hops?
How to Check Hop Cone Ripeness
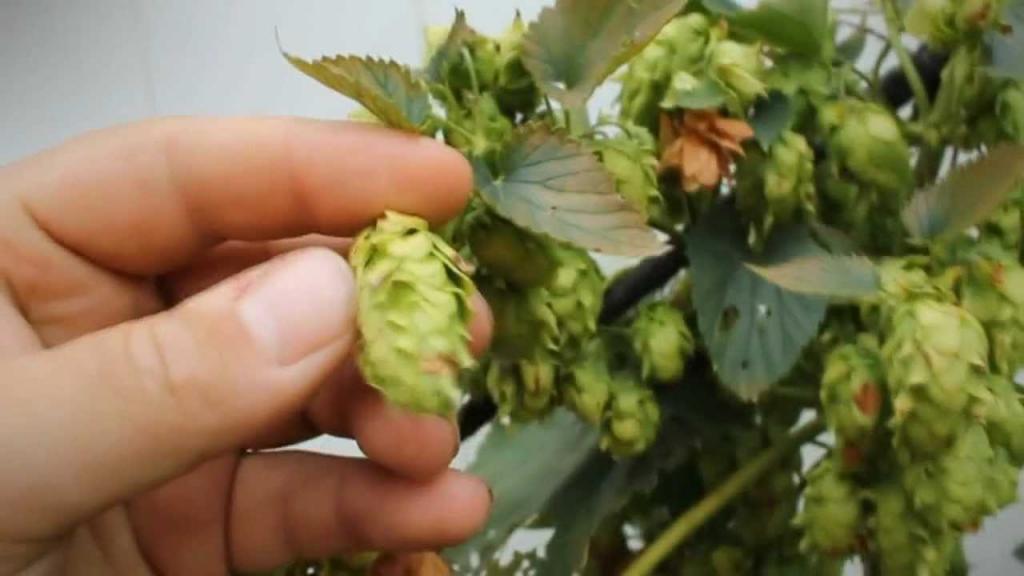
- Squeeze the cone gently. It’s not ripe if the cone doesn’t deflate, which means it’s not ready to eat. After a squeeze, they’re ready to be harvested when they feel light and dry—and return to their original shape.
- Try sniffing a cone after rolling it around in your palms. You know it’s time to harvest if the smell is somewhere between freshly cut grass and onion.
- Roll the hop up to your ear and place it there. If it chirps like a cricket, it’s time to harvest. You’ve gone too far if the lupulin turns orange and starts to smell rancid.
- The hop should be springy, dry and papery on the tips, and sticky to the touch.
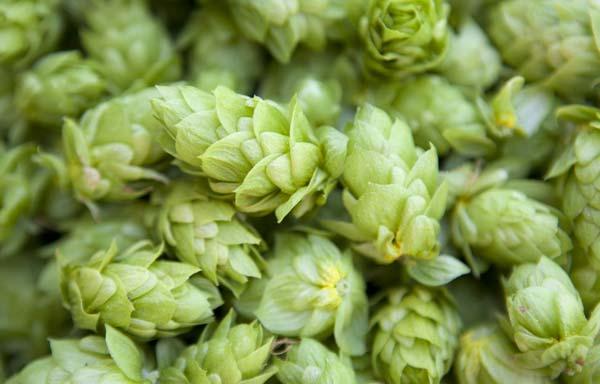
- Keep an eye out for the yellow substance called lupulin, which can be seen coating the outside of the cone.
Harvesting Your Hops
A hop bine can either be harvested by hand (preferred for first-year harvests) or it can be chopped down and harvested (recommended for all harvests after the first year). To avoid damaging the root system and crown, cut the bine at a height of two to three feet above the ground. As a rule of thumb, don’t chop down a first year bine till it dies. During the winter, nutrients will return to the roots, ensuring their survival. In the future, trim the bine carefully to avoid damaging or dirtying the lupulin glands. Per fully grown plant, you may anticipate to get about one to two pounds of dry hops. During harvest, make sure you’re protected with abrasion-resistant clothing, gloves, and goggles. Hooked hairs on hops can irritate the skin and create minor wounds. Invite some pals over to help you choose the hops while you sip on some homebrew you made yourself!
How to Dry Hops at Home
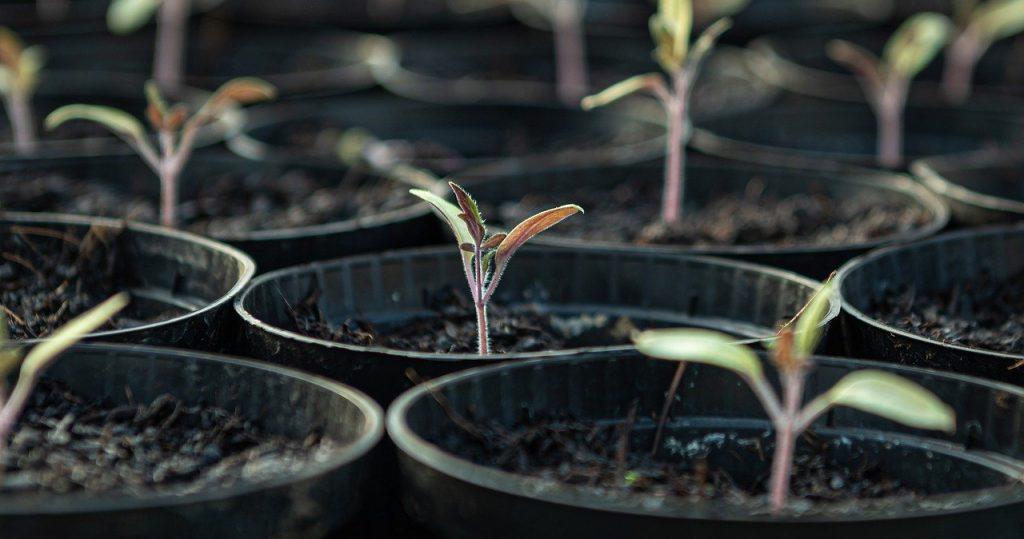
Rhizomes, the fleshy underground stems of hops plants, can be split and grown into new hops plants. Alternatively, you can order them through brew supply websites or obtain them from already-existing plants. Early spring is the best time to plant your rhizomes, as they will grow into 20 to 30 foot vines throughout the course of the summer. The vines will eventually bear fruit in the form of flower cones. Your goal is to reap the benefits of this harvest. However, harvesting of hops plants does not begin with the appearance of the flowers. When the cones have had some time to dry out on the vine, usually in August or September, hops are ready for harvest.
Xem thêm : How To Grow Oleander From Cuttings? Easy Step-by-step Guide
Squeeze the cone gently with your fingertips to determine when to harvest hops. When you touch it, you want it to be soft and springy, with a sticky sap dripping from it. It’s not ready if it’s moist and squishy. Despite picking your hops, your work is far from over. You can either brew a wet-hopped beer with the hops you’ve just harvested, or you can dry them and use them later. You’ll need to use a lot more fresh hops than you would dry hops because they’re roughly 80% water.
A typical wet hop rate of four to six times that of dry hops is utilized. Wet hops, for example, can be substituted for one ounce of pelleted dry hops by using four to six ounces of wet hops. It’s easier to estimate the alpha acid contribution if you dry your hops ahead of time because dried hops contain roughly 10% water, the same as commercial hops. Time, light, heat, and moisture are all critical for drying hops.
Temperatures should not exceed 140°F (60°C) while drying in order to avoid oxidation and isomerization. Drying your hops will remove some of the desired aromatics, but temperatures beyond 140°F will remove even more nuances from the hops’ fragrance. Hops can be dried in a variety of ways. The trick is to swiftly dry them without overheating them. Lower temperatures take longer, but the end result will be better-quality hops. Cooler temperatures will create better-quality hops.
Hop Drying Methods:
In order to dry out your hops quickly, use a food dehydrator, which ensures air circulation but does not get too hot. To dry your hops, spread them out on a pan in a well-ventilated oven. You should check on them at least every 20 minutes to ensure that you have proper air movement through the oven.
A temperature of more than 60 degrees Celsius (140 degrees Fahrenheit) should be avoided. You can use a window screen or a house air filter to spread out hops to dry if you only have a little amount to work with. Make sure they’re kept somewhere warm and dry. Use landscape cloth over the top to keep them in the dark and fluff them a few times a week so the wet inside cones are exposed. For a few days, have a fan running under or next to them to keep the air moving around them.
Air flow will improve if you lift up the screen. To avoid mold, hops must have a moisture content of eight to ten percent by weight. The core stem of the cone should be fragile enough to shatter in half if they’re dry enough. The golden powdered lupulin should fall from the cone readily and the leaves should have a papery and bouncy texture when dry. To prevent mold, wilting, or rancidity, make sure you dry your hops well before storing them in a cool, dry place.
Package Your Hops
Xem thêm : How To Take Care Of Clones In Rockwool? Easy Step-by-step Guide
Hops should be stored in a cool, dry place to preserve their flavor and aroma for future brew days. In order to save time when it comes to brewing again, you should weigh them out and divide them into one to two ounce bags. Make sure to remove as much air as possible from the containers once you’ve sorted the hops into plastic freezer bags or food saver bags.
The use of a vacuum seal is highly recommended, although it isn’t required. Because it’s in their best interest, you’ll flatten and smash their gorgeous little hop cones. To avoid contaminating and spoiling all your hard work, you don’t want any oxygen. Put them in the freezer and label them according to the type of hop they contain.
How to Harvest Hops in Gardens
Hops plants can be harvested in one of two methods. One option is to remove the cones from the plant as they are ready to be harvested. It’s possible to lengthen the harvest season and collect more hops if you do this. Because they grow so tall, picking hops plants while they are still alive presents a significant challenge.
Cone picking may not be practicable for vines with a height of 30 feet or more. Because of this, many people choose to harvest their hops plants all at once by cutting the vines down and selecting the cones off the ground. Using a pair of shears, cut your vine about 3 feet above ground and remove it from its trellis. If you don’t dry the hops blossoms after harvesting, they will begin to decay immediately. Lay hops blossoms out on a window screen in a dark, well-ventilated area for a few days, turning them over occasionally, until they’re completely dry.
Alternatively, you can dry your hops out in the oven, but be careful not to overheat them (60 C.). Your hops should be stored in the freezer once they’ve been dried and squished out of the bag to remove as much air as possible.
Nguồn: https://iatsabbioneta.org
Danh mục: Guide