If you’re interested in learning how to produce hops in Ohio, here are the three steps to follow. In addition to Michigan, the Buckeye State is a great place to grow hops. Even though the location is great for growing hops, it isn’t enough.
In order to succeed, you must put out effort in three key areas: meticulous planning, site preparation, and overall administration. Consider the following points before launching a hops producing operation:. The following are some important topics to study in depth, but don’t forget about hops and how to grow them in Ohio.
Bạn đang xem: How To Grow Hops In Ohio? Step-by-Step Tutorial
Growing Hops In Ohio
Step #1. Planning
In order to avoid any difficulties later on, every hops producer in Ohio needs to plan ahead of time. As an example, if you want to start producing hops, you need to have a list of potential consumers in place. You want to know what type and how many hops your customers need, and then utilize that information when acquiring plants and deciding whether or not to process the hops for them.
Because of the importance of completing duties on schedule in the hops manufacturing process, extra effort is required. Depending on the needs of your customers, you may also need specific facilities to process your hops. For efficient hops production, you need to take into account both manpower and facilities.
If you want to sell hops to a distributor or end-user, be aware that the Ohio Department of Agriculture may conduct an inspection. Having a food safety audit and inspection every year instead of just producing hops in bulk for a packaging company means that the hops are safe to eat. Pay attention to legal requirements and keep up-to-date with FDA guidelines.
Step #2. Site preparation
Preparation of the farm site and knowledge of the crop factors are the next steps for hops farmers in Ohio. Ideally, you should begin planting a year in advance of preparing the location. To ensure that you have enough land for your project, go to the Ohio State University Extension office and ask for guidance from an educator.
It is also important to consider the location because zoning limitations may be in place in the region where you plan to build. Once you have the location, you may begin the hops-related preparations. There are a number of ways you may protect your crops’ root systems, such as using a drainage system.
In order to avoid problems with hops development in the future, you should also test your water quality and discharge volume. Weeds, on the other hand, should be kept at bay on the construction site. Get your trellis or raised bed systems ready before you plant your crops
Step #3. Management
Managing hops production in Ohio is the final stage once you have a plan and a location. Predict, for example, the types of kinds required by your target brewery customers. Plant selection not only ensures a market, but it also ensures that you can meet your customers’ demands on time and with the highest quality and volume possible.
Providing the acreage needed by the different hop types and meeting their other requirements is essential if you want to produce high-quality hops. This necessitates research into the nutrient requirements of hops, as well as soil testing to determine what has to be changed. Fertilizer application certification from OSU extension may also be required.
Xem thêm : How To Propagate Petunias? Garden Guide
Prepare for anticipated concerns and complications in the manufacturing of hops. These issues must be addressed and managed with products that are safe for both hops and humans to ingest. You can’t rely on home treatments that haven’t been proven to work because this is prohibited.
What To Know When Growing Hops
When the soil is pliable, hops can be planted. Plant the rhizome horizontally with the buds facing upward. Keeping an eye on the soil’s dryness and using organic fertilizers will help you increase your crop’s production.
When you see evidence of powdery mildew or bugs, you must remove the damaged sections immediately. Make sure to use the required fungicide or insecticide to stop hops from spreading if necessary. You can begin plucking hops when the leaves turn brown and their texture changes from pliable to hard.
Instructions on How to Grow Hops
What is a “hop rhizome”?
It is the hop plant’s rhizome that grows below ground. In the vine’s root system, it serves as the primary food storage and transport mechanism. It is from the rhizome of an existing hop plant that new plants can be sprouted.
I’ve got my hop rhizomes, now what?
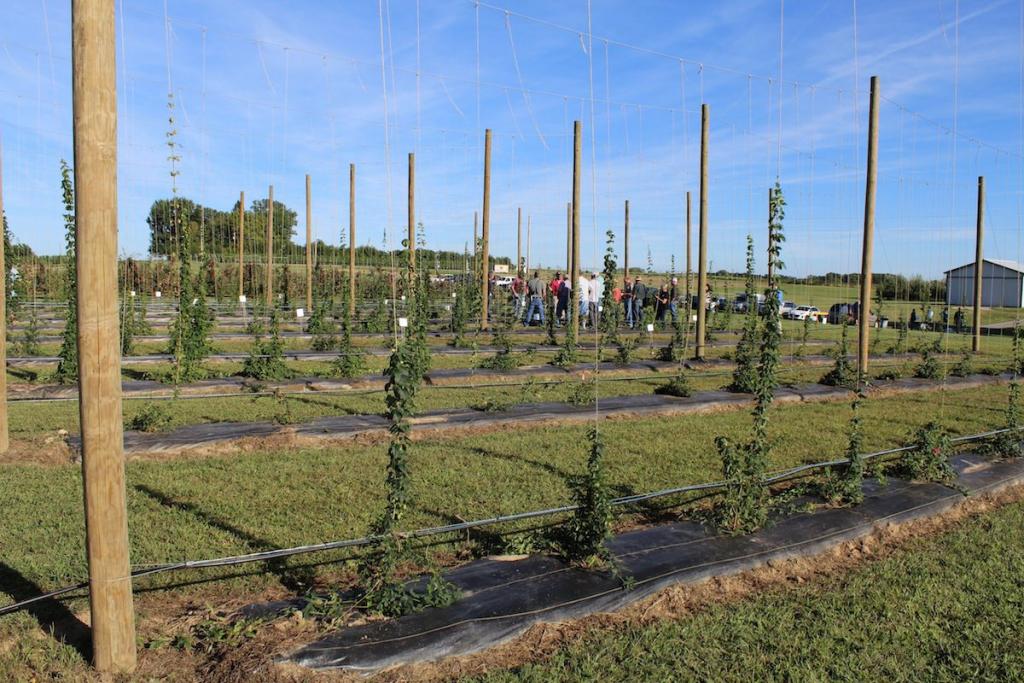
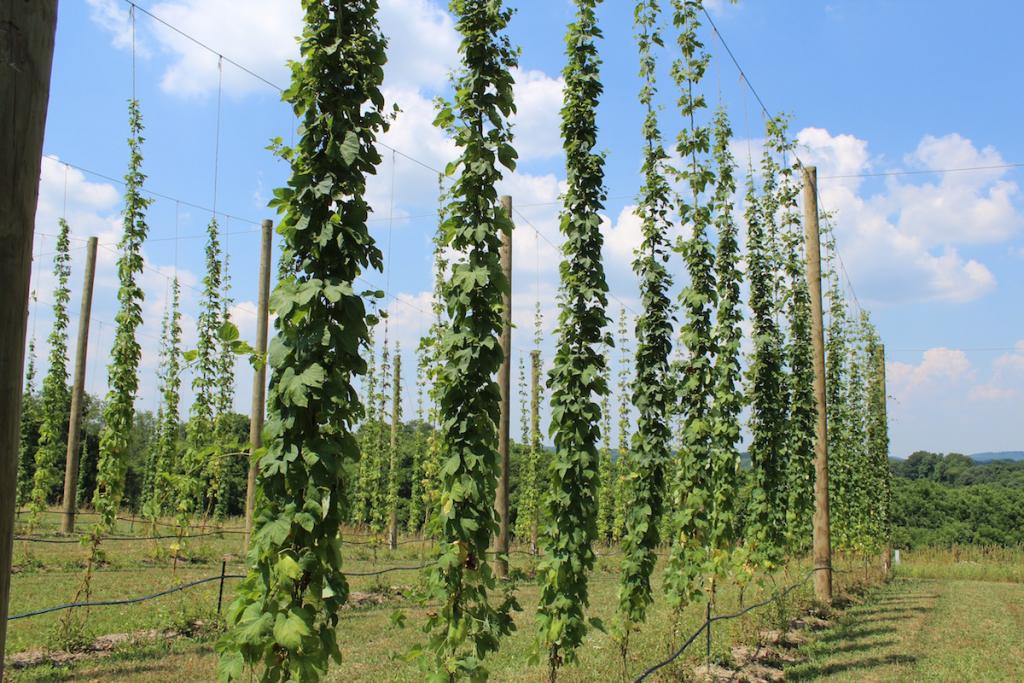
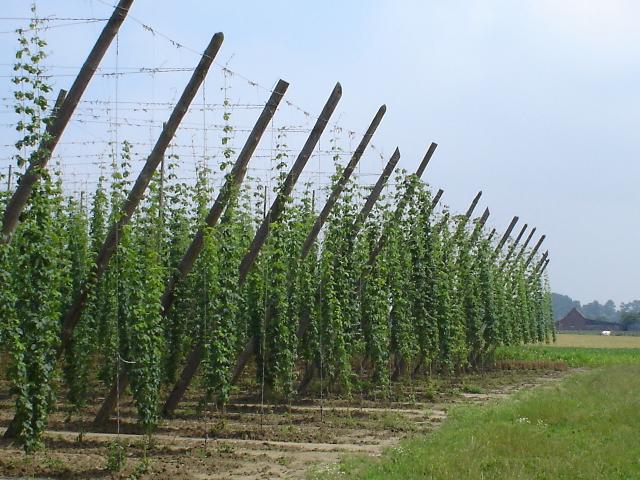
The Hop Yard should be ready. Wherever your new hops are going, make sure there is at least 10′-20′ of trainable vertical space above the ground. If not, look for a location that is well-lit, wind-free, and has a lot of climbing room. A trellis system can also be incorporated. Choose the location where the rhizome will be planted and prepare the soil. Compact clay soil will lead to standing water, root rot, and eventual plant death if it is not loose and permeable. Build a hop hill with soil and gravel/sand mixed in to create a looser bed if drainage is an issue. Hops shouldn’t be too difficult to grow if your soil is capable of growing vegetables or flowers. The rhizomes require a soil pH of 5.5-8.0 and a general nutrition regimen where the potassium and phosphorus level is nearly double the nitrogen content for precision growers. Boron, a trace mineral, is also good for you.
Where should I plant a Rhizome?
You’ll need to take a look at your growing area and make sure it’s safe. First, pay attention to your surroundings from above. They shouldn’t be grown on electrical poles at all. To achieve a well-spaced vine, allow more than 10 feet of vertical growth. In a single season, hop vines can reach 25 feet in length! A height of less than ten feet can lead to tangled shoots that are more vulnerable to mildew. Three feet apart, plant two or more types of the same species. Different types should be separated by at least 5 feet. Overcrowding reduces a vine’s ability to produce and increases its vulnerability to pests and disease. In addition, hops should not be cultivated inside, as they are susceptible to pests. There is not enough room for their roots to grow in a container large enough to accommodate their expansion. It’s not a small plant when it gets bigger. While many individuals are unfamiliar with what hops look like in a field, the vast majority of people are familiar with grape vines. Grape vines and hops are both examples of plants that can be grown in the same way. They grow large, occupy a lot of room, and require a great deal of height.
What type of soil is ideal for hop rhizomes?
In general, rhizomes aren’t fussy eaters. However, a mixture of sand and clay soil will work just well for good drainage. Drainage must be adequate to prevent the roots from being rotted by stagnant water. The soil’s pH should fall around between 5.5 and 8.
When to Plant
The rhizomes may endure 20°F freezes in a properly mulched hop hill. Planting too early is preferable than planting too late, so get them in the ground as soon as you can. Refrigerate the rhizome if you need to keep it moist until the spring thaw. Some people prefer to store the rhizome in a pot and replant it when the soil is ready. During the months of February and April, the best time to plant is. You should plant the rhizomes as soon as possible because we receive them late in the season. Until planting time, store them in a water misted ziplock bag in the refrigerator. Rhizomes can be grown in pots and transplanted into the ground in June when the ground is warm enough. Till the soil before you plant the rhizome to help loosen it and get rid of any weeds that may be present.
Plant the Rhizome
Plant the rhizome in a 4-inch-deep trench that’s around the length of the rhizome. The rhizome should have any white buds on it, which you should aim for the sky with. Find roots and plant them on the ground if you don’t see buds. There should be no vertical planting of rhizomes. Using your hands, cover and compact the soil.
Growing the Hops
Observe the soil and look for signs of growth. Water the hill if it’s dry and you’re not getting much rain. It’s possible to go overboard, so it’s a good idea to keep an eye on things from time to time. Adding nutrients to your soil from time to time might also boost your production. Hop Rhizome Fertilizer can be pre-ordered. The Rhizome section has a few decent ones for sale. Prevent the weaker shoots in favor of the strongest 2-3 in order to reduce congestion. Infestation and shad damage are both facilitated by dense vine growth. Mildew thrives on moist and dark conditions, so make sure you water early in the day. The vines should not become entangled, as this encourages crowding.
Do I need to water my hop rhizomes?
The first year is an excellent time to water often yet sparingly. Drainage must be adequate to prevent water damage (no standing water). Don’t overwater rhizomes because they enjoy a slightly arid environment. Plants should be watered until no more water is absorbed by the soil. Don’t overwater your hops; they don’t like it.
Monitor the Hops
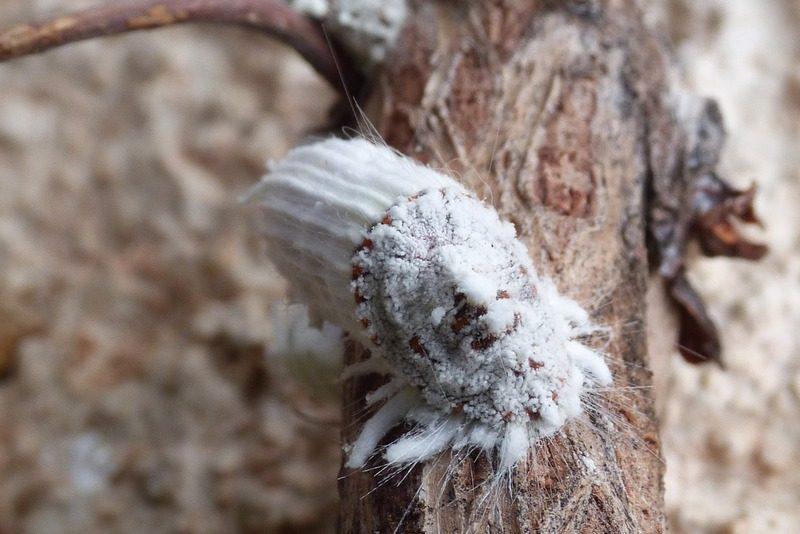
If you want to keep a watch on your hops, be aware of aphids and powdery mildew. The underside of the leaves develop a white powdery substance due to powdery mildew. Dispose of the leaves in a safe location outside your property (in the trash). Check out our rhizome section for aphid-killing pesticides that are all natural. It is much easier to fix issues if they are discovered early on. In the Northern Hemisphere, the growing shoots will grow clockwise vertically, so give them something to climb and wrap them around it.
When to Harvest Hops
When the bracteole (leaves) of the hop cone turn papery and brown around the edges, the hops are ready to be harvested. The lupulin gland should be yellow and sticky when the hop cone is ripped apart, as shown in the photo. The following are some general pick-up guidelines: Pick a third of the hops when the bracteole tips of just a few cones begin to turn brown. Go back a few days later and do the same thing again. The hops should not be harvested until they have turned brown. The bracteole tip color might serve as a clue. Check the hop cones for ripeness prior to harvesting a large number of them. Check for the brown tips of the leaves, the lupulin glands, and even taste a hop yourself to ensure that you’ve got a hop flavor. Your hops will be less potent and your beer may taste like chlorophyll if you harvest them too early.
Conclusion
The Buckeye State is an ideal location for the cultivation of hops. As a result, a growing number of people in Ohio are interested in learning how to cultivate hops and pursuing a career in this field. It’s critical to conduct your research from credible sources, however this can be broken down into three simple phases.
First and foremost, careful planning is essential if you want to avoid problems in the future. In order to grow hops in Ohio, you’ll need to secure the types, workers, and facilities necessary, as well as familiarize yourself with the state’s rules and regulations. Prior to planting hops, you can prepare the location a year in advance so that it is ideal for the crop.
Consider the management methods that your hops will demand. You’ll need to know exactly what your customers want and how much of it they’ll require before you can supply it without sacrificing quality. Another significant consideration in the hops production process is foreseeing potential complications and problems.
FAQs
Can I grow rhizomes indoors?
Do not plant hops in the house. There is not enough room for their roots to grow in a container large enough to accommodate their expansion. It’s not a small plant when it gets bigger. While many individuals are unfamiliar with what hops look like in a field, the vast majority of people are familiar with grape vines. Grape vines and hops are both examples of plants that can be grown in the same way. They grow large, occupy a lot of room, and require a great deal of height.
It was a few years ago that we experimented with growing hops inside. Midwest Supplies is also a retailer of organic and hydroponic gardening supplies, for those who are unaware. Our crew is well-versed in the cultivation of herbs, vegetables, and fruits such as tomatoes and peppers. All of the pieces were in place, and we were ready to test it out. By the time we were done, all we had was an old, rotten stick. Unfortunately, this has been the experience of many of our clients as well. Breweries have tried it for years with the same results. Hop plants are simply not meant to be cultivated in an enclosed space.
Attempting to “start” your hops indoors is likewise a bad idea. Several states are still battling with winter because of the timing of when we receive our hops. Planting hops in freezing ground is a bad idea. People often wonder whether they should just start them indoors until the weather is mild enough to plant them out in the garden. The answer is no again. It’s fine to keep the rhizome in the refrigerator until you can plant it outside. Every few days, give the rhizome a spritz of water to keep it alive. Think about how much water is needed for rhizomes and only spray enough to wet them. It is possible to keep hop rhizomes in the refrigerator for a long period of time. We’ve dug out the tiniest, ugliest rhizomes you’ve ever seen and planted them. To our astonishment, and the delight of our colleagues, they have expanded significantly.
Are there any safety concerns to growing hops?
Dogs, in particular, should be kept away from the growing hops. If a dog ingests hops, it should be taken to the vet immediately for treatment.
Nguồn: https://iatsabbioneta.org
Danh mục: Guide