Please tell me how to make a pillow out of a shirt. That means you’re at the correct spot if you haven’t already. Each step is straightforward, and I’m confident you’ll fly through them all with ease.
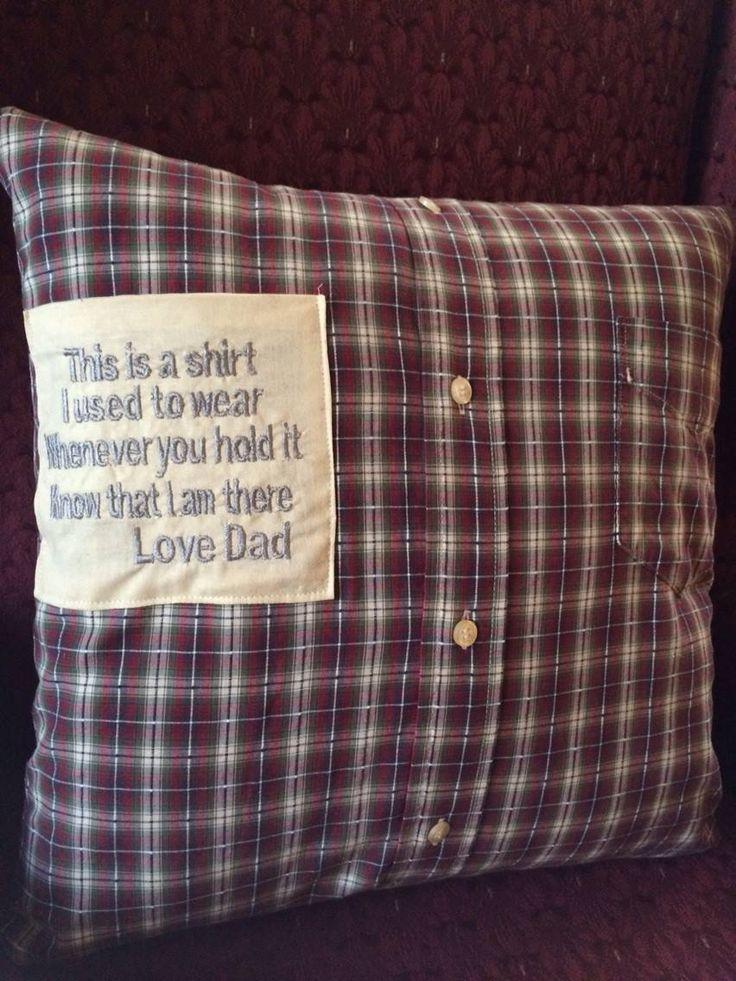
You won’t have to sew a zipper or make an overlapped back with this tutorial. The only thing you need to do is pick a shirt with buttons; these buttons will function as the closure for your DIY pillow.
Bạn đang xem: How To Make A Pillow Out Of A Shirt? Complete Step-by-Step Guide
You can get the most out of your old shirt by doing this.
It will unquestionably appear as if it is a brand-new possession. You can also use the leftover fabric to make little bags or pincushions; the possibilities are endless!
Things Needed For Your DIY Pillow
- A button-up shirt is, of course, required.
- Thread
- Form of a pillow
- Pencil
- Ruler
- Mat for chopping
- A rotary tool
- Pins
- machine for sewing
Steps To Make A Pillow Out Of A Shirt
So, how do you turn a garment into a pillow?
The time has come for you to get started on crafting your own DIY pillow.
You can do it by following the instructions below!
Step #1. Choosing a shirt
If you’ve already decided on a shirt, congrats! Otherwise, go for an adult shirt. Why? Because it’s simple to carry out while working with larger clothing.
The more fabric you have, the more options you’ll have for cutting and placing.
Additionally, if you wear a larger shirt, you may be able to use a large pillow form. For example, a 14-inch pillow can be made from a large men’s shirt.
In any case, a bra without shaping or darts is recommended. What is the reason for this? In the case of pillow covers, they aren’t really beneficial.
Step #2. Measuring and marking the shirt
This is important:
The front and back of your pillow cover should be an inch larger than the pillow form. Having a 14-inch square pillow requires a 15-inch by 15-inch square piece of fabric.
Now that you’ve got a ruler in hand, try cutting out the front of your buttoned shirt with it. If it has a pocket, make sure to put it in the front, leaving an inch on either side for flexibility.
The button placket should be placed in the middle. Keep in mind, however, that the size of your pillow may have an effect. Try to place it off-center if it’s not possible.
Make sure the buttons are at least an inch away from each other (both at the top and bottom). Don’t forget to make a mark before you cut out.
Step #3. Cutting the front and back sides
Cutting the back and front at the same time is absolutely possible. However, it will undoubtedly be uneven or crooked when it is finished.
That’s why cutting the sides is preferable. Even if the front button is still intact, the garment can be worn open this way.
Use a rotary cutter and a ruler to make a clean cut on the front side. Do the same on the other side of the room.
Here’s something to think about:
If you have a shirt with a pattern or stripes, you can detach the back and cut it to match the front.
Step #4. Sewing the cover
After pinning the front and back sides of the cushion together, it’s time to turn it over. Maintain the layer’s alignment. In addition, the button placket needs to be fastened to the shirt as well.
A half-inch seam allowance is required for each of the four sides.
Xem thêm : How To Use Nursing Pillow? Effective Guide For You!
Make the button plackets stronger by backstitching them. Do this both at the top and the bottom. Trim the corners to reduce the weight.
Step #5. Inserting the pillow form
Unbutton one or two buttons for the final stage. Reach through the button placket by grabbing the button cuffs.
The cover should be turned right-side out. Pluck the cover’s corners to make sure they’re straight.
You can press it to remove any wrinkles.
The remaining buttons can now be unbuttoned. The next step is to slide the cushion into the case.
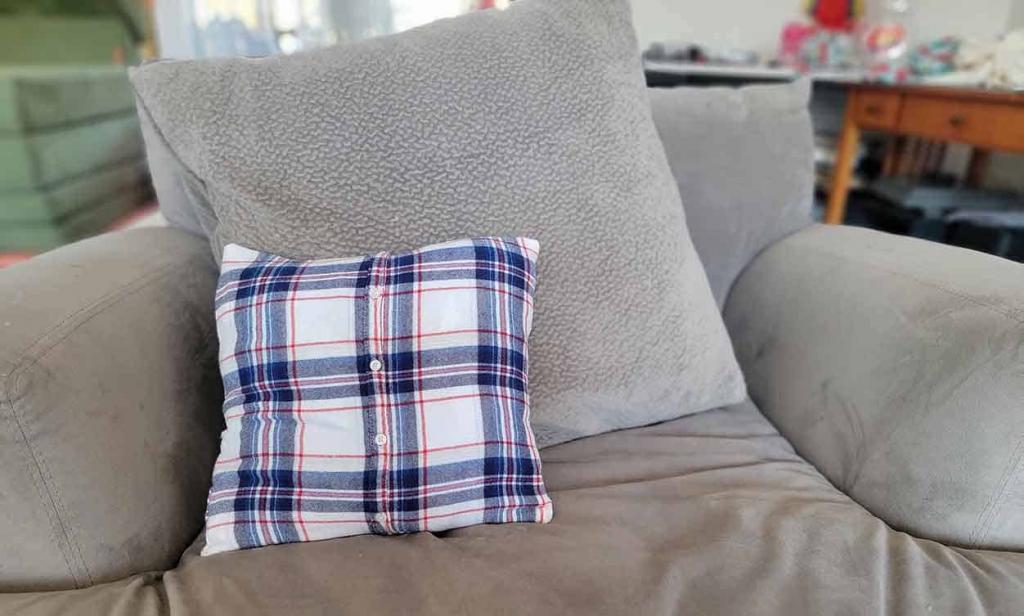
Finally, the cover can be rebuttoned. Taran, of course! What a wonderful surprise!
How To Make A Throw Pillow Out Of A T-Shirt
I spent the weekend making these fantastic throw pillows, and I think they look fantastic!
Creating them was a lot of fun, and so I wanted to show you how to construct a t-shirt pillow.
To complete this project, you’ll need a sewing machine, scissors, a cushion insert measuring 18 x 18 or 20 x 20, and a large or extra-large men’s T-shirt.
My plan was to make these awesome rock t-shirts into cushions after finding them at a yard sale. As a fan of vintage rock, I thought it would be fun to include a few of my favorite bands into my Halloween decorations.
That’s why I started with a white Lynyrd Skynyrd T-shirt for these throw pillows. To teach you how to do this with the black Black Sabbath T-shirt, I started with my practice pillow.
Step 1.
Smooth out creases by laying a Men’s T-shirt flat on a firm surface, such as a table.
The second step is described below.
From the top of the sleeve to the bottom of the left t-shirt, cut a straight line.
Repeat on the Right side.. A little extra if you’re using an XL T-shirt, which is what I’m doing. I’m a size Large.
The third step.
Just below the neck, cut a straight line across the top of the t-shirt.
The fourth and last step.
Cut a few inches from the bottom of the shirt’s top layer (the front). Do not remove the bottom layer from the sandwich (back side)
You may wish to chop off as much or as little as necessary depending on how much emphasis you want to place on the image in the center of the front. In general, maintain it between 2 and 3 inches for Large and 3 and 5 inches for X-Large.
The fifth step is here.
Fold the bottom layer in half and set aside the top layer (front of shirt) (back of shirt)
At the center fold, cut in half.
This is how it should appear:
The sixth and last step.
With Print facing up, fold the shirt in half and lay it on a flat surface.
After that, set the two halves you just cut on top of it. The two sections of the structure will be connected by a seam.
If you’re going to layer the backs of your shirts, start with the bottom-seam-facing side and work your way up. When you’re done, the back of the pillow will have a more polished appearance thanks to this technique.
The seventh and last step.
Xem thêm : Ultimate Guide to Choosing a Best Pillow For Stomach Sleepers
Pin in place and then sew in place.
T-shirts have a tendency to shift and move, so line them up as precisely as possible before applying makeup. Allowing for a stitch length of under an inch, sew all the way around the square.
This is the eighth step.
After you’ve sewn everything together, turn the garment inside out through the slit in the back.
Now you can add your throw pillow. I used a 20 X 20 Down filled pillow insert. I think that a
Your throw pillow can now be added to the room. I used a 20 x 20-inch down-filled pillow insert. I believe that a
When I made my first pillow, I didn’t do this, but it makes the pillow seem so much better.
And this is the finished product of my new pillow!
In the meantime, here’s a look at the first cushion I made:
What a great group of people they are!
Thoughts? There was no way I could ever make my sons think they were cool, but that was fine with me. LOL
My new rock pillows are currently perched on a bench in our foyer, but you’ll have to wait until Halloween to see where I plan to use them. Rock n’ roll and black sabbath seem especially appropriate for Halloween, for reasons I cannot fathom. Do you agree?
Are there any old T-shirts that you think would look great as throw pillows laying around?

If this is the case, I sincerely hope you’ll take the time to construct one using my straightforward instructions.
If you have any queries or concerns, please don’t hesitate to contact me.
Greetings, and thank you for your visit.
Emily
P.S. Would you mind doing me a favor if you liked my post? Is it anything you’d like to share on Pinterest? This makes the post more visible to others. This image or any of the images from this post can be pinned. The PIN IT button can be found by hovering your mouse over the image in question.
I really appreciate it!
It’s A Wrap!
You don’t have to get rid of your old clothes. You may build a nice pillow out of it and make the most of its potential use.
To be fair, none of the preceding procedures appear to be particularly challenging. As a result, you can stop stressing about how to make a pillow.
Try to make one for yourself, if possible. Moreover, you can manufacture pillows for your loved ones as gifts.
It is our goal that you had a good time making a pillow out of a shirt now that you know how.
How did you find the steps to be?
Nguồn: https://iatsabbioneta.org
Danh mục: Pillow


