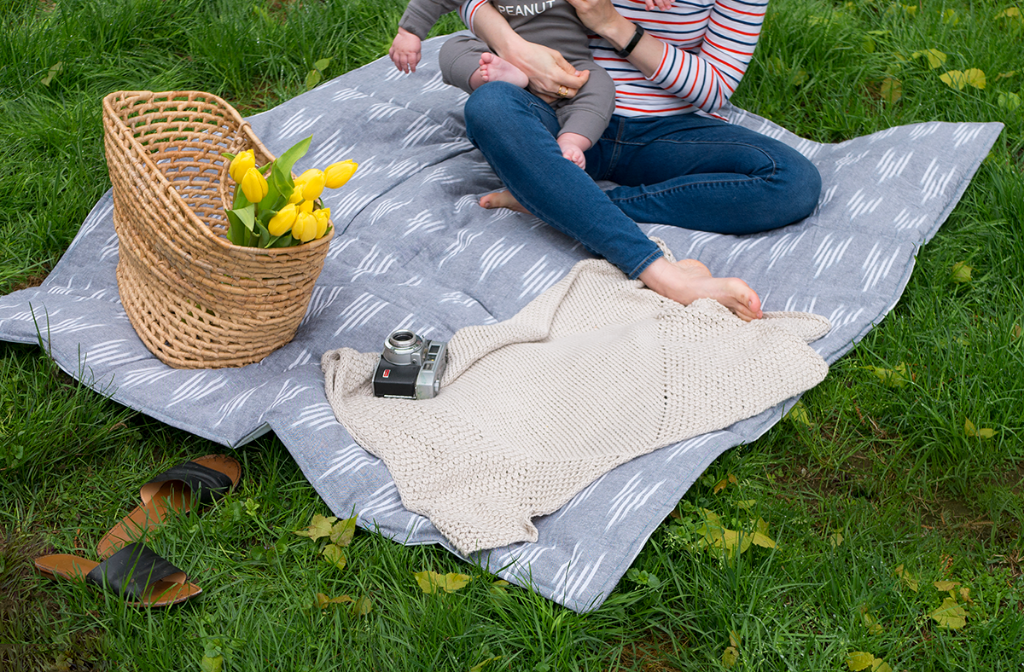
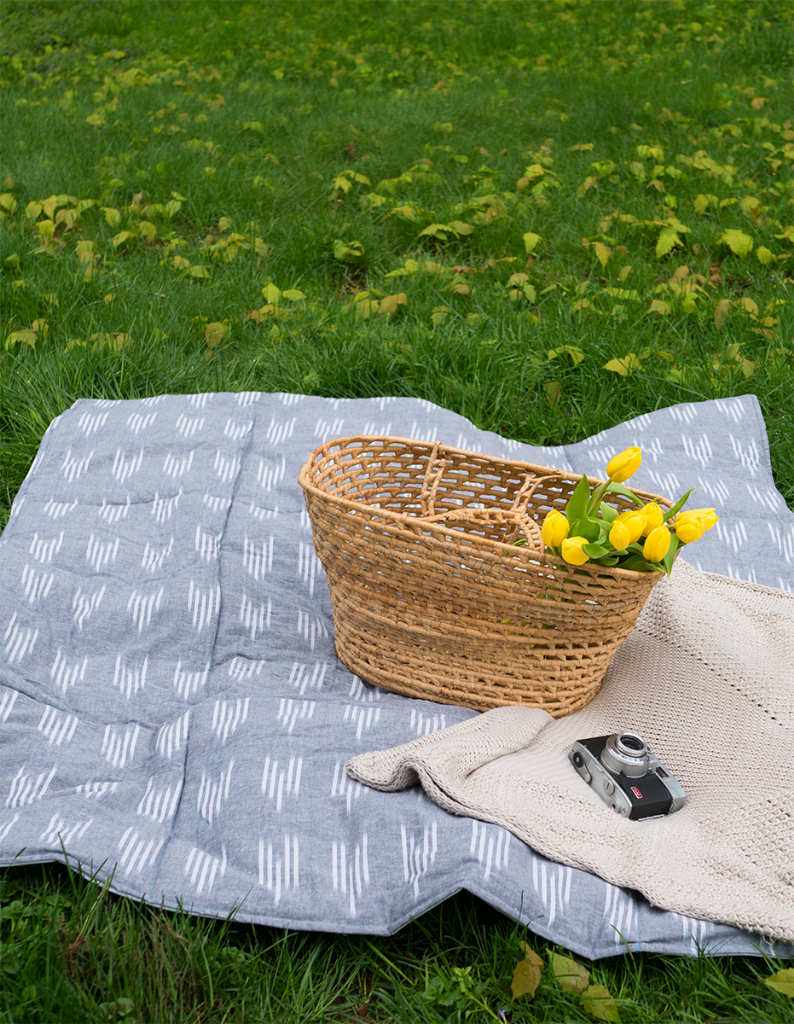
I’m looking forward to (finally) having family picnics and spending time outside as soon as the weather warms up in Spring. That’s why I designed this picnic blanket to be watertight on one side, roll up little, and not take up too much space in your bag. You could use this to keep the sand off your beach towel, too. The bottom is made from a shower curtain or vinyl tablecloth, the top is a blanket, and the whole thing folds up into a pocket linked to the blanket, making it easy to carry with the attached shoulder strap.
Materials:
- One patterned or clear heavy-duty vinyl shower curtain with magnets (mine was 71 inches by 70 inches; note that suction cups on the sides will be visible in the finished blanket if you choose this option). I also gave it a go with a vinyl tablecloth, which was much cuter but not nearly as sturdy.
- One washed and dried twin extra-long blanket (my was 92 inches by 63 inches).
- 45″ shoulder strap (or whatever length feels comfortable for you)
- The strap is 45 inches in length and can be worn over the shoulder (or whatever length feels comfortable for you)
Step 1
Reduce the length of the blanket by cutting off the bottom third. The new dimensions should be 73 by 63 inches. You now have a remnant measuring 19 inches by 63 inches. If you aren’t working with a twin XL blanket, a 71-by-60-inch rectangle will do. Since in step 3 you fold the finished edges just once and the raw edges twice, you should add 2 inches to each side that will be cut with a raw edge.
Step 2
The shower curtain may be made shorter (by cutting off the top and bottom with magnets) to a height of 60 inches (while retaining its original width of 71 inches). Considering the scope of the undertaking, I opted to supplement my camera documentation with hand-drawn schematics.
Step 3
Construct the necessary pillow section by: Piece together the leftover blanket fabric into a square measuring 18 inches wide and 16 inches tall. An edge on one of the 16-inch sides should be finished (which will be the top of the pillow opening). Fold the three unfinished edges of the pillow in by half an inch twice. The updated dimensions for the pillow form are 16″ wide by 15″ high. Finally, attach the strap to the side of the fabric by folding under the ends to prevent fraying.
Step 4
If your blanket has finished edges, put the pillow there. Sew across the top, sides, and bottom, keeping it away from the edges by an inch.
Step 5
Now you have a 73″ x 63″ blanket with a pillow pocket and a 71″ x 60″ shower curtain. Position the shower curtain so that it is centered 1 inch from the final top and sides of the blanket. This will give you 1 inch of excess fabric along the raw edge. Fold the blanket’s additional inch over the curtain and secure it with pins. It’s best to double-fold the raw edge and secure it with a pin.
Step 6
When sewing around the perimeter of the blanket, use a bigger stitch size to avoid punching too many holes in the vinyl.
Step 7
Put your blanket in the pocket after you’re done with it, and you’ll look like a pro at the park. Put the vinyl side up on the floor, fold the blanket in half lengthwise, and then in half again. Next, flip the pocket inside out so that the folded strips are tucked away within. To use the pocket, fold the strip above it in half, then in half again, and finally stuff it in. Your blanket can now be folded compactly and used as a pillow.
What does the folding process actually look like?
Additional notes:
- Strap can be concealed in the blanket’s pocket when not in use. Napkins, paper plates, and other easily lost picnic necessities can be safely tucked away in the pocket’s storage compartment.
- If you’re not going to be outside on wet ground this would be even easier without the waterproof layer.
- If you won’t be walking on damp grass, you can skip the waterproofing step.
- Thinner or single-layer blankets work best since they are easier to stuff into the pocket than thicker, fluffier ones.
- Stitching along the fold lines will make folding the blanket much simpler. When I saw all the holes in the vinyl backing, I was worried about its durability and decided against giving it a try. However, it might be useful in the regular version but not the waterproof one.
- Bias tape can be used instead of folding the blanket’s raw edge over the vinyl. Alternately, you can unpick the binding from the blanket before pinning the vinyl in place and sew it back on afterwards. You can trust that it will look great, but the extra effort required to achieve such a result is probably not worth it.
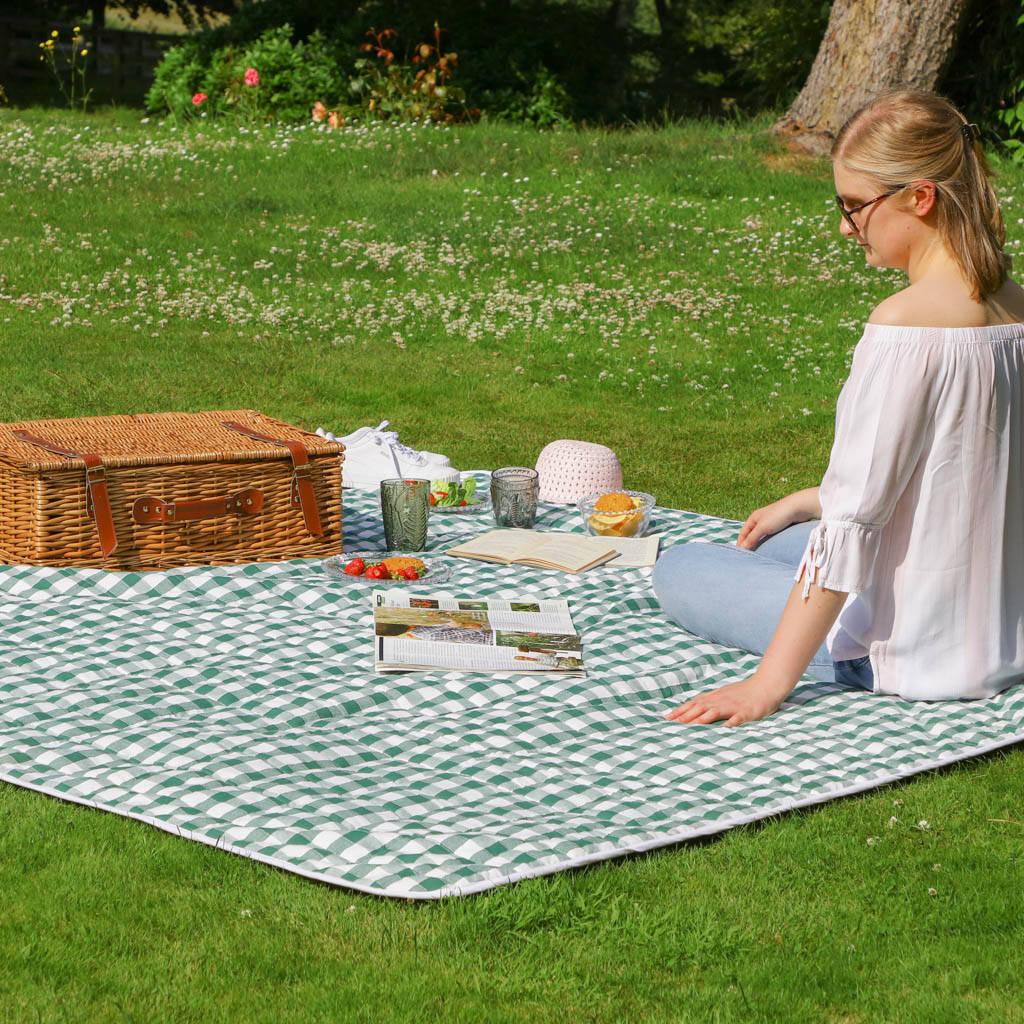
What distinguishes picnic blankets from others?
Buying a new blanket solely to go on a picnic might seem unnecessary.
Purchasing a blanket for a single occasion seems like a waste of time and resources. Picnic blankets, on the other hand, are designed to stand out in the more casual settings typical of picnic areas.
Picnic blankets, first, are resistant to both heat and wetness.
Standard blankets will not prevent you from absorbing water and dirt from damp grass if you want to use them there.
Meanwhile, a picnic blanket at the beach will let the sand through from above but not below.
Xem thêm : How Many Yards Of Yarn To Make A Blanket? Everything To Know!
Having a blanket that is big enough is also important. The typical blanket is too cumbersome to transport easily.
Similarly, these blankets can only be used for one thing. You can’t spread out over them like you would on a picnic blanket.
Also, picnic blankets are designed to be dirt and dust repellent, saving you the trouble of having to wash them as often.
Picnic blankets can be washed and dried using a dryer if they get dirty.
The pros and cons of your blanket will be affected by the materials and methods you employed to make it.
It’s hardly surprising that a cheaper blanket won’t survive as long as one made with more care and attention to detail.
Conclusion
The instructions we gave you here may have been written with a picnic blanket in mind, but they may easily be adapted for any type of blanket.
Changing the materials you use is the only need. If you master all of them, you may make not only a picnic blanket but also a wide variety of different blankets.
Nguồn: https://iatsabbioneta.org
Danh mục: Blanket


