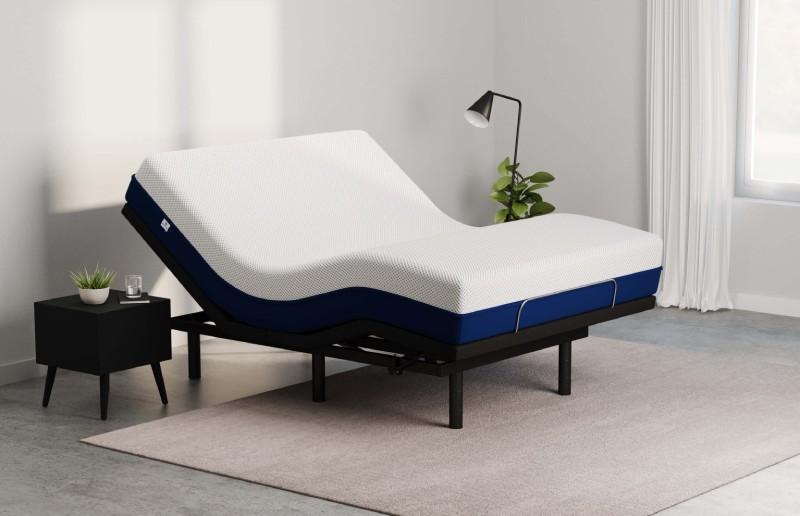
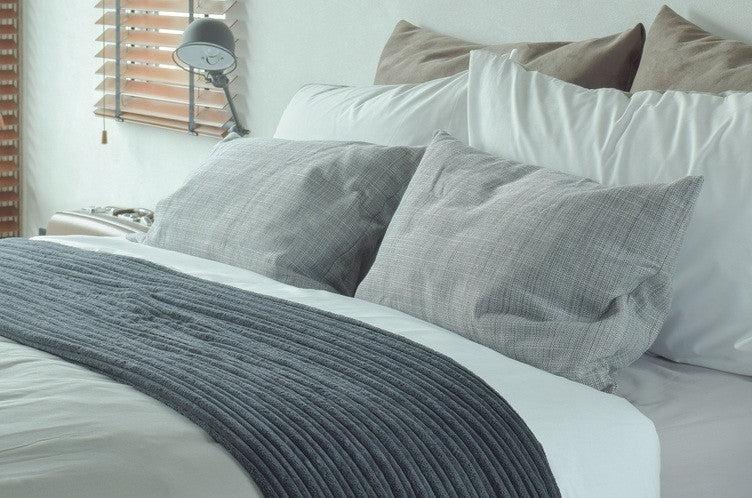
Even while bed runners were initially designed to cover the floor beneath the quilt, bedspread, or duvet, they have since evolved into decorative accents for the bedroom. This is especially true when the top of the bed is a solid color or white. A bed runner was first employed in high-end lodgings as a simple way to enhance the room’s aesthetics. The hotel may then employ white sheets, which are less expensive to buy and clean. The bed runner offered a sense of class, while the white duvet covers, bedspreads, and blankets kept the room looking stark but were easily washed and sanitized in hot water.
People started using them in their own bedrooms after seeing them as part of the decor at high-end hotels. These simple DIY accents can help you create a more relaxing and comfortable atmosphere in your bedroom. Typically, a bed runner will be placed at the foot or the center of the bed and will run lengthwise. However, bed runners are sometimes laid longitudinally, from the top of the mattress to the bottom.
Bạn đang xem: How To Make A Bed Runner? Complete Step-by-Step Guide
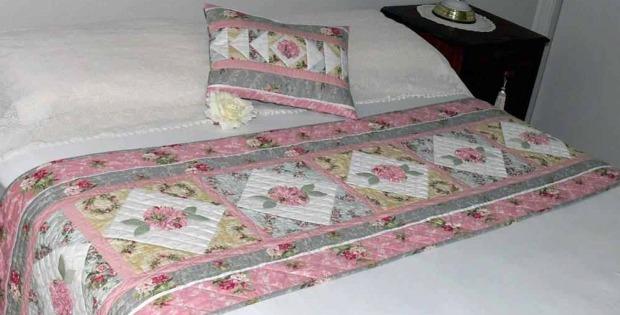
Making A Simple Bed Runner
If you want to sew your own bed runner, start by noting the exact width of your bed. Next, calculate the desired overhang from the bed’s edge. Not everyone wants their runner to extend more than 20 or 26 centimeters over their bed’s frame. Multiply the length over the bed’s edge by two, then augment the bed’s breadth by three centimeters. The runner on your bed should be that long. About 47 to 48 centimeters in width is ideal. That’s modifiable so it fits your style perfectly. For a double bed, the required length of the fabric strip is 192 inches (137cm + 52cm [26cm x 2] + 3cm].
Split the yardage of fabric in half to make two identical pieces. Next, use a measuring tape to cut a square of fusible interfacing. Apply interfacing to the back of one of the strips using an iron. What you don’t want to show is your “wrong side,” so to speak. When pinning the pieces together, make sure the correct or colorful sides are showing. Put a pin in both long edges and one short one.
Sew the two pieces together with a 1 1/2-cm seam allowance along the three pinned sides. Once you’ve finished stitching, take out the pins and flip the fabric right side out. Flatten the seams with a press. Make a half-inch fold at the open end and secure it with a pin. Closing it with a slip stitch. Make flat with an iron. Topstitch the edges by half an inch to reinforce the seams. Add some flair with decorative top-stitching by doing a second row of top-stitching 1–3 cm in from the edge. Simply by adding a contrasting border of thread, you may alter the look completely. A border can be easily made by cutting strips twice as broad as needed, plus an additional inch or so. Before stitching the runner’s two pieces together, attach it to one side of the cloth with right sides facing along the seam line and at the place that is half the width.
When you’ve finished turning it right way out, you may finish the remaining steps and fold the fabric over the runner’s edge. Flatten the first side with an iron. Finish the topstitching and press that side. If you want a fluffier runner, try substituting batting for the interfacing and then sewing a design on top.
What Is The Purpose Of A Bed Runner?
See the variety of viewpoints on the usefulness of bed runners by reading the following list of explanations.
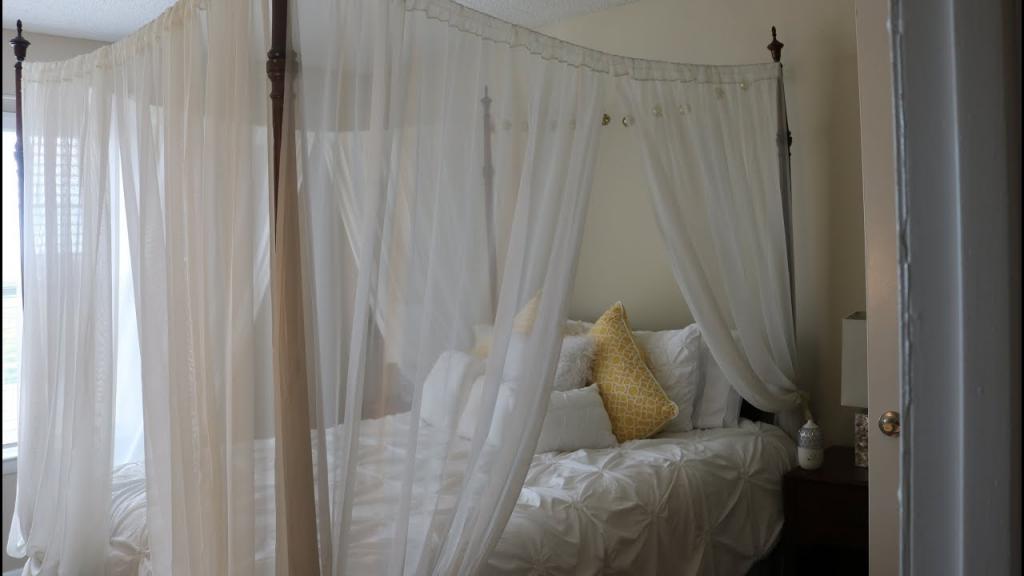
Aesthetics
After some time, a plain bedspread can get tedious.
Beautiful as they may be, other sheets eventually get boring.
Bed runners are a simple way to update the look of your bed and bedroom.
It’s the perfect way to jazz up your boring duvet cover.
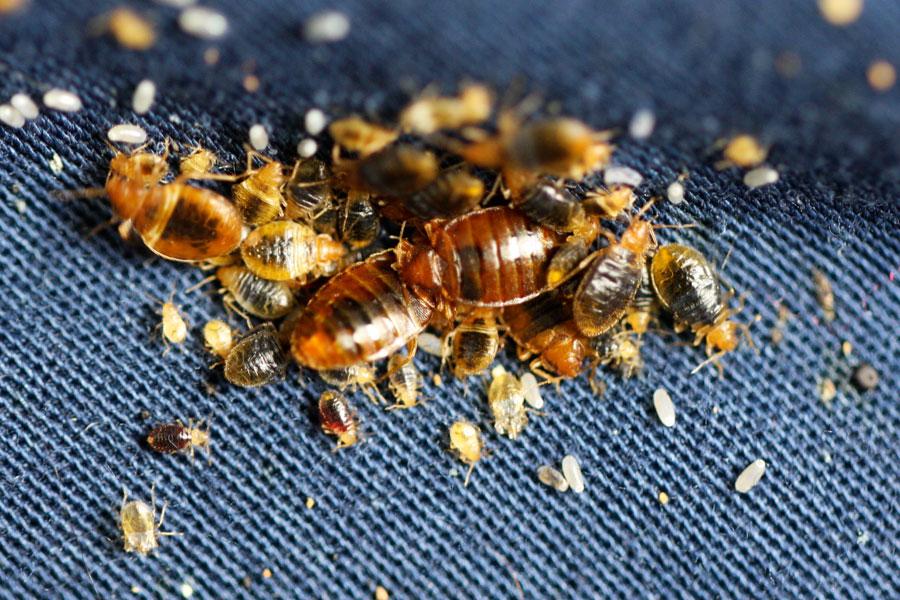
Cleanliness and pest detection
Hotel customers, especially those who want to spend the night, are understandably concerned about the cleanliness of the bed.
If you unpack your bags on your bed, a bed runner will protect your bed spread from the grime.

Additionally, it might be useful for visitors to gauge the cleanliness of the bed coverings.
If you use white bed linens, a bed runner in a contrasting color can help you keep track of how often you wash your sheets.
It’s also simple to ascertain whether or not any unsavory visitors, like bedbugs, have set up shop in your personal quarters.
Xem thêm : How Long Does It Take To Get Rid Of Bed Bugs? Comprehensive Guide
I’m willing to wager that you don’t want to share a bed with these… pests?
Freshness
Bed runners are simple to swap out and alter to your liking.
A bed runner can be easily adapted to any color scheme or design motif.
Your next bed runner project is only limited by your imagination, and so is the fabric you use to create it.
Bed runners can be made of anything from plain silk to expensively embroidered silk or polyester, depending on your availability and budget.
Cost-effective
It is not necessary to go to the trouble of repainting your room in order to give it a stylish new look; instead, all it takes is a new throw pillow or tablecloth.
The color of your bed runner should complement the decor of your bedroom.
Some bed linens become unusable due to stains that are too noticeable, necessitating the purchase of a new, more expensive set.
Use bed runners that are simple to swap out when they start to look worn.
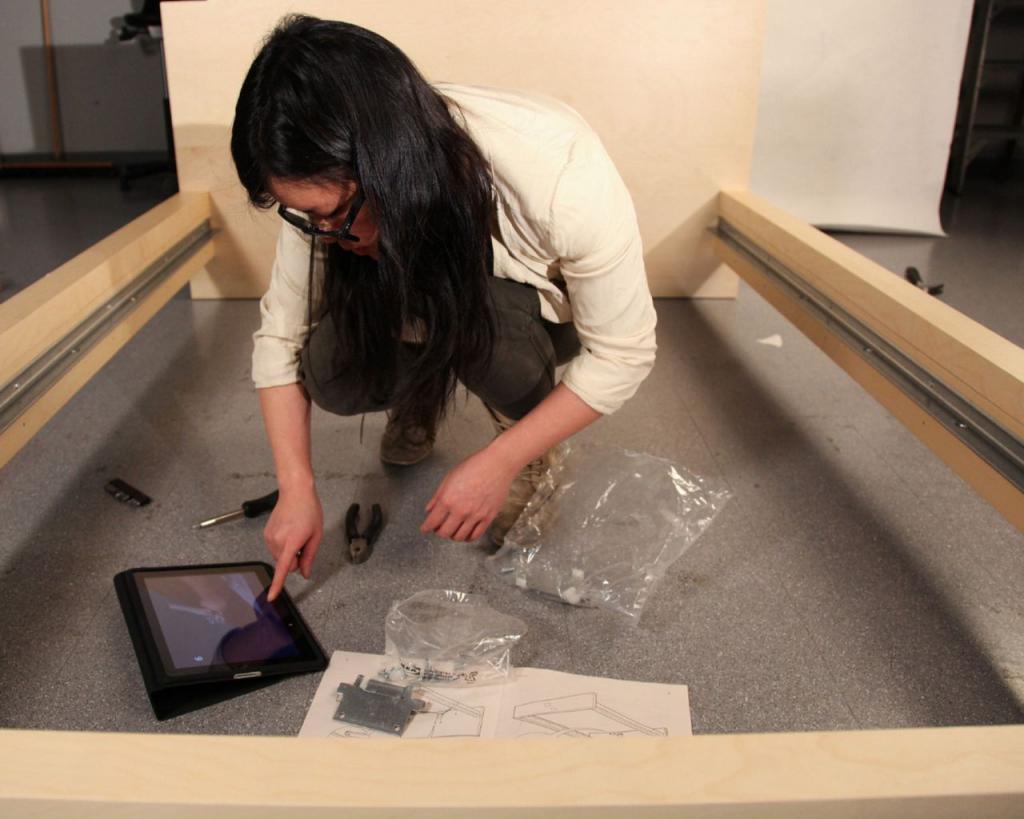
What You’ll Need In Making A Bed Runner?
A bed runner can be completed in around two hours, however this time frame might vary greatly depending on the sewer’s proficiency.
To help you get started on your bed runner, these are the materials you’ll need:
- Machine for making garments
- A measuring tape
- Fabric
- Pins used in the tailoring of clothing
- Iron
- Interfacing with a fuse
- Batting for quilts (for quilted bed runner)
Steps To Make A Bed Runner
Two types of bed runners, a plain one and a quilted one, are detailed below.
How to build a bed runner, in a nutshell:
Step #1. Getting the right measurement
The breadth of the bed must be increased by 26 inches.
Step #2. Folding the fabric
The cloth should be folded in half lengthwise, with the selvages touching.
Step #3. Creating a rectangle
Make a rectangle in the fabric and extend it by an inch past the length you want the finished bed runner to be.
With a 47-inch wide bed and a 17-inch runner, your rectangle will measure 73 inches long, 26 inches wide, and 18 inches high.
Step #4. Cutting
Using the markings as guides, cut two identical strips and one piece of fusible interfacing.
Step #5. Ironing
Xem thêm : How To Freshen Bed Sheets? 7+ Easy Ways to Freshen Sheets
Press the interfacing onto the wrong side of one of the strips.
Step #6. Pinning
Long sides should be pinned together at one end with the right sides facing, and then a half-inch seam allowance should be sewn.
Step #7. Turning the bed runner
Flip the bed runner over and flatten it with the iron.
Step #8. Finishing the bed runner
If you want to finish and secure the bed runner all the way around, you should stitch a quarter inch from the edges.
Steps On Making Quilted Bed Runner
Do you wish you knew the secret to creating a quilted one? Instructions are as follows:
Remove two equal lengths of fabric.
The strips should have a width that is 1 inch larger than what is needed.
Extending the bed an additional 26 inches makes it the same length as the bed itself.
Create a batting piece and attach it to the reverse of one of the strips with pins.
Dimensions can be adjusted based on what you need.
Put the second strip in front of the first and secure them with a pin.
Stitch the two long sides and one end, leaving a half-inch gap for turning.
Reduce the seam allowance to 1/4 inch.
Flip the runner right-side out, and quilt it however you like, within half an inch of the edge.
Stitching Things Together
The steps of creating a bed runner.
The usage of bed runners is common in both hotels and private homes.
It’s not just for show; it’s useful, too.
Simply following the instructions below will allow you to create a plain or quilted bed runner in no time.
Nguồn: https://iatsabbioneta.org
Danh mục: Bed