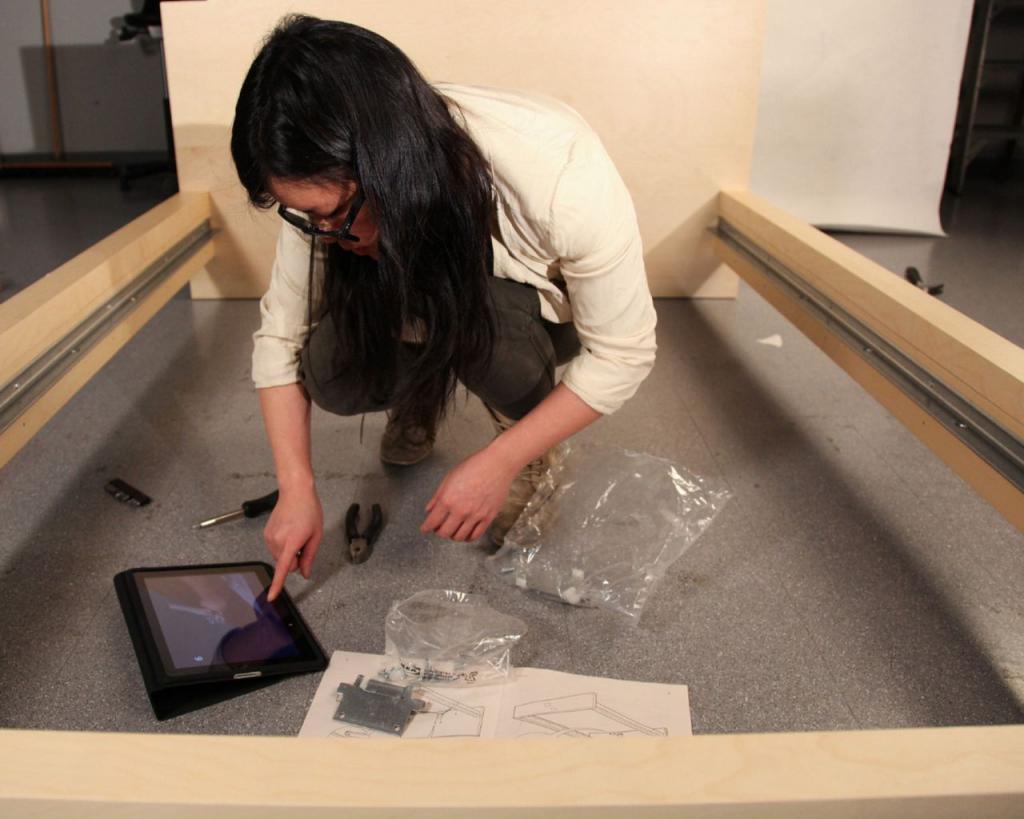
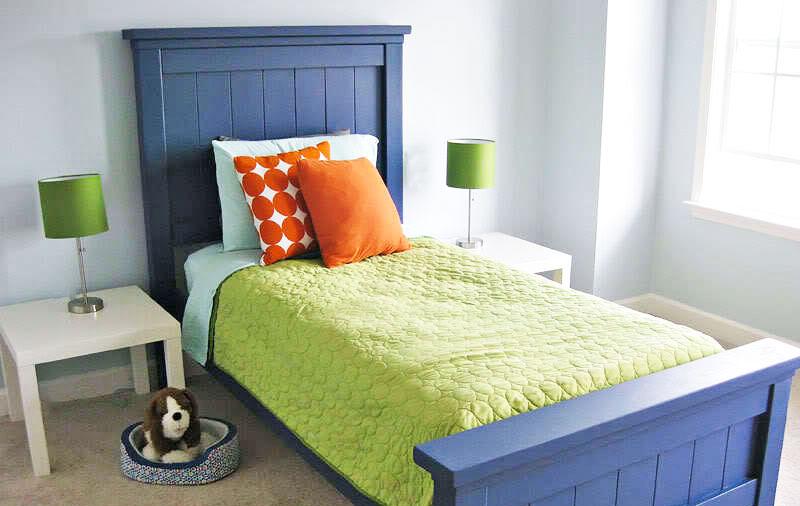
This Instructable is meant to serve as a guide for constructing a twin bed (to accommodate a mattress measuring between 75 and 38 inches wide) out of standard frame lumber and without the use of any specialized tools or knowledge. I used a mitre saw, a table saw, a drill, and a random orbit sander, but anyone with a circular saw and a drill could probably put it together. Always remember to safeguard your eyes and ears when working with any power tool.
- How To Make A Bed Hotel Style? Easy Step-by-step Guide
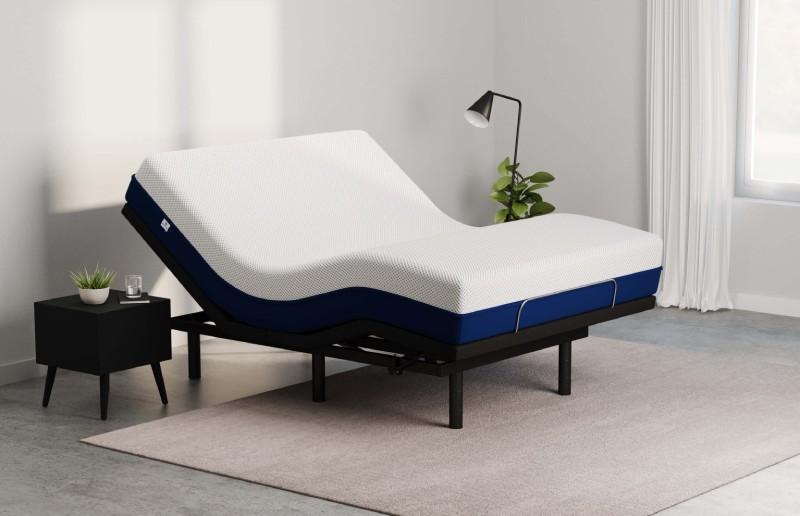
- What To Consider When Buying An Adjustable Bed Base
- How To Reprogram Remote For Blackstone Adjustable Bed? Comprehensive Guide
- How To Put Sheets On A Split King Bed? A Perfect Guide For You!
- How To Use Laptop In Bed Without Overheating? Helpful Tips To Remember
Step 1: Materials
Materials
2x4x8′ – 6
1x4x10′ – 4
1x4x8′ – 2
1x3x8′ – 1
Tongue and groove pine beadboard (wainscoting) 5/16″ x 3 1/2″ x 8′ – 3
Dowels, 3/8″ x 2″
Components for making a bed
Wood screws between 1 1/4″ and 2 1/2″
glue for wood
replacement wood
sandpaper
Tools
Which saw would you prefer, a miter or a circular?
Saw table
a drill and a small drill bit fitted with a countersink (or, in the absence of a countersink, a smaller bit for making the pilot hole and a larger one for making the countersink). A 3/8-inch driver and drill bit
sander
Measurement tape
Step 2: Cut Lumber to Length
Before doing anything else, make sure all of your lumber is the correct length. A mattress measuring 75 inches wide by 38 inches long will fit well in this bed. You will need to make some modifications to the specifications to accommodate a mattress that is not standard. The traditional adage goes something like this: “measure twice, chop once.”
Four 24 boards should be cut into two 35′′ and one 24′′ pieces. The other two 24’s should be trimmed to a length of 75′′. Each 1410 must be trimmed into three 38′′-long pieces. Separate the 1x4x8-foot board into two pieces, each measuring 38 inches in length; do the same with the other board, cutting it in half lengthwise to yield two pieces measuring 41 inches. The 1x3x8′ needs to be cut at 71 1/2 inches and ripped into two 3/4-inch strips. The pine beadboard should be cut into twenty seven inch and ten inch lengths.
Then, on four of the 35-inch 24’s, make a groove 3/8 inches wide and 1/2 inches deep, centered on one edge.
Once you’re done, you should have the following:
2x4x35″ – 8 (4 with grooves, 4 without)
2x4x24″ – 4
Xem thêm : How To Lose Weight While On Bed Rest? Comprehensive Guide
2x4x75″ – 2
1x4x38″ – 14
1x4x41″ – 2
Step 3: Build the Posts
Put wood glue on one side of two groove-free 35-inch 2x4s and secure them with 2 1/2-inch wood screws. Repeat this process with the two additional 35-inch 2x4s that don’t have grooves, as well as the two 24-inch 2x4s. For best results, countersink the screw heads so they are flush with the wood. Let the wood filler dry before you attempt to screw the 2x4s together. Sand.
Step 4: Drill for Dowels
Centered on each butt end of the grooved 2×4, drill a 3/8″ hole 1″ down from the top. Create holes that are one inch in depth. Taping your bit at the desired depth is a simple way to ensure that your holes are always the same depth. In addition, center holes 1 inch and 2 1/4 inches from the top and 13 inches and 14 1/4 inches from the bottom on each post. Insert a dowel into the hole on either end of the 24 and secure it with glue.
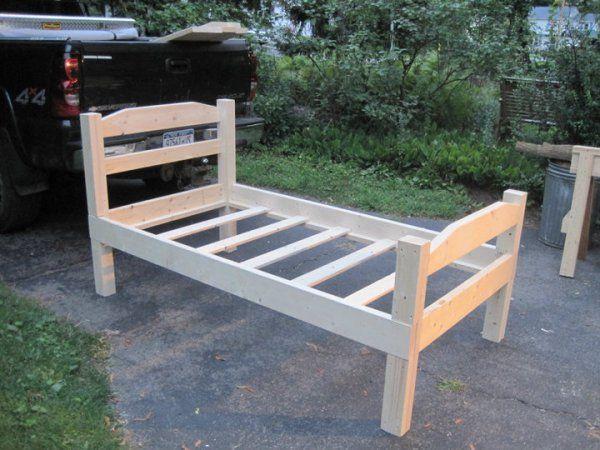
Step 5: Complete Headboard and Footboard
Put down one of your 35-inch-long poles. One of the 35-inch 24 boards should have adhesive applied to its end. Insert the dowels into the post holes until the groove is flush with the top of the post. Use pilot holes to secure it to the post after drilling holes in the top and sides. A second 24 should have its end glued and be positioned so that its groove is pointing up, 12′′ up from the base of the post. This can be done by putting dowels into the post holes. Get some pilot holes drilled, and then screw it down.
To install the beadboard, simply place the long pieces into the grooves. Dowels should be glued into the other end of the 2x4s. Align the dowels in the holes and set the other 35-inch post on top. Insert screws and drill holes. Lift the headboard vertically and fasten a 41-inch length of 1×4 with glue and screws. Make sure the headboard is not bent by laying it flat on the floor and crosstaping it to ensure it is square. (Make sure the measurements are the same going in opposite directions along the diagonal.) Modify in accordance with requirements. When dry, sand the filled screw holes smooth.
To construct the footboard, a similar procedure must be followed with the remaining two 24″ posts.
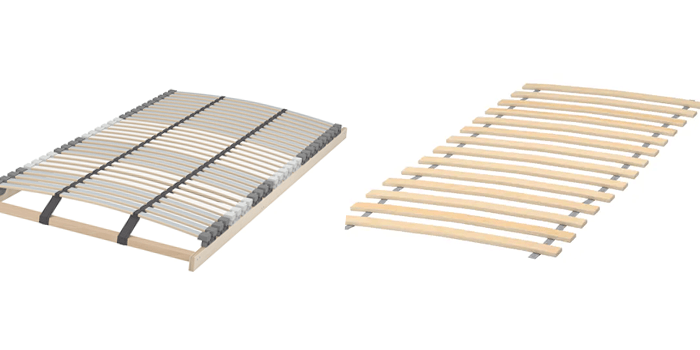
Step 6: Making the Mattress Support
Using glue and 1 1/4-inch screws, attach one of the 71 1/2-inch strips flush with the bottom edge of a 75-inch 2×4 that has been laid flat (be sure to drill pilot holes first). Bed hardware requires a space of 1 3/4 inches on both ends to be attached. Use the other 24 in the same way.
Make notches in each 3/4″ strip to accommodate the 1x4x38″ support slats. They need to be separated by at least two inches. Slats are attached to the 24 by drilling pilot holes and then screwing them in at an angle. Each end of the final bed slat needs a notch 1 3/4 inches by 1 inch cut into it so that the hardware can be attached. (You might not need to do this if you’re using hardware that I’m not) Sand.
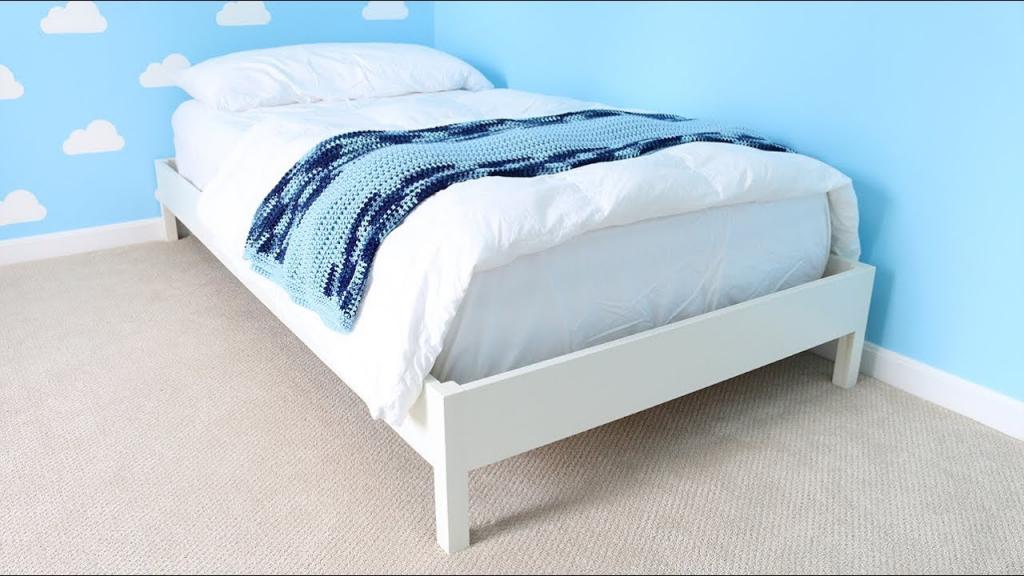
Step 7: Finish
After any necessary sanding and wood filler touches, your project is ready for paint. Fasten the bed’s hardware to the mattress support’s end brackets and to the posts, 12 inches up from the floor. Fix the bed frame (headboard and footboard) in place. Okay, that’s all there is to it.
Nguồn: https://iatsabbioneta.org
Danh mục: Bed