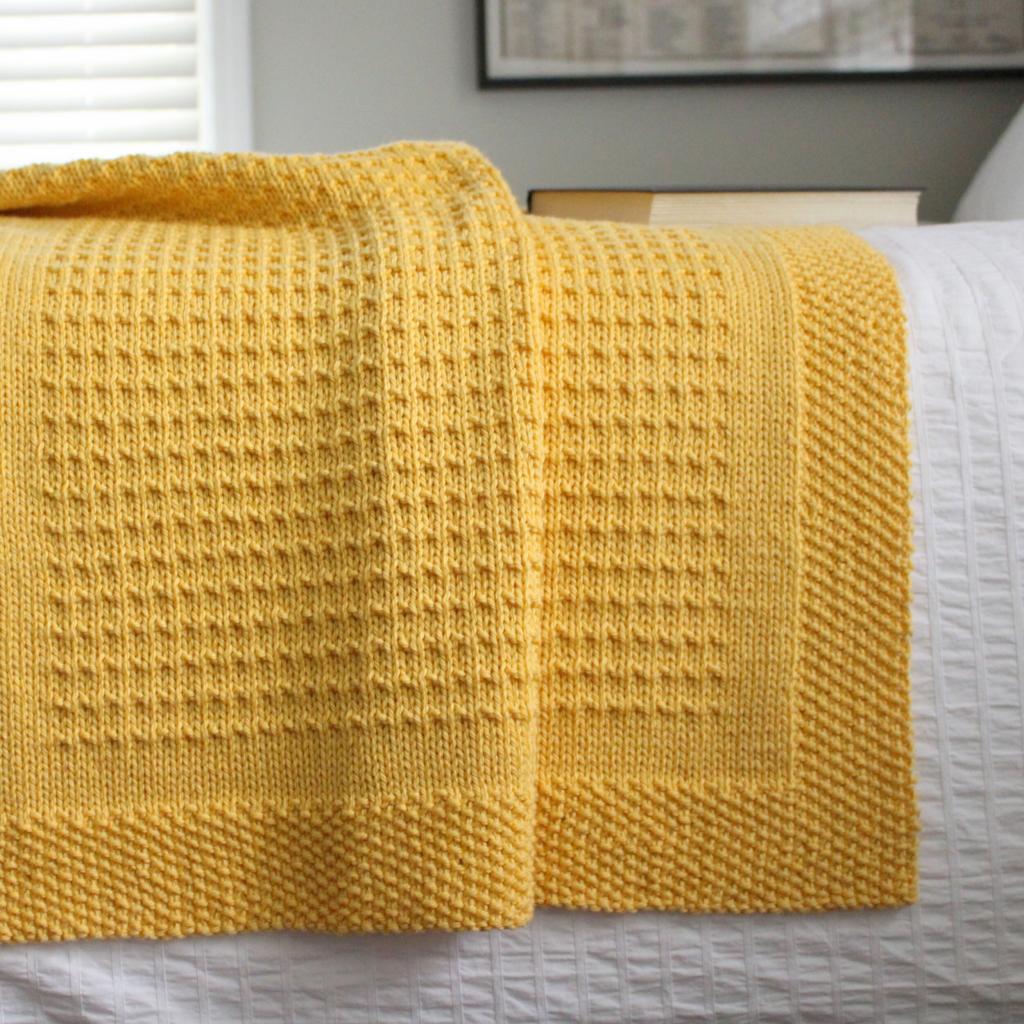
Adding a knit-on border to a completed knitting project can enhance the coherence of a design comprised of numerous blocks, or it might simply enhance the appearance of an afghan or blanket.
To demonstrate how to put a border on a little knit swatch, we’ll use this tutorial. However, the same principles apply when making an afghan’s outer border. This approach is best suited for tiny lap and infant blankets, as a huge number of stitches can quickly become tiresome.
What You’ll Need
Materials
- For the border, a thread is needed.
- Sweater gauge
Instructions
Pick up Stitches
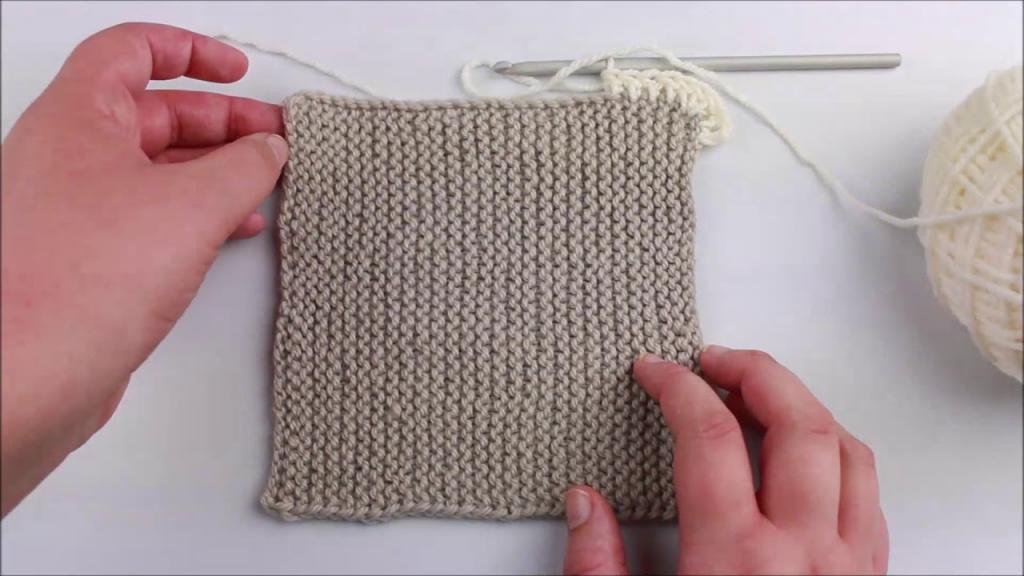
Start by selecting the yarn for your border, which can be a coordinating color and/or the same yarn used in your afghan. You’ll need a circular knitting needle with a cable long enough to fit the number of stitches you’ll be working with, but short enough to avoid straining the finished product.
Pick up stitches on all four sides, beginning at either corner. We picked up one stitch for every other stitch or row on this sample, with the exception of the corners, where we picked up additional stitches.
You can learn a lot about how many or how few stitches you prefer by experimenting with borders on swatches. In addition, it’s a fantastic way to test out a new stitch if you’re not sure how it will appear on a border.
Xem thêm : How to Hand Knit A Merino Wool Blanket? Step-by-Step Tutorial
What matters with garter stitch is how many stitches are picked up on each side, but it doesn’t really matter how many are picked up in total. The amount of stitches you pick up for ribbing or a pattern stitch depends on how complicated it is.
Knitting the Border
With the stitches in place, it’s only a matter of knitting the border in whichever pattern stitch you like.
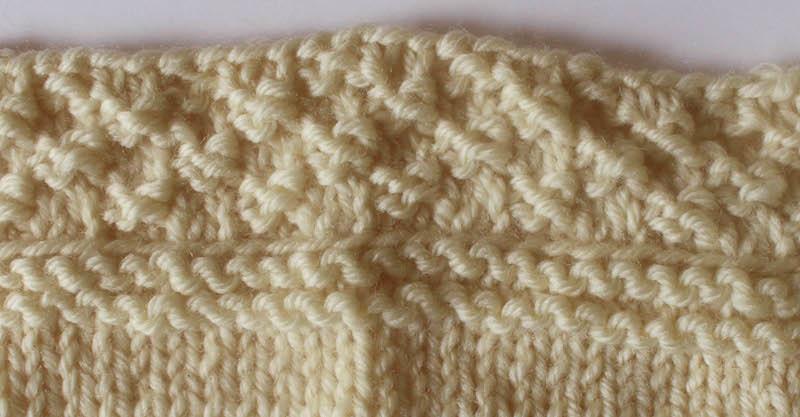
Remember that since you’re working in the round, you’ll need to knit one round and purl one round to get the garter stitch border depicted.
To indicate the end of the round, place a stitch marker or the tail of your yarn at that location.
Afghan size and personal preference dictate the amount of rows in your border. The pick-up stitches row and the bind-off row are not included in my four-row pattern.
Finishing and Blocking
Xem thêm : How To Make A Puff Blanket? Complete Step-by-Step Guide
Bind off as you normally would after your border is finished. When you remove the work from the needles, you may see that the corners are rounded and the fabric is a little puckery, especially if you bind off too tightly.
If you’re looking for a finished result, you’ll want to use blocking to assist make your corners more square.
How does a border help your knitted blanket?
There are a variety of uses for borders on crocheted blankets that aren’t immediately visible, such as enhancing the visual appeal. Here are a few examples of why it’s worthwhile and advantageous.
- With the length or breadth of your choice, it helps to keep your knitted edges tidy.
- As long as you don’t wear something too revealing underneath, it’ll do the trick.
- It prevents your knitted blanket from being destroyed by quick and unexpected tugs.
As many benefits as adding a border can bring to your blanket, you must also be aware of the dangers of pulling the knits incorrectly.
Conclusion
Each technique for adding a border to a crocheted blanket can be categorized according to the difficulty and time it will take to complete one project. In the end, knitting is a pastime that can be enjoyed by anyone, regardless of their age or gender.
Nguồn: https://iatsabbioneta.org
Danh mục: Blanket


