A wingback recliner reupholstering tutorial is included in this article. Even while reupholstering your furniture may seem difficult, it isn’t!
- How To Disassemble Bob’s Queen Ann Recliner? Comprehensive Guide
- How To Replace Lazy Boy Recliner Seat Springs? Easy Step-by-step Guide
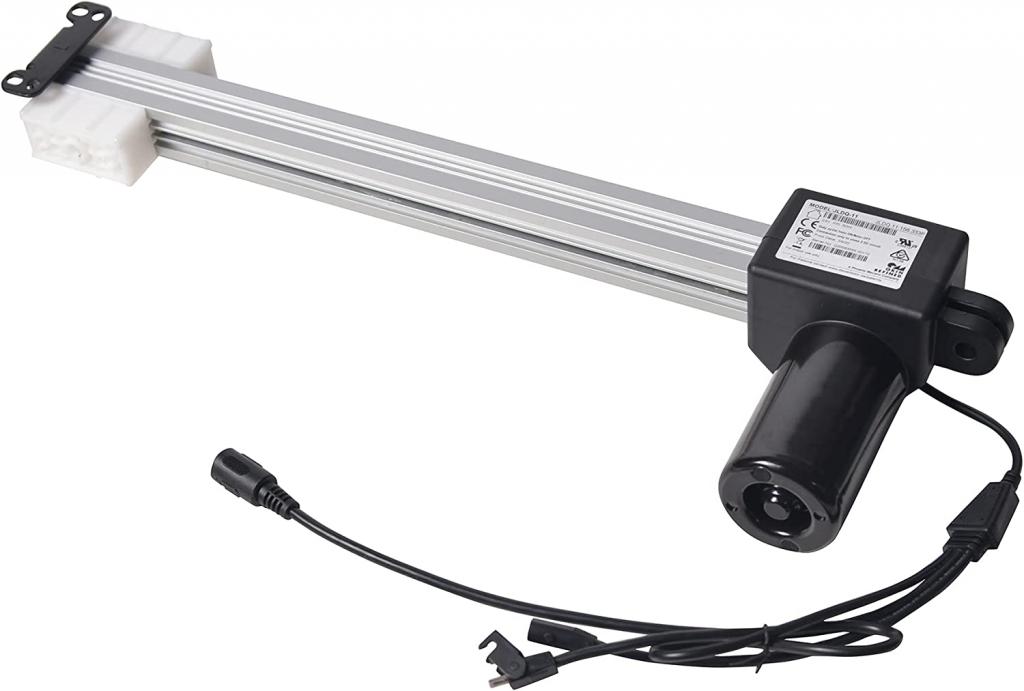
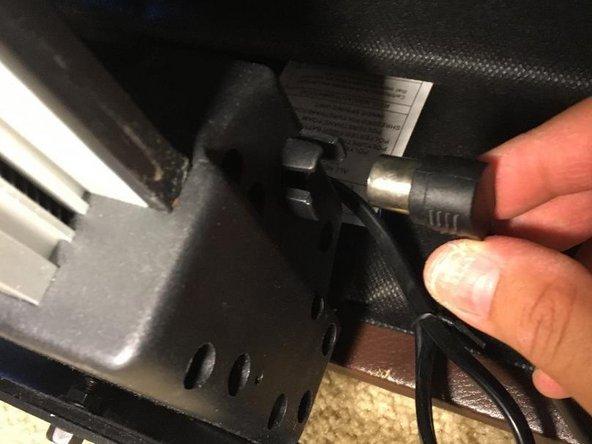
- How To Fix An Okin Recliner Motor? Comprehensive Guide
- How To Make A Rocker Recliner Stationary? Step-By-Step Guide
- How To Close Your Footrest On A Recliner? Everything You Need To Know
With these simple directions, anyone can make this at their local hardware store with the necessary equipment and materials.
Bạn đang xem: How To Reupholster A Wingback Recliner? Step-by-Step Tutorial
Steps on Reupholstering a Wingback Recliner
Step one: Using an electric drill with a screwdriver attachment or Phillips head bit, remove all screws from the frame of your furniture piece. In order to proceed to step 2, make sure that every screw is removed, regardless of how huge the item is.
Second, cut the fabric from the furniture item with a box knife. Leaving roughly an inch on either side of the frame will allow you to later stitch or tack down fabric folds later on.
Step three: Using a flat-head screwdriver or a staple remover, remove any staples that may have been left in place. Before moving on to step four, be sure to remove any staples from the frame.
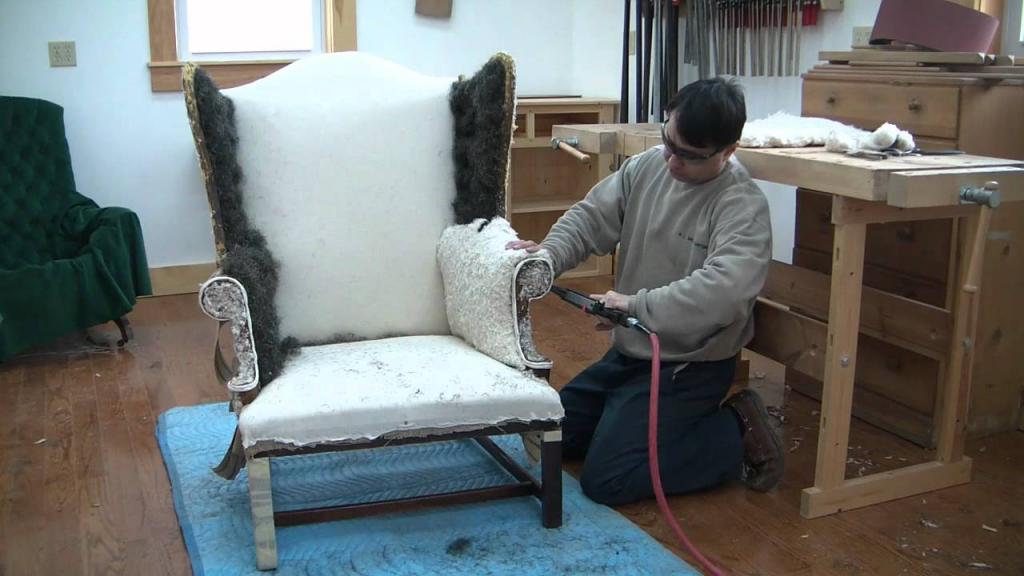
Step Four: Stuff batting into the cloth, pushing it down as far as can and making sure there aren’t any air pockets remaining.
Five: Remove the fabric and batting from your furniture piece, leaving about a half-inch on each side.
You can put piping around the borders of your reupholstered frame using excess fabric that you have on hand in this step.
Step 7: Steam iron and pin the cloth piece.
The eighth step is to sew around the frame, leaving one side open for flipping the insides out.
Step Nine: If desired, proceed with piping installation as described in Step Six. Cut open one side of the frame and turn the cloth right-side out when the piping is sewn.
Step ten: Using a needle and thread, sew around the outer edge of the bag to secure it.
Adding piping, as indicated in Step Six, is an optional step that can be completed with scraps of fabric already in your stash.
How much fabric do I need to recover a wingback chair?
The chair’s dimensions must be taken into consideration, as well as the fabric’s availability. Don’t forget that the amount of cloth required varies according on the amount of padding.
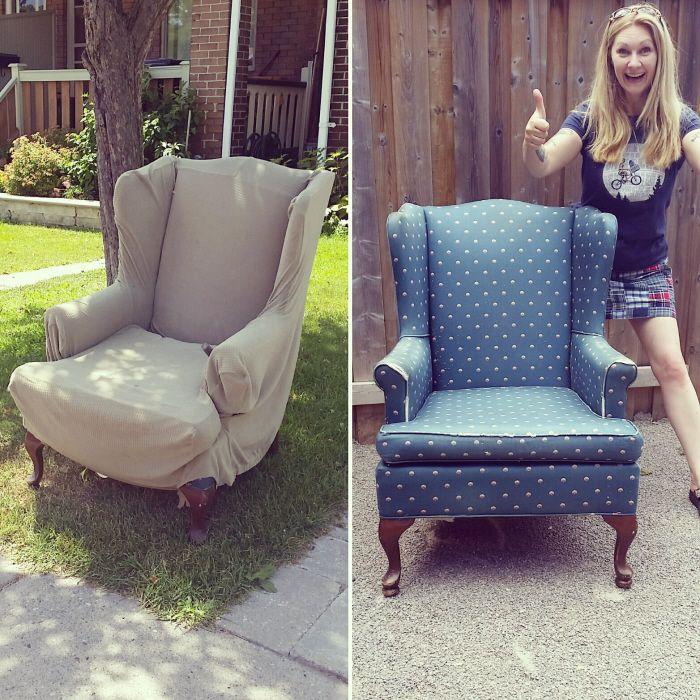
Is it worth reupholstering a chair?
For a fraction of the cost of a new chair, consider having an old one reupholstered. You can also appreciate the process and connect with the past while you’re at it.
How long does it take to recover a wingback chair?
It all depends on how much time and effort you’re willing to put into it. In some cases, it can take as little as a few hours, while in others, it can take up to two days!
Should I use leather or fabric?
It all depends on what you’re trying to achieve in terms of style and aesthetics. Leather, on the other hand, is more expensive and difficult to work with, but it will look more expensive!
How much should I expect to pay to reupholster a chair?
The price of fabric and leather, as well as the time and effort required to complete the project, will all play a role in determining how big of a challenge this project will be. A good-quality chair usually costs between $200 and $300.
What are some other projects I can do with upholstery material?
You can also upholster accent pieces like headboards or ottomans if you’re a fan of personalizing furniture.
What is the best fabric to reupholster a chair?
The answer to this question will be different for each person, based on the desired look and level of customization. Most chairs can be reupholstered with a decent quality fabric (typically made of natural fibers) with a lovely texture or pattern!
What should I do if my chair doesn’t have arms?
You should first check if your chair is still comfy if you don’t have armrests. You can reupholster an armrest to match the cloth if it’s not as comfy without it.
What should I do if my chair has arms?
The arm and seat cushions may be all that is needed if your upholstery job includes intricate details like as tufting or piping around the arms.
When should I reupholster my chair?
This would be an excellent opportunity to replace an old, worn-out chair that’s breaking apart or in need of a facelift. If not, give us a ring and we’ll set up a time to talk.
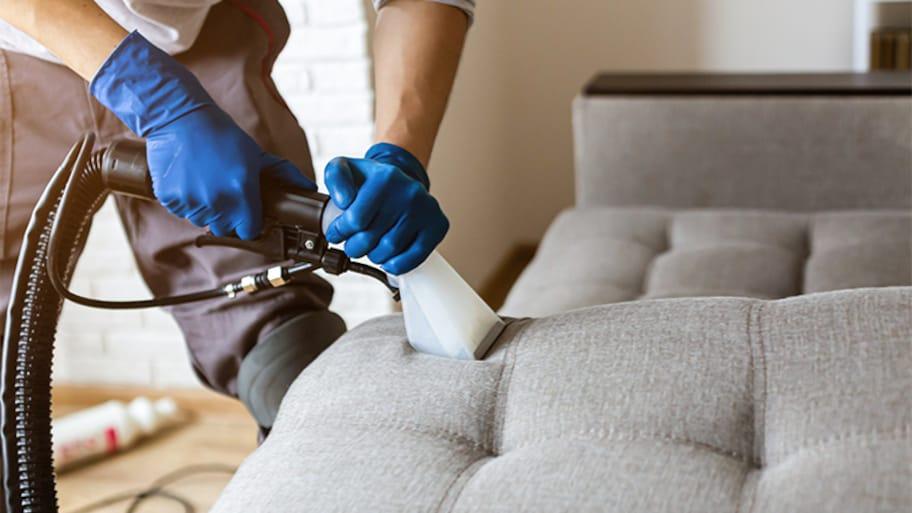
What is the best way to clean my chair?
Xem thêm : How To Clean A Suede Recliner? Comprehensive Guide
Vacuum it on a regular basis and clean up any spills or stains immediately. Scotch Guard® has a line of upholstery cleaning products that are specifically designed for this purpose. In order to avoid discoloring the cloth, you should avoid using excessive amounts of water or harsh chemicals.
Preparation
Step 1
The needle nose pliers can be used to remove any staples and the old upholstery before beginning the renovation. Make sure that all of the upholstery pieces come off intact. Lay the new upholstery down on your cutting surface, and then set the old pieces on top. Make sure you leave a generous seam allowance on the new pieces by using the previous parts as a pattern.
Step 2
If you want to add more padding or hide old button holes, you can do it now by covering the chair with batting. Place the new upholstery piece that was cut to fit the section of the chair where your back sits on it. Afterwards, you may tuck the sides in and pull them over the back of the chair. To fasten the top of the chair, move it to the rear and staple it to the wood with the staple gun. The chair back’s side and bottom sections are assembled in the same manner. Afterwards, you can snip off any extra cloth. The same steps apply to the chair’s seat as well. Pull the cloth taut through the chair’s back and staple it in place underneath the draped fabric. Afterwards, wrap the sides around the front of the chair and staple them to the wood on the side.
Step 3
You will wrap the fabric over the chair’s arm, folding 1/3 of it forward where the arm meets the chair’s back. Attach the wooden frame with staples to the fabric on the outside of the arm. To attach the cloth to the frame, pull it through the frame and out the other side. Cut a slit all the way to the end of the fold at the top of the arm where the fabric was folded. This cut makes it easier for the fabric to wrap around the arm. Staple both ends to the frame once they’ve been pulled taut. Make a nice set of pleats with your surplus fabric on the front of the arm and staple it to the chair’s exterior surface. The opposite arm should be done in the same manner.
Step 4
Staple the wing to the wood frame by wrapping the cloth around the wing and tucking it in. Make a nice fold in the wing’s bottom fabric. Staple the outside of the wings first, then work your way inward and around the wing’s curvature and down the wing. Finally, clip the staples of any surplus fabric by 1/4 inch before pulling the cloth taut and stapling it into the frame.
Step 5
Cover the chair’s seams with the thick cord or piping you purchased. If you like, you can use a hot glue gun or stitch it on by hand.
Tip
Upholstery fabrics are the ideal option for covering your wingback chair, not only because they are stain-resistant, but also because they will endure longer.
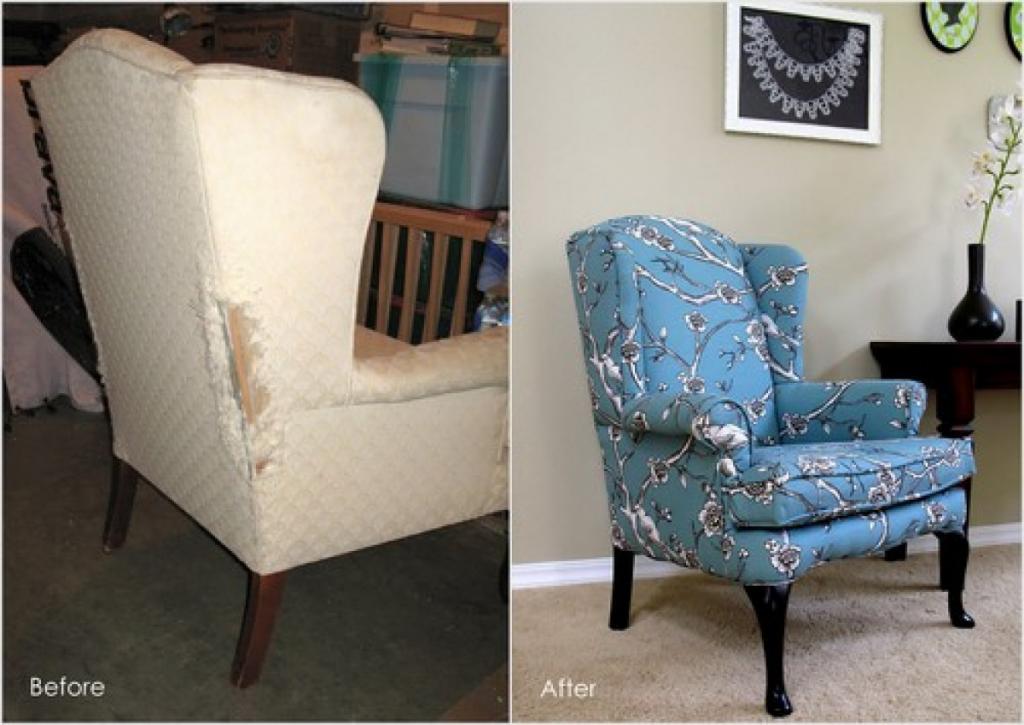
Is it Hard to Reupholster a Wingback Chair?
It’s a difficult DIY project for those who have never upholstered wingback chairs before. It’s a project of a moderate difficulty, in my opinion.
When you’re reupholstering a chair, you need to pay attention to the smallest details. On the fabric, it’s easy to get things a little out of whack.
It’s also possible to accidentally tighten the cloth in certain areas, making it appear sloppy.
I strongly advise taking your time and stepping back as you work to thoroughly inspect each area. Staples and stitches can always be removed or undone in areas that don’t look their best.
Furthermore, completing this do-it-yourself upholstery job will take some time. This wingback chair makeover took me roughly 24 hours to complete.
How Many Yards of Fabric Do You Need for a Wingback Chair?
A wing chair normally requires 5 to 7 yards of upholstery fabric.
Reupholstering your wing chair with a patterned fabric will require more fabric than doing so in a solid color.
This is due to the fact that the patterns must remain upright and travelling in the same direction at all times.
As a result, you will only be able to use a limited amount of your fabric by the yard to replace the components of your wingback chair.
In another piece, I list some of the best Amazon fabric by the yard options. I was astonished to discover how easy it was to acquire gorgeous fabric online and have it delivered within a few days.
Check out this handy yardage chart to see the typical amount of fabric needed for various types of upholstery projects.
How Much Does it Cost to Upholster a Wing Chair?
You should expect to pay between $600 and $1500 for a specialist to reupholster your wing chair.
On average, it will cost you between $300 and $450 to reupholster a wingback chair yourself, including fabric by the yard and all the other supplies you need from a fabric store.
Is it Cheaper to Reupholster a Wingback Chair or Buy New?
It’s sometimes more expensive to have a wingback chair reupholstered than it is to buy a new one.
Reupholstering a chair is something I only suggest if it’s an antique or holds sentimental importance for you.
If your wing chair has excellent framing and a higher price tag, you may want to hire an expert to reupholster it.
To get an idea of how much a new wing chair would cost, take a look at some of Amazon’s best-selling wingback chairs. It’s hard to believe that some of these chairs are under $400.
Xem thêm : 6 Ways To Sleep While Using Your Recliner
The answers to a few popular queries concerning reupholstering wingback chairs have now been provided. Let’s get down to the nitty gritty.
What You Need To Reupholster a Wingback Chair
Everything you’ll need to reupholster your chair is listed below.
- My Brother Computerized & Easy to Use Sewing Machine, for example.
- Strong Staple, For years and years and years, I’ve relied on an Arrow Fastener T-50.
- Approximately 5 to 7 yards of upholstery fabric
- Curved Needles for Upholstery
- A thin, flexible cord used to create pipework.
- Strips of Tack
- Needle-nose pliers or a staple remover are some of the tools you’ll need.
- There may also be other materials like as batting, foam, etc… The requirements and materials for each chair are unique. I simply had to replace the fabric on my chair because it was only six years old and I was the only one who owned it.
Reupholstering A Wingback Chair: Tips and Photos
You’ll Need a Sewing Machine
You’ll need a sewing machine to stitch the wingback chair’s seat and arms together.
Guys, I’m not a great seamstress, either. Basics are all I know. The needlework on this wing chair was nice enough, in fact.
Try a computerized model if you’ve only used older sewing machines and felt sewing was difficult.
Easy to use, this Brother sewing machine. To avoid forgetting, the needle is lowered at the end of each stitch automatically.
Setup of thread and bobbin is also illustrated in great depth in the manual. It’s fantastic!
Plus, they’re a bargain at under $160. This sewing machine will serve me well for many years to come.
Make Sure You Have a Plan
DON’T BEGIN WITHOUT FIRST CLEARING YOUR CHAIR CLOSELY. The order in which the fabric pieces were sewn onto the chair should be obvious.
Exactly the opposite of how you’ll add them back on, you’ll remove the parts.
This is the order in which most wing back chairs’ fabric components will be removed. BUT PLEASE CHECK THEM OUT AS YOU GO!
- Your wing chair typically comes first if it has a skirt.
- Completely sew-free.
- There is no sewing necessary on the seat back’s front.
- Stapled into place after being sewed together, the chair’s arms and sides will look like this once they’ve been completed.
- Moreover, the Front Part Sewn and stapled under the seat.
The First Pieces To Remove When You Reupholster A Wingback Chair
The skirt and back pieces are likely to be the first things you’ll have to take apart.
With staples under the bottom and plastic tack strips inside, I fastened my chair’s back from both the sides and top with the use of tack strips.
On the wingback chair’s back piece, no sewing was done. To attach the metal strips, all you need is a hammer or rubber mallet and some staples or stapling.
The metal strips that were on the rear of the item were repurposed. However, the plastic tack strip at the very top has to be replaced.
Wire nails were used on the new strip to ensure that it penetrated the frame well.
Unless you use very flat staples or nails here, the fabric will begin to wear. You’ll also notice a bump.
Use the Original Pieces as a Cutting Guide
When reupholstering a wingback chair, whenever possible, make use of the removed pieces as a cutting guide.
Wing chair reupholstery requires a lot of pinning. Each new piece of cloth was pinned, tested, and re-pinned several times before sewing could begin.
As you can see, I used pins to secure the fabric to the foam before adding the cording.
Two More Tips For Reupholstering a Wingback Chair
To begin, the seat is the most difficult element of the project for those of us who aren’t skilled sewers. Take your time and be extra cautious when pinning. It’s always possible to remove stitches in areas that need some fine-tuning.
Trim away any excess fabric at the seams once you’ve double-checked that everything is perfect so that the chair doesn’t end up with funny lumps.
If you believe in yourself, you can accomplish this.
To help you out, I’ve compiled a list of some of my favorite how-tos.
My Favorite Tutorials to Reupholster a Wingback Chair
- Thrift Diving’s series of eight videos on how to reupholster a wing chair was a godsend. Having read through them, I felt more prepared to begin.
- It’s easy to make cording with Newton Custom Interiors’ tutorial. It’s ridiculously simple, you guys!!
- You can learn how to make an arm chair with this instructional video.
Nguồn: https://iatsabbioneta.org
Danh mục: Recliner