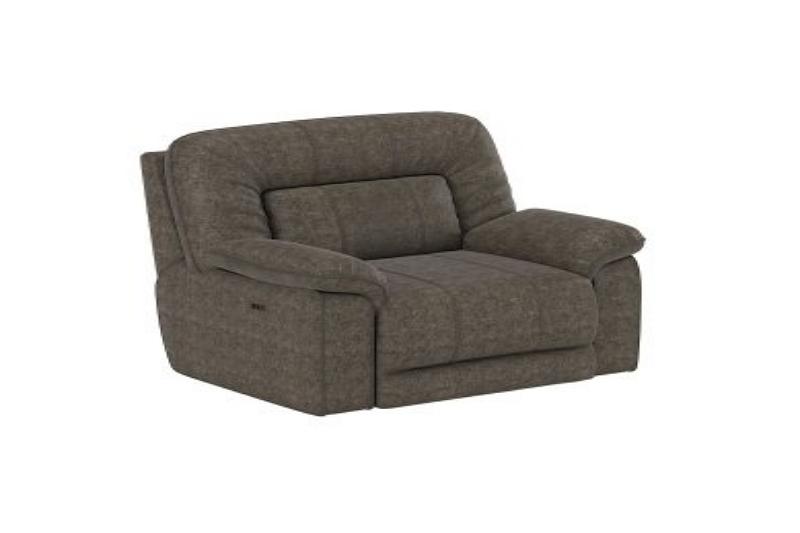
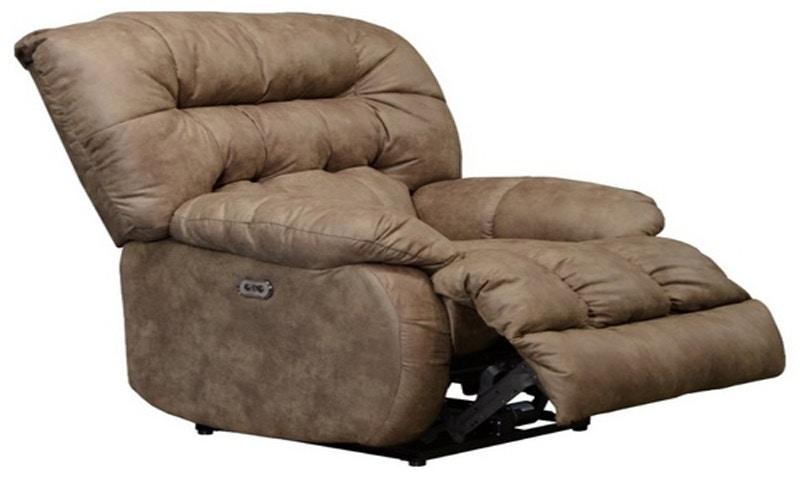
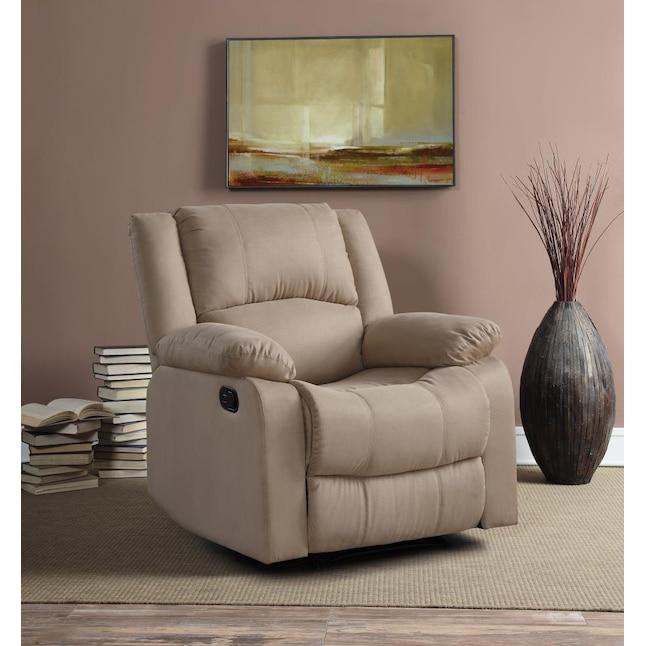
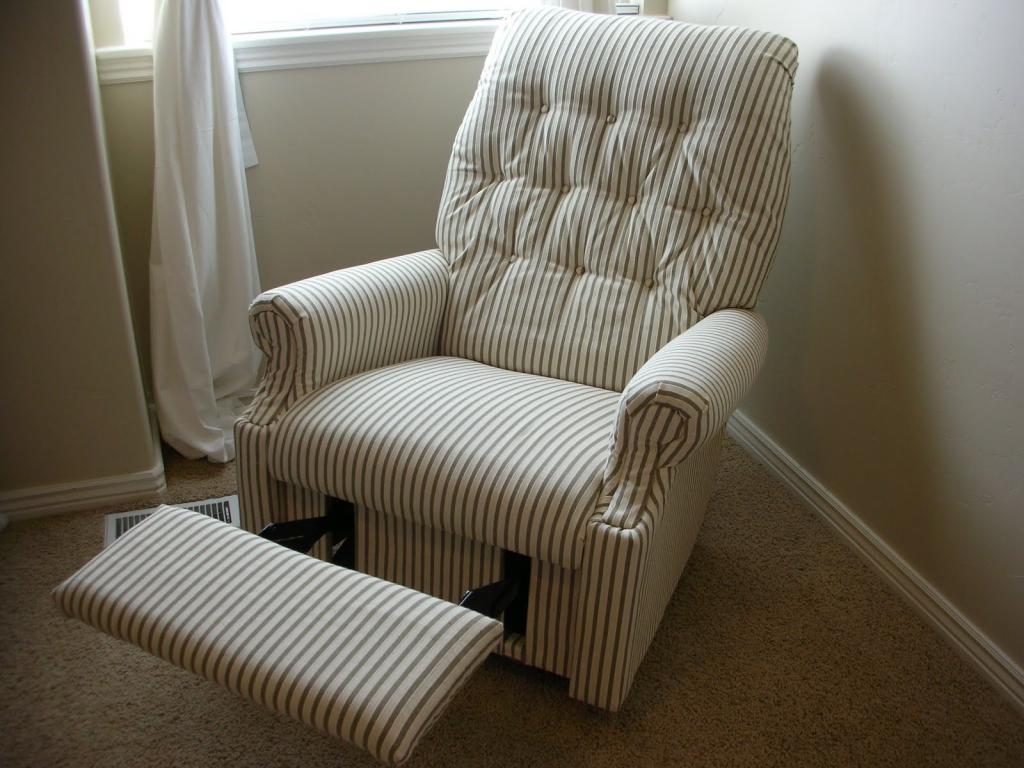
An excellent chair to have in your home is a recliner. You might easily fall asleep while watching TV, but what if the recliner breaks?
How to recover a recliner will be the subject of this blog post. These 10 steps will guide you through the entire reupholstering procedure, making it a cinch as 1-2-3!
Bạn đang xem: How You Can Recover A Recliner? Helpful Tips To Remember
Steps to Recovering a Recliner
The first step is to choose the fabric you want to use to reupholster your chair.
Wool, nylon, cotton, and polyester are all excellent choices for this project.
Step two: Locate a store that sells fabric in large quantities or by the yardage you need. This will save you money compared to purchasing it from a single store that charges per yard.
If you want to buy adequate fabric, you’ll need to know the dimensions of your recliner.
A staple gun or upholstery tacks for fastening the padding to your chair frame should be purchased along with your sewing machine. Even if you don’t have one, you can still stitch on this craft, although it will take longer.
A more expensive, higher-quality sewing machine will take more time and effort to use, but it will save you money and time in the long term! Make sure that the supplies you buy for your project, like as scissors or needles, are long-lasting enough to withstand all of your hard work.

Tip #4: The number of materials required varies according on how you plan to reupholster your chair. Upholstery tacks aren’t necessary to secure the padding to the frame if the seat back and armrests can be removed and reattached.
To secure the foam padding in place, you’ll need to acquire upholstery tacks if the chair lacks a seat back or armrests.
The sewing machine must be plugged in before starting this project! If you have an electric knife, you can also use scissors to remove any loose threads from the furniture frame.
Prepare any upholstery tacks you might need by measuring and cutting the foam padding with a sharp blade or scissors.
Measure your furniture frame to get an idea of how much material you’ll need for the project. Using a straight edge and a sharp knife or scissors, cut the foam padding to the correct size.
Begin at one end of your couch, chair, or armchair then work your way around it until you reach the other side with a tack hammer and upholstery tacks to secure the padding.
Adhesive tape can be used to repair any small tears in your foam padding material that have appeared after it was cut.
If your fabric or upholstery is thin enough, you can use tacks or staples to cover it. To begin, tack an even row of tacks along the top edge, then tack each side until the entire piece is covered.
Starting at one end of your sofa, chair, or armchair, and attaching the material to its frame using a staple gun, continue along with more staples until you get to the other side.
The sticky tape can be used to seal minor rips in your cloth caused by the cutting process.
Staple down any surplus material that isn’t being used on this side of the frame once you’ve finished covering the frame. Repeat these processes on the other side so that it is ready for use once more.
How much does it cost to recover a recliner?
How much does it cost to recover a recliner? The average cost of restoring a couch or armchair is $200.
How much it will cost depends on the type of furniture, condition, and size you’ll be having recovered. Pet-related damage, in particular, will necessitate further repairs.
How much fabric do I need to recover a recliner?
Xem thêm : How To Rebuild A Broken Recliner? Comprehensive Guide
In order to cover a chair, how much fabric do I need? For the back and seat, you’ll need around 34 of a yard of fabric, and you’ll also want some more to cover any exposed parts.
What is the best fabric for a recliner?
Where can I get the greatest recliner fabric? There are a wide variety of textiles to pick from, but the most important thing to consider is how much abuse they will take. If your chair sees a lot of action, consider using an upholstery fabric made of a wool-mix blend instead of cotton or polyester.
What will happen if I choose the wrong fabric for my recliner?
It’s a good one to have. If you choose a fabric that isn’t long-lasting enough, your chair will stretch and look worn out from heavy use much faster. Furniture traffic and material wear should be taken into account while making a purchase.
What are some of my fabric options?
Fabrics that perform well for recliners include the following: Wool-blend upholstery, cotton twill, linen, silk, polyester, or microfiber suede are some of the more common choices for upholstery. Other options include vinyl, which can be used outside.
Factors to consider before reupholstering your recliner
Reupholstering your chair requires careful consideration of a number of elements.
The fabric
You need to think about the new fabric you’re going to work with. The type of fabric, the size, and the pattern all need to be decided.
When it comes to reupholstering, it can be difficult to decide on a linear design such as plaid or stripes. Because of the recliner’s several replaceable pieces, you may find it challenging to align such straight patterns.
Plain, floral, or paisley patterns are the most commonly used for chair reupholstering. You won’t have to worry about aligning the print pattern with these designs.
Even if you go for a simple design, you can still add some flair. Recliner arms may be patterned or colored to match the rest of the piece: Try something new.
At least 12 yards of fabric is recommended for the size of the project. Most recliners require 8 to 12 yards of fabric, which is why this is the case.
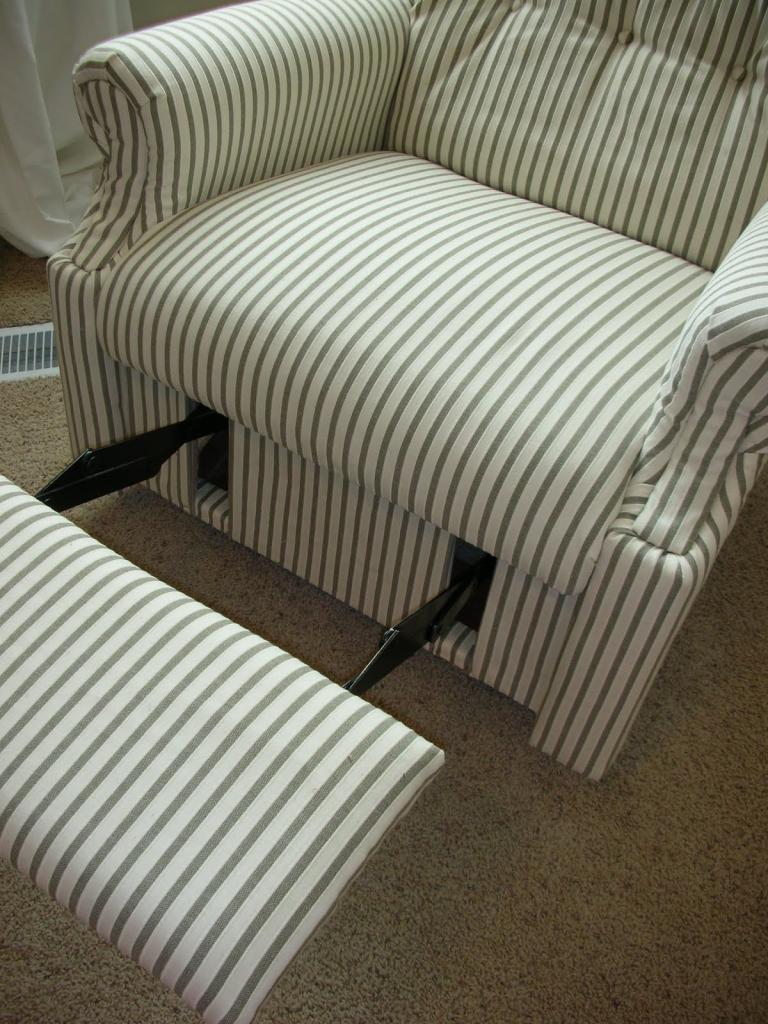
Disassembling and reassembling your recliner
Because of the smaller replaceable parts, reclining chairs are more difficult to work on than other types of chairs.
As a result, you’ll need to know how to remove and reassemble your chair before you begin.
If you don’t know how to disassemble and reassemble a recliner, check out this page before you get started on the reupholstering.
Please snap photos throughout the entire procedure as well. This will make it easier for you to reassemble the chair in the future. It is possible to make use of a digital camera such as the Canon PowerShot ELPH 190 Digital Camera, which produces stunning images.
Reupholstering your recliner
To reupholster your recliner, follow these instructions.
The first step is to dismantle the recliner.
Before you begin, you should mentally prepare yourself for the contents of your chair after it has been disassembled. It’s not unusual for chairs to conceal some amazing secrets. Also, if your recliner has been in your family for a long time, you might discover a few family heirlooms hidden away in there too.
Once you’re mentally prepared, it’s time to remove the back of the chair by placing it upright and working on the base. Unscrew the seat by placing the bottom face-up and using a screwdriver to pry it open. Before removing the footrest of the chair, you must first remove the armrests.
Even so, if you’d like a more in-depth explanation of how to disassemble and reassemble a chair, check out this post.
To save unnecessary tension in the future, take a few photos now.
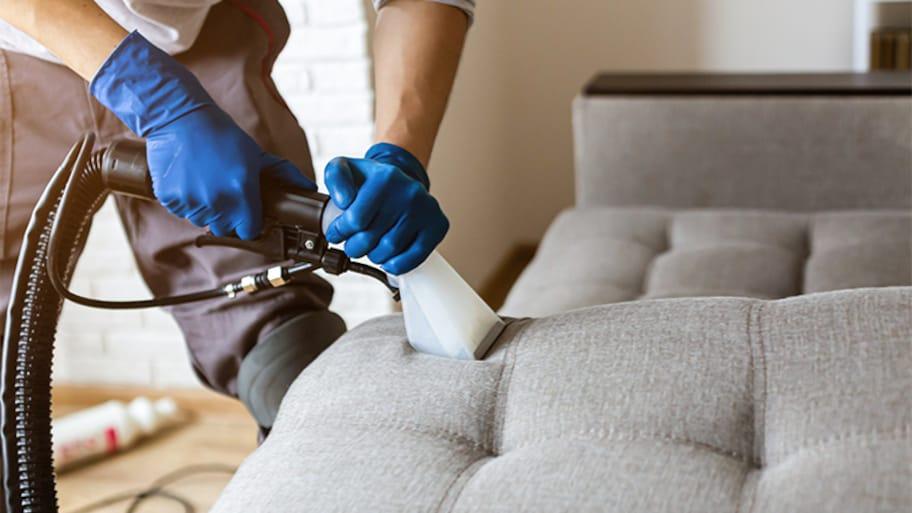
Remove the previous fabric
Xem thêm : How To Add A Cup Holder On A Recliner? Step-By-Step Process
Use a tack remover and a seam ripper to remove the old recliner fabric with care. Some people simply cover the old fabric with a new one, but this might lead to a sloppy finish on your recliner.
As an added bonus, removing the old worn-out cloth can be utilized as a pattern for the new fabric you plan to make. Don’t bother trying to come up with your own design; just use the old upholstery cloth. You’ll save yourself a lot of time and effort, and you’ll also end up with a perfect fit.
If you’re removing old upholstery fabric, make sure to clearly mark the pieces so you know which ones go to whatever room they were taken out of. The cloth taken from the arm, for example, should be designated “arm” on the fabric in some way. Using this as a template will be beneficial to you.
Trim the new fabric to size.
When stitching with a sewing machine, make sure to leave a seam allowance (additional fabric at the seams). The fabric should be tucked in when it is attached to the chair’s frame using the upholstery stitch.
Iron the fabric that you’ve just cut.
Ironing should be done at a temperature that is appropriate for the material.
Using straight pins, secure the fabric in place.
Before starting to sew the hem, use straight pins to hold the cloth in place as you stitch it together. Make sure the folds on the edges are even.
Make sure that the fabric is securely fastened to the frame.
Be sure to stretch the new cloth before sewing to prevent wrinkles and folds. The corners are where folds and creases are most prone to appear, so keep an eye out for them. Adjustable wrenches can also be used to assist you secure the fabric.
- ‘Selectable Drive,’ which lets you choose between a single-shot mode and a sequential one. Switching to the nailing mode that best suits the task at hand will increase productivity.
- To ensure that the machine is never overheated, an internal motor was included in its design. In comparison to other electric staples that use coil construction, this design is superior.
- As a result of its versatility, it can be applied to a wide range of applications. 1500 pieces T50 staples (8mm, 10mm, 12mm), 500pcs Brad Nails (14mm length), and a 60pcs/min rated firing speed of 60pcs per minute. As a result, it is the best tool for nailing and stapling various materials, such as cardboard and insulation.
- An on/off switch, a power trigger and a striker pin are all included in a triple lock mechanism to provide maximum safety. Even in the presence of curious children, this instrument is safe to have at home. Easy but sturdy grip thanks to its ergonomic handle.
A hot glue gun is needed for this step.
Whenever the staple gun fails, the hot glue gun is called upon to fill in the gaps. The cardboard pieces are an example of a situation when a glue gun is needed instead of a staple gun.
The final step is to secure the buttons.
Sew the buttons back on.
Sew the buttons together by threading a needle with thread and sewing the thread through the needle’s eye. Check to see if they’re safe. Instead of using conventional thread, use wax-coated thread to ensure that the buttons are robust enough to withstand the straining and tugging.
Recliner parts must be reassembled in Step 10.
At this point, having photos of how the recliner was dismantled will come in helpful as a reference and guidance.
When you’ve finished reassembling your chair, it’s time to relax and take pleasure in the results of your hard work.
Final Words
Even though reupholstering a recliner is a major undertaking, it’s well worth it when you see your cherished chair come to life once more. You’ll also be able to boast to your family and friends about your ingenuity.
Hopefully, you’ve found this information useful. Please let us know if this has happened in the comments area if it has. Also, please don’t hesitate to contact us if you have any questions. We will try to respond.
Nguồn: https://iatsabbioneta.org
Danh mục: Recliner