The ability to propagate and maintain cannas by following a four-step transplant procedure will always be beneficial. These procedures can be used, for example, in the case of canna lilies, to divide and create additional specimens for your garden. It’s also helpful to know how to relocate cannas if they were grown from seeds in the greenhouse.
- How To Save An Overwatered Orchid? Comprehensive Guide
- How To Keep Birds Out Of Ferns? A Few Tips to Remember
- What Can You Plant in a Mini Greenhouse? Pros and cons of mini greenhouses
- How To Grow Ginseng Hydroponically? Comprehensive Guide
- How To Grow Mums For Sale? A Few Tips and Ideas for Growing Mums for Profit
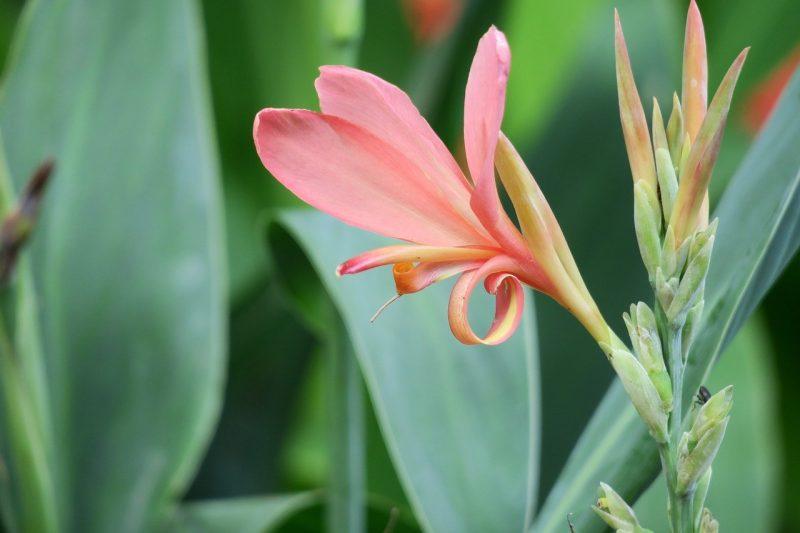
Cannas, also known as canna lilies, come in a wide variety of flower and leaf varieties to suit the preferences of any grower. Tropical plants, on the other hand, may necessitate some maintenance methods if your area is plagued by frigid temperatures. Because of this, it is important to know how to transplant cannas in order to ensure their long-term viability.
Bạn đang xem: How To Transplant Cannas? A Step-by Step Learning Guide
How To Transplant Cannas For Success
Step #1. Digging
It’s easy to transplant cannas, as you’ll be dividing them to propagate them. In order to protect the plants from becoming congested, you can repeat this procedure every three years. Because you’re doing both propagation and maintenance at the same time, you’ll be able to save time and money.
Once you have the canna rhizomes, you’ll begin by prepping them for planting. You should do this after the cannas have done blooming and their foliage has begun to die. But if you live in a cold area, remember to remove the cannas after the first frost in the fall.
It isn’t necessary to wash the rhizome itself, but it is necessary to brush off the soil that has built up on it. Cut the plant’s foliage back to at least an inch after harvesting the rhizomes to aid in rejuvenation.
Step #2. Dividing
Removing any residual soil from the rhizome, as previously noted, should make division easier. After the rhizomes have been cleansed, you should be able to see where the new rhizomes are sprouting from the older ones. Using a sharp and sterilized knife, you’ll cut the rhizomes apart in this area.
You can also use your hand to break them apart, but make sure that each division has adequate roots and at least one eye to ensure growth. Alternatively, The rhizomes that don’t have an eye can be thrown away because they won’t grow in the future. If you see that you’re receiving a lackluster root mass, you can keep the cannas in the ground for a longer period of time and you’ll get better division the following time around.
Step #3. Preparation
You should first soak the canna divisions in a bleach/water solution before planting them. This will ensure that the new plants will not be infested with pests and illnesses. It’s best to avoid scrubbing the rhizomes, as this could lead them to decay.
Once they’ve been sterilized, allow them to dry out and get ready to plant. You might choose to directly plant them in your outside garden if the weather is warm enough for that. When it comes to overwintering rhizomes in greenhouses, this is typical practice among gardeners.
Xem thêm : How Long Do Bromeliads Last? Perfect Information For You
Sterilized rhizomes can be stored for a week in a cool, dry place while you wait for the weather to warm up outside. Cut the roots and store them in a box with peat moss. Alternatively, you can grow them in a container and plant them at a depth of around 6 inches.
Step #4. Planting
Don’t forget to sow these rhizomes at least two weeks before the last date of frost. Alternatively, potted cannas can be transplanted in the spring and summer. In general, place the transplants in a well-lit area with at least a foot of space between them.
Composted soil and fertilizer in each planting hole can also be used to help the plants grow. To aid the sprouts in the future, the sight should be aimed upward. At this point, keep the area moist and make any necessary adjustments.
Can I Transplant Cannas?
Every few years, you should transplant and divide canna lilies to avoid overcrowding, illness, and pests. Pests and diseases are more likely to thrive in overcrowded, poorly ventilated plant structures with a lot of hiding places. True lilies, such as cannas, aren’t related to them at all, and their root systems are more like those of iris, instead. Rhizomes of canna plants, like those of iris plants, grow rapidly and can eventually choke out older rhizomes in the center. In order to maintain smaller, healthier clumps, perennial-grown cannas should be divided every three to five years. In addition to enjoying canna lily plants for years to come, transplanting them into the environment allows you to create eye-catching backdrops, borders, and privacy screens.
Transplanting the Rhizomes
Always follow the same rules regardless of the time of year you’re transplanting cannas. Plant the canna in a spot that gets a lot of sunlight. Make sure the soil is loosened up and then add a layer of compost 2 or 3 inches thick. The canna rhizomes should be planted in 6-inch-deep holes that are spaced 1 to 2 feet apart, depending on the plant’s mature size. Fill each hole with 1 inch of dirt, then add 1/3 cup of 12-4-8 fertilizer.
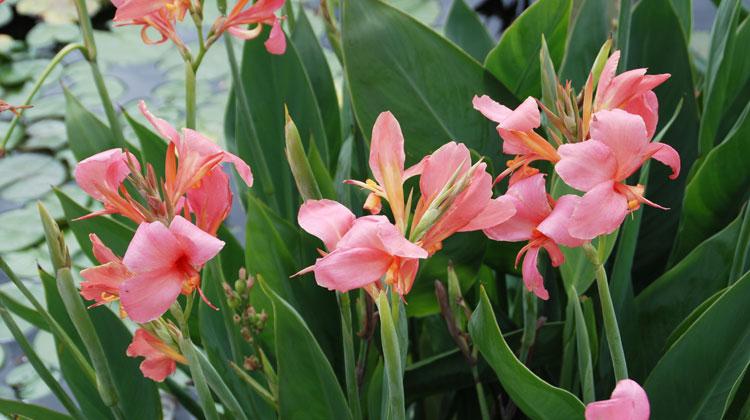
According to The Old Farmer’s Almanac, if you plant the canna rhizome with the eyes facing up, the sprouts will find their way to the sun. The fresh canna bed should be given at least 1 inch of water, and if it doesn’t rain, repeat the application monthly. Cannas are water-loving plants that will thrive in both the dry and wet soil surrounding your garden pond.
Caring For Canna Lilies
Cannas are simple to care for, both in terms of watering and feeding. Make sure to check the soil or the medium if you need to water these plants, since they will be happier if they are well-hydrated. As the weather changes, so should the frequency and amount of watering.
In spite of the fact that cannas will blossom without the aid of fertilizers, it is possible to enhance their performance by feeding them twice a year. It’s up to you whether you use a 5-10-5 fertilizer or one designed for roses and tomatoes. Choose nitrogen-rich fertilizers if you want them to grow taller.
Deadheading cannas will increase their bloom time just like other flowering plants. While it’s possible to remove faded flowers as you notice them, it’s more likely that the plants will benefit from a gradual reduction in size. In order to encourage flowering the next summer, you should prune back the cannas at the end of the season in order to renew them.
The Best Time to Transplant Canna Lilies
Xem thêm : How To Use Household Items For Self-Watering Mini Greenhouses? Comprehensive Guide
The canna lily (Canna spp.) is more tropical than lily-like, with beautiful foliage and long, ruffled stalks of flowers. Canna lily rhizomes are true summer flowers that thrive in full sunlight and high temperatures. As a result, they are hardy only in zones 8 through 11 of the U.S. Department of Agriculture’s plant hardiness map. It is possible to sow new canna rhizomes and potted cannas as early as two weeks before the last frost date in spring and summer.
Digging up Cannas
Before the last frost date, wait two weeks before removing the canna rhizomes from the ground. To make the removal of the canna easier, avoid watering the region in the days preceding up to the transplant project. You can trim back the dead foliage if you didn’t do it in the fall by cutting it down to 2 to 3 inches in length. For this step, you’ll use your hands to brush the earth away from the rhizome and reach the outside edge with the shovel or garden fork. Gently pry the clump out of the ground by inserting the instrument about 2 inches away from the rhizome.
According to Easy to Grow Bulbs, if you reside in a colder region, you’ll need to remove your cannas from the ground after the first frost but before the ground freezes. Dig up the cannas and preserve them for the winter by removing any residual leaves. Replenish in spring.
Dividing Canna Lily Rhizomes
As a first-time canna grower, you’ll be surprised by what happens when you remove the rhizome from the ground. Cannas grow rapidly during the growing season, and their root system expands in size the longer they remain in the ground. When you can clearly see and separate the roots, you can remove the soil with your hands to expose the rhizomes. Break the clump into individual rhizomes by removing the stem and roots. Divisions without eyes, like those on potatoes, should be thrown away.
Preparing the Rhizomes
Remove as much soil as possible from the selected rhizomes by rinsing them under running water. Rhizomes that have been injured by rubbing are more likely to decay after they are planted. A solution of one part household bleach to nine parts of water should be used to disinfect the rhizomes.
Set the rhizomes in a cool, dry place for one week if you prefer to wait until the soil temperature reaches at least 60 degrees Fahrenheit before transplanting them. Cut the roots as close to the rhizome as feasible with pruners or snips, and then store them in a box. Peat moss should be used to cover the rhizomes, and the box should be placed in a cool, dry location.
Keep your cutting instruments clean by dipping them in home cleaners like rubbing alcohol or Lysol. When digging and separating cannas, wear safety glasses, gloves, closed-toe shoes, and a dust mask.
Conclusion
Plants like cannas can be easily transplanted. Transplanting cannas is a simple three-step process that will allow you to easily reproduce and care for these plants. After the flowers fade, you can remove the rhizomes from the ground and divide them.
You can separate rhizomes by hand or with a sterilized knife, depending on your preference. then, in the spring, or overwinter them for the following year’s plantings. The rhizomes themselves aren’t finicky about where they grow, so as long as the conditions aren’t too difficult or harsh, they should thrive.
Nguồn: https://iatsabbioneta.org
Danh mục: Garden


