“How do I make a Japanese platform bed?” has been on your mind recently.
If that’s the case, then you may be here because of that!
Bạn đang xem: How To Build A Japanese Platform Bed? Easy Step-by-step Guide
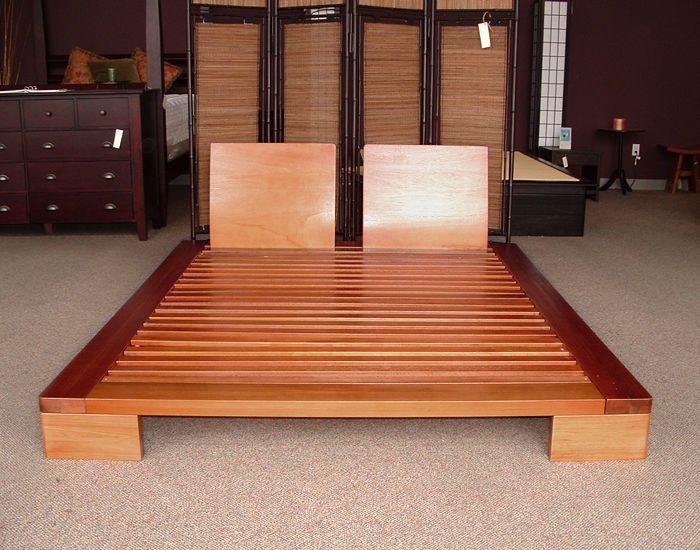
Platform beds, on the other hand, have grown in favor as a result of its simple, modern design.
Beds are a need in every home since they provide respite for our weary bodies.
When it comes to purchasing a pre-made bed, it can be expensive, time-consuming, and difficult to transfer and set up.
You can save money by building your own bed, which allows you complete control over the design, size, and cost.
You can also use this guide to transform an outdated bed into a stylish and contemporary one.
So keep reading!
Steps To Build A Japanese Platform Bed
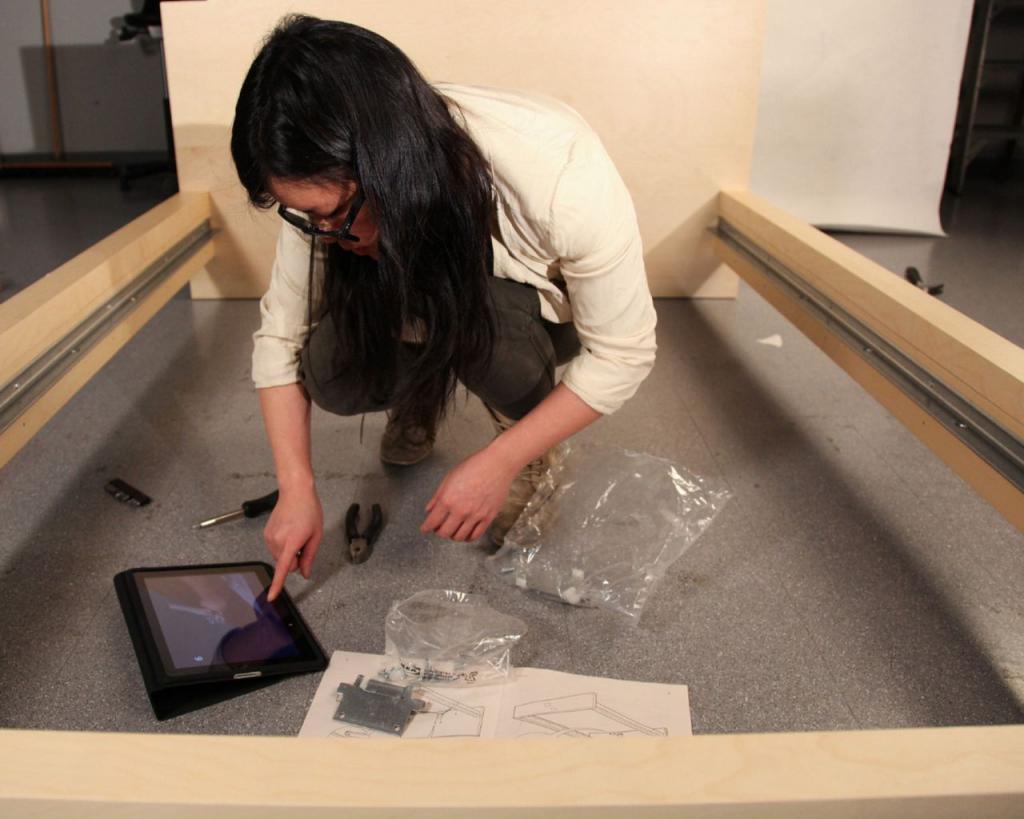
Believe it or not, certain Japanese platform beds may be built using low-cost tools and completed in just a few days.
Additionally, it does not necessitate the use of any particular equipment or abilities.
Japanese joinery holds the platform bed together without the need of any hardware during assembly or disassembly.
Building a complicated bed, on the other hand, is a demanding task that not everyone is capable of completing.
Your bed should last for years, not just months.
As a result, we consulted the Internet for instructions on how to create a Japanese platform bed.
And now for the goods:
Step #1. Collect materials
This article contains all of the materials you need to create a platform bed.
These materials are readily available at most hardware stores and aren’t particularly pricey. ”
Xem thêm : How To Clean Bed Sheets Without Washing Them? Comprehensive Guide
The cost of constructing a platform bed ranges from $50 to well over $200.
Other materials can be used in place of those specified in the article if your budget does not allow for them.
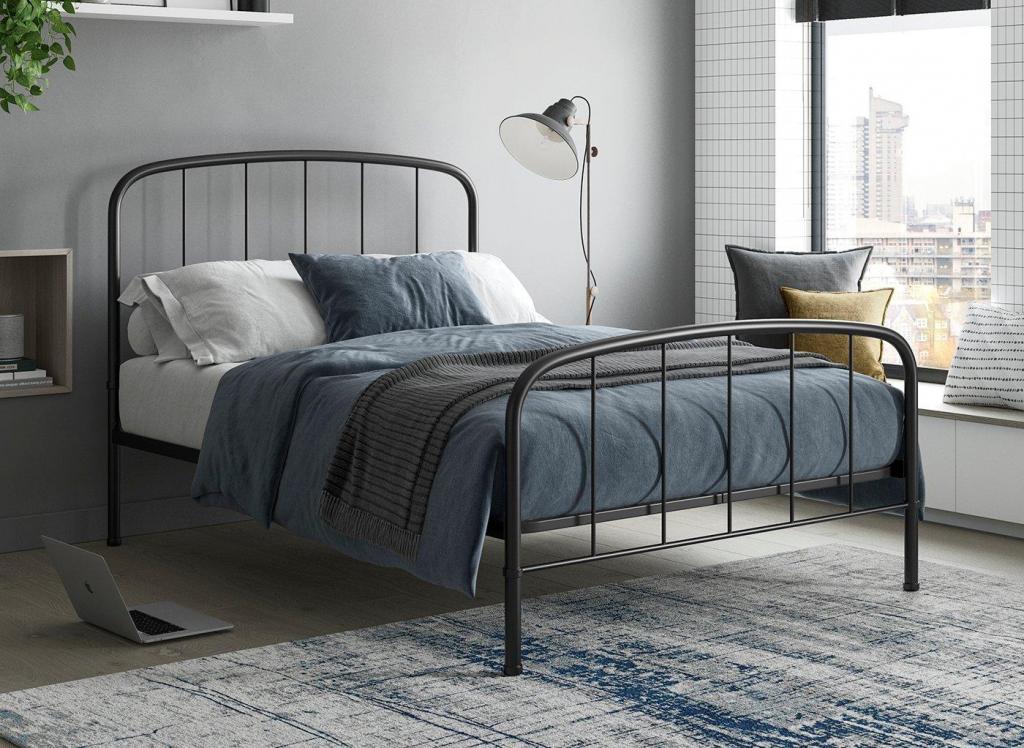
So, you have the option of choosing between a metal or a wood bed frame as a basis.
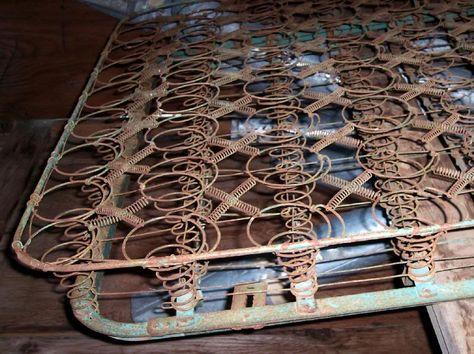
To save money on materials, platform beds don’t require additional support or bed springs.
Keep in mind that you can substitute several of the more expensive components listed in the article with more cheap alternatives.
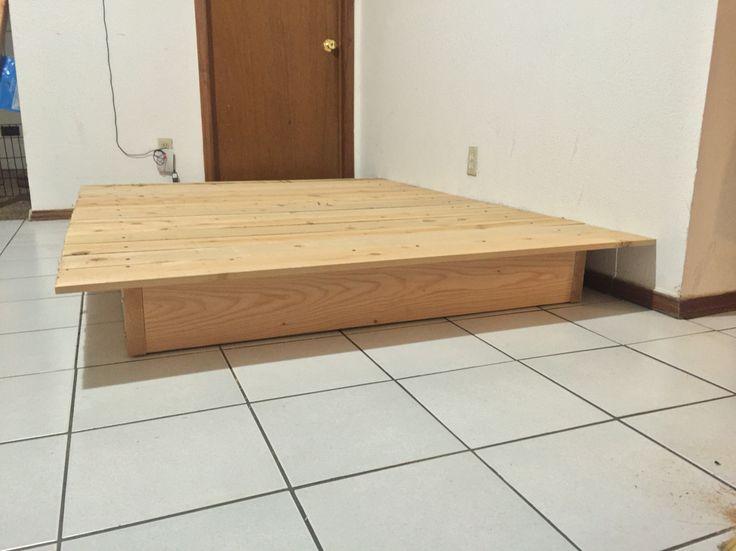
Step#2. Bed posts
Bed pillars serve as the bed’s foundation.
As a result, they must be built to last.
2×2 for the outer corners, then 1×2 and 1×5 for the inside posts.
As a result, it will be able to fit the bed rails in a puzzle-like fashion at the top.
Due to its size and lack of fragility, it will be extremely durable.
Using this technique, the bed will be more sturdy and able to withstand any activity carried out on it.
Wood glue is required to keep the parts together.
Clamp it firmly to prevent it from loosening after a few months.
Step#3. Bed rails
The process of making a bed rail is difficult, but not impossible.
The first step is to designate where you intend to drill a hole in the bed rails.
One on each rail is required.
There is no need to worry if it isn’t perfect or lovely, just make sure it fits perfectly.
Because interlocking bed rails won’t sag for a long time, they’re a better option than wood glue.
Step#4. Trims and mattress supports
If you wish to link the rails and trimmings with something more substantial, you can use wood screws instead of wood glue.
Make sure your bed trimmings are trimmed as near to the bedpost as feasible, but don’t overlap.
Xem thêm : How To Use Laptop In Bed Without Overheating? Helpful Tips To Remember
Clamping your trims with wood glue will ensure that the glue dries properly and becomes strong.
When the bed trimmings are installed, they should resemble the shape of a very long “T.”
Step #5. Center support
The bed’s core support should be strong and flexible.
After that, you can construct an interlocking stand.
The center support should also be glued and clamped into place on the bed rails.
The support can be glued to the center support than reinforced with wood screws, but it seems unnecessary.
If you choose, you can use wood screws to secure the support to the central support instead of glue.
When using wood glue, be sure to clamp the wood for an enough period of time to allow the adhesive to cure properly.
Step #6. Headboard
Use a piece of wood that is at least a few inches thick and wide as your headboard.
Wood glue can be used to fasten it to the wall or ceiling.
Keep your headboard in place by adding back supports.
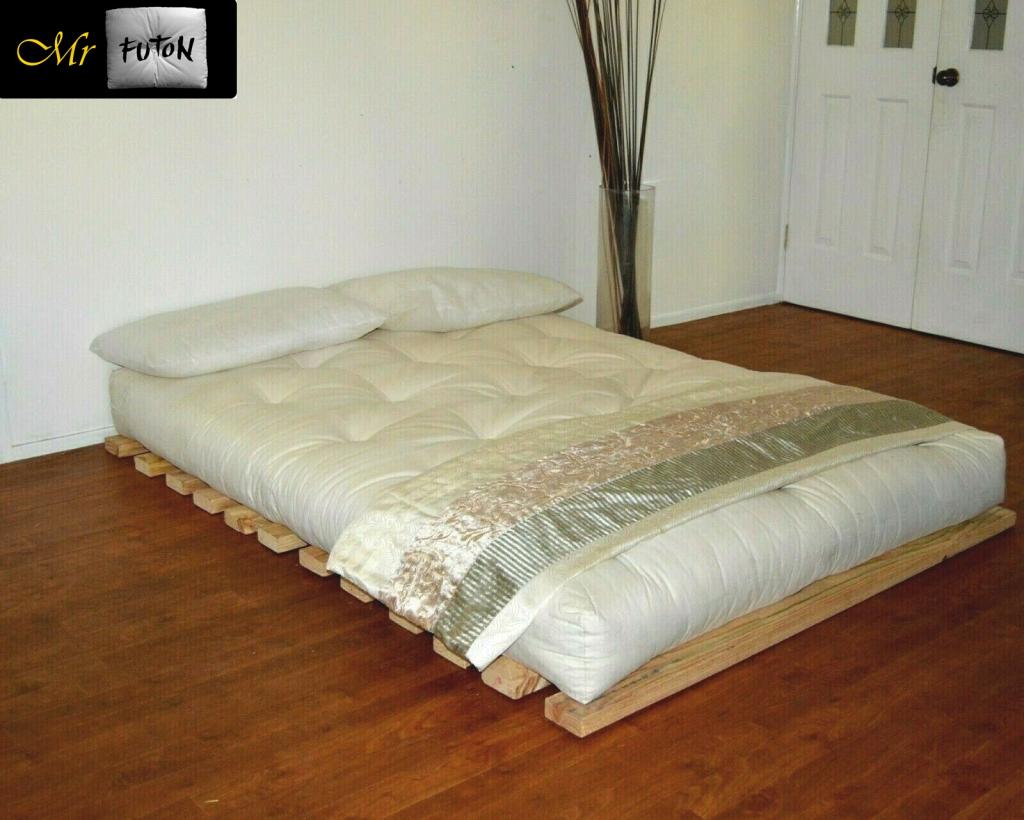
Step #7 Final assembly
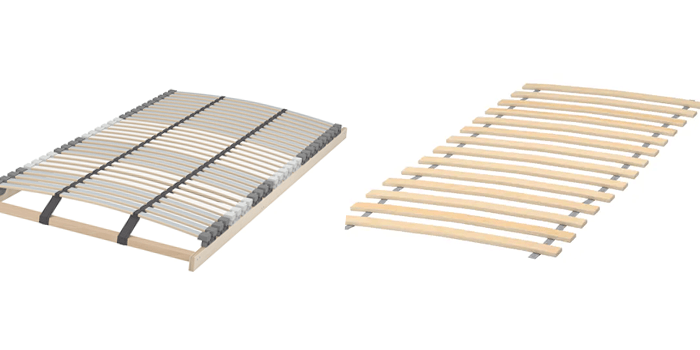
Across the middle support, place slats for the mattress support.
Your mattress and weight should be no problem for your bed’s supports.
Make sure it doesn’t squeak by reinforcing it appropriately and making it as strong as possible.
Wrapping Up
As far as how to create a platform bed in Japan goes, we’ve covered all the bases.
The wood slats need to be well supported, so make sure you pick materials that go within your budget.
Is there anything else you’d like to learn?
There is a good chance this material will be of interest to you as well.
As a result, I appreciate you stopping by!
Nguồn: http://iatsabbioneta.org
Danh mục: Bed