How would you like to learn how to mend a refrigerator door? If you’re interested in learning more, this article can be a valuable resource. Refrigerators and other high-tech equipment are now commonplace in most homes.
The refrigerator is a wonderful invention that makes our lives much easier on a daily basis. The best performance from a refrigerator is only possible with a well-sealed unit. Refrigerator doors are responsible for that.
Bạn đang xem: How To Fix Fridge Door? Comprehensive Guide
If your refrigerator doors are malfunctioning and you want to learn how to fix them, then this paper is for you. There are many ways to mend a refrigerator door. To find the answer to your query, continue reading the information provided below.
Refrigerator Door
Throughout this post, we’ll be discussing the fridge door and how it functions. First, we need to know what a refrigerator/fridge door is. Refrigerator doors are technically responsible for allowing things to move in and out of the refrigerator, as the name implies.
Modern refrigerators utilize evaporative cooling. Taking in cold air and removing heat from the refrigerator are both part of the process. For this method, hot and cold refrigerant is circulated through a refrigerator in order to remove heat from its inside.
To ensure that the door functions normally, it must be tightly sealed. The refrigerator’s door must prevent heat from escaping and cold air from entering.
There are numerous designs of refrigerator doors available on the market. One is a French door; the other is a double door. According to the door of the refrigerator, we can also classify different refrigerators.
Fridge doors that have been cracked or have allowed hot air to enter the fridge can be for a variety of reasons. In light of what we’ve learned, we can now discuss the various methods for repairing our fridge door. To discover more about this topic, keep reading.
1) CLEAN THE GASKET
Refrigerator doors are often plagued by gasket issues, a rubber seal that encircles the doors’ perimeter. If the gasket is soiled, warped, detachable, or hardened over time, it will not be able to make the seal that is necessary to keep your fridge closed and the inside of it cold.
A simple solution is to clear off your sail, which may have accumulated an interfering coating of filth and grit over the course of its use. Wipe off the whole length of the rubber gasket with a damp sponge or washcloth on all sides. It is possible to get rid of stubborn oil and residue with a little white vinegar or mild dish soap. An old seal’s suppleness and efficacy can be improved with a thin coat of vaseline.
2) REATTACH THE GASKET
Gaskets that have been exposed to a lot of fridge openings may eventually become twisted or detach from each other. Refrigerators that fail to maintain a tight seal are almost often the result of doing this. Repairing a gasket that has come loose or twisted may not necessitate replacing it if you follow these steps correctly. The best way to clean your fridge depends on the type you have. Adhesive tape is used to join some gaskets, while gasket cement is used for fridge door gaskets.
3) REPLACE THE SEAL
The gasket on your refrigerator may need to be replaced if its age or damage is substantial. Before you begin, ensure sure you have the suitable replacement gasket for your refrigerator based on the type and make.
Remove the old gasket using the fridge’s instructions. Before applying the new gasket, clean the gasket groove with a scrubbing brush. Verify your work’s success by testing the seal once it’s been completed.
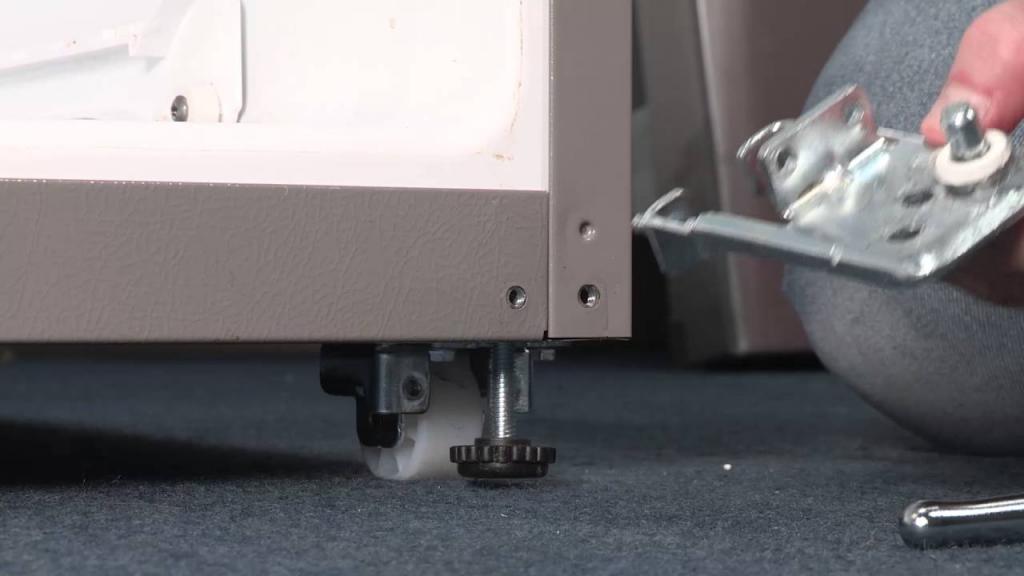
4) BALANCE THE FEET
When a refrigerator door seals improperly, it’s usually due to the door hanging unevenly. Your fridge’s floor or feet may be uneven, causing this problem. You may need to adjust the feet if your floor isn’t perfectly level or if your fridge is resting on an uneven surface, such as a rug. Make sure the fridge’s bottom is level with a bubble or laser level. Check that all of the fridge’s feet are the same height and that they’re supporting it on an equal keel if the floor is level.
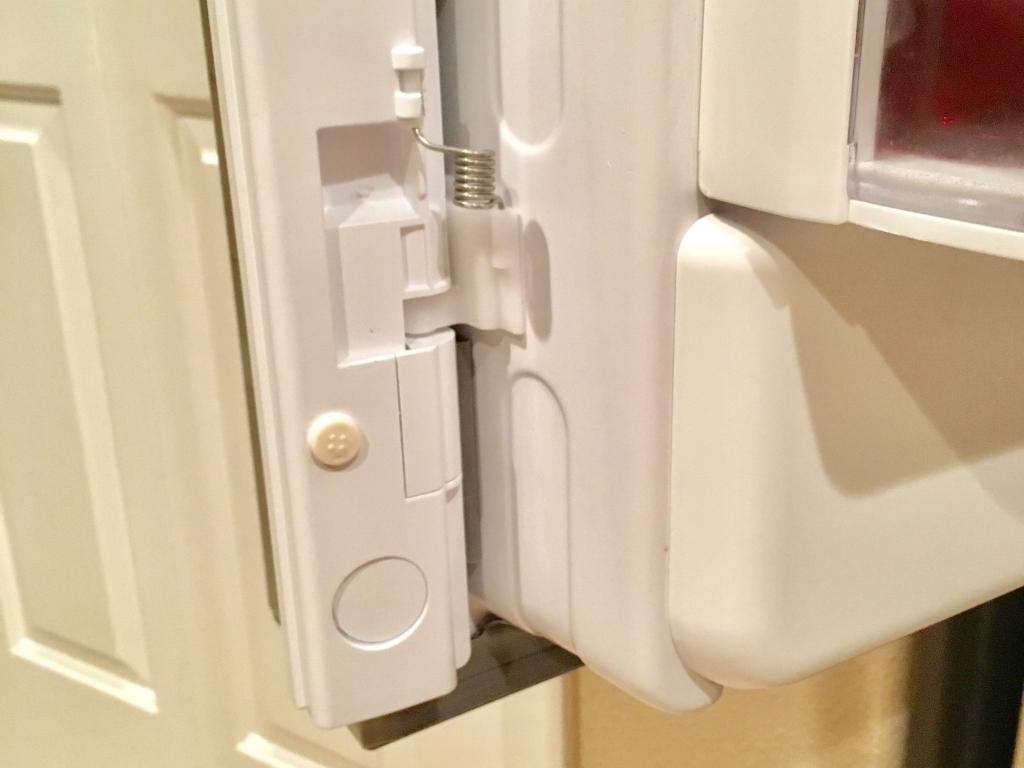
5) TIGHTEN THE HINGES
Your fridge door may begin to sag at the hinges after repeated opens and closings with heavy milk gallons put in the door. Fortunately, this problem may be remedied in a matter of minutes. All that is required is a simple tightening of the hinges, usually near the top of the door, which bears the brunt of the door’s weight. However, it’s possible that the bottom hinges will need to be tightened as well in order to get the ideal balance.
Your fridge’s top hinge may require you to first remove the plastic cover that covers it before you can examine the mechanism, tighten the connection and re-align it, as detailed in your refrigerator’s handbook.
6) CLEAR ITEMS FROM THE DOOR
The door of your refrigerator may also be sagging because of the weight of the items stored within. It’s possible that the door won’t seal even after you’ve tightened the hinges as far as they’ll go, because heavy goods like gallons of milk or other perishables are constantly pulling on the door to push it out of alignment.
7) REPLACE DAMAGED HINGES
The hinges on your door may have been damaged, which would prevent it from aligning and sealing properly. The hinges of your refrigerator may bend or warp if you use it with a heavy door for an extended period of time. Good news for those of us who have rusted refrigerator hinges: You don’t have to buy a new appliance. It is possible to replace your old hinges with new ones that screw in precisely where the old ones were, giving your fridge door new life and security.
8) REARRANGE THE SHELVES
The problem may be as simple as a door being blocked. However, you may begin to view these blockages as a problem that needs to be fixed since they happen so frequently. It’s possible that using all of your fridge’s shelves results in a constantly blocked door and a clogged seal. Rearranging the shelves in your fridge is frequently all that is needed to fix this issue. Examine your door trays and the area they take up before making a purchase. Simply by rearranging the location of the shelves and drawers, you may be able to create a more efficient refrigerator storage solution.
9) REMAGNETIZE THE DOOR
There is a possibility that the original magnetic power of your fridge door has faded or been lost over time if it relies on magnetic power to remain closed. The door of a magnetized refrigerator can be re-magnetized by calling in a repair service.
10) REPLACE THE DOOR
Finally, it’s possible that the issue is with the entire fridge door. It’s possible that a damaged or warped door will never be able to make a complete seal or stay closed again. The expense and value of replacing the entire door or simply purchasing a new fridge with all the bells, whistles, and warranties that come along will have to be considered if your fridge door is the problem.
Steps To Fix Fridge Door
“How do you mend a fridge door?” is a question we’ll answer in this portion of the article. There is a lot of value in this part for everyone. Our daily lives are made easier by having gadgets at home. However, faulty appliances can add up to a lot of money in the long run, as well..
Having a rudimentary understanding of them and how to solve them can help us save money in the long run.
The refrigerator is a popular device in our homes, and the information provided here explains how to fix the door. These methods are outlined in the following section.
Step #1. Inspect the condition of the fridge door
Identifying the problem on your refrigerator’s door is the first step in this approach. Determine the condition of the fridge door by performing a thorough inspection. In order to develop a checklist for an easy fridge door repair, it’s a good idea to jot down your observations about the door of your fridge.
You can use the list to determine if the fridge door you’ve inspected is in good or bad shape. Having a fridge door that isn’t properly sealed is a regular problem.
It allows for a free movement of air between the fridge’s outside and interior. After evaluating the fridge door and determining the issue, you’re ready to move on to the following step.
Step #2. Identifying the parts of fridge door involved
Your fridge door has now been examined and you have a clearer picture of why it’s broken. Identifying the components involved is the next logical step. You’ve discovered that these parts are involved in the problem you’ve identified.
You can identify them by consulting the refrigerator’s user handbook. When you don’t know how to fix the fridge, you’ll need this guidebook. Keep a copy of the owner’s handbook in a safe place in case you need it one day.
Step #3. Vacate the food and beverages stored in your fridge door
If you have food or beverages in your fridge, you can’t work on the door. Your fridge door must be cleared of these items and beverages. The shelves within the fridge door are where you’ll find the aforementioned items and beverages. This phase is like removing the obstacles that are preventing you from accomplishing your goals. As a result, you can now get things done quickly and easily.
Step #4. Fix the problem with your tools
You can now begin to solve the problem with your fridge door after removing the obstacles. The refrigerator door repair technique is based on the problem that has been found.
For example, if you have a problem with the door gaskets of your fridge, you can begin by replacing them. You can start by cleaning the fridge door gaskets when dealing with this type of issue. As a result, they arranged them in such a way as to prevent them from escaping to the rest of the group.
The fridge door’s wobbly hinges can also be a cause for concern. You can fix this issue by yourself or with the help of a professional. The problem may be solved by tightening the loose hinges. Do not attempt this technique without using the necessary tools. There are a variety of responses to your query. Nonetheless, I hope this paper has been useful to you.
What to do when your refrigerator door won’t stay closed
Common reasons the door won’t stay closed
Even though you’ve made sure there’s nothing pressing against the door, it still won’t remain shut. There are a few common (and simple) causes of this.
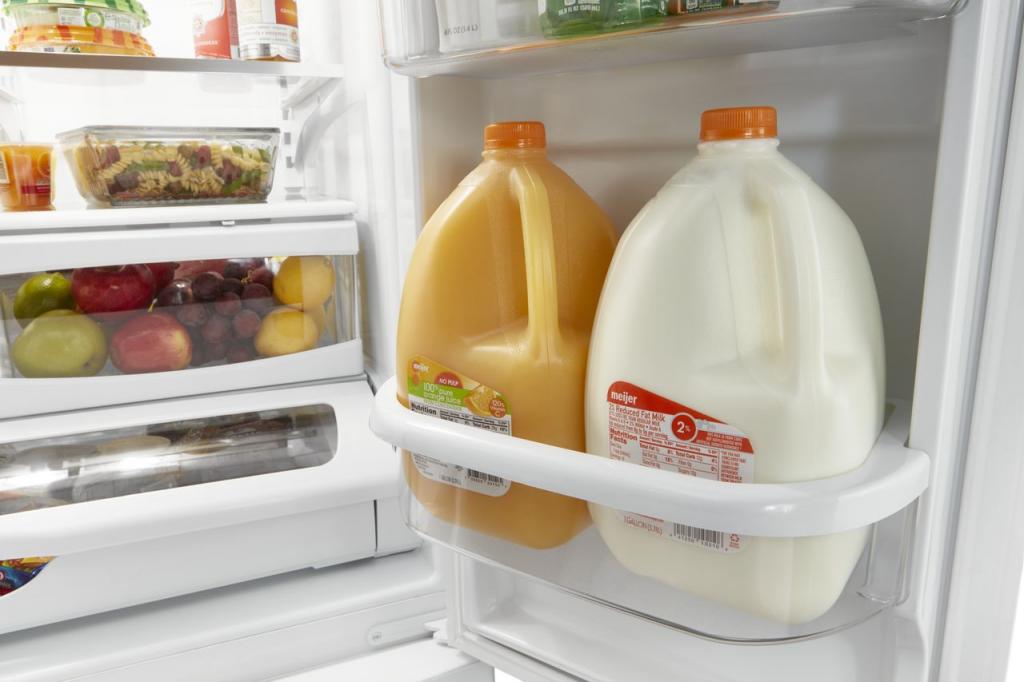
- The door is sagging under the pressure. Reduce the weight by removing any bulky products, such as gallons of milk or juice.
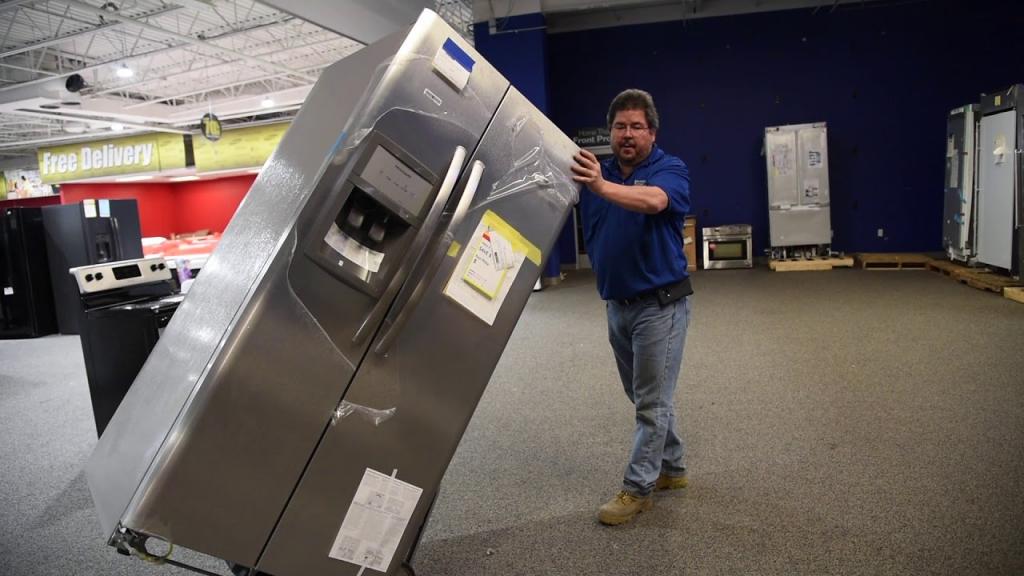
- It’s not level in the fridge. The doors won’t close properly if the refrigerator is tilted forward from the front. Adjust the fridge’s feet after checking the level using a level.
- Several of the hinges are misaligned. The hinges on your refrigerator might become strained and weakened over time. With a screwdriver, tighten and reposition the hinges.
Xem thêm : How Often To Change Water Filter In Fridge? Best Answers To FAQs!
If none of the above are the problem, it’s time to check the door seal of your refrigerator.
Check the seal
The gasket that surrounds the door of your refrigerator or freezer performs just what its name suggests: it seals off air. It helps keep food fresh by trapping in the chilly air. In addition to raising your electricity bill, a faulty seal will prevent the device from maintaining safe temperatures.
This isn’t some high-tech device you’ve got going on with your seals. In essence, it’s a piece of rubber that’s been molded to fit snugly into a groove on the door. Occasionally, the gasket comes loose from the grove and only needs to be pushed back into place again.
While the door is closed, run your hand down the edges. You’ve located the weak spot when you get a whiff of frigid air. Place a cotton swab into the groove beneath the loose rubber and apply petroleum jelly. This will make it easier to re-insert the rubber, and it will also help seal any leaks that may have formed. Finally, just reinstall the seal in the channel with a gentle push.
Clean the gasket
Dirty seals are often the cause of a door that won’t close or that pops open on its own. Dishwashing liquid and warm water are combined in a bowl. Scrub the gasket with the solution on an old toothbrush. Make sure to thoroughly clean the seal on all sides. After that, use a moist towel to wipe down the gasket.
Wipe the seal down once a week to keep dirt and grime from building up.
Find out how often you should clean your refrigerator in this article.
Replace the old seal with a new one
In many cases, a new seal is all that’s required to get everything back on track. Make sure your refrigerator gaskets are in good working order once a year or so. The paper test is one way to identify if a seal is defective. Close the fridge door and pull it open using a piece of paper placed between the door and the fridge. Changing the gaskets is necessary if the paper is readily slid out. In addition, if the seal is:
- Cracked
- Torn
- The corners are bent or twisted.
- It’s tough rather than pliable.
There is no difficulty in obtaining a replacement gasket for your vehicle. To begin, you must know the make and model of your appliance. Look at the back if you’re unsure. The model number and other details are usually found on a plaque or sticker.
Enter your unit’s information into the manufacturer’s parts website and the seal you need should be there in no time. A local appliance repair company can also order a replacement part for you.
As soon as you’ve received your replacement gasket, remove it from its package and soak it in warm water while you remove the old one. For the installation, this will make it more malleable and correct any bends that may have been formed during shipping.
A gasket can no longer be replaced in a standardized manner. Check your fridge’s owner’s manual (often available on the manufacturer’s website) to make sure no additional actions are required. There are buttons, snaps, and extra grooves on several high-end appliances. I’ll show you how to replace a more popular type of gasket step by step.
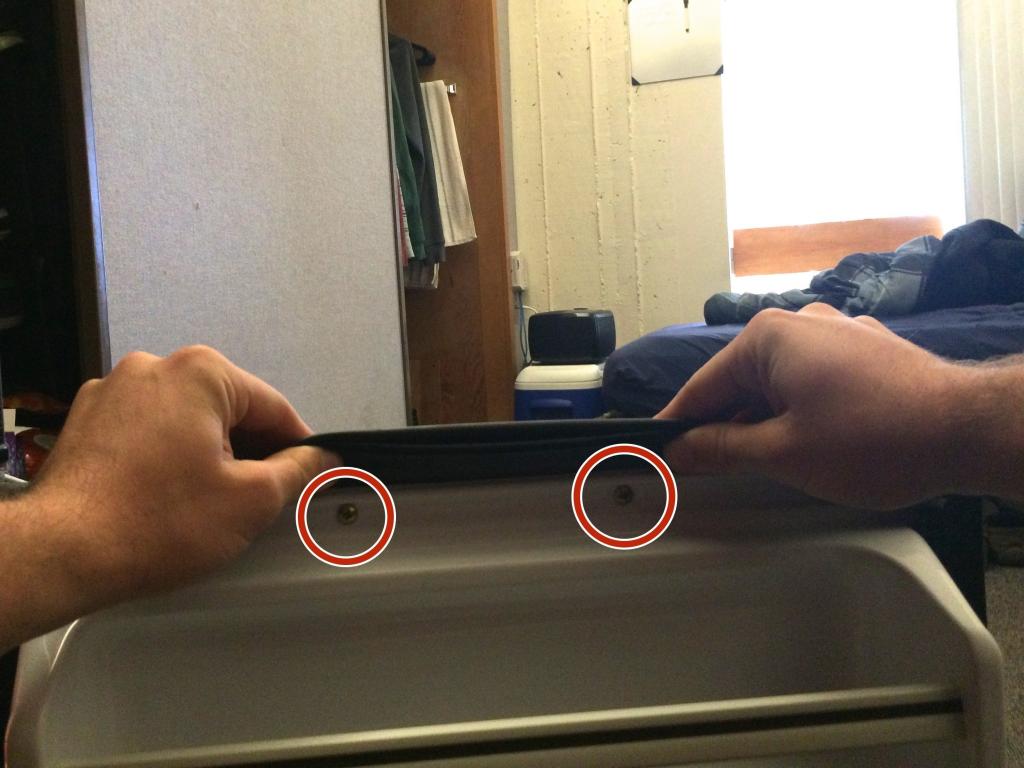
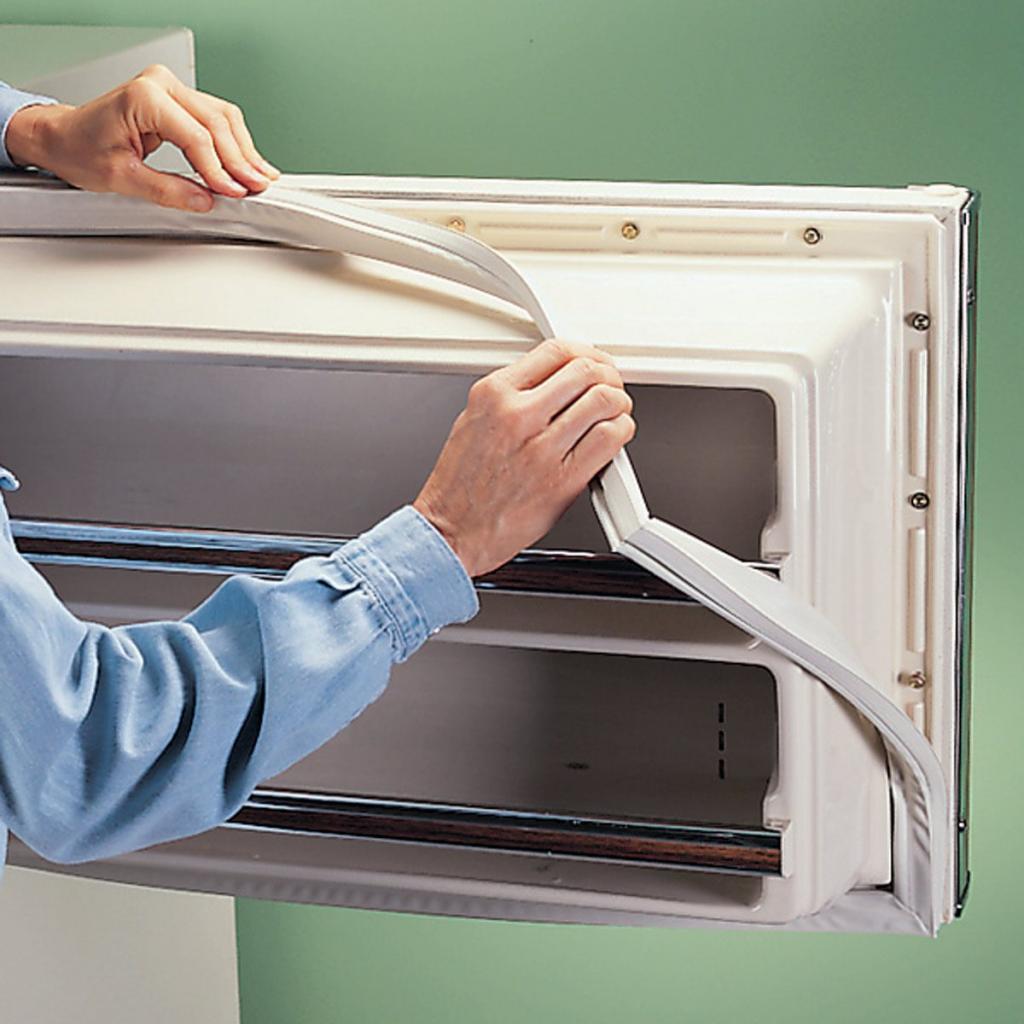
Start at the top while removing the old seal. Pull up on the inner-side door edge using your hands. Under the gasket, you should be able to see a holding plate attached with hex screws. Loosen the screws holding the seal in place with a screwdriver. The gasket should then come off easily.
Don’t freak out if you don’t see any screws. Pull the seal out of the grooves by squeezing it.
Put on the new seal the same way you did the old one but in the other direction. Start with the corners and work your way up to the longer lip of the seal. Tighten the screws and pull the seal over them when you’ve inserted the lip all the way around the door.
A smaller lip on your seal will likely fit into a front groove if screws aren’t present; otherwise, there’s a good likelihood there is.
Try opening the door for a moment. As long as there are no drafts, you’ve done well. To avoid a draft, position the lip such that it is tucked under the store’s wall. Re-loosen the screws in the vicinity and try re-inserting the lip. Use a blow dryer to warm up any remaining gaps or warping. This should help shape it.
Final Words
Hopefully by the time you reach the conclusion of this post, you will have discovered the solution to your “how to fix fridge door?” query. It means a lot to me that you took the time and effort to read this essay. For your time and attention, I appreciate it.
Nguồn: https://iatsabbioneta.org
Danh mục: Fridge