However, for most of us, having our first taste of draft beer has only been available in establishments like pubs and restaurants. Because kegged beer is less expensive, fresher, and better kept, this is a real pity. Some craft breweries also provide beers in kegs that they don’t sell in bottles or cans as an additional option to their standard offerings.
In order to get a fresher beer, you’ll have to invest a lot of money on a kegerator, which normally costs more than $700. Fortunately, installing a draft system in your home doesn’t have to be as difficult as it sounds. For years, the homebrew community has been altering tiny refrigerators and chest freezers to create the at-home bar of their dreams. Materials costing $400, a few hours of labor, rudimentary DIY abilities, and a contempt for product warranties are all that are required. Our detailed instructions for developing the simplest draft system are here.
Bạn đang xem: How To Make A Kegerator Out Of A Fridge? Easy Step-by-step Guide
MORE FROM POPULAR MECHANICS
Standard Immersion Kit for Govee
Step 1: Choose Your Refrigerator
We bought a new Frigidaire FRC445GM 4.4-cubic-foot refrigerator to demonstrate our concept, but there are dozens of other kinds of tiny refrigerators that will work as well. Your fridge can be saved a lot of money by shopping on eBay, Craigslist or at your local electronics store that sells open-boxes. A convertible fridge has the following features:
* As far as capacity goes, most 4.4- to 5-foot models will work for one or two kegs that hold one-sixth of a barrel of beer. Be sure that the fridge you’re buying will accomodate the kegs you want to use. This chart illustrates keg dimensions.
One or two kegs holding a sixth of a barrel of beer can be accommodated by most of the 4.4- to 5-foot models in this range. If you plan to use kegs, be sure the fridge you choose has enough space for them. Keg dimensions are seen in this diagram
Remove the freezer compartment if you don’t need it or if you prefer a model without one. You can’t take the freezer out of the freezer section if there are cooling lines there.
There may be a problem with the fridge’s cooling pipes, especially at the top. Find out how to locate cooling lines by reading on.
Step 2: Choose Your Kegerator Conversion Kit
You may anticipate to pay between $180 and $290 for a one-tap system and $290 for a two-tap system from a few online providers. It is recommended that you include a tower with one or two faucets, a 5-pound CO2 tank with a regulator to control serving pressure and gas lines, as well as beer lines and one or two disconnects, either homebrew or commercial Sanke, depending on your needs and preferences. (The commercial disconnect is seen here with the black-handled coupler.) A commercial kit is different from a homebrew kit only in the disconnects; everything else is the same. The three metal rails at the top of our kit were not included. Our kegerator’s lid rails will be made of stainless steel drawer handles.
Step 3: Disassemble the Fridge
Removing all loose shelving from the fridge is a simple procedure. The kegs and the CO2 tank will take up a lot of space inside, so plan accordingly.
Step 4: Remove the Plastic Top Piece
If you’d like to continue reading, please click here.
This plastic component on top of your fridge may be held in place by screws, or it may simply be glued on. With a spatula, get under the lid and gently bang on the plastic piece with a hammer until you can feel it starting to give way, making your way around the fridge. It takes some time to begin removing the lid, but once you do, it comes off easily. We discovered that it was better to pry the fridge’s top from the back forward.
Step 5: Find the Cooling Lines
It is common for refrigerators to include cooling lines that run along the sides and sometimes across the top or bottom in order to keep their contents at an ideal temperature. The fridge will stop working if one of these lines is slashed across it. Choose a location for your tower and use a spatula to gently dig through the insulation. Use the indentations in the insulation left by the lid as a guide to keep the hole for the tap in the correct position. Found two cooling lines tucked at the bottom of the fridge.
Step 6: Drill a Hole in the Fridge
With caution, use a holesaw to cut through the cooling lines with a small bit. In order to make an oval hole with the limited space available, we drilled twice and trimmed away the plastic interior. In addition to the 1-inch-diameter cooling line you’ll be adding later, you’ll need enough clearance to handle two liquid lines that will pass through the opening.
Step 7: Prepare the Lid
If you’d like to continue reading, please click here.
The system’s stainless-steel tower is hefty, so it’s a good idea to add plywood to the plastic lid. The ridges on the bottom of the lid can be broken off with pliers and sanded smooth. The plywood may now be mounted flush to the plastic lid thanks to the removal of the ridges. Drill a pilot hole in the middle of the site where you want to place the tower and use the ridges to find the exact center.
Step 8: Make Room for the Plywood
Plywood should measure 9 14 x 6-1/2 inches and be cut to the shape of the hole in the insulation. Then, sketch its outline on the insulation around the hole. Remove enough insulation so that the plywood can be installed flat with the top. Afterwards,
Step 9: Install the Plywood and Mark It for Drilling
Temporarily remount the lid after installing the plywood reinforcement. It is important to know where to drill through plywood, so use the pilot hole you made in your lid as a reference point. The center of the plywood has a mark from where we scribed.
Step 10: Drill the Lid and Plywood
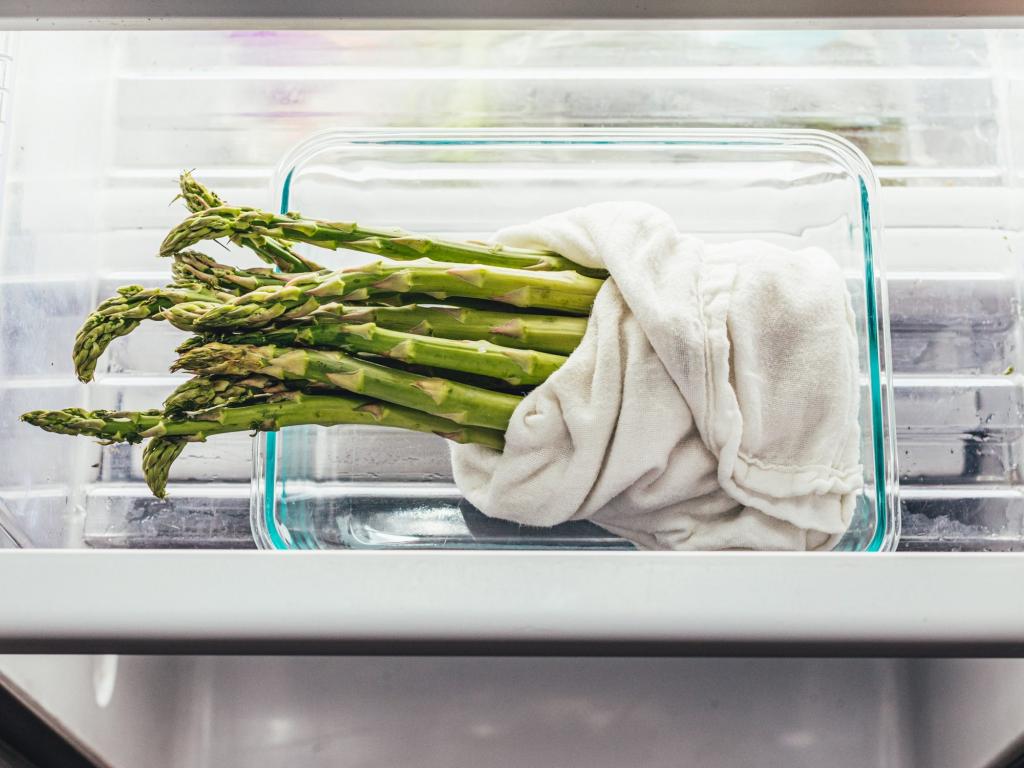
Xem thêm : How To Store Asparagus In The Freezer? Basic Methods for Freezing Asparagus
As soon as you have the plastic lid’s pilot hole in the plywood marked and a holesaw attached to your drill, you may start drilling. Make sure that the hole in the lid is exactly aligned with the plywood and the refrigerator beneath it. Ensure that you don’t harm the fridge’s cooling lines by removing the plywood and the lid before drilling.
If you’d like to continue reading, please click here.
Step 11: Install a PVC Conduit
Connect the bottom hole to the tower with a 2.5-inch segment of PVC piping and insulate it and the plywood with moisture-resistant aluminum tape. To prevent it from buckling under the weight of the cooling tower, the PVC must be trimmed to a length that does not interfere with the lines’ functionality. In order to match the oblong hole in the fridge, cut the conduit at an angle.
Step 12: Install the Tower and Rails on the Lid
Four screws through the base secure the tower in place. Before installing the screws, drill pilot holes through the lid and into the plywood below. Stainless-steel cabinet drawer pulls can be installed on top of the fridge as a decorative accent. The rear rail ended up an eighth of an inch off center, but we still think it looks sharp and was well worth the work to measure and accomplish exact placement.
Step 13: Relocate the Thermostat and Light
It’s going to be a tight fit to get two Cornelius kegs into this fridge, so we’ll need to relocate the thermostat and light, moving them a few inches back to make some room. If you’re only going with a single tap this step is unnecessary.
Step 14: Construct the Tower Cooling System
We’ll have to move the thermostat and light a few inches back to make room for the two Cornelius kegs we want to put in this fridge. This step is superfluous if you’re only using a single tap.
Step 15: Build a Fan Box
We could have purchased a plastic project box from a nearby electronics store, but an old Tupperware container works just as well for our needs. Because the fan box will be concealed below the kegs, there is no need to be concerned about the appearance. You’ll need to make three holes: one for the fan, one for the air conduit, and one for the power line.
Step 16: Power the Fan
We used an old Atari power wire that was sitting around as a power source for the fan. Cut the end of the plug and remove the wires, then twist them into each fan’s wiring dark to black and white to red. It’s that simple. When the fan box is ready to be installed inside the refrigerator, crimps are used to secure the connection. Phone chargers are also a convenient source of power.
Step 17: Install the Fan Box and Reattach the Lid
In the cooling tower, run a 1-inch wide length of vinyl hose to the cooling box, which is attached to the compressor hump of the refrigerator (with the power line slipped through the drainage hole in the back of the fridge). To keep the beer chilled, the cooling box uses a fan to draw cold air up through a vinyl tube and into a tower that’s attached to the fridge’s bottom. Apply Great Stuff window and door foam around the PVC pipe before re-attaching it to the lid. There is no need to worry about the brand name, but be careful not to choose an insulating foam that expands too much. Use a silicone caulk to reattach the fridge’s lid to the top.
Step 18: Reattach the Door
The only thing left to do is link up the kegs and CO2 tank, and you’re ready to go. A local welding shop, paintball shop, or fire extinguisher firm can usually fill your CO2 tank for $15 to $20. Two Cornelius kegs or one-sixth-barrel commercial keg can be accommodated by our existing system configuration (just over 5 gallons of beer, or 55 bottles). Learn how to choose the best refrigerator and how to streamline your construction by reading on.
Step 19: Expert Tip
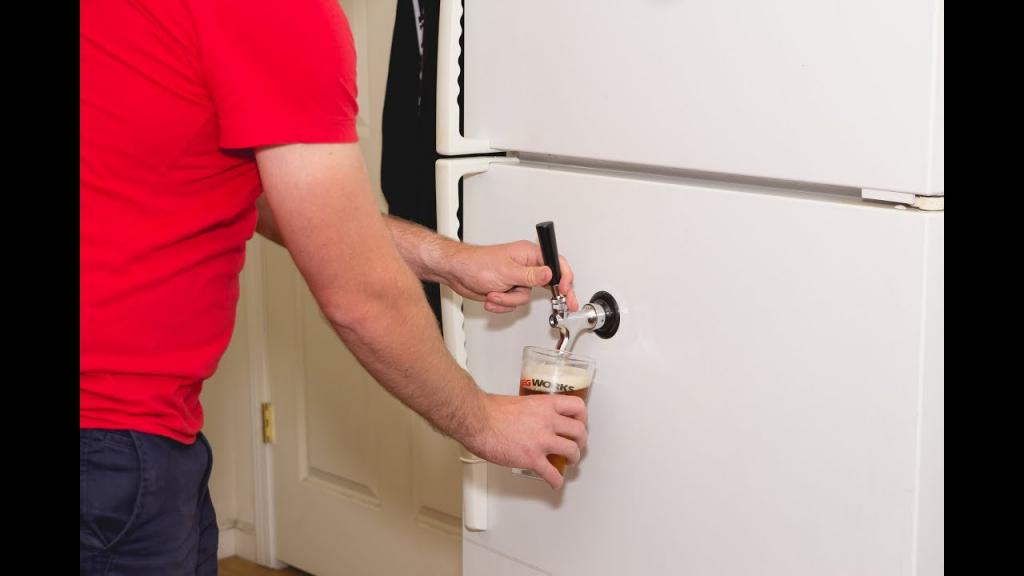
Using the same fridge as us, Tim Myers installed his taps straight into its doors rather than cutting open the fridge’s top and risking damaging its cooling lines.
Step 20: Expert Tip
It was a mystery to Derek O’Halloran as to where the cooling lines were placed when he modified his Sanyo 4912 refrigerator. He discovered the metal cap by removing the fridge’s plastic lid. Cornstarch and vodka were combined into a slurry and liberally sprayed over the top of the refrigerator. This was the spot where he noticed the slurry evaporate the fastest — this was where the cooling line was located in his fridge. In the picture, you can see how this line grew into the brilliant point in the center. A few inches in front of this line, he was free to drill the hole for his tower’s foundation.
How to Convert a Refrigerator Into a Kegerator
Make sure you have the necessary tools before we get started. Below, you’ll find a complete list.
Tools You’ll Need
- Saws with a 7/8-inch bit
- Drilling Power
- Screwdriver with a flat head
- Wrench for Spanner
- Wrench Hex
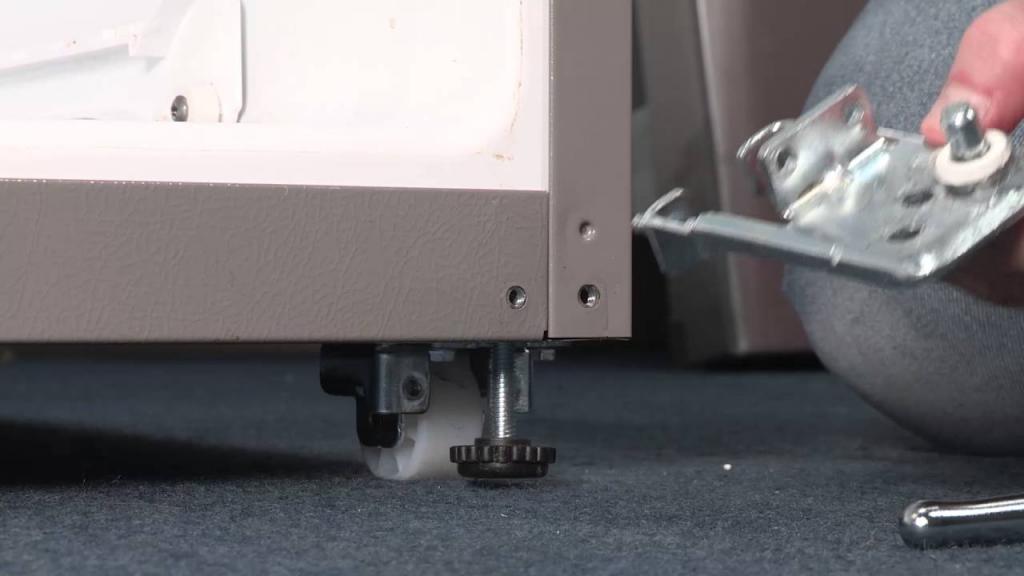
Step 1: Measure Your Fridge
Refrigerators that can be converted into freezers include full-size kitchen refrigerators with a freezer on top. However, if your fridge can fit a keg and the coupler is at least 6-8 inches above the keg, you can really convert any refrigerator. Tap and untap your kegs with ample room to spare. When space is an issue, consider employing a low-profile coupler. A Low Profile US Sankey Keg Coupler is 2 & 1/8′′ tall and 4′′ wide, allowing you more room in a fridge with limited space than a conventional US Sankey Keg Coupler.
It’s important to check the dimensions of the keg before you buy it.
Different keg couplers are needed for different brands of beer. A Sankey Keg Coupler from the United States will fit 99 percent of all North American brews. See our keg coupler list for more information on keg coupler sizes.
If you’re interested in making your own kegerator, the Deluxe Kegerator Conversion Kit shown below provides everything you need to get started, as well as a beer line cleaning kit. Standard Kegerator Conversion Kit – Low Profile US Sankey D System has a lower profile keg coupler, which may be more suitable if you have a small fridge.
Want to pour Guinness or other nitrogen stouts? You can adapt your conversion kit with a Partial Murphy’s Conversion Kit and a nitrogen tank. And if you know you only want to pour nitro stouts, the Guinness Kegerator Conversion Kit is a simpler setup.
Want to serve some nitrogen stouts like Guinness or Shock Top? With a Partial Murphy’s Conversion Kit and a nitrogen tank, you can customize your conversion kit. As an added convenience, the Guinness Kegerator Conversion Kit is designed specifically for kegging Nitro Stouts.
Xem thêm : How To Clean Fridge Outside? Things You Will Need
Interested in serving Guinness or another nitrogen-based stout? With a Partial Murphy’s Conversion Kit and a nitrogen tank, you can modify your conversion kit. If you only want to pour nitro stouts, the Guinness Kegerator Conversion Kit is a less complicated option for you to choose from as well.
SEE OUR COMPLETE LIST OF KEGERATOR CONVERSION KITS
Step 2: Drill the Desired Location
CLICK HERE TO SEE OUR COMPLETE SELECTION OF KEGERATOR CONVERSION KITS
Step 3: Connecting the Faucet and Shank
When you’ve drilled a hole, insert the shank into it and fasten it with a brass flanged lock nut; the black plastic flange goes on the exterior to help cover up the hole you’ve made.
Attach the faucet head to the shank with a spanner wrench and torque to secure it.
Step 4: Connecting the Beer and Air Line
Hex connectors for the beer line should be placed on both the shank’s rear and the keg coupler’s top.
Attach one end of the air line to the nipple of the coupler and the other to the regulator.
Using a flathead screwdriver, tighten the hose clamps until they are snug.
With a hex wrench, attach the regulator to your CO2 tank and secure it in place with the supplied clamps.
Due to federal rules, our CO2 tanks are shipped empty. A nearby welding supply shop can fill them.
Step 5: Final Connections and Adjustments
It is critical that the faucet and regulator switch are turned off.
Your keg coupler should be attached to the CO2 tank.
Your regulator should be set between 10 and 12 psi to get the best performance.
Allowing CO2 to enter your keg is as simple as turning this valve to “on.”
Keep your CO2 tank upright at all times.
Step 6: Drink!
Let’s have something to drink now!
Kegerator Conversion Kit Tips:
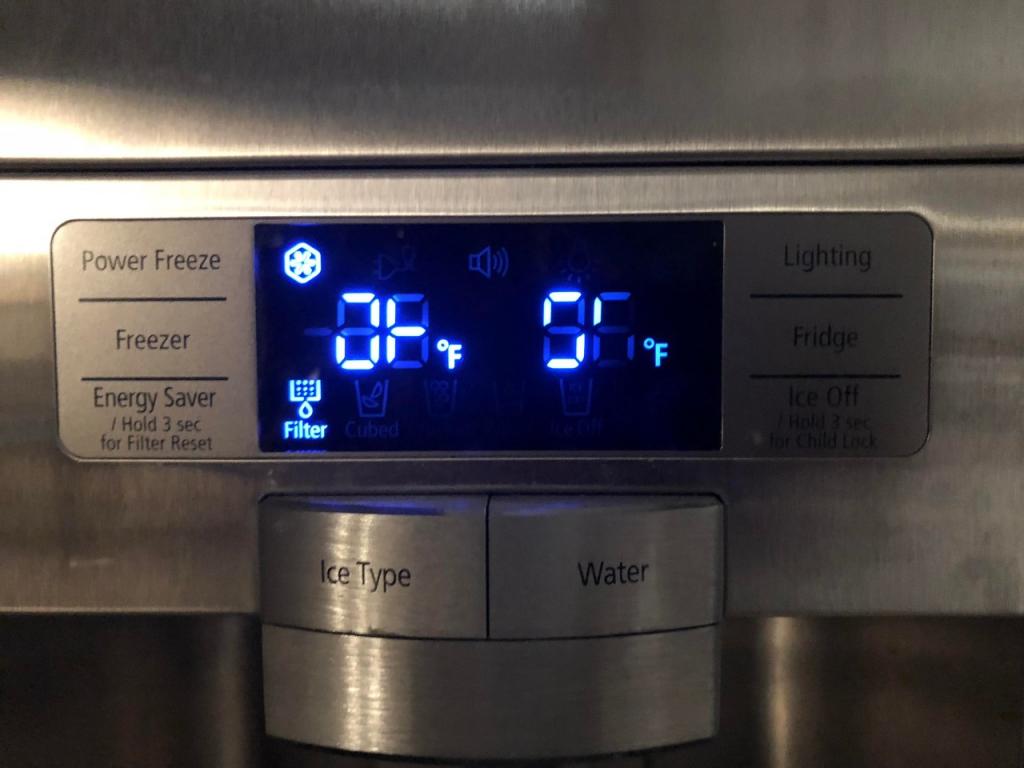
- The ideal serving temperature for draft beer is between 36 and 40 degrees Fahrenheit. Keep a thermometer in your refrigerator at all times..
- The keg may take several hours to cool and settle down if it has been handled a lot or warmed up. Let your beer rest before you drink it.
- Quickly and completely turn on the beer faucet. Faucets that are only partially opened will produce foam. Close the faucet fast after you’ve filled the glass.
- The best way to pour is to softly pour it down the side of the glass by tilting the glass. Check out our page on How to Pour a Perfect Pint for additional information on dispensing.
- Make sure your beer system is free of debris! You should always give your draft lines a thorough rinse before switching kegs. Using this method is the simplest approach to ensure that your beer is fresh and delicious. Supplies and kits for cleaning beer lines are available here.
The most common method of converting a refrigerator into a keg fridge is to build a single tap conversion kit, which is demonstrated in this post. Double tap conversion kits and tower conversion kits are also available as alternatives.
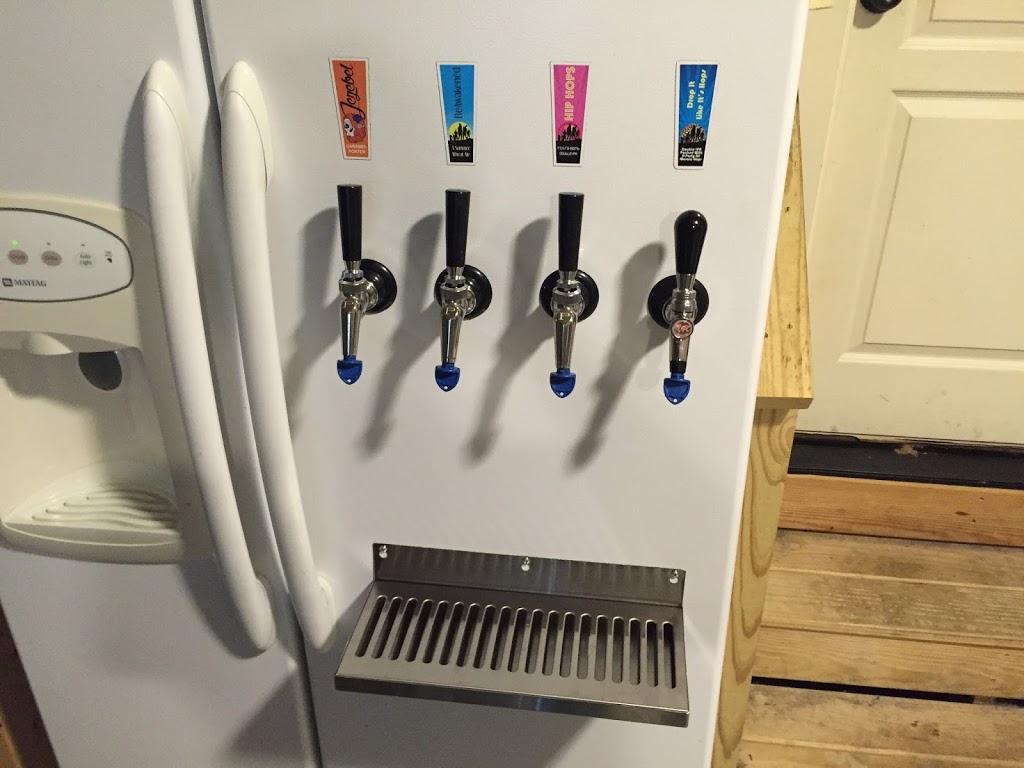
Double Tap Conversion Kits
A double tap conversion kit is your best bet if you want to serve two kegs at once. Keep in mind that both kegs will need to be stored in the cold for proper dispensing.
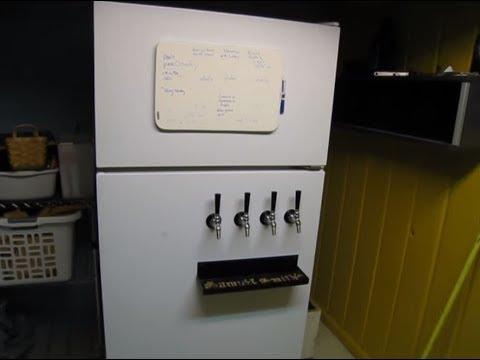
Tower Conversion Kits
A tower conversion kit is an excellent choice if you want to turn a freezer into a beer dispenser (also known as a “keezer”). For pouring many kegs, it can be attached to the top of the freezer and has enough room for several faucets. Building a keezer necessitates the use of an external temperature control unit to keep things from getting too cold.) Additionally, a tower conversion kit can be utilized to add additional faucets or style to a ready-to-go kegerator.
Nguồn: https://iatsabbioneta.org
Danh mục: Fridge