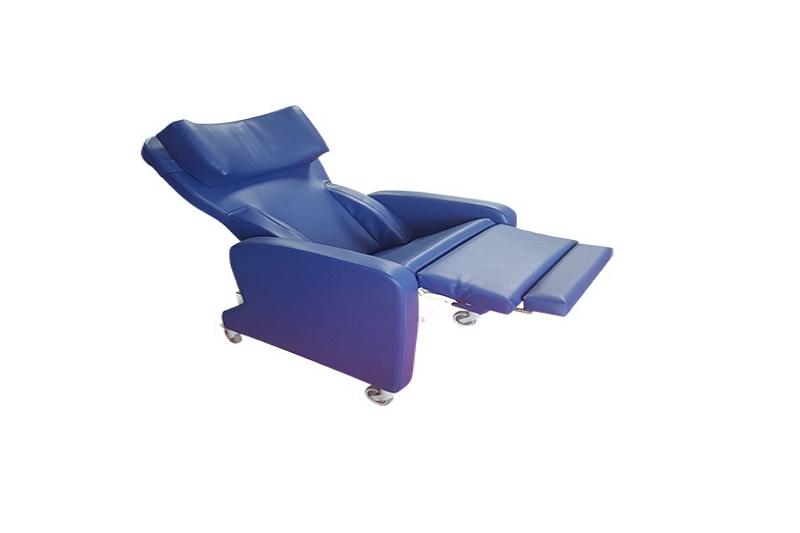
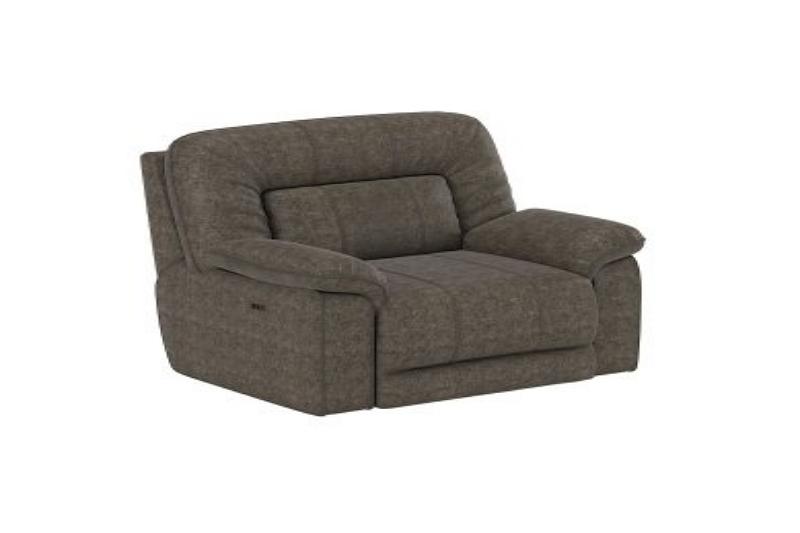
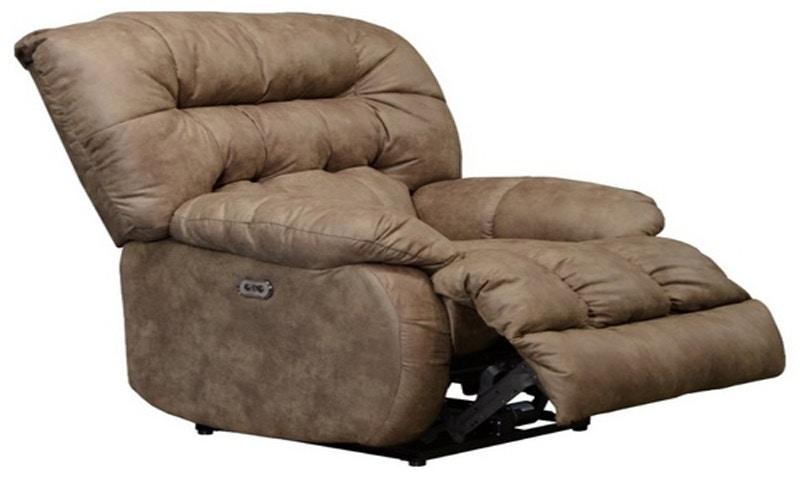
Many living rooms will have at least one recliner in them. You can find instructions on disassembling a recliner chair for use at home or in the workplace in this article. Here’s a quick rundown of the right procedure for disassembling it without damaging the parts in the process.
It also provides an overview of the many tools that will be needed and where to find them in your area’s hardware stores.
Bạn đang xem: How To Disassemble A Recliner? Complete Step-by-Step Guide
What You Need To Understand Beforehand
Reclining chair disassembly requires knowledge of the mechanism. Cases, backrests, footrests, and armrests are the essential components of a reclining sofa. Commonly, these components are sold in pairs, with one going to the right side and the other going to the left. However, it’s also possible that the chair’s left and right sides attach to the same piece.
We’ll term any two matching components or pieces of furniture “sliders” from here on out. I’ve screwed two stakes to the bottom of each slider I use. The bottom of one slider can be utilized as the top of another slider from another set of furniture that I’ve moved from this property if I remove the top.
Take Out All The Sliders
My recommendation is to remove the sliders as the first step in disassembly. Simply slide your hand under the item and lift to move it. As you do so, you’ll see the screws that hold them together. Make the effort to elevate them as high as you can to save yourself some work later.
Detach Armrests Or Leg Rests From The Slider
Each armrest or legrest must then be unclipped from its matching slider. With the help of a flat head screwdriver, you can quickly and easily take apart one component (a slider). When you’ve finished disassembling both halves (one for each side), tie them together with some string or twine to ensure they don’t get lost in the shuffle the next time we relocate.
Let’s make a stack of sliders right now. Once you’ve made sure no sliders are connected to any other pieces of furniture, you can gather them all into a single pile.
Remover The Backrests
The next step is to unscrew the backs or cases and disassemble them. Each piece is held together at the base by three long screws. Because it is attached at the top with hinges, no screws are necessary. You may easily separate the top and bottom halves by lifting the top half with a flat head screwdriver (by unscrewing). Put them in your pile of disassembled furniture and tie them up like before (sliders). We can take them with us when we move and use them to construct a couch of our liking.
Please use string or twine to similarly secure the back of your recliner to the various sliders. Put it in the same spot you’ve used to collect sliders in the past. Then, much like with the back, unscrew the armrests from the sliders. One key distinction is that the two halves are hinged together, making disassembly more challenging but not impossible.
To separate the two halves, place a flat head screwdriver under the bottom half and lift as far as you can, then reverse the process to place a second screwdriver under the top half. The top can be detached from the base by removing the screws that secure it there (which is still connected by hinges). Pack the two pieces together with some string or yarn and add them to your stack of dismantled furniture (sliders).
Take Out The Backrests And Cases
As before, unscrewing the backrests or casings from their sliders will allow their removal. Separating the two backs and two seats from the remainder of the unit is the next step. To achieve this, place one screwdriver under the bottom of the case and raise it so that the other may fit under the top. Repeat this process until the furniture separates from the other group (slider).
The slider at the bottom of the case is attached to the bottom of the case through screws, which is immediately apparent. However, the upper side also features two hinges. To separate the two pieces, insert a screwdriver under the bottom and another under the top. Then, you may take both pieces apart by removing the screws and adding them to your pile of dismantled furniture that you have already tied together with thread or twine (sliders).
Keep in mind that when we unscrewed an armrest in the previous phase, only one of the pieces was connected to the slider. We can acquire another armrest that works with any sofa if we remove this one and turn it 180 degrees. Use flat head screwdrivers to pry apart the two pieces, as before.
The bottom half can be detached from the upper half by removing screws around the hole in the middle. Throw the armrests and the string or twine used to secure them into your stack of dismantled furniture (sliders).
Step-by-Step Disassembling Guide
Step #1: Disconnect the Recliner from the Power Source
In order to disassemble a chair, you must first disconnect it from its power supply.
To make the rest of the procedure more manageable, it is recommended that you pull out the footrest and tilt the backrest.
Step #2: Remember the Process
Xem thêm : How To Loosen The Spring Tension On A Lane Recliner? Complete Guide
When you next need to connect or have a conversation, you don’t want to spend a lot of time
Put your reclining chair back together upside down.
That’s why it’s crucial to keep detailed notes on how you took apart the chair.
To do so, you can either remember everything (a daunting task) or resort to the simpler option of taking images.
With the drawings as a reference, putting together and taking apart the recliner is a breeze.
Writing the steps on each component of the recliner is another great method to keep the procedure in mind. Putting a number on each component is a brilliant idea.
Step #3: Locate the Release Mechanisms
The mechanics for releasing or unlocking the device must also be identified and disassembled. When attempting to recline a chair, keep in mind that the mechanism may be located in a variety of places depending on the design of the chair.
The majority of Ashley’s reclining chairs have their unlocking/release mechanisms situated on the back of the chair.
Keep in mind that the locking mechanisms of some types of recliners might be found in inconspicuous places such as under the seat. In that situation, you’ll need to raise the footrest all the way before you can reach under the seat.
Step #4: Pull the Flap Open
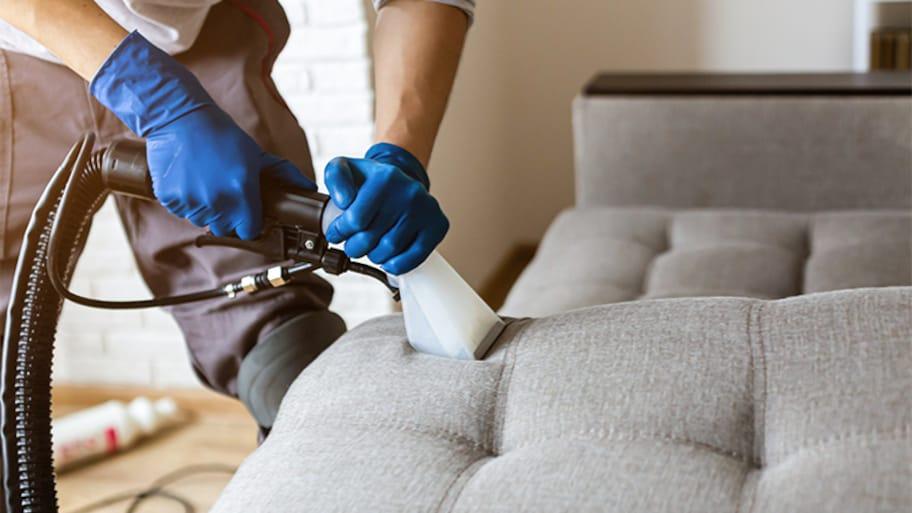
It’s true that there are times when things are difficult, but you can always find a way to make it work. It’s important to pay attention to the fabric of your chair now that it’s time for bed.
The vast majority of them are upholstered with synthetic or microfiber materials. A lucky outcome awaits you if yours is constructed from one of the aforementioned components.
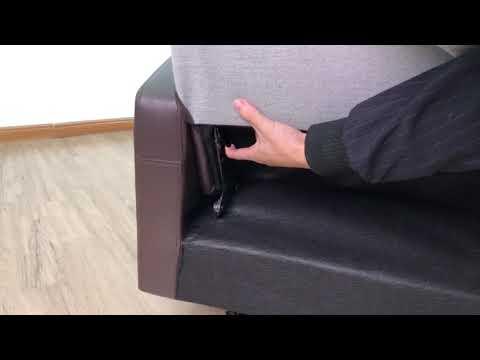
The flap, typically denoted by a hook-and-loop shape, can be opened with nothing more than a finger. Once you’ve located it, all you have to do is find the lap’s edge and pull it open.
After then, the recliner’s framework and working mechanisms will be exposed.
Furthermore, not all recliners are covered in fabric. A number of them are crafted from leather materials. The recliner’s cover may be hidden as a result.
If so, you might be able to avoid it by entering the room through the seat’s seams. There you will discover the release. Additionally, the backrest may be so sturdy that you’ll need a screwdriver to remove it. The Bosch PS21-2A is an excellent replacement cordless tool.
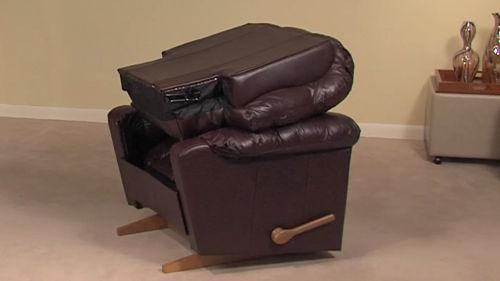
Step #5: Lay the Recliner on its Back
Recliner should now be laid on its back with the mechanics facing up. Recliners that aren’t permanently attached may need you to lean forward to use them.
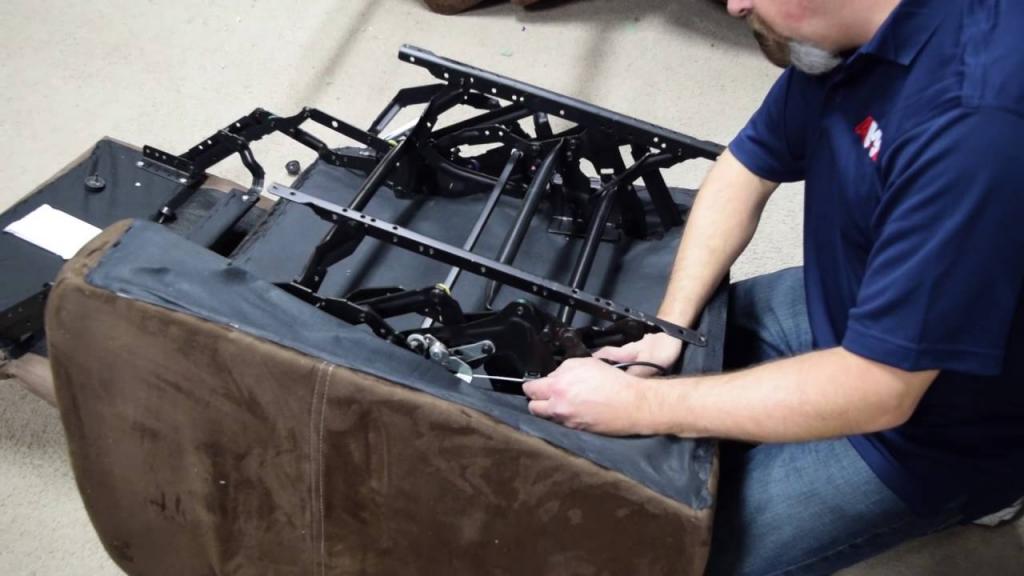
Step #6: Examine the Parts
Put the chair where its exposed workings may be easily inspected. Set it upright when you’re done so you can begin taking it apart easily.
The mechanisms of the chair that you will be dismantling are what keep the chair’s pieces together, so keep that in mind. It’s not uncommon to find screws, nuts, and washers among them. It’s important to clearly identify each component of those mechanisms so that they may be quickly located and put together as needed.
Step #7: Work on the Chair
Xem thêm : Causes Of Sore Hips While Sitting On A Recliner
There is a lot of work to be done. Be prepared, then.
To begin, turn the chair over so that the footrest is facing you.
Using your screwdriver, take out the remaining screws.
To adjust the other bearings, use a wrench.
Take apart the footrest and the chair.
Take the recliner’s feet off, too.
Take apart the armrests by taking out the screws and bolts that hold them to the chair. The armrests can be detached from their brackets first.
Do away with the rails and frame bearings that were there before you installed the seat.
Take out the backrest as well, and if there are springs in that area, take them out as well.
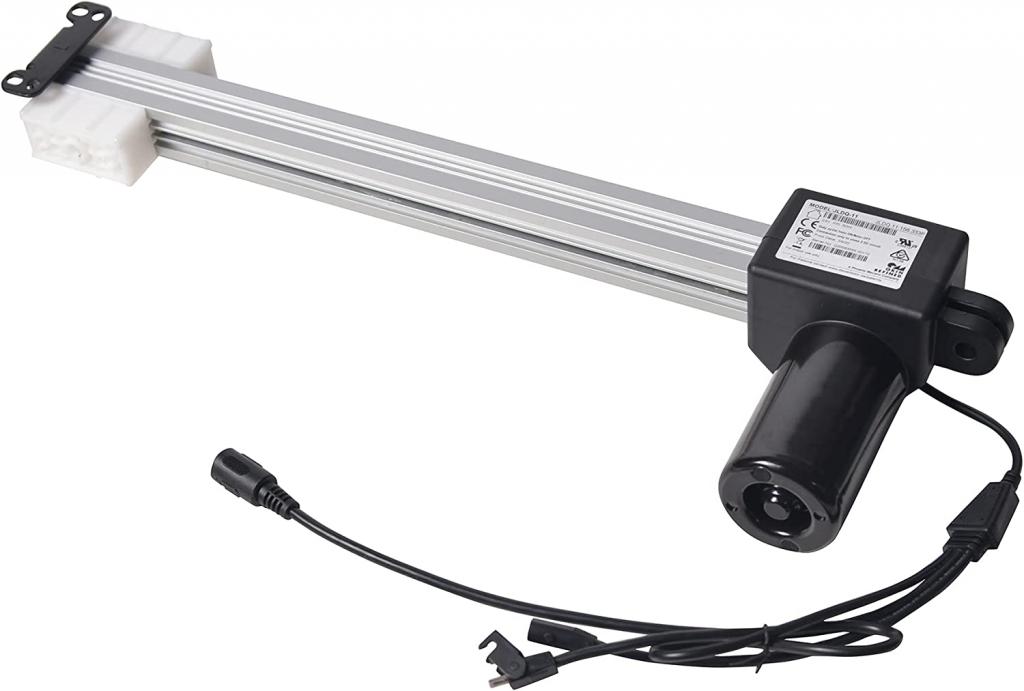
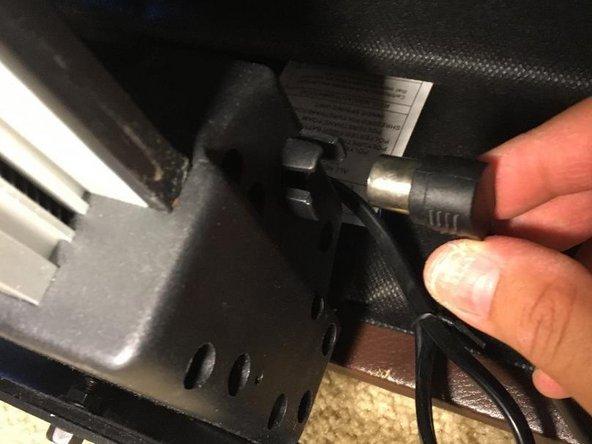
Occasionally, recliners will include a motor system. The final step, if yours has a motor system, is to carefully disconnect it from the wiring harness and dispose of it.
FAQ
In this piece, I’ll address some of the most common concerns people have while trying to take apart a chair.
How Much Does It Cost To Disassemble A Recliner Sofa?
Around $200 is needed to disassemble a recliner. You’ll need at least a hundred dollars for sliders, and another hundred for the various screwdrivers and other tools you’ll need.
When Do I Have To Disassemble My Recliner Sofa When Moving?
To avoid having to unpack and reassemble furniture when you move, it is best to do so before leaving your current residence. Since most people dislike wasting time on activities in which they have little interest, this consideration may be especially relevant if you do not reside alone. They would rather sit about and do nothing until their friends or relatives show around to help.
Does It Make Any Difference If A Recliner Is A Manual Or An Electronic One?
The procedure is the same as always. You’ll just end up with more bits and pieces, maybe the armrests off your chair. Four parts make up a manual recliner, but 10 make up an electric one. Nonetheless, you’re more likely to come across five, as leg rests do not typically detach from sliders. Recliners, whether manual or powered, can be taken apart in the same way.
Can I Return My Sofa Into Its Original Shape Without Having Problems With Screws Being Unable To Fit Again?
The chair can still be assembled with the screws and adhesive that comes with it. You should also think about the fact that some of these pieces might be broken by the time you take them apart, and this could happen if, for example, you don’t handle them gently enough during the moving process.
What Do I Have To Pay Attention To When Disassembling A Recliner?
Sofas are easily damaged in transit, so take extra precautions the next time you move them by packing sliders together in one bag. Nails should also be filed down to prevent them from scratching your furnishings.
Conclusion
Recliners may be taken apart easily, as I’ve already said; if you have any further inquiries, feel free to post a comment or send me an email. To assure that your furniture will not be damaged in any way, please follow these directions carefully.
I appreciate you taking the time to read this. I really hope that it was interesting and useful to you.
Nguồn: https://iatsabbioneta.org
Danh mục: Recliner