Sharing a step-by-step guide to making a DIY Balloon Shade in less than two hours for free with images.
When I awoke one morning resolved to transform our powder room, I wrote about it here. Due to our bathroom window and whether or not we’d cover it, I choose this room.
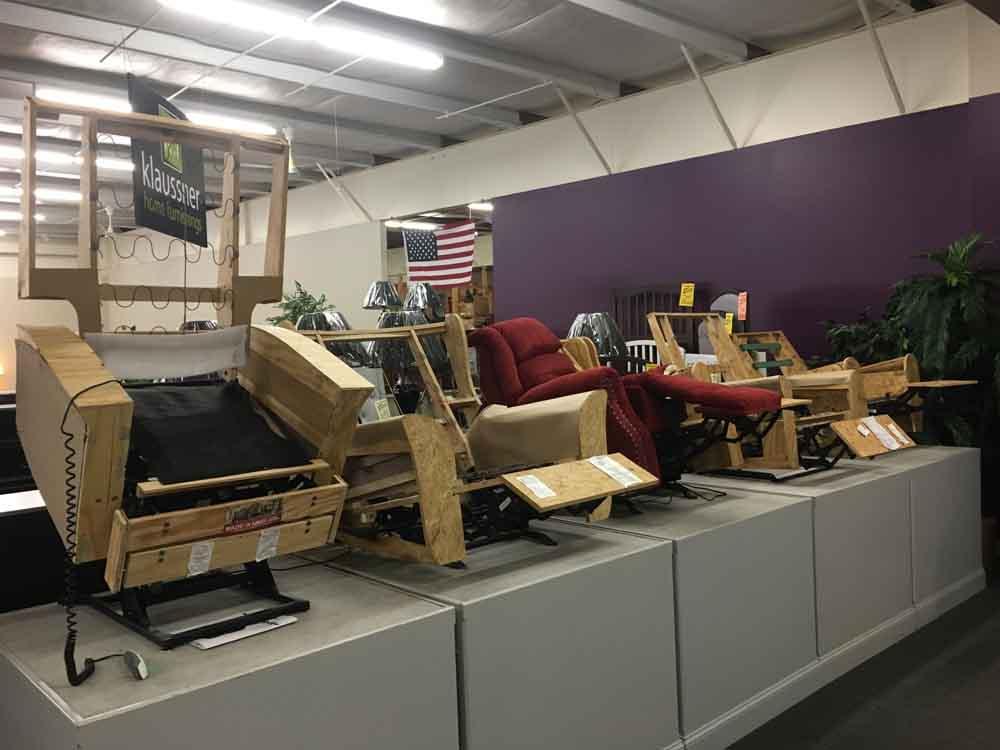
Bạn đang xem: Standard Recliner Seat What You Need To Know
It was important to both Jason and myself that we maintain our desire for seclusion. Well, long story short, he won & I made a DIY balloon shade, ha!
But I must admit that the solitude and style it adds to our small bathroom make it worth it for me.
How to Make a DIY Balloon Shade for our Powder Room
Please see my disclosure page for more details about this post’s affiliate links:
About 15 years ago, I came upon beautiful green French toile cloth.
Though it was intended for a different purpose, I was so taken with the pattern that it has followed us from one place to another:).
Supplies & Tools Needed to Make a DIY Balloon Shade
- The Shade’s Fabric
- Cut your fabric using scissors or a rotary cutter.
- Using the Proper Color and Type of Thread for the Material
- Use a saw to cut the wood and attach your balloon shade to it.
- Gun & Staples for Stabbing
- Rings made of PVC
- Diaper Pins and Safety Pins
- Hang your Balloon Shade with nails and a hammer.
Step by Step Instructions for How to Make a DIY Balloon Shade
Step ONE – Gather your Supplies & Measure Your Window
Xem thêm : Easy Steps To Reset A Motorized Recliner? Comprehensive Guide
I cut the Toile fabric I had into a large rectangle after measuring the window and adding a few inches to each side.
Step TWO – Sew a Hem Around the Fabric
My sewing machine hemmed the entire piece of material.
Step THREE – Hand Sew on Plastic Rings
Next, along the length of the Toile, I hand-sewed plastic rings every six inches.
![What is the standard size of a recliner [Sizes Guide 2023]](https://iatsabbioneta.org/wp-content/uploads/2023/03/standard-recliner-seat-what-you-need-to-know-img_64004bcb9e658.jpg)
Step FOUR – Cut Scrap Wood to Fit Your Window & Staple on the Fabric
Prior to this, Jason had measured the window’s dimensions and cut a piece of scrap wood 2 inches wide to fit.
I used my staple gun to connect the toile to the board once the cloth was hemmed.
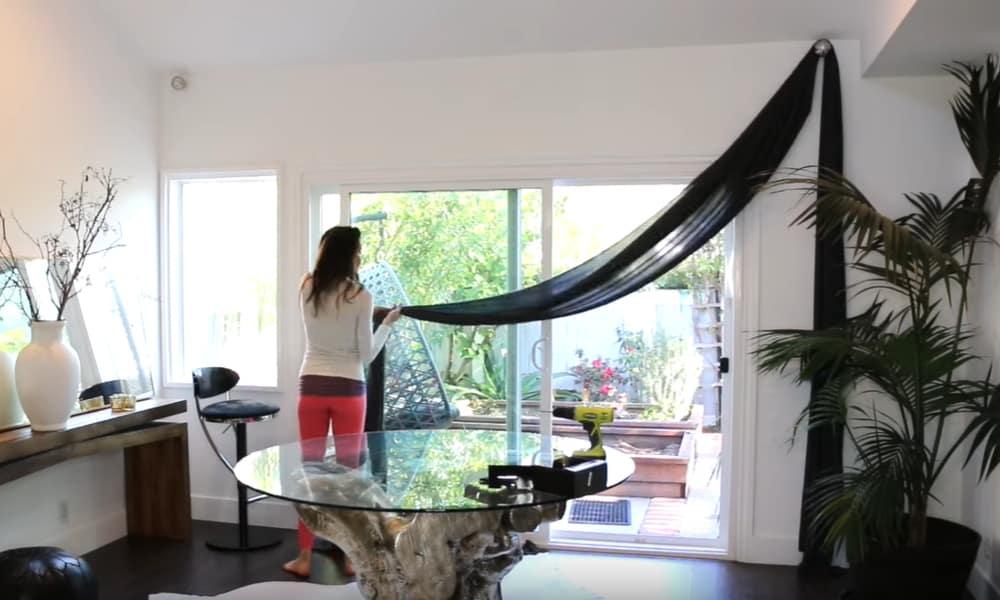
How to Hang the DIY Balloon Shade to the Window
I then attached the balloon shade to the window of our powder room.
With diaper pins (yup, diaper pins), I put a couple rings together to create a balloon effect on the curtain by nailing it to the top of the window.
Xem thêm : Beetroot Juice For Pigmentation And Other Uses
Everyone in our powder room, including me, appreciates the increased privacy provided by the toile fabric’s white color.
In addition, the space looks lovely with the green accents I’ve added:).
Making my own DIY Balloon Shade was a snap and it was completely free as well! Make one for your own home if I’ve inspired you.
by Tara Lehman
Learn how we constructed our DIY Balloon Shade and all of our Powder Room updates!
How to Make Easy Balloon Shades
Compared to Roman shades, balloon shades have a gentler look to them. Shades that are less structured are easier to produce. Each shade should be made from a full width of the fabric you’ve chosen; half the width of your window or even less will produce enough horizontal bunching on a rod through a pocket to make some easy balloon blinds.
The draping effect of your shades will be enhanced yet light will still pass through because of the soft finish of the loosely woven cloth.
THINGS YOU WILL NEED
- Drape your window with cloth that is 1.5 to 2 times as large as the opening.
- a thread that matches
- This is the chalk used by tailors.
- 1/2-inch bias tape, double-folded
- Plastic curtain rings with 12 or more rings can be used.
- Shade cord three to four times the fabric’s length is recommended.
- Narrow curtain rod with mounting hardware that can be used inside or outside the window frame.
- Screw eyeballs in three positions.
- Cleat for a small awning or shade
TIP
Some people call these shades “cloud shades,” while others call those with only two pleats across “London shades.” Sew two or three widths of fabric together and proceed as you would with a single width to produce a single shade for a wider window. For tighter vertical collects, run the cables through tapes, while utilizing rings makes the blinds more resemble Roman blinds.
WARNING
Exposed cords in a shade are a strangling threat for young children, thus they should never be used in a baby or child’s room or anywhere else where children will be left alone.
- Trim the fabric’s selvages from both sides. The sides of the garment should be hemmed using half-inch hems.
- The bottom edge of the garment should be hemmed more thoroughly. This will all depend on the weight and opaqueness of the fabric, as well as whether or not you prefer your blind to flare outward when it’s drawn up.
- Stitch a hem down from the top to fit the curtain rod.
- Mark the incorrect side of the fabric by measuring an equal distance in from each side and tracing it. A deeper swag in the middle of the shade can be achieved by drawing these lines closer to the edges of the shade. Using a bias tape, lay it down the lines, fold it toward the cloth, and stitch it in place. Top and bottom hems should have tape ends trimmed. Instead of tape, if you’re working with plastic rings, sew them straight onto your measured lines and equally across the shade.
- The shade rope should be threaded through half of each row of tape or rings. Depending on the effect you are going for, secure the bottom ends either at or within the bottom hems.
- The additional width of the blind can be distributed equally by inserting the curtain rod into the top hem of the blind. Using a screw eye in the window frame, attach the curtain rod to the top of the window. Then, at the end of each cord, attach a third screw eye. To attach the cords, pass them through the screw eyes as pictured below.
- The shade cleat should be attached to the side of the window frame where the cables are dangling from. Adjust the shade’s cleats and the cords to your liking before securing them with the hooks provided.
The Drip Cap
- Compared to Roman shades, balloon shades have a gentler look to them.
- Shades that are less structured are easier to produce.
- Stitch a hem down from the top to fit the curtain rod.
- A deeper swag in the middle of the shade can be achieved by drawing these lines closer to the edges of the shade.
- The shade rope should be threaded through half of each row of tape or rings.
Nguồn: https://iatsabbioneta.org
Danh mục: Blog